![Featured image of [Project] 3D Print Your Own Fortune Teller](https://i.stageall3dp.com/workers/images/fit=scale-down,w=1200,h=675,quality=79,gravity=0.5x0.5,format=auto/wp-content/uploads/2019/05/23111122/raspberry-pi-fortune-teller-l.jpeg)
[Project] 3D Print Your Own Fortune Teller

Shape your own destiny with the 3D printed Raspberry Pi fortune teller!
A thrilling time is in your immediate future. This and similar forecasts will soon brighten up your daily life with this weeks project. The 3D printed fortune teller. Thanks to the tinkerer Ashleep on howchoo your future now lays in your own hands. Or at least in the hands of your Raspberry Pi.
The maker Ashleep has devised a machine, which will print random fortunes at the push of a button. The seer behind this forecasting machine is custom programmed Raspberry Pi 3 B+ combined with an Adafruits Mini Thermal Printer.
Well, you don’t need to be a prophet yourself, to understand this week’s project will need a bit of basic experience in electronics and coding to set it up. But do not despair, we assure you this: Even as a complete novice this manual will guide you through step-by-step.
What Do You Need
Parts
So without further ado, here is the complete list of things needed:
- Raspberry Pi 3 B+
- Adafruit Mini Thermal Printer
- Adafruit Mini Thermal Printer Power Supply (5V, 2A)
- Adafruit DC power adapter (2.1mm jack to screw terminal)
- Adafruit receipt paper
- 30mm Arcade button
- Jumper wires
- Wire strippers
- Soldering Iron
Prints
The STL files can be downloaded for free on Thingiverse. The casing consists of two parts. The box and the lid. Printing should be straightforward, with no particularities to watch out.
How to Build It
Sure, the ordered parts may take a couple of days, but a true seer will know when they arrive. After that, we can start with the nitty gritty details of installing and coding the electronics.
Install Raspbian & enable UART serials
Everyone knows: Pi should always be fresh. So as a first step, install the latest version of Raspbian. If you need a hand, use this detailed guide on how to install and update Raspbian.
Next, you will need to enable the UART serial interface on the Raspberry Pi, as it is disabled by default. To do so, open the Raspberry Pi configuration menu with the following command:
sudo raspi-config
Under Interfacing Options choose Serial.
The question “Would you like a login shell to be accessible over serial?” will pop up. Select No.
Then another one, “Would you like the serial port hardware to be enabled?” Choose Yes.
Finally, reboot the Raspberry Pi:
sudo reboot
If you want to find out more information on enabling the UART serial interface, visit Adafruit’s website.
Install Python 3 and libraries
For the fortune teller script, you will need to use Python 3 as well as a few libraries.
To install Python 3, use the following command:
sudo pip3 install --upgrade setuptools
Then you’ll need blinka by Adafruit:
pip3 install adafruit-blinka
Next up, install the RPI.GPIO library:
pip3 install RPI.GPIO
And lastly, you’ll need to install the thermal printer library from Adafruit:
sudo pip3 install adafruit-circuitpython-thermal-printer
More detail on this process can be found on Adafruit’s website.
Powering the printer
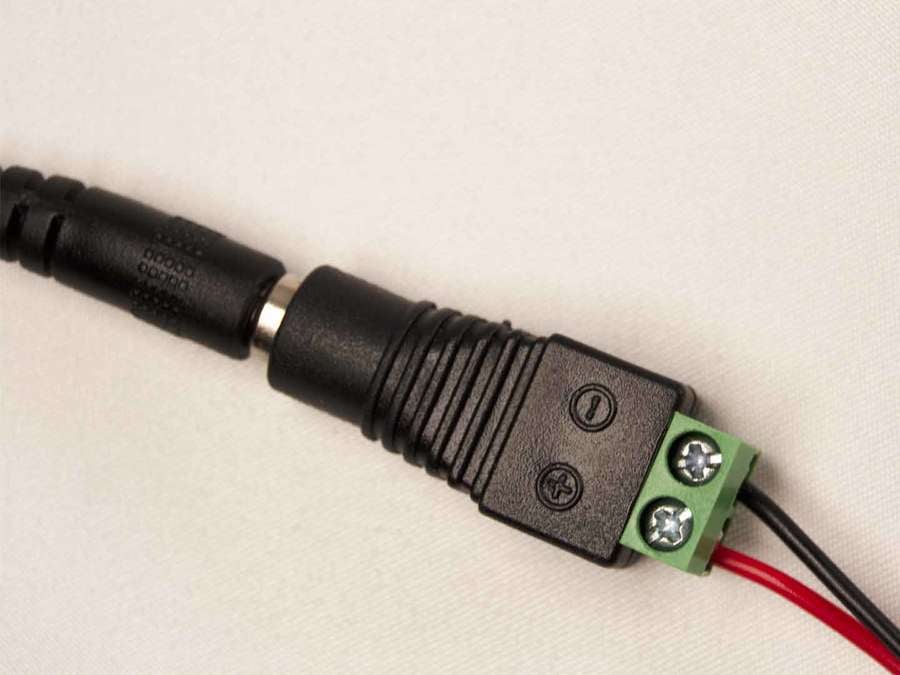
The printer does not run on USB, so it will need its own source of power. We recommend the 5V 2A power supply and 2.1mm jack adapter sold by Adafruit. Click here to find out more about powering the mini thermal printer.
Set up the jack adapter by cutting the wires provided with the printer, strip away the wire sleeves, and screw the inner wires to the jack adapter. When the printer is receiving power, the LED on top will light up.
Connect Raspberry & Printer
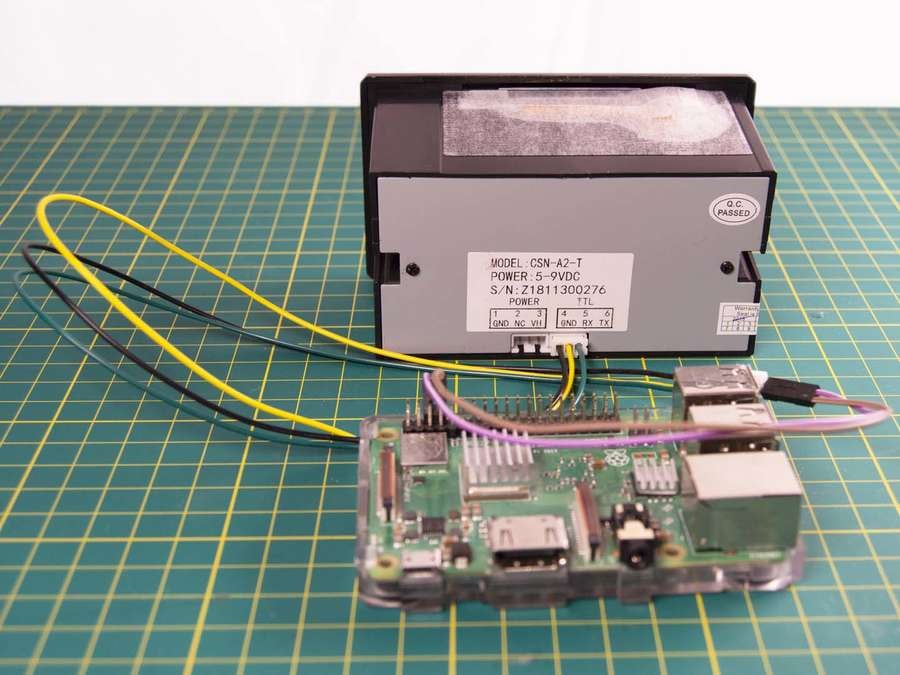
Wiring the printer to the Pi shouldn’t be too difficult. You can use the original wires provided by Adafruit and connect them to the Pi by using a couple of FTM jumper wires. The printer’s ground wire should be wired to any GND GPIO pin on the Pi. The RX wire needs to connect to the Pi’s TX pin.
In case you don’t know your way around pins and need help identifying the correct ones, Pinout.xyz is a great resource.
Testprint
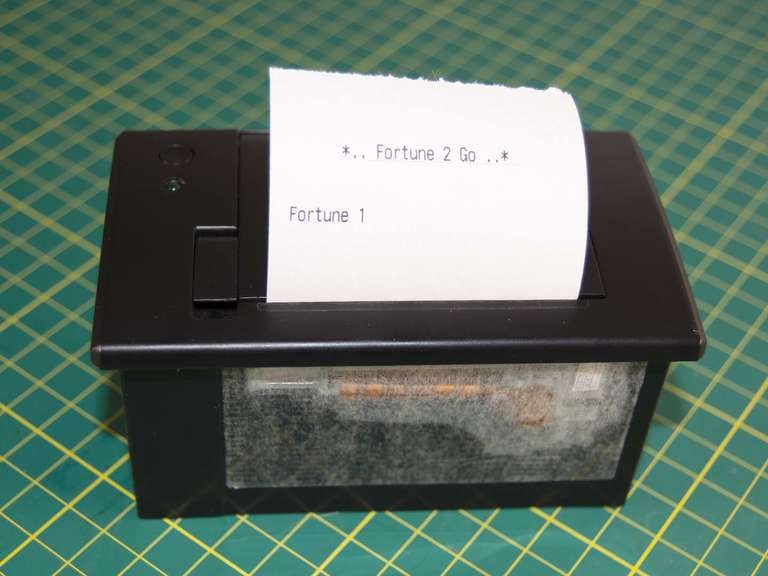
After connecting everything, restart the Pi. It is time to run a test script to see if custom receipt printing works. The maker has provided us with a short test script you can download from Github. To do so, open a terminal window and run the script using Python 3:
python3 fortunetest.py
Wire the button to the Pi
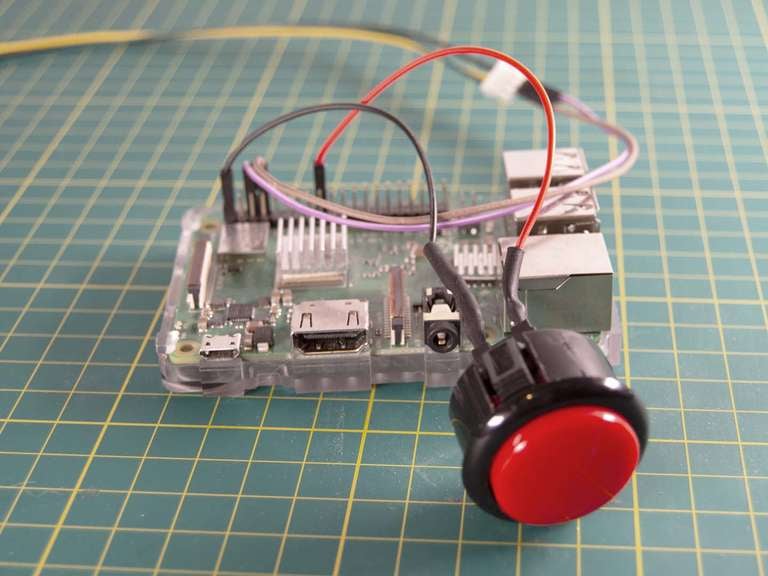
Next, you’ll need to wire the button to the printer with a resistor. Solder the jumper wires to the button and wrap the connection in a heat shrinking tubing. Find out more about the button circuit on the Raspberry Pi here.
Download & run the fortune teller script
Once the button and printer are working, it is time to test the fortune teller script.
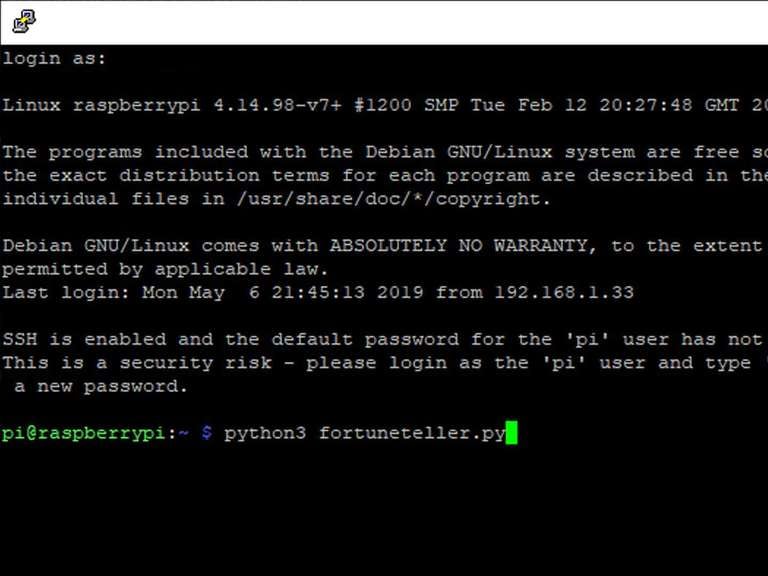
Download the fortune teller script from Github. Transfer the python script to your Raspberry Pi by logging in, creating a new file, and then paste the script in place:
sudo nano fortuneteller.py
Then execute it by using Python 3 :
python3 fortuneteller.py
Customize the fortune teller receipt
Open
fortuneteller.py
in your favorite text editor.
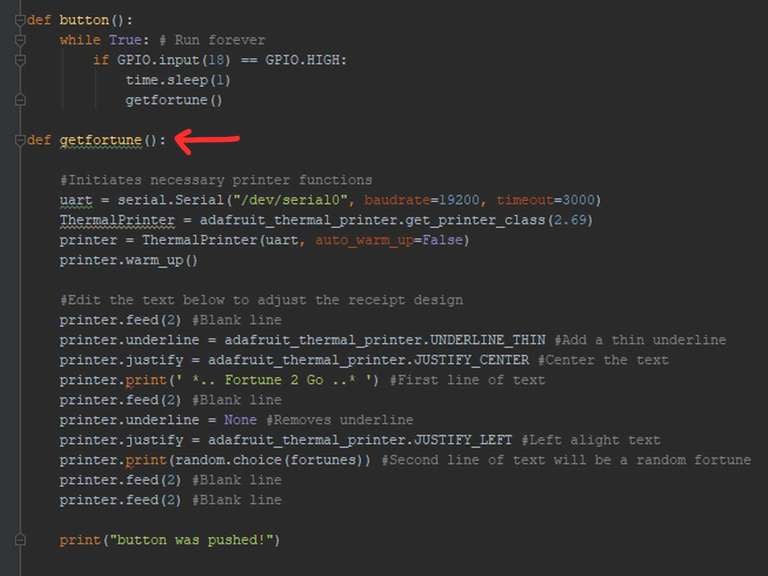
Under
def getfortune()
you will find the maker’s default receipt, which uses the Adafruit Thermal Printer library to add several lines of custom formatted text. We recommend reviewing the official Adafruit documentation on customizing your receipt.
Add your own fortunes
You can add your own fortunes under:
fortunes
Edit the existing fortunes or add your own. Make sure to keep the text in apostrophes and end each line with a comma.
Depending on your coding skills, you can also modify it to retrieve tweets and print them in real time, or any other genius idea.
Set up the fortune teller script to run on bootup
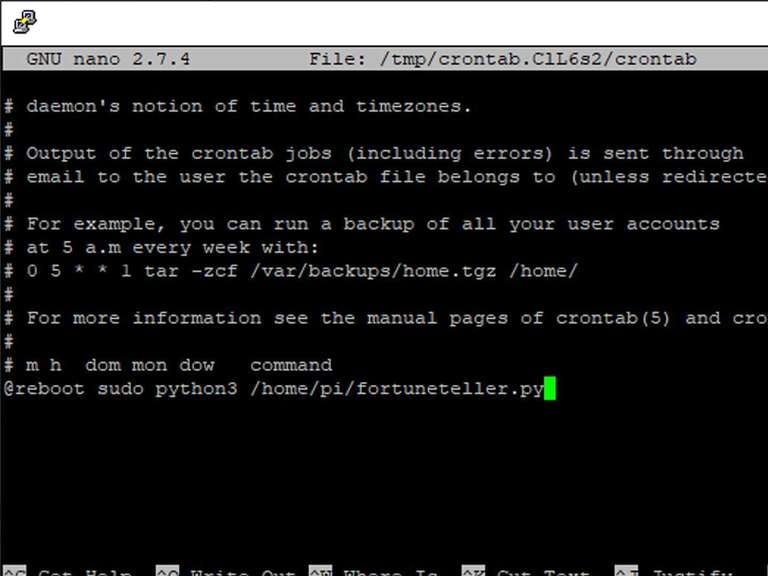
Lastly, you will need crontab to set up the fortune teller script to initiate on bootup. Using a terminal open the crontab with the following string:
crontab -e
Choose option 2 and at the bottom of the document that pops up and add the path to the fortuneteller.py file:
@reboot sudo python3 /home/pi/fortuneteller.py
If you saved yours in a different location, you will need to change the string accordingly. Otherwise, save the document and close crontab.
Restart the Pi and test run it. It should work as intended.
3D print the case and assemble
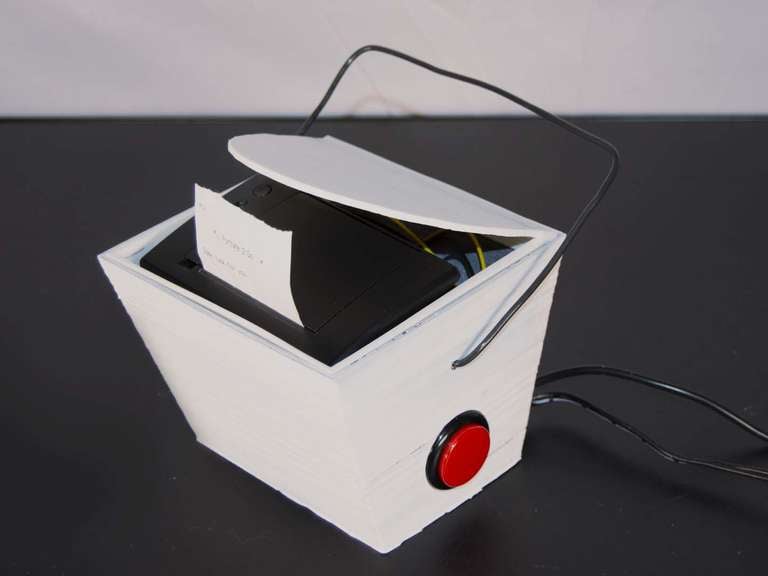
If you haven’t printed the case in the meantime it is time to fire up the printer and get to work. Otherwise, put the fortune teller script in the case and you are good to go.
We predict a fun future for you.
License: The text of " 3D Print Your Own Fortune Teller" by All3DP is licensed under a Creative Commons Attribution 4.0 International License.