![Featured image of [Project] 3D Print Your Own Headphones](https://i.stageall3dp.com/workers/images/fit=scale-down,w=1200,h=675,quality=79,gravity=0.5x0.5,format=auto/wp-content/uploads/2019/05/10112754/headphones.jpg)
[Project] 3D Print Your Own Headphones

Ever wanted to customize your own headphones? Now you can, thanks to the Thingiverse creator gumo_design. 3D printable and oh so cool, you can customize these headphones with the filaments of your choosing. Rock on.
Is there anything cooler than hooking up a 3D printed gadget with some electronics? Hardly. Unfortunately, not every 3D printing tinkered has the ability to back up such electronic ambitions, but this weekend’s project says “hooey” to that — anyone with a printer and the funds for a few parts can get in on this.
Thingiverse user gumo_design has devised a 3D printed headphone design using off-the-shelf earphone components and a customizable 3D printed housing. Reducing the assembly to the simple act of sticking the printed parts together and bolting things here and there, even those gifted with two left hands can have at it.
Without further ado, let’s jump in and take a look at the required parts and the steps needed to assemble.
What You Need
These 3D printed headphones consist of twelve printed parts, the electrical interior plus some screws and bolts to hold it all together.
Prints
The 3D printable STL files are available on Thingiverse. It is recommended to print with PLA at 20% infill and 0.2 mm layer height for optimum results. Supports are generally not needed but can be used, especially for the housing parts, as to avoid caving in. We do recommend though to print the pieces separately or in small batches to minimize printing failures, etc.
Apart from that, you are good to go. You can go to town when it comes to color selection. These headphones look great both in unicolor and multicolor. And for those who want to go real extravaganza, the headphones can even be equipped with an attachable set of 3D printable cat ears, for a bit of extra flair. Meow.
Parts
The following non-printed parts are needed for the assembly:
And some screws/bolts:
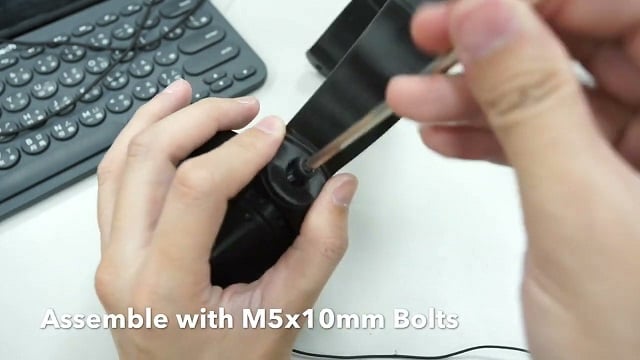
- M5x10mm – 2pcs
- M3x5mm – 6pcs
- M3 set screw – 2pcs
- M4x6mm Countersunk flat head screw – 2pcs
- M4x10mm – 2pcs (optional for cat ears)
These screws/bolts are all standard and should be available from any good hardware store or order them online.
How to Build it
Once you have the 3D printed parts prepared and ordered the rest, it’s time to assemble the headphones.
Assemble the casing
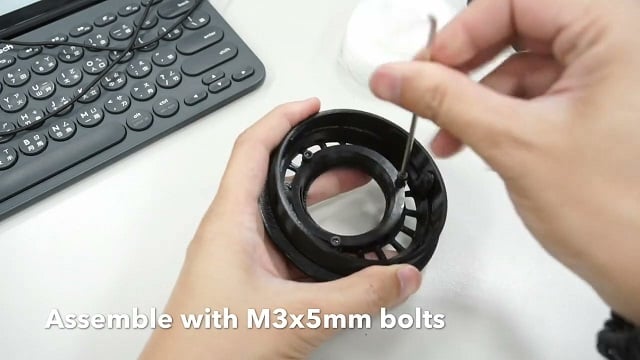
Put in the speaker
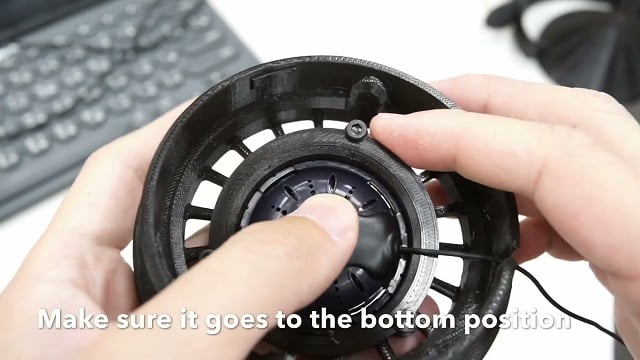
After freeing the KSC75 speakers from their original casing, it is time to install them into their new home. Make sure the speaker is adjusted the right way, and carefully tighten the driver support using the set screw. The screw pushes a small wall at the inside of the casing to fix the speaker unit securely. Carefully tighten the screw set until you feel the driver part push into the groove.
Close up and add joints
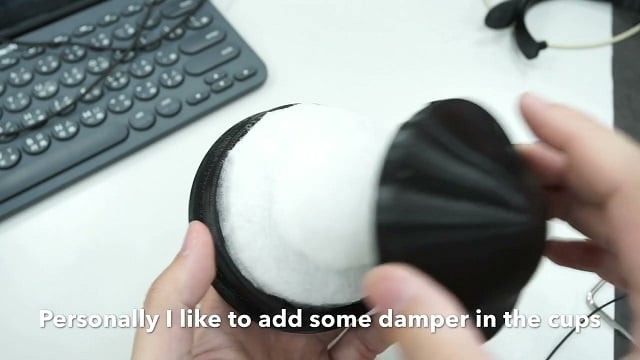
After stuffing the earpieces, you click on the back cover parts and use the inbuild twist mechanism to fix it. Afterward, carefully click on the headphone joints.
Assemble the Headband
Lastly, you need to cover the earpieces with the earpads. One last tip from the creator is not to use fenestrated earpads, as they will eat the bass and mids.
Purrfect Extras
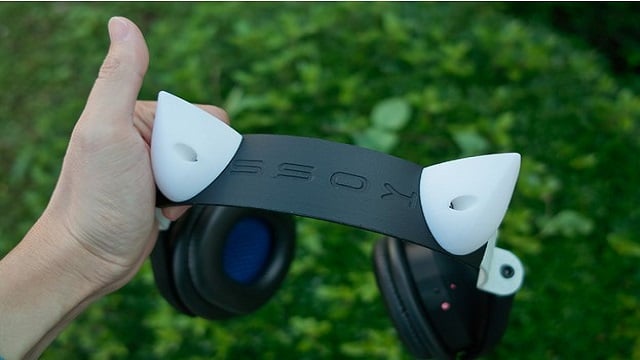
Lead image: gumo_design/Kaworu Chang, via Youtube
License: The text of " 3D Print Your Own Headphones" by All3DP is licensed under a Creative Commons Attribution 4.0 International License.