![Featured image of [Project] 3D Print Your Own Wristwatch](https://i.stageall3dp.com/workers/images/fit=scale-down,w=1200,h=675,quality=79,gravity=0.5x0.5,format=auto/wp-content/uploads/2019/05/16154036/titelbild.jpg)
[Project] 3D Print Your Own Wristwatch

While there are those who have used 3D printing to make their own watch cases, watch bands, and watch chargers, others are taking the next step and actually 3D print watches. Learn how to make your own!
Who – amongst us watch-wearers – hasn’t dreamt about customizing your own wristwatch to fit your personal style and outfit? Back in the day, one needed to own multiple watches for different styles, now you only need a 3D printer to print different modular watch versions and swap out the colors as you like, allowing for a ton of different combinations.
Thanks to the Thingiverse creator Duncan Smith, who – inspired by the almost fully 3D printed wristwatch from Lulzbot – designed his own 3D printable version.
Join us as we go step-by-step through the parts needed and the assembly process.
What You Need
To assemble the watch you will need the following:
Prints
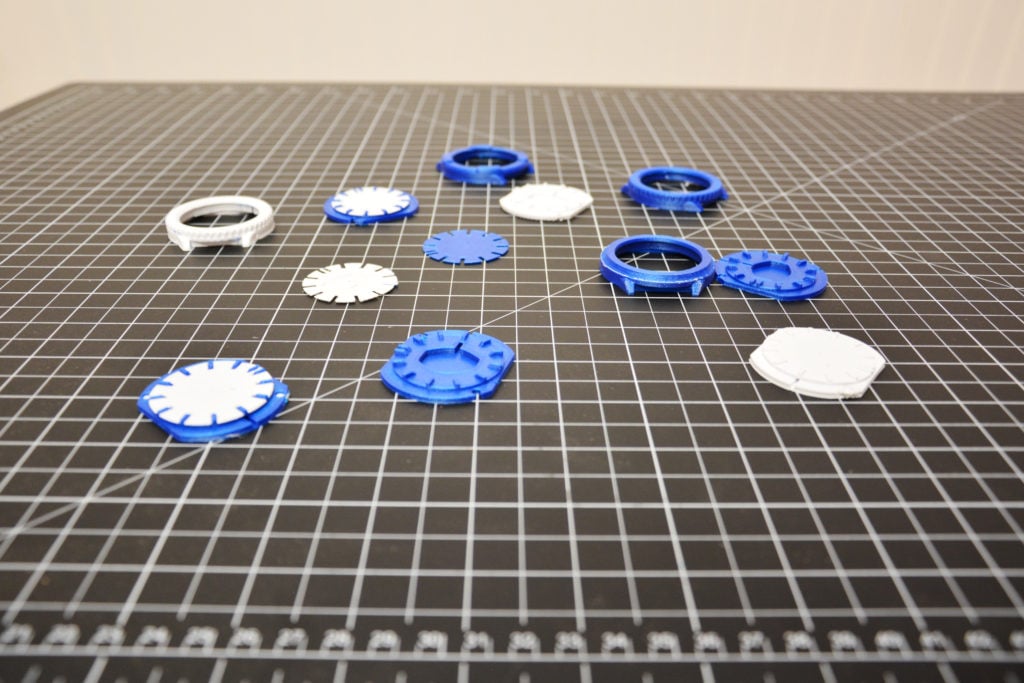
For best results, use a filament with a high-quality surface finish and set your printer settings to highest layer height resolution, e.g. 0,06mm. Infill should be somewhat between 50-100% and it is advised to print the outer casings with support. The other parts should be fine without any support and overall, the print shouldn’t be too complicated. When printing at 60mm/s it should take you about 3.5 hours.
Parts
Apart from the 3D printed housing, you will a soldering iron, a small screwdriver and
- Harley Ronda 3 Hand Quartz Watch Movement HQ763 Overall Height 3.9mm
- Flat Round Mineral Glass Watch Crystal 1.5mm Thick
- Watch Hands To Fit Minute Hand Hole Size .70mm And Hour Hand Hole Size 1.20mm
- Watch Crowns Waterproof Japanese Style Watch Crown With Gasket And Long Post
- Watch Parts Watch Stem Extender
- Replacement Band Bracelet Strap for Men’s Women’s Watch, 22mm
- M2x0.4 mm Thread Size, 2.9 mm Installed Length Screw
- Black-Oxide Alloy Steel, M2x0.4mm Thread, 3mm Long
- Stainless Steel Lacquer Hobby and Model Paint
How to Build It
Once you have printed out the STL files and ordered all the clockwork parts it is time to – carefully – stick them together.
Finishing 3D Printed Parts
Before you start with the assembly though, you should sand and polish off the printed parts.
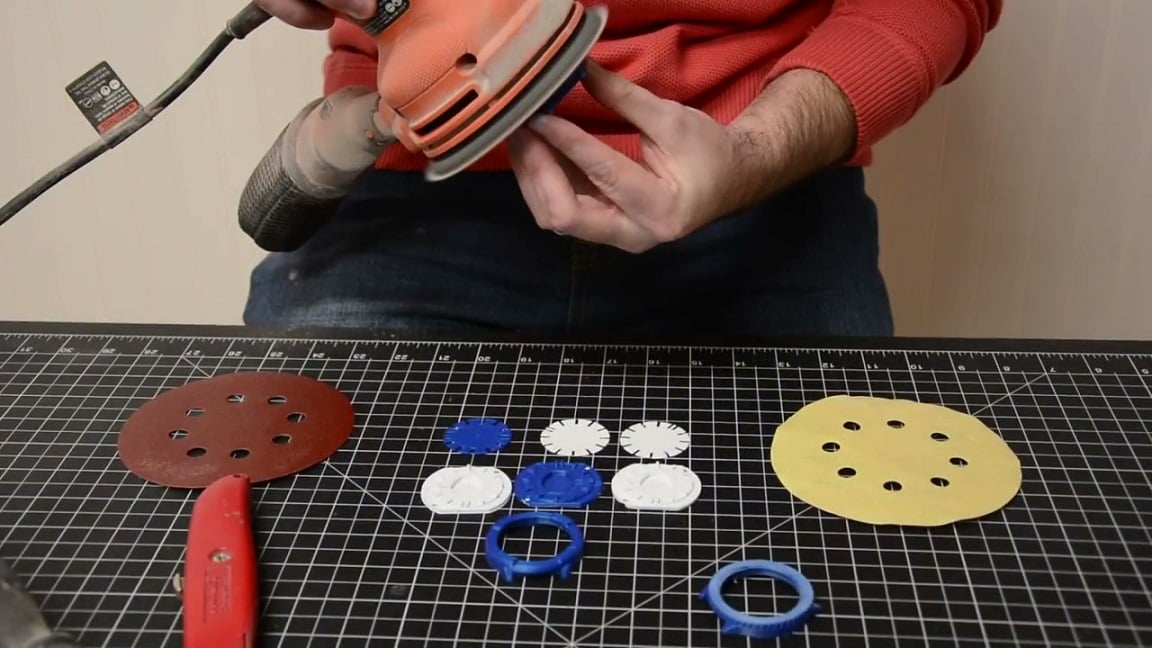
Start by removing support material if you used any. Then sand the printed parts by using 150-400 grit sandpaper until all the parts are smooth. Don’t worry, if you don’t have a sanding machine, you can do it by hand just as well. Our tip, use Bono Putty Repair in case of any surface defects from printing. If used, just let it dry and sand over it again until it is nice and smooth.
If you are not planning on coating your watch, go ahead and skip this step.
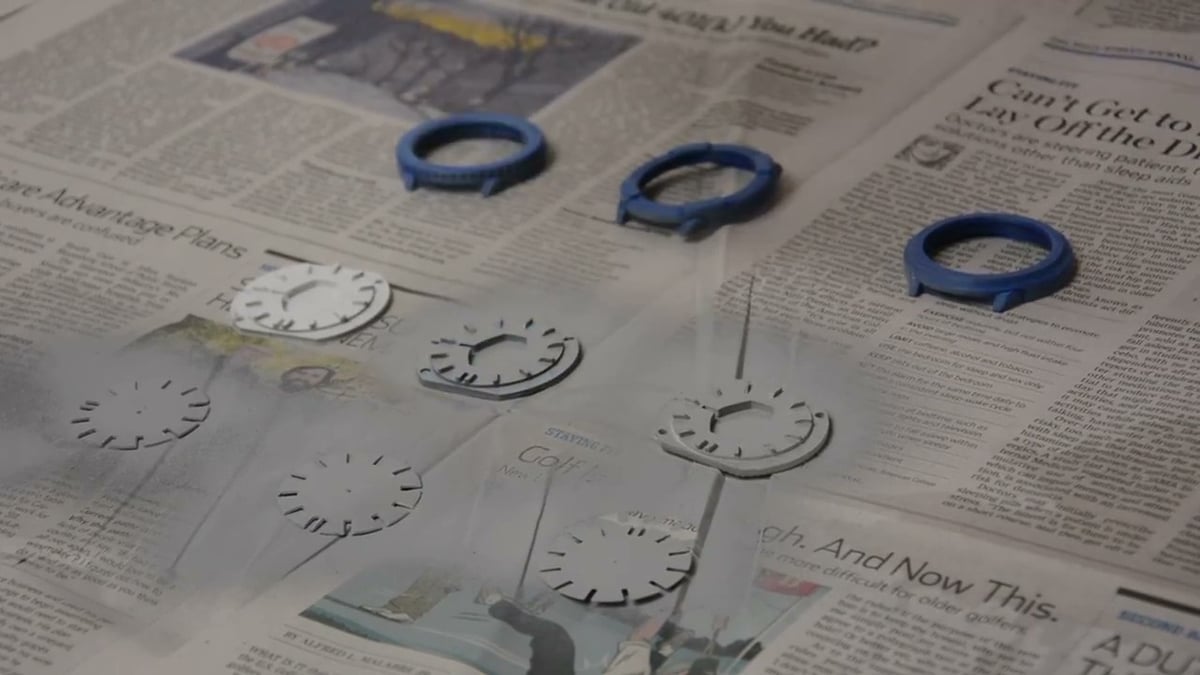
If you are planning to, apply 1-2 coats of primer and afterward lightly sand down dry primed parts with a 600+ grit sandpaper. You can also use a lightly damp cloth to wipe down sanded parts and remove any leftover dust.
Afterward, apply 2-3 coats of paint. You can use standard spray paint or airbrush. Let the paint dry and then seal it up with a clear coating.
Assemble the Watch
Heat up the soldering iron and place the heatset inserts into the back of the outer case holes. Using the soldering iron, press down lightly on the inserts until the sink into the hole and end up flush with the surface.
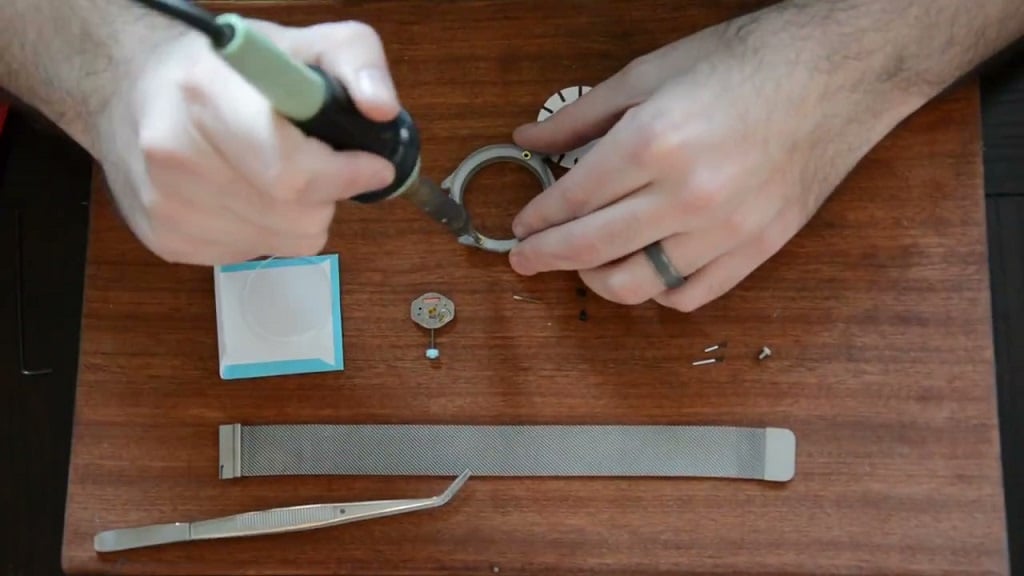
Next, trim off the end of the watch movement with a clipper as we will be adding an extension and finally the crown.
Using a microfiber cloth, pick up the watch glass and place into the outer case being careful not to touch the face with your hands. Push it into the slot until it sits flat. Then, carefully place the watch movement into the watch base.
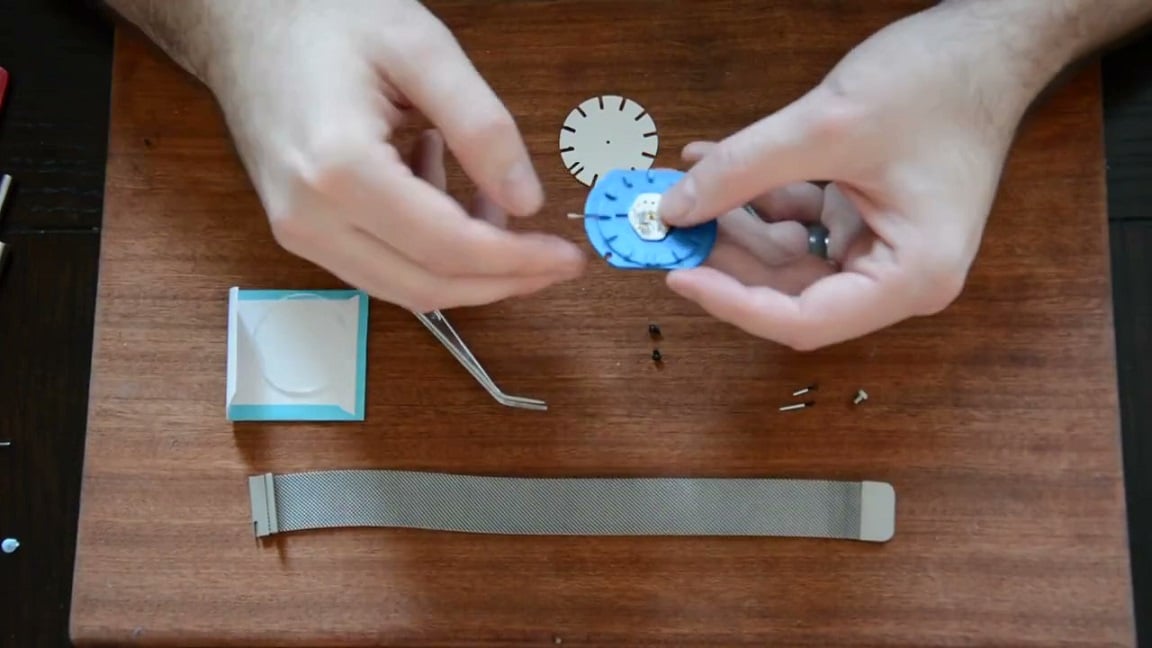
Add the watch face onto the watch base and make sure the movement piece is poking through the face so you can apply the watch hands.
Install the hour hand and then the minute hand onto the movement through the watch face.

Place the outer case over the watch base, but make sure to feed the extension for the crown through the hole before you secure the two pieces together. Carefully put the protective glass into the outer case and once the watch base and outer case are in place, screw the 2 pieces together by using the M2 screws.
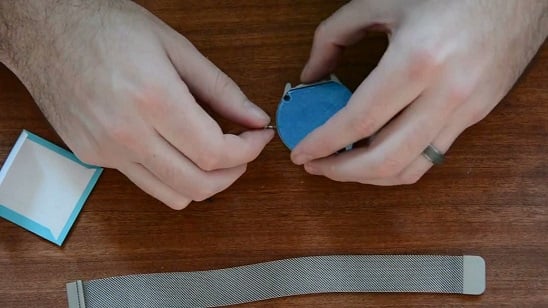
Lastly, attach the wristband, add the crown to the extension, set the time and strap up.
License: The text of " 3D Print Your Own Wristwatch" by All3DP is licensed under a Creative Commons Attribution 4.0 International License.