![Featured image of [Project] Take a Kinetic Ride on this 3D Printed Rainbow Roller Coaster](https://i.stageall3dp.com/workers/images/fit=scale-down,w=1200,h=675,quality=79,gravity=0.5x0.5,format=webp/wp-content/uploads/2018/10/31162039/roller-coaster-e1540999274303.gif)
[Project] Take a Kinetic Ride on this 3D Printed Rainbow Roller Coaster

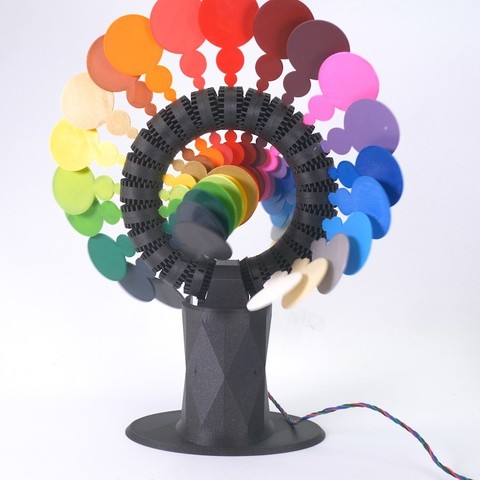
Looking for a way to keep your eyes occupied during the chilly Winter season? This Rainbow Roller Coaster, created by designer Dominik Cisar, is a kinetic sculpture that will send your mind for a spin.
But beware, if you decide to make this Rainbow Roller Coaster, chances are you’ll spend hours staring in awe at the spectacular kinetic motion. Ready to proceed? Let’s take a closer look at this vibrant Weekend Project.
What You Need & How to Build it
If you’re planning to create your own rainbow-inspired kinetic sculpture, be prepared to do a lot of printing. The STL files are available to download for $5 from the 3D model repository Cults. The designer suggests using support structures for the stand and mechanics, but you can add them elsewhere at your own discretion.
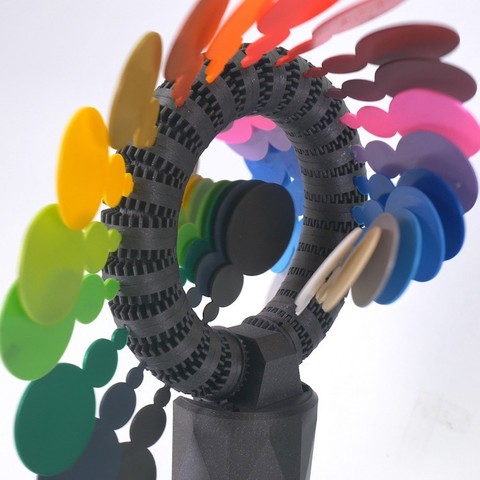
This 3D printed Rainbow Roller Coaster is comprised of numerous 3D printed parts. For instance, both the Blade Gear and Blade models need to be printed 42 times each. Of course, part of what makes this structure look so cool is the vibrant mixture of colors. If you don’t have an array of colorful filaments at your disposal, it might be easier to use paint to achieve the rainbow effect.
The kinetic movement is controlled by a single motor. According to Cisar, he uses a NEMA17 40Ncm stepper motor. He had to trim a bit of the shaft off in order to fit it into the assembly. You’ll also need some super glue to put all of the 3D printed parts together. To get a better idea of how to put this contraption together, check out the assembly diagram below:

As you can see, this 3D printed kinetic sculpture requires a lot of print time and a relatively daunting assembly process. However, once you’ve finished building this project, you’ll be left with a highly entertaining and aesthetically pleasing roller coaster that will capture your attention for hours on end.
If you want to download the files or learn more about this project, head on over to Cults.
License: The text of " Take a Kinetic Ride on this 3D Printed Rainbow Roller Coaster" by All3DP is licensed under a Creative Commons Attribution 4.0 International License.