Light Up Halloween Night with this 3D Printed Skull Lantern

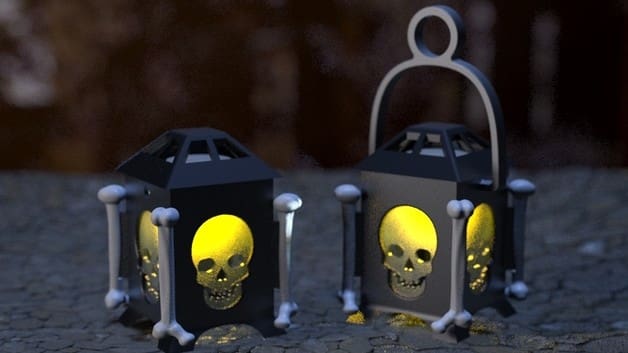
Using a LED tealight candle and a few 3D printed parts, you can create your own 3D printed Skull Lantern to illuminate the upcoming Halloween celebrations. Let's take a look at this seasonally-themed weekend project!
It’s just about that time of the year where the skeletons, ghosts, ghouls, and gravestones start popping up amongst the cobweb-laden lawns of your neighbors. It can be quite the fright wandering around at night amongst these petrifying shadows and decorative monstrosities, so why not carry some spookiness of your own to fight against the fear.
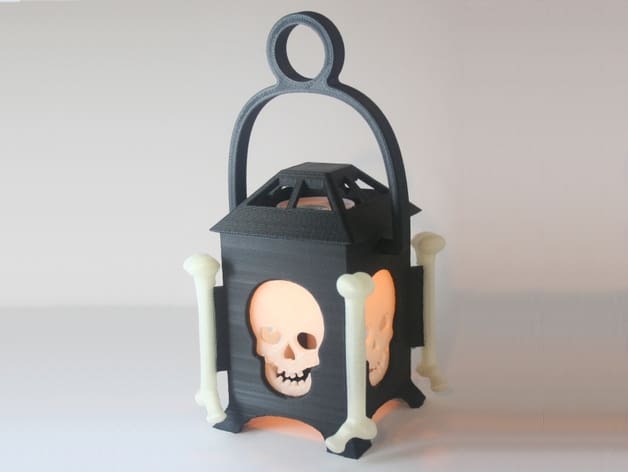
The 3D printed LED Skull Lantern, created by designer Bob Eaten, will make for a great addition to your haunted house or yard. Not only is it well-suited for the upcoming Haloween holiday, but it’s also extremely easy and inexpensive to create. It comes with or without a handle, so you can carry it around or simply set it down.
Recently featured on the 3D model repository Thingiverse, this project has become one of the go-to Halloween-themed 3D printables. All in all, the LED-powered lantern is perfect for those who want to 3D print their own decorations without too much hassle or cost.
Let’s take a more in-depth look at the LED Skull Lantern, including a quick recap of what you need and how to put it all together. And, if you’re looking for more Halloween-themed 3D printing fun, be sure to check out our other Weekend Projects below:
What You Need & How to Build it
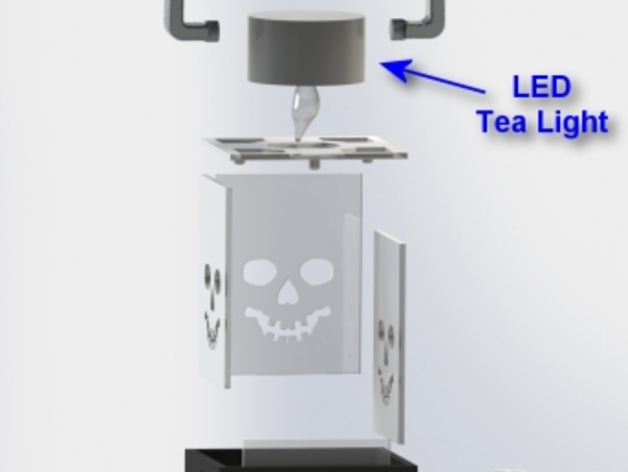
The STL files for the LED Skull Lantern are free to download from Thingiverse. You’ll need to print the “Face Panel” four times, along with each of the “Bone” models twice. The optional “Handle” is also included for those who want to carry their light alongside them.
Aside from the 3D printed components, there isn’t much else to this LED Skull Lantern. All you need now is an LED tealight, which can be purchased in bulk at a relatively low price.
In order to maximize the spookiness of your lantern, you should utilize the proper materials. For instance, the “Face Panels” should be printed in a translucent material like natural PLA, which will allow the light to emit through the skull design. The bones should be printed in a solid white, and attached to the corners of the lantern using glue.
As for the “Face Panels,” they should slide directly into the groves on the inside of lantern. All of the parts can be secured with a bit of glue. Finally, the LED light is inserted upside down into the top of the lantern, as shown in the depiction below.
And that’s about all there is to 3D printing your own LED Skull Lantern. It’s a quick and easy project that looks great, making it perfect for novices and makers in a rush to add some fright to Halloween night.
License: The text of "Light Up Halloween Night with this 3D Printed Skull Lantern" by All3DP is licensed under a Creative Commons Attribution 4.0 International License.