Anycubic Vyper Review: Convenient 3D Printing on a Budget
Rating

Updated: The Anycubic Vyper is a feature-packed printer that turns heads with its $359 price. We revisit our review with a fresh perspective on what was an underwhelming, but now pretty fine 3D printer.
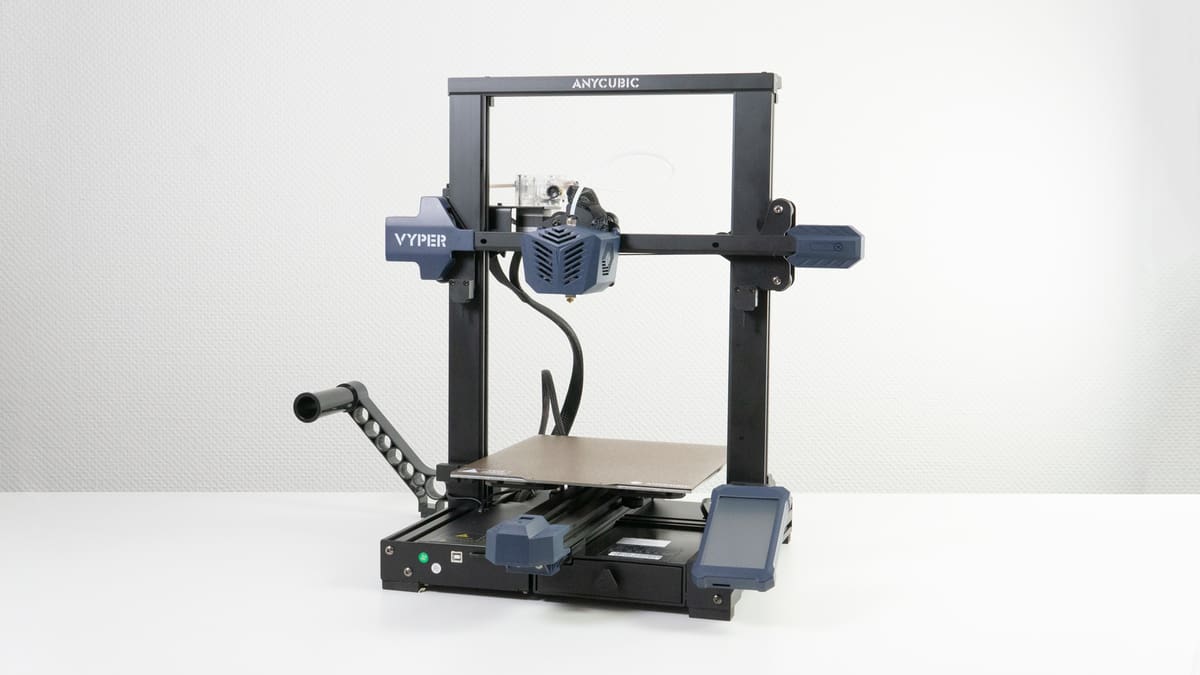
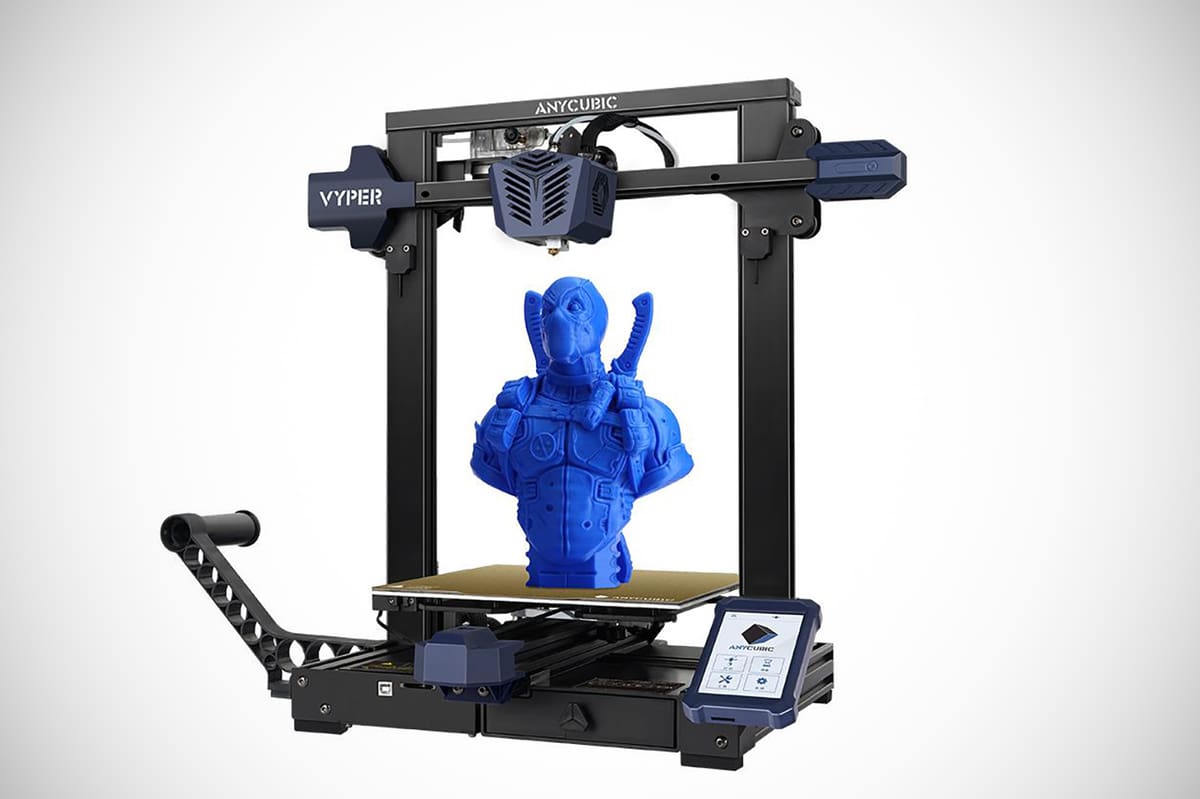
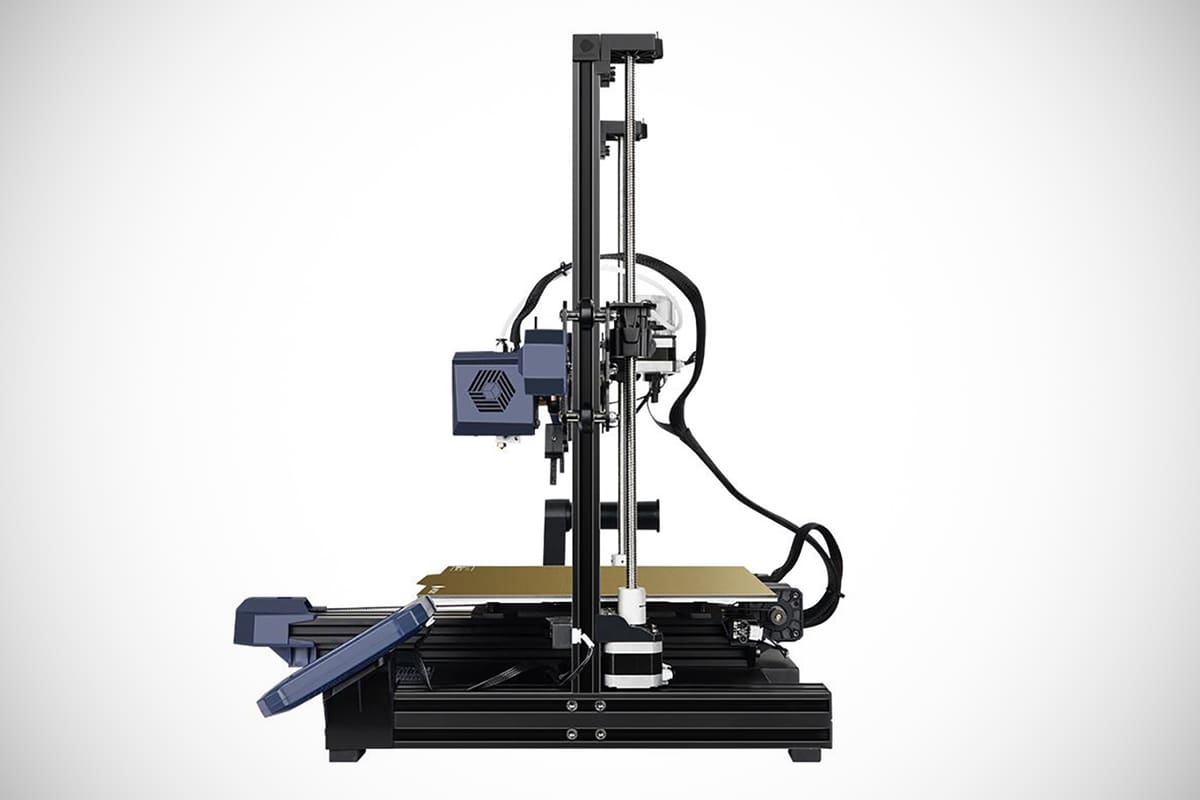
The Anycubic Vyper was, to all intents and purposes, Anycubic’s first real evolution of its FDM printing formula. To this point the company’s machines have been basic, no-frill workhorses that do a respectable job. The Vyper, however, jazzes things up with dual-geared extruder, magnetic PEI-coated spring-steel print bed, dual-stepper driven Z-axis, and myriad minor features to paint a slightly more deluxe picture.
The form, generally, is not far removed from the dizzying number of Ender 3-style printers of recent years though, which begs the question: Is it even worth a look?
Back when we first reviewed the Vyper later in the Fall of 2021, our answer was no, not really. The machine sent to us had underwhelming print quality, manufacturing errors, and was generally a disappointing experience. Given assurances that what we received was off-the-line, and something anyone could’ve bought from Anycubic or any number of online retailers, we published our thoughts. A poor example that slipped through quality control, seemingly. Our experiences of this now popular printer were so unlike many others that it prompted us to return and look again, against our typical stance of letting a review stand and moving on. This is the one we couldn’t quit. And we’re quite glad we didn’t.
The Anycbuic Vyper is not as bad as we once thought, though we still think it’s not the perfect machine many seem to think it is. Read on to find out why.
Editor’s note: Like a Leprechaun riding a unicorn to the end of a rainbow, this is a review redux. A unique, and unlikely to ever be repeated event (unless enough of you think it’s something we should standardize – in which case sure, why not?). We requested a second unit, to reevaluate whether our published experience of the machine we first used is useful and relevant to new readers today. This is not to say we disavow what came before – that text represented a printer exactly as we found it shortly after its release. But things have changed and we thought our review should too.
Verdict
Pros
- Easily removable metal print bed
- Excellent auto-bed leveling
- Strong dual-gear filament feed
- Volcano style hot end with E3D nozzle compatibility
Cons
- Missed opportunity without a wide-bore nozzle for the Volcano hot end
- Coating on bed not durable
- Rough texture on bed swallows first layer detail
The Anycubic Vyper has been a challenging printer for us. As explained above, our first unit left us with a sour impression of the machine. An ambitious swing and a miss. We thought the matter closed, but after persistently butting up against others and their positive feelings for the Vyper, we felt it necessary to get another unit and merge those experiences.
So, what do we think now? Well, the Anycubic Vyper is a lot better than we initially gave it credit. The auto-bed leveling system (now known as LeviQ) is still fantastic –we ran weeks of intermittent printing with zero first-layer anxieties. The print performance and quality are generally great, although we found that any print-in-place parts with tight tolerances are a non-starter with Vyper – not without trial and error to nudge settings in the right direction.
The rough-textured PEI print bed offers convenient print handling, but we maintain that it obliviates any fine detail you might be trying to achieve with your first layers. It should be noted as well that the Vyper is set up for speed. It’s not going to outpace a CoreXY machine or a delta, but compared to its recently released compatriot, the Anycubic Kobra, it is a little quicker by default.
Overall, it’s a likable 3D printer. And one of the two Vyper machines we’ve used has been a slick and frustration-free experience. We don’t want to scrub our experiences with the first unit completely, since it also was a consumer-ready unit fresh off the production line. Someone could have bought one and had a torrid time with it, and who knows how many more slipped past quality control in that state. Perhaps its release was a little premature and early issues were ironed out shortly after our first loaner arrived.

The Tech
The Anycubic Vyper is an attractive printer. We get Transformer in a dinner jacket vibes from it – it wants to be taken seriously with a cool blue color scheme, but with angular slabs of plastic and an edgy name, it ends up coming across a little goofy. There’s no denying that it’s more interesting than your typical Ender 3 derivative, though.
Headliners
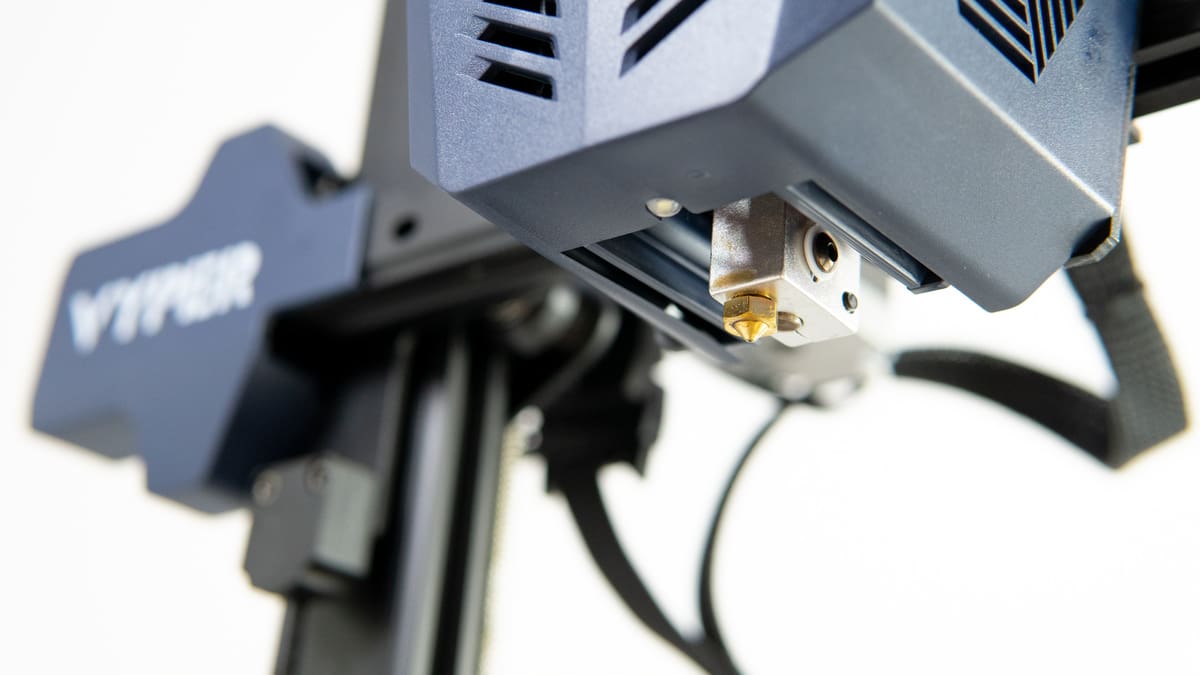
There are a number of noteworthy features that help the Vyper stand apart. For the $359 asking price, you get a dual-gear extruder, a longer melt zone with tall nozzles (reminiscent of E3D’s Volcano hot end – the Vyper is compatible with E3D nozzles), a hefty magnetic steel print bed sheet with a rough textured print surface, plus a 32-bit Anycubic mainboard with TCM2209 stepper motor drivers. Not to mention fully automatic mesh bed leveling.
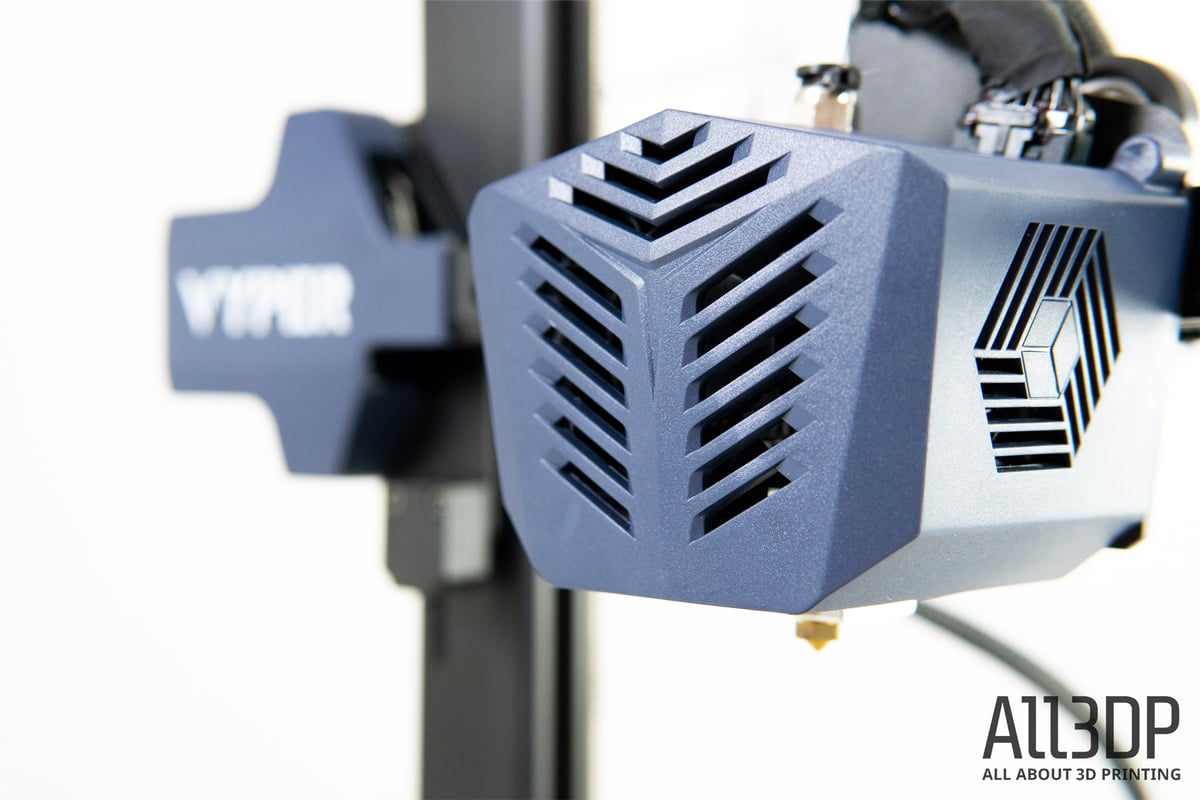
What does, or should, all of this mean? Powerful filament movement running through a hot end that can handle a higher volumetric flow of filament, plus convenience in an easy-to-handle print bed and reliable first layers. And quiet, to boot. That’s the promise of the Anycubic Vyper.
The Essentials
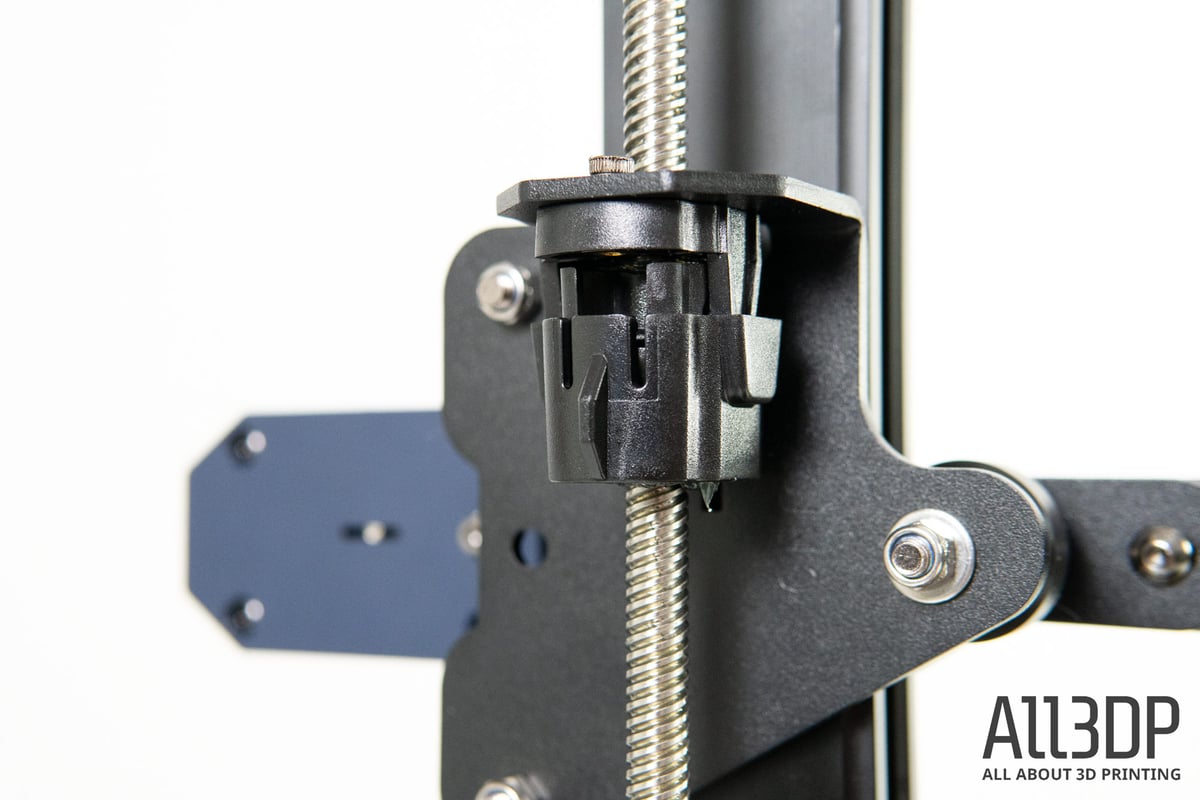
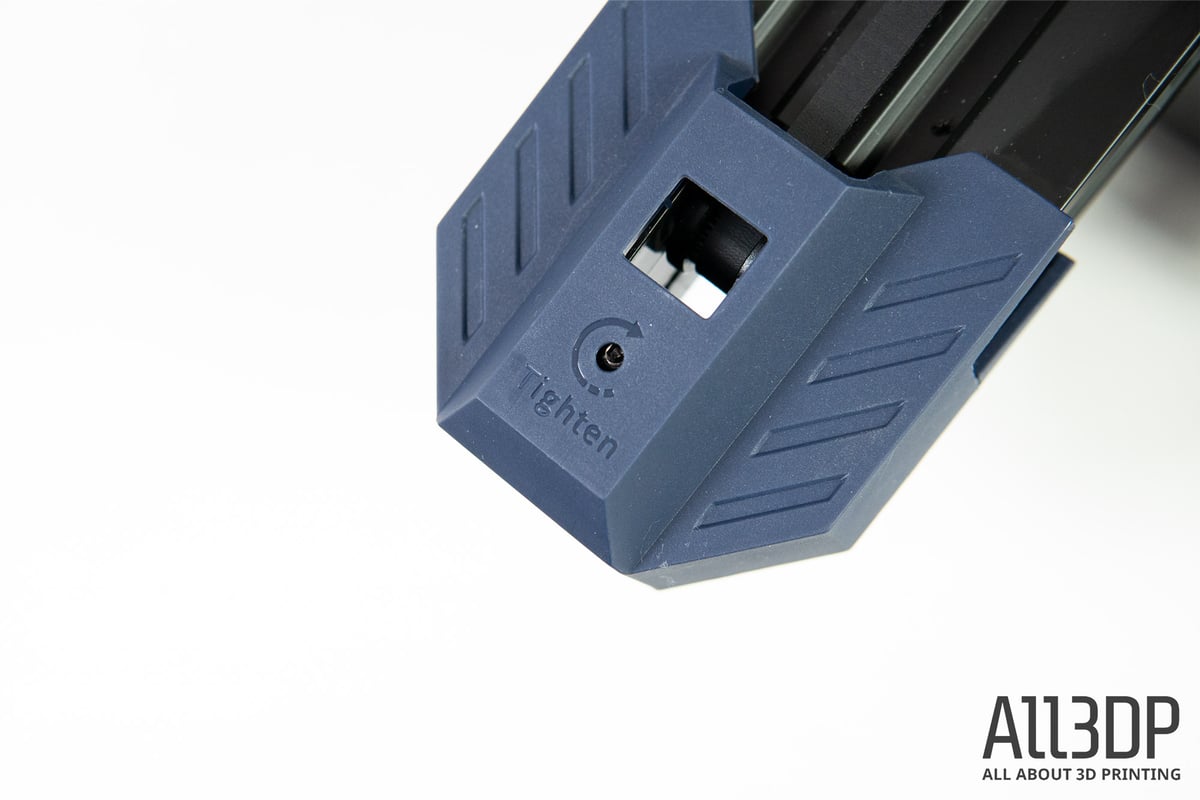
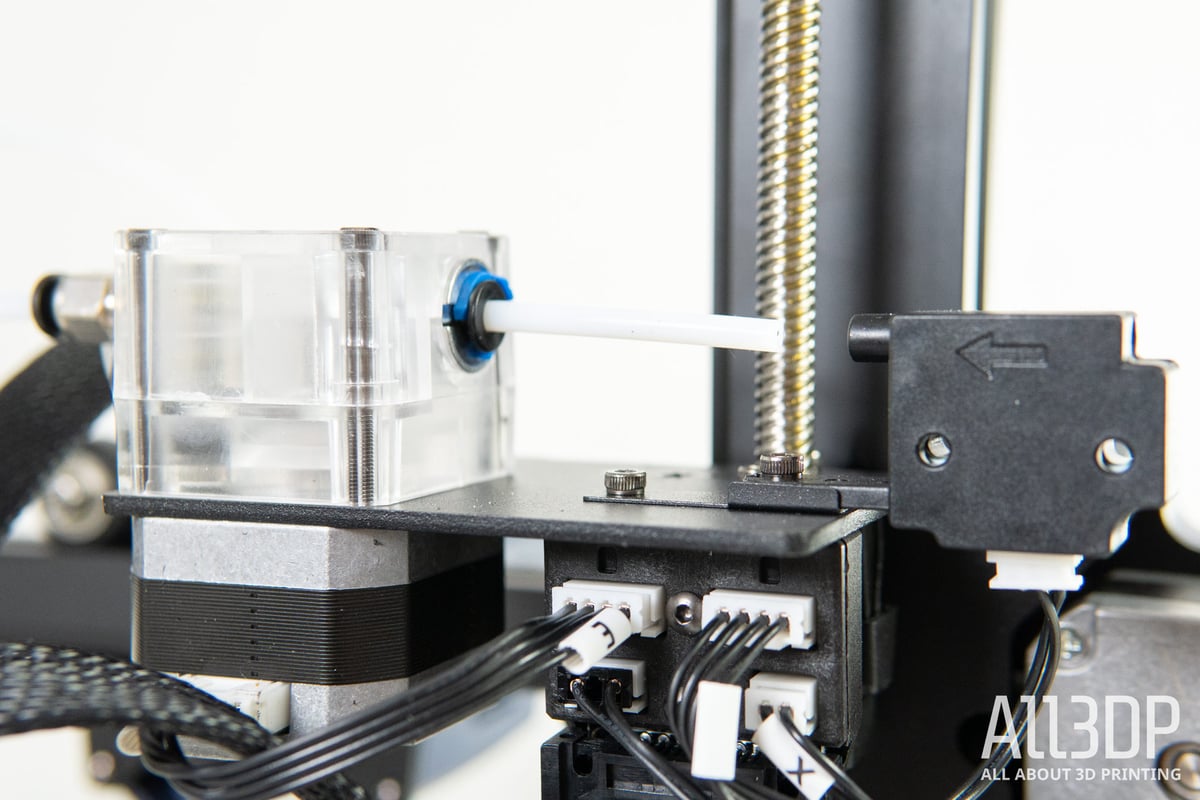
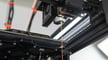
The Anycubic Vyper is your typical bed-slinging Ender 3-style 3D printer. All axes of movement run along V-slot aluminum extrusions (stylishly closed off on the X/Z gantry, which adds to the printer’s looks.) Z-axis movement is driven by a dual stepper setup, not synchronized by a belt as seen on printers such as the Artillery Genius, but with dual optical end-stops that synchronize the ends of the X-axis gantry on print head homing.
Curiously, there is a custom plastic assembly instead of the typical brass leadscrew nut on such printers. It’s not at all explained by Anycubic in any of its documentation for the printer–we can only assume it’s some form of custom anti-backlash system, compensating for any give in the printer’s moves in the Z-axis.
The Vyper’s hot end can reach 260 ℃ – typical of PTFE-lined hot ends. You can comfortably print commonly available filaments including PETG. You won’t be printing hotter engineering materials (or composites, for that matter – the Vyper comes with a plain brass nozzle.) The heated bed can hit 110 ℃, plenty hot enough to manage warp-happy materials such as PETG and ABS.
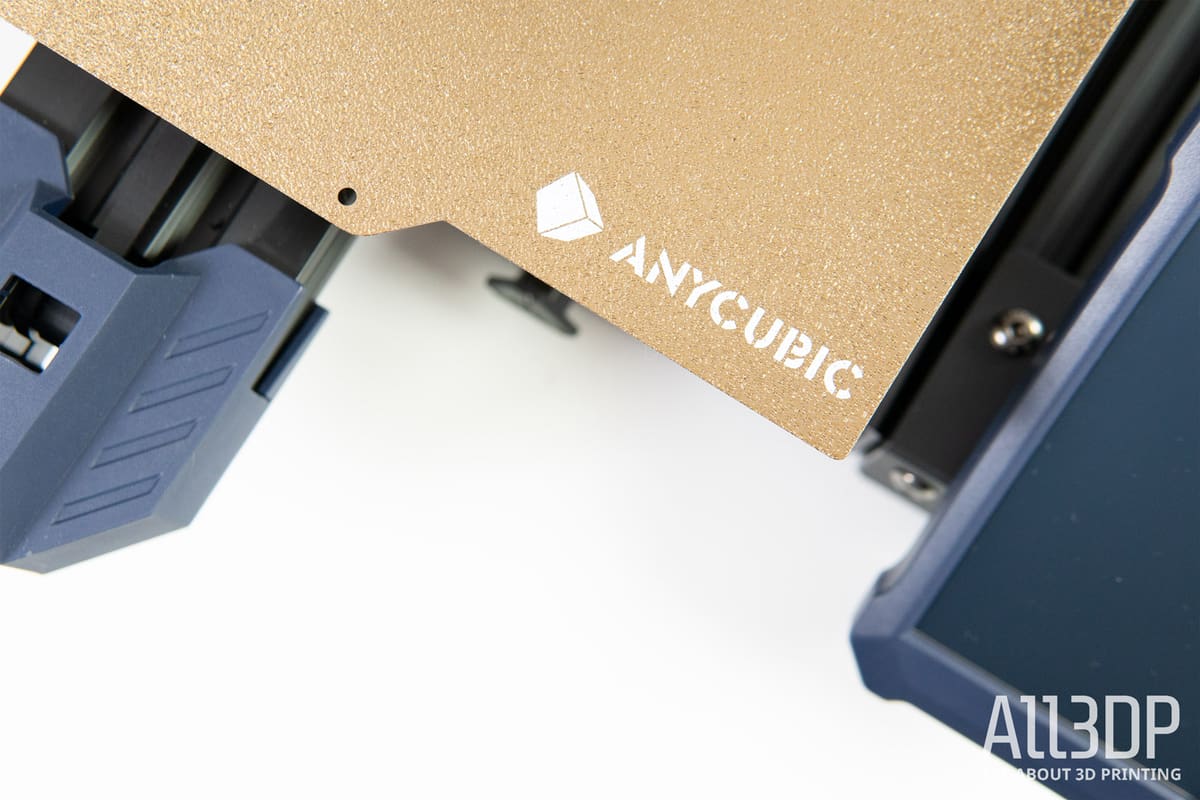
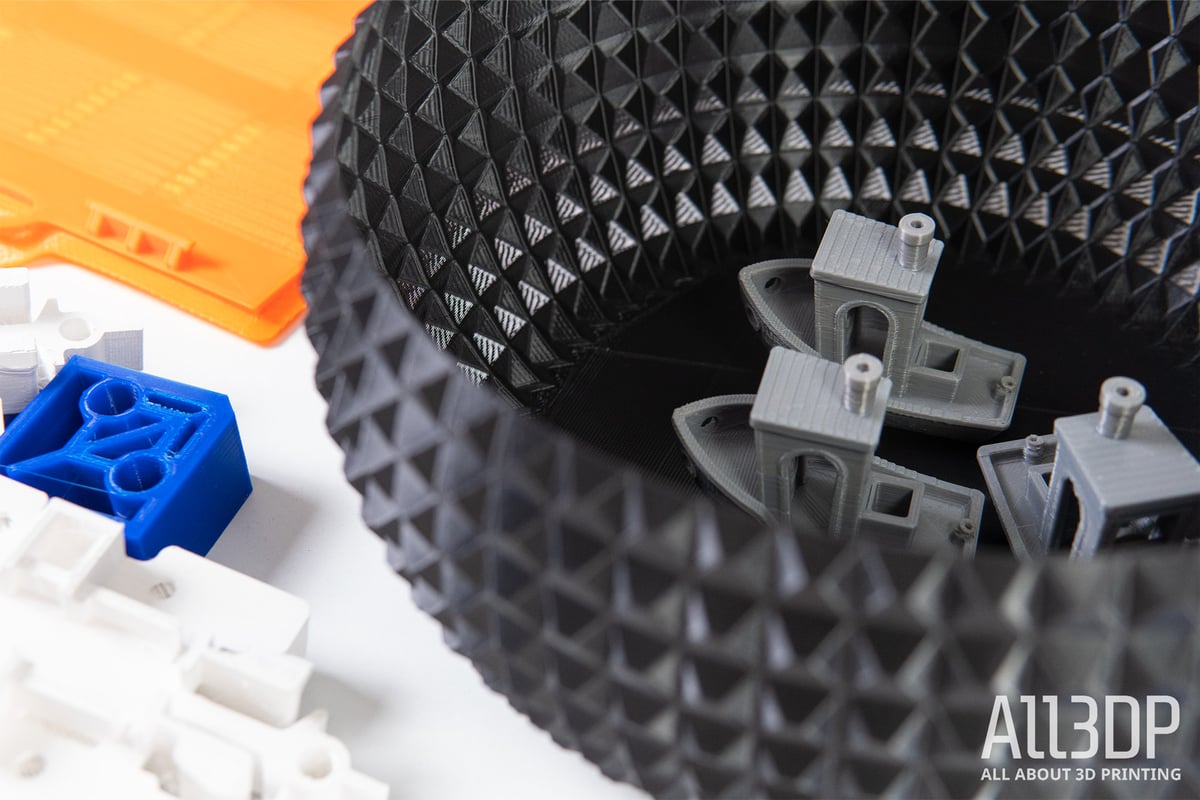
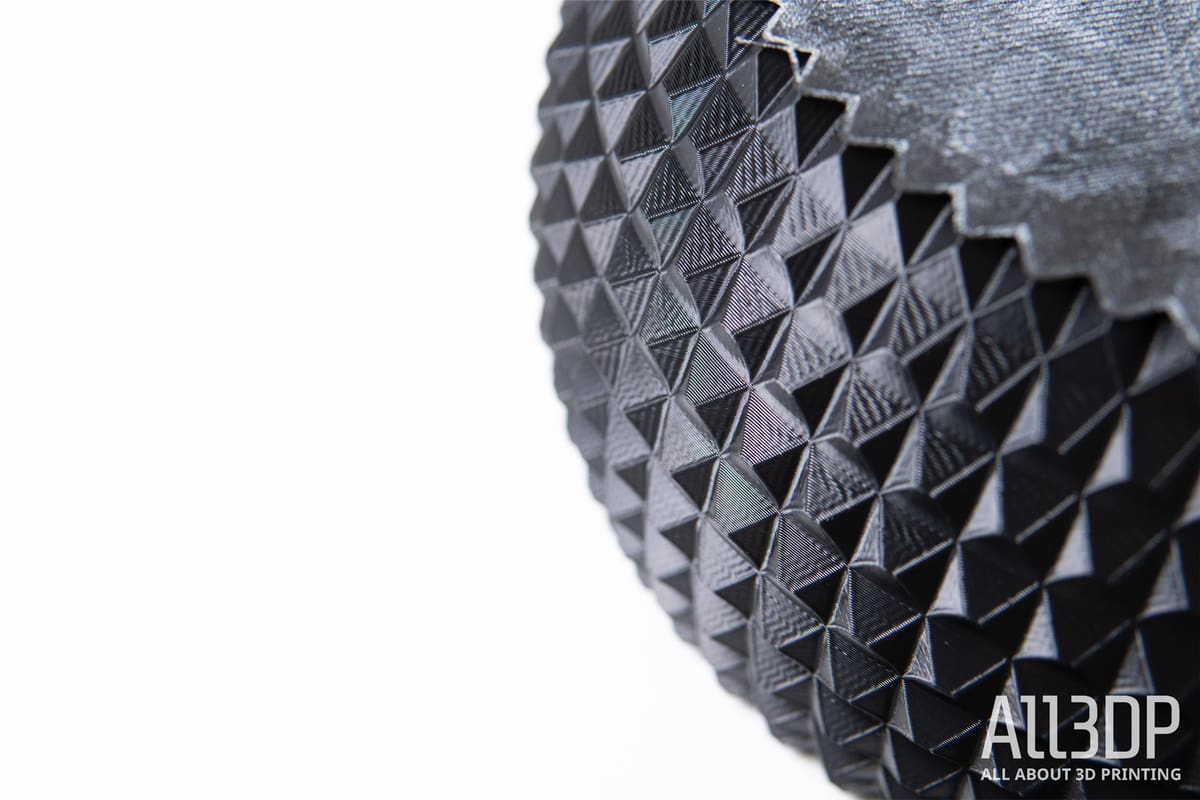
One of the visceral standouts on the Vyper is its magnetic steel sheet print bed. Underpinning the printer’s 245 x 245 x 260 mm build volume, it’s a thick slab of bendy metal that feels robust in the hand and features a smooth, yet coarse “special” coating. This coating provides plenty of nooks and crannies for the extruded filament to seep into and secure a decent hold when printing.
Or, so the theory goes. It works, but not extraordinarily more so than a clean sheet of glass. Perhaps its benefit shines most with PETG, which sticks to it as if PLA. But it’s a marginal gain – especially so when the coarseness of the “special” texture obliviates any detail or precision you might be aiming for with your first layer. It would be nice to choose such an effect for prints where it makes sense (a la Prusa, where the rough sheet is an optional extra), but to force it on every print as your default print bed seems a poor decision.
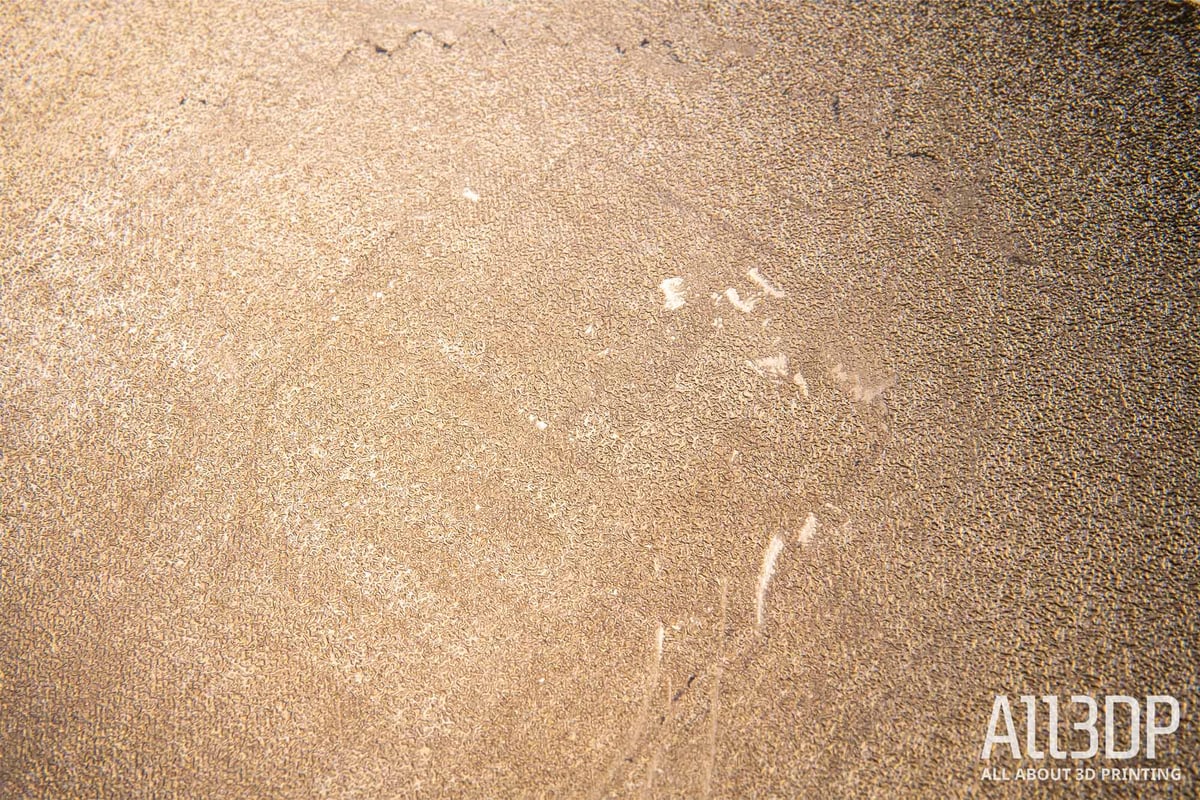
If you’re unfortunate enough to have a print stick a little too well and need to resort to a scraper to remove it, the textured surface can scratch away. Just two stubbornly stuck prints during our time with our first Vyper unit printing resulted in small chips of the PEI coating flaking away, which makes us question the bed’s durability for anyone printing long-term with stickier filaments.
Setting Up
Setup of the Anycubic Vyper is pleasantly quick and simple; a matter of a few bolts between base and gantry, plus connections between the various electronic components. All labeled appropriately, all logically placed. The pamphlet provided gives clear instruction, though it may be a little too brief for complete newcomers.
Firing the printer up, you’re greeted by Anycubic’s cheery startup tune, the opening beat before its dazzling white UI flashes to life. This display, sitting offset to the right of the printer, is snappy, responsive, and one of the machine’s highlights.
Filament sits on a desk-supported spool holder, which fixes to the side of the printer. This extends the footprint of the Vyper some – not the most space-saving of layouts, but one that feeds the extruder well. Speaking of which, you have a filament sensor inline before the dual-geared extruder. Short lengths of PTFE tubing guide the filament; the filament path here on the Vyper is well constrained and a lot smoother than many printers we’ve tested in recent years.
Anycubic provides a copy of Ultimaker Cura for slicing for the Vyper, with custom material profiles for PLA, ABS, and TPU filaments. It would have been nice to see one for PETG, a material finding greater use as an everyday alternative to PLA. Despite being optimized print settings for the Vyper, we see room for improvement. The print head tends to pause a beat at the beginning and end of layers, which can result in untidy layer transitions.
Oddly, you aren’t provided with a custom printer profile for the Vyper, with the manual provided showing you how to customize Cura’s inbuilt profile for the i3 Mega, an older printer of Anycubic’s. This is a lame-duck solution in our opinion and leads to prints with excruciatingly slow start G-code. It also doesn’t take advantage of the auto-bed leveling feature, which remains something you trigger manually – running it as part of the printer’s warm-up routine for a print would be nice to see, especially since the bed is one you’re encouraged to flex and bend to remove prints.
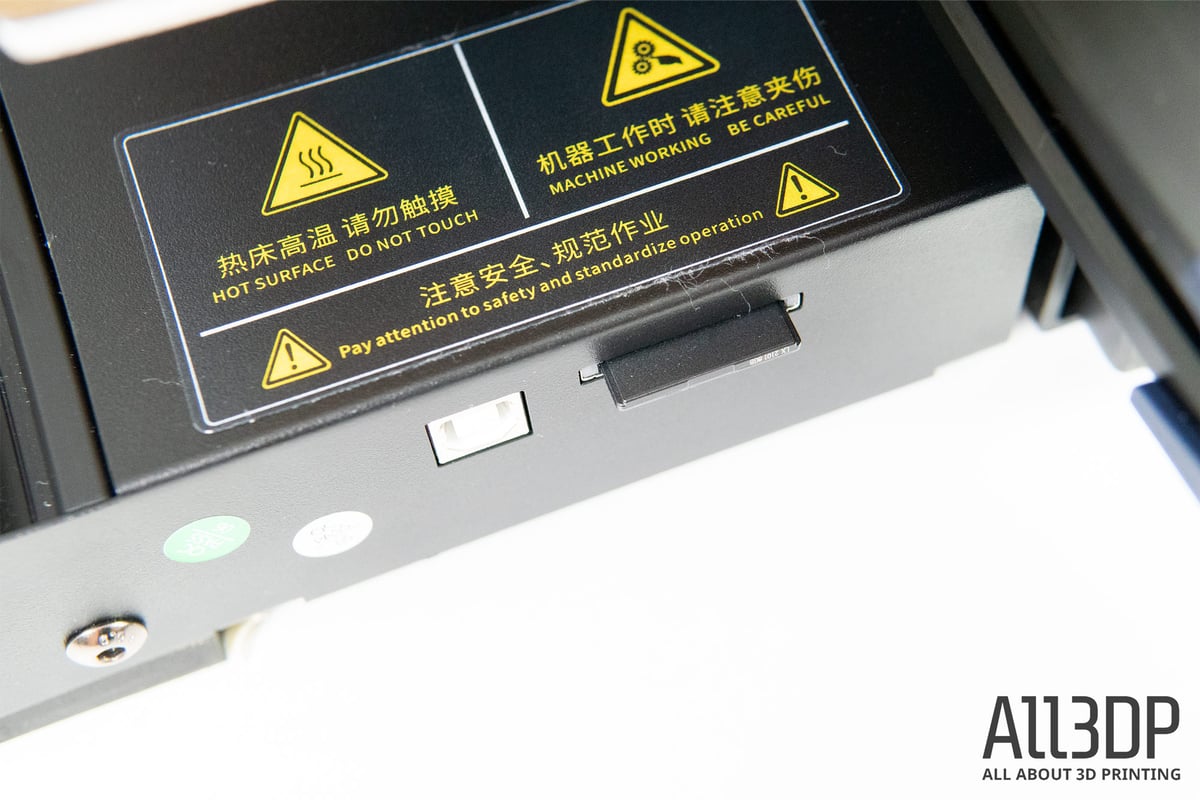
You’re provided with a full-size SD card for offline printing, which is easy to handle and much more comfortable to use than microSD cards. If you wanted to, you could connect a USB for tethered printing (generally not recommended while printing), or control the machine via OctoPrint or similar.
First Layers
Once the printer begins laying down the first layer, things look good. The auto-bed leveling routine, which you activate manually from the main menu, does an excellent job mapping the print bed and allows the Vyper to lay down an even first layer. You set the Z-offset during printing, or separately via the printer’s menu, letting you dial in in the absence of any bed-leveling knobs beneath the bed (hope the auto-bed leveling never fails – you’ve no way to level the bed without it).
TMC2209 stepper motor drivers (soldered to the mainboard) keep the printer’s movements quiet. Sitting across the room from the Vyper in action, you know it’s there – the movement is near imperceptible. However, as is typical of all printers of this class, the silence is drowned out by loud cooling fans on both the print head and mainboard enclosure.
Other Stuff
The Anycubic Vyper usefully features a tool drawer in the void of space in its base. Our first test unit featured a comical manufacturing defect (magnets mounted backward and hot-glued in place) that meant it could not close, ejecting the drawer out of the printer whenever you tried to close it. Having used two units now, we’re pleased to say this is definitely not a feature and just a defect on our first loaner. For such an obvious issue, it was surprising to see that slip past quality control.
Printing & Usability
Anycubic has thrown a lot of features designed to make 3D printing effortless and convenient at the Vyper, and the for most part they stick the landing. The Vyper is just that; effortless and convenient.
On startup you only need to level the printer from the option in the menus. The printer will tap out across its print bed to log variances in height for compensation in the first layer. Across several weeks’ printing, we had no issues with print adhesion
Interacting with the printer using the large, portrait-oriented touchscreen is a breeze. Responsive, legible, and largely intuitive (knowing whether a function lies within the “Prepare” or “Tools” menu may take some trial and error before it’s committed to muscle memory).
We also notice a funny example of skeuomorphism in some of the icons Anycubic uses on the Vyper – the “pause”, “stop”, and “settings” buttons mid-print all using a traditional paper “2D” printer as its representation of the printing. It’s quirky.
But then when it comes to the actual printing, it’s been responsive, and some of the convenience factors Anycubic has thrown in with the printer, including the bed, large touchscreen, and forgiving extruder, do actually make printing with it a breeze.
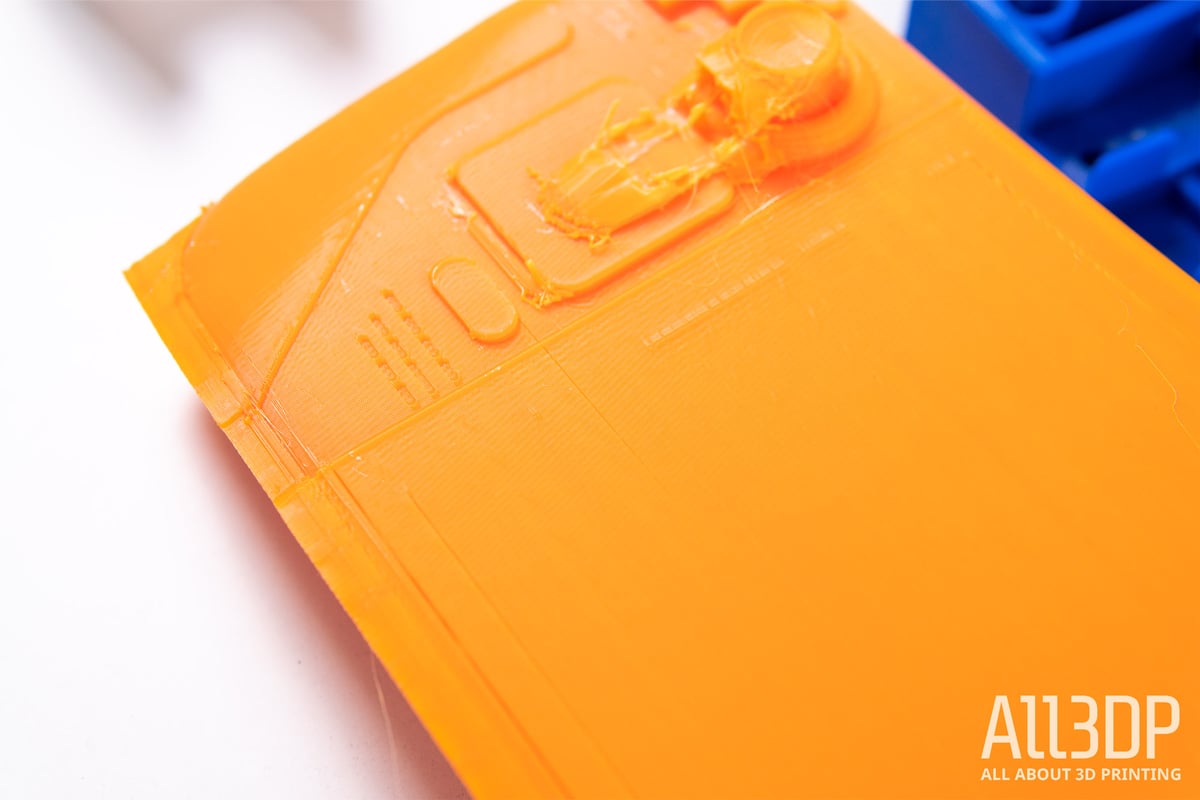
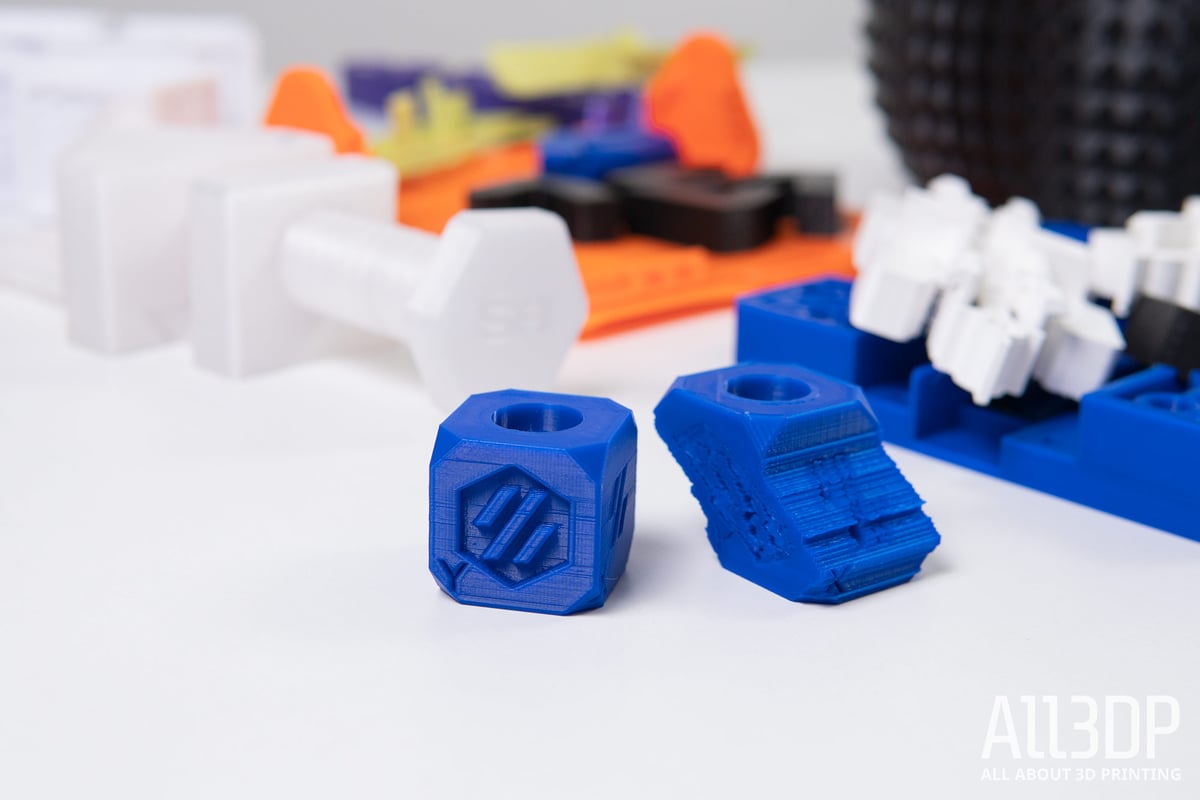
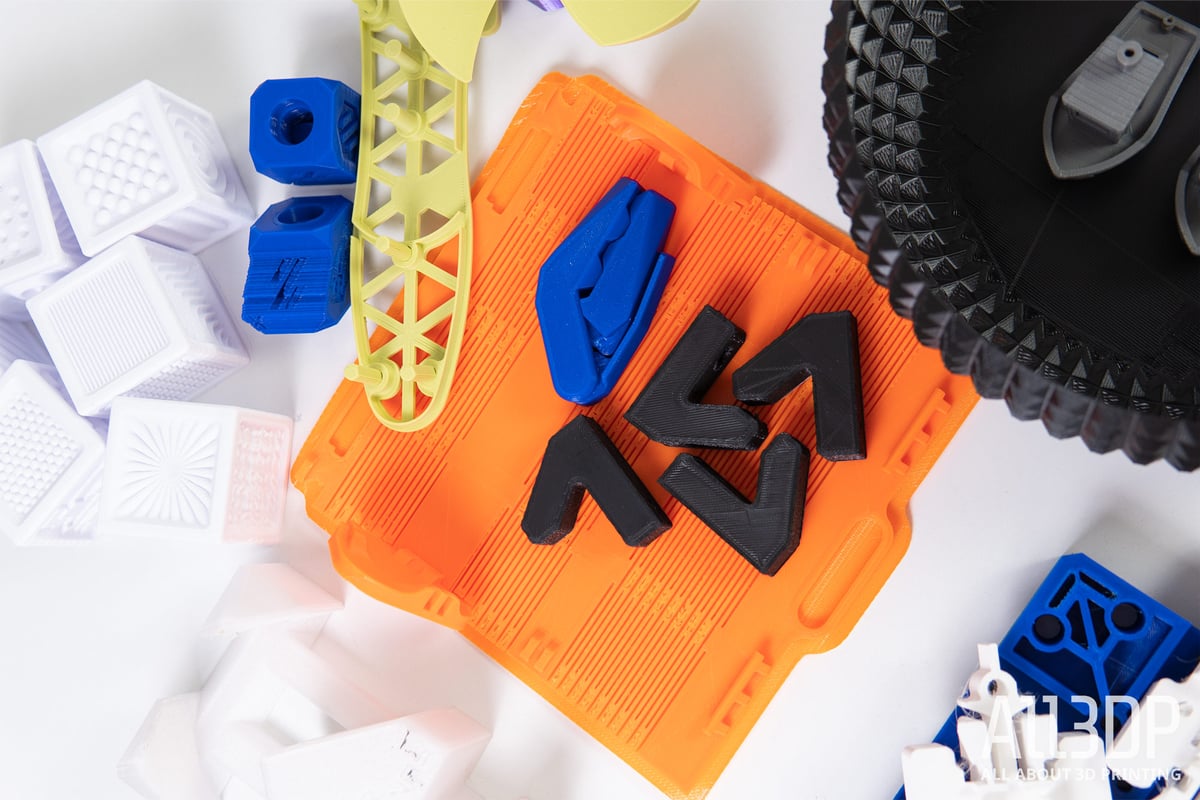
After reviewing our first Vyper unit our recommendation was to ditch Anycubic’s default slicing suggestion of Cura and an adapted i3 Mega printer profile. Our print results were not good. The second unit has been better, with a current version of Cura in combination with the adapted printer settings performing adequately. As stated above though, the coarse pits and nooks and crannies of the print bed seem to swallow some detail. The finish is nice, but it can mess with first layers that have tight areas that need precision.

We found the path for filament frustration-free, too. If you prefer to feed and retract filament manually, the Vyper accommodates this. The extruder release is easily accessible and there are no hidden snags for the filament to get caught on. It’s worth mentioning that the extruder is dual-geared with reduction gearing that ekes out stronger performance from the extruder’s stepper motor.
The path for filament downstream from the dual gear’s pinch point is tight enough for soft flexible filaments. That is to say, the Vyper is a good example of a Bowden-extruder-style machine that handles flexible filaments well.
Is It Worth It?
We drew heavy comparisons to the CR-6 SE when the Vyper first appeared in earnest, and on paper, the Vyper has more about it that you might want in a printer. Our first experience with the Vyper caused us to say it failed to deliver better value for that Creality’s, but having spread our hands-on time across two units now – the latter performing very well – we feel inclined to say that actually, yes, the Vyper is a rock-solid proposition at its $359 asking price; undercutting that Creality machine by some $50.
The auto-bed leveling is terrific, and the confidence in putting down the first layers is high. Having experienced the Vyper as it should be, many of our initial concerns are gone. Prints are, optically, good, although we’ve found effort is needed in print preparation and slicer settings to improve print-in-place models with tight tolerances. Adjusting the default print speed might be necessary for crisper-looking prints.
The value proposition of the Vyper is strong, and it’s certainly an easy-to-use and highly capable machine with welcome comfort features. Its versatility might be its strongest suit, because the print quality, while acceptable, lags behind some less expensive competition.
And speaking of said competition, Anycubic itself released the $299 Anycubic Kobra not so long ago, which you could consider a cheaper version of the Vyper. Kind of. It’s got a smaller build volume, only a single Z-axis stepper, plus a direct extruder that’s a tad basic compared to the Vyper’s dual-geared feed. These things obviously mark it out as the “cheaper” machine, but as a sum of its parts, we think the Kobra is pretty excellent value for money.
Features
Compact Size
While certain design choices may have been, let’s say, inspirational (more on it below), it is the build volume where Anycubic decided to one-up the competition.
With a 245 x 245 x 260 mm print volume, it is considerably larger than the Ender 3 V2 and even the CR-6 SE. With it, the printer sets itself up as something of a medium-to-large-sized 3D printer. Should you feel your creative needs are restrained in smaller printers but you don’t really need a large printer, the Vyper ticks that particular box.
Auto leveling
Automatic bed-leveling? Yes, please. The Anycubic Vyper comes with an intelligent 16-point leveling system that automatically programs compensation for an uneven print bed. Probing the bed with the nozzle, a strain gauge detects the resistance and registers the point of contact.
Additionally, the Vyper also features double Z-axis lead screws with photoelectric limit switches for a more synchronous movement and stable operation of the Z-axis. Plus, the switches automatically compensate for any differences when zeroing in on the hotbed.
Spring steel magnetic bed
Interestingly, for the Vyper, Anycubic turns away from its textured glass Ultrabase print bed, and instead uses a removable magnetic spring steel sheet.
The coated platform is said to be non-deforming even at high temperatures and provides adhesion to your prints without the need for glue. To get prints off, simply take out the plate, bend it, and the prints should pop right off. Though of course, if your prints fuse and you have to whip out a scraper, the surface may be in trouble.
Large touchscreen
Even a couple of years ago, when most budget manufacturers were still holding on to the scroll wheel, Anycubic printers were already rocking touchscreens (think Anycubic Mega S), though admittedly much smaller ones.
Now, in an age where we touchscreen all of the things, Anycubic has slapped a large 4.3-inch color touch panel onto the Vyper alongside a completely new UI, promising smooth and simple operation. We can’t help but get some Creality vibes from it. In any case, for all these new gadgets, the printer needs quite a bit of brainpower…
Powerful Core
That’s where its 32-bit motherboard and an ARM Cortex-M3 chip come in. The Vyper is set for fast computing speeds and smooth operations with these, and with the integration of TMC2209 silent stepper drivers, it does so rather quietly, though its cooling fans are loud anyway.
Dual this, dual that, and more Features
Additional features of the Vyper include:
- Dual print head fans – the two print head fans should ensure rapid heat dissipation and fast cooling of printed layers. In theory, this allows the Vyper to print faster without the risk of print artifacts.
- Dual gear extrusion – the dual-geared Bowden extruder should provide proper feeding of filaments even if you go for flexible materials such as TPU and other squishy ones.
- Filament runout and auto-resume – no printer should come without it! The Vyper will auto-pause when it runs out of filament, and you can resume a print after a power outage or shutdown. This not only saves time but also materials waste.
- Integrated toolbox – Store away your Allen keys, clippers, and everything in between in the built-in storage drawer. A feature we very much liked on the Ender 3 V2 and CR-6 SE. Sadly, our draw wouldn’t stay shut, a point of much frustration.
Tech Specs
General Specifications
- Technology: Fused deposition modeling (FDM)
- Year: 2021
- Assembly: Partially assembled
- Mechanical arrangement: Cartesian-XZ-head
- Manufacturer: Anycubic
3D Printer Properties
- Build volume: 245 x 245 x 260 mm
- Feeder system: Bowden
- Print head: Single nozzle
- Nozzle size: 0.4 mm
- Max. hot end temperature: 260 ℃
- Max. heated bed temperature: 110 ℃
- Print bed material: Steel
- Frame: Aluminum
- Bed leveling: Automatic
- Connectivity: microSD card, USB cable
- Print recovery: Yes
- Filament sensor: Yes
- Camera: No
Materials
- Filament diameter: 1.75 mm
- Third-party filament: Yes
- Filament materials: Consumer materials (PLA, ABS, PETG, Flexibles)
Software
- Recommended slicer: Cura, Simplify3D, Repetier-Host
- Operating system: Windows, Mac OSX, Linux
- File types: STL, OBJ, AMF
Dimensions and Weight
- Frame dimensions: 508 x 457 x 516 mm
- Weight: 10 kg
Similar Printers
You may also be interested in the following printers:
Creality CR-6 SE
No real surprise here; the CR-6 SE is the Vyper’s brother from another mother, only slightly smaller in build volume. It also comes with auto bed leveling but uses tempered glass instead of the magnetic removable bed. Virtually the same machine, but performs much better.

Creality Ender 3 Max
Creality’s supersizing of the plain Ender 3 to a 300 x 300 x 340 mm build volume prints great out of the box, though some may feel it to be a little dated compared to the flashy touchscreen and auto-leveling on the Vyper.

Anycubic Mega X
The Mega X offers a 300 x 300 x 305 mm print volume and a fast heating Ultrabase print bed. It’s Anycubic’s workhorse of old that still performs dutifully.


License: The text of "Anycubic Vyper Review: Convenient 3D Printing on a Budget" by All3DP is licensed under a Creative Commons Attribution 4.0 International License.
CERTAIN CONTENT THAT APPEARS ON THIS SITE COMES FROM AMAZON. THIS CONTENT IS PROVIDED ‘AS IS’ AND IS SUBJECT TO CHANGE OR REMOVAL AT ANY TIME.