
Creality Ender 5 Pro Review: Best 3D Printer Under $500
Rating

The Creality Ender 5 Pro is our pick for the "Best 3D Printer Under $500". Check out our review to find out more.
Ever since the Chinese manufacturer Creality struck gold with its Creality Ender 3 3D printer in 2018, new iterations of the “Ender” product line are seemingly never-ending. One iteration of this popular budget printer was the Creality Ender 5, which features a large box-shaped aluminum metal frame and an expanded build volume.
Just as Creality brought a Pro version of the Ender 3 to the desktop 3D printer market shortly after recognizing its initial success, the manufacturer has decided to revisit this strategy once again with the Creality Ender 5 Pro. So, how does this new and improved version compare to the original Ender 5?
Read on for our review of this impressive machine.
Verdict
Pros
- Reliable
- Solid print quality
- Affordable
- Super quiet printing
- Capricorn Bowden tube is a game-changer
- Power and micro USB slot are at front of machine
Cons
- Magnetic bed is flimsy
- Wires drag on build plate
- Bed leveling is tricky
- No filament runout sensor
The Pro works extremely quietly, boasts premium Capricorn Bowden tubing and is affordable, not to mention it prints reliably. It’s got some quirks to it, but for its price and ability, these can be easily overlooked. If you already own an Ender 5, you’re probably better off upgrading your existing machine, rather than buying a Pro. However, if you’re debating between this machine and an Ender 5 and don’t mind spending a little extra cash for some upgraded features, we recommend going for the Pro.

Features
Boasting a cubic frame and a 220 x 220 x 300mm build volume, the Creality Ender 5 Pro has a similar look and specs to its predecessor. The 260°C nozzle temperature makes it compatible with a wide array of filaments, and as for print quality, the Ender 5 Pro can produce objects with a 100-micron print resolution.
Like the Creality Ender 5 before it, the Pro model is a relatively easy-to-build DIY kit with pre-assembled axes, just attach the Z-axis to the base and wire up the printer and you’re nearly ready to print. All in all, the assembly for the Ender 5 Pro should take under an hour from start to finish.
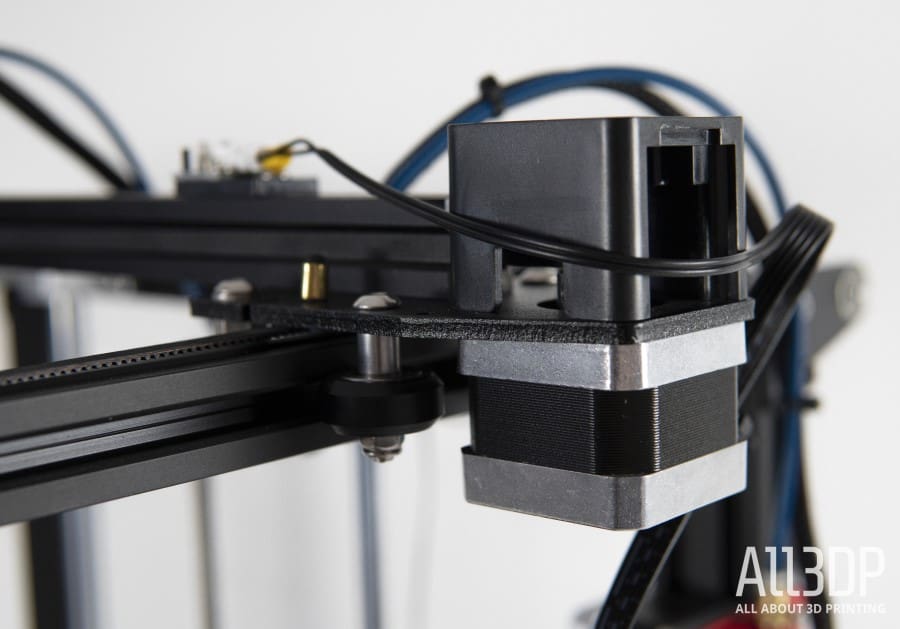
Like the original Ender 5, the X and Y-axis measurements of the Ender 5 Pro are the same as the Ender 3, but with more print area on the Z-axis. One unique aspect of the Ender 5 Pro build is the Y-axis motor, which simultaneously directs both sides of the gantry to create a smoother overall movement. This so-called “double Y-axis control system” is integrated to reduce any potential vibrations that could cause flaws in your 3D prints.
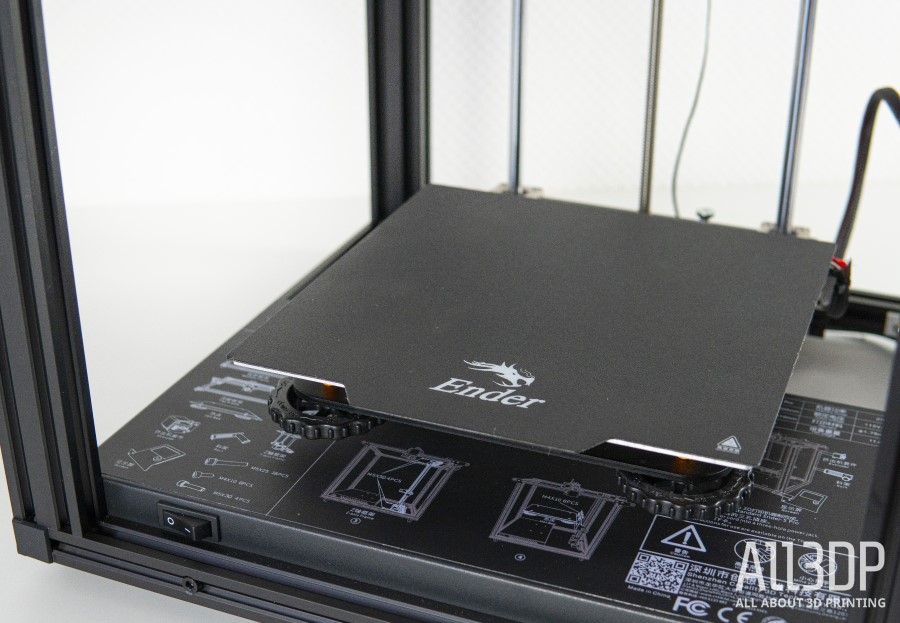
Magnetic Print Bed
The Creality Ender 5 Pro also features a flexible magnetic print bed that can be detached from the build plate, allowing prints to be removed with ease. This print bed is self-adhesive, so it can be quickly mounted back onto the build plate and prepared for a new project. As is standard on most desktop 3D printers released in the past couple of years, this machine also offers a resume print functionality, which can help avoid potential print stoppage from a sudden bout of power failure.
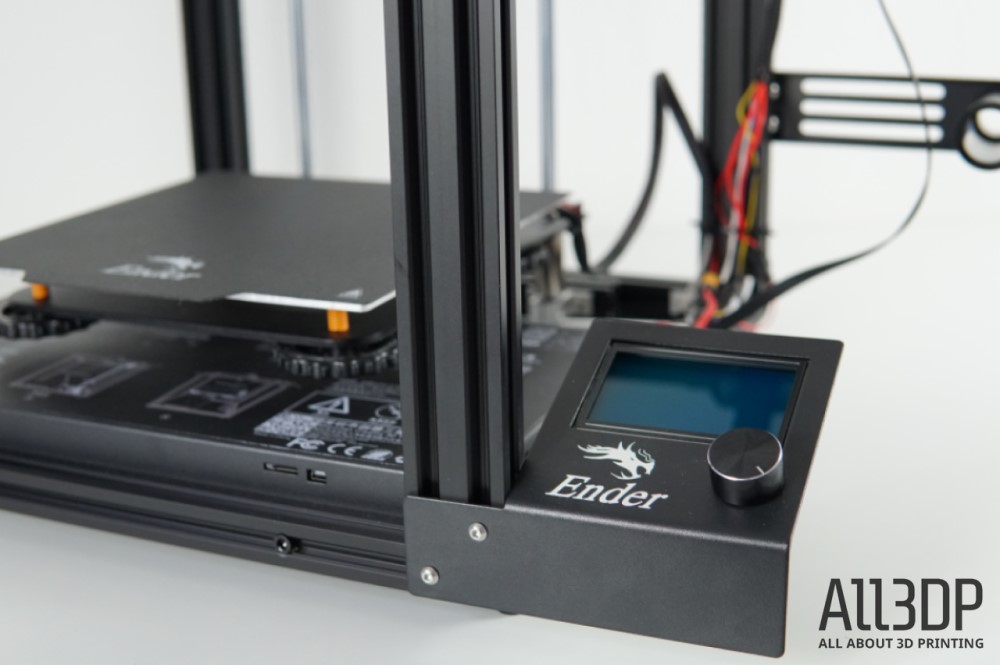
Other aspects of the Ender 5 Pro that remain unchanged from the original iteration include a 45-degree angled display screen attached to the side of the frame, as well as a Meanwell 350W / 24 V power supply that rapidly heats the print bed to up to 135℃. While the bed leveling process must still be performed manually, this printer is relatively easy to level thanks to the large nuts situated underneath the print bed.
Studying the similarities on a surface level, the Creality Ender 5 Pro doesn’t appear to be extraordinarily different from its predecessor, but the manufacturer has packed several welcome surprises in this new iteration. Here a quick overview of the differences between the Ender 5 Pro and original Ender 5.
Whisper-quiet Printing
One question we had about the Pro’s new V1.15 Silent Mainboard with TMC2208 drivers, which is supposed to allow for quieter and more precise printing performance was ‘is this marketing fluff?’ It turns out it’s not. The printer is extremely quiet. Plus the mainboard has both Marlin 1.1.8 and Bootloader installed and also has thermal runway protection enabled, providing additional protection in case the printer reaches erratically high temperatures.
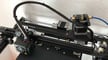
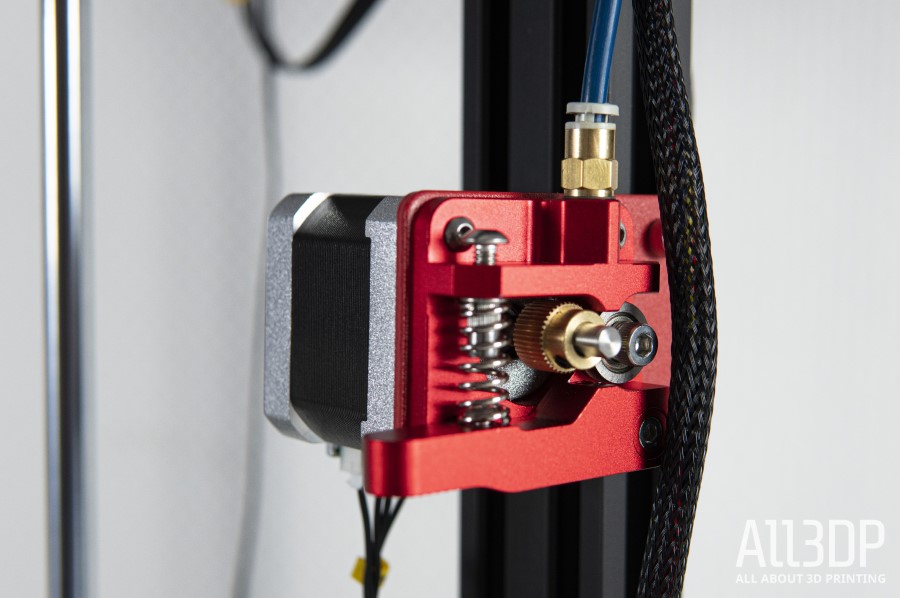
Metal Extruder Frame
Another new addition to the Creality Ender 5 Pro is its metal extruder frame. This feature is supposed to provide stronger pressure while pushing filament through the 3D printer’s nozzle. Overall, we were very satisfied with this upgrade and the improved filament tubing (more on that below) and found it gave us a much smoother printing experience.
New and Improved Filament Tubing
Last but not least, the Creality Ender 5 Pro also includes new and improved filament tubing. The Capricorn Bowden tubing is really a dream to use. The filament slides straight in thanks to the 1.9mm ± 0.05mm inner diameter, which reduces any excess wiggle room and prevents the filament from buckling inside of the tube. It was a much-appreciated upgrade and really improved the usability of the printer.
Is it Worth Upgrading to the Ender 5 Pro?
If you’re trying to decide between the stock Ender 5 and the improved Ender 5 Pro, the best choice will ultimately hinge on your 3D printing needs. According to the MSRP on the manufacturer’s website, the Creality Ender 5 Pro is about $30 more than the original, a rather fair increase for the few notable upgrades that we covered in this section.
Ultimately, if you want enhanced safety, more silent printing performance, as well as additional flexibility when it comes to filament selection, it’s worth shelling out the extra cash for the enhanced Ender 5 Pro. For those who plan to constantly pump out 3D projects or want to print with flexible filament, for instance, the Creality Ender 5 Pro is likely the right choice for you.
However, other than those new features, the base Ender 5 model offers a majority of the same capabilities as the Pro version. It appears that the original Creality Ender 5 is being sold at a discounted price from select retailers, so settling for the original might be an appealing option for more frugally-minded makers.
Printing
Printing with the Ender 5 Pro is generally an easy experience. The settings are easy to tweak in Cura, so most problems you encounter shouldn’t be too tricky to compensate. And there’s already a big community of Ender 5 users who can jump in with help in online forums and groups.
Like the Ender 5, the Pro misses some convenient features like automatic bed-leveling, a filament runout sensor, and a more durable print bed (we found the stock one to be rather flimsy and in need of constant releveling). However, counteracting this is one of the printer’s great strengths – it’s extremely hackable and upgrades like a BLTouch sensor for automatic bed-leveling are available.
Taking the machine as it was though, we did find using the Pro a bit trying when leveling the bed. It wasn’t quite a “set it and forget it” type of experience and more of a set it and then watch over the print till we were positive the first layer was going down alright and making the appropriate tweaks for every print.
And, as mentioned, the magnetic bed – though a cool idea and though it is useful in many ways – can also be a huge drag, literally. During prints, the cables would run against the magnetic bed and push it up at times. The magnetic bed also – counterintuitively – can be really difficult to clean, post-print. Removing larger prints is fairly easy, however, any areas where there are only one or two layers of filament are really tricky to scrape off, leaving the surface with leftover strips from old prints. The print bed is also, as mentioned, pretty flimsy and sometimes gets pushed upwards by the hot end cable harness and Bowden tube during prints.
However, that aside, the printer is pretty adept at laying down what you throw at it.
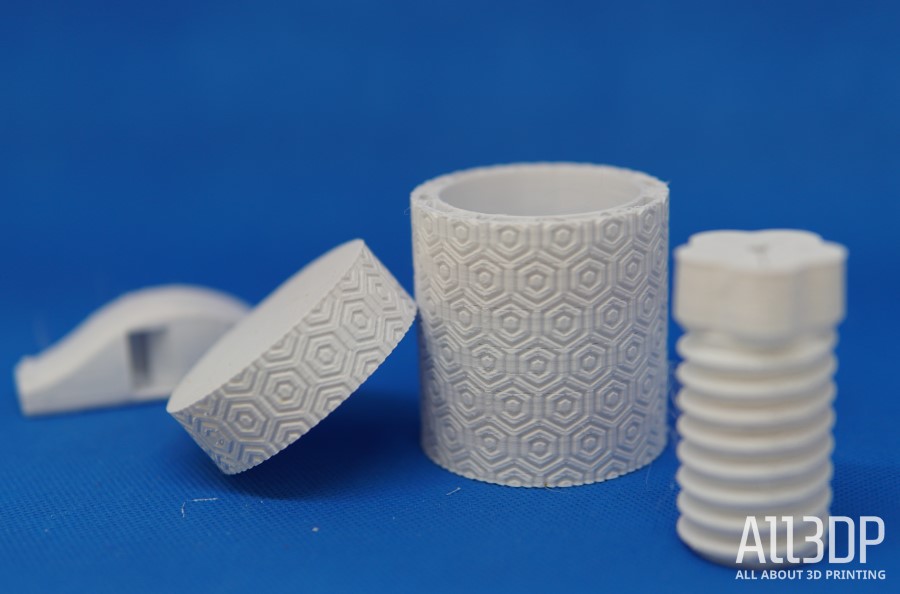
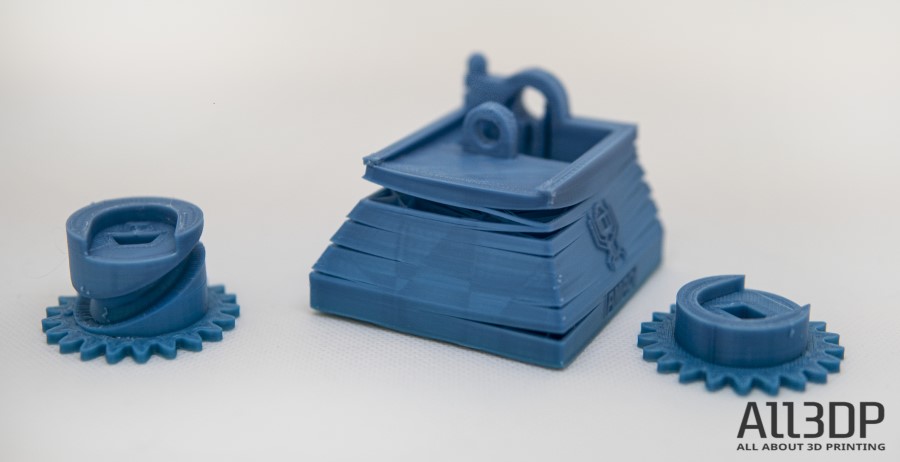
We threw two torture tests at the Pro, the Autodesk Kickstarter test and the 3DBenchy.
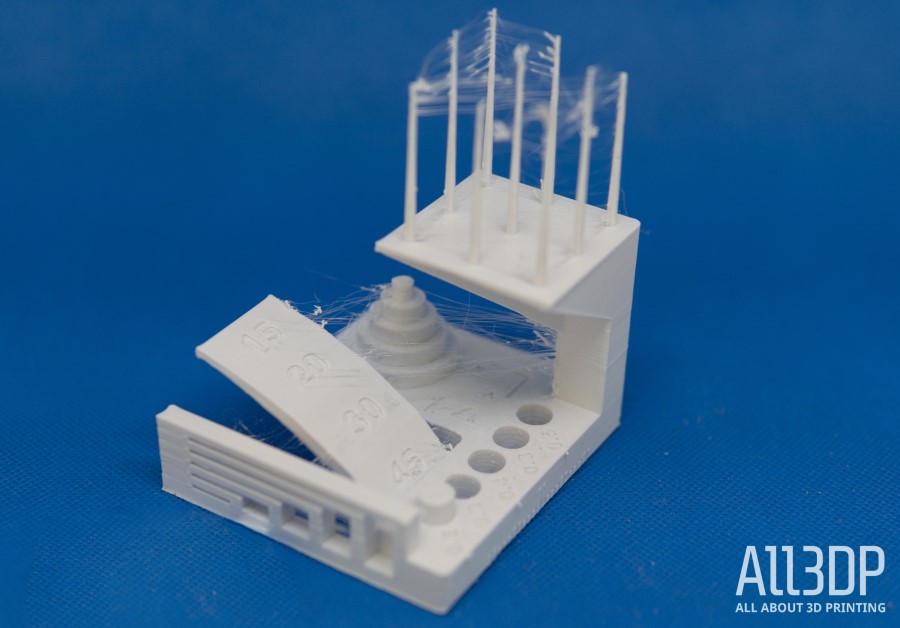
Here’s a breakdown of the Pro’s results for the Autodesk Kickstarter test.
- Dimensional Accuracy: 4 of 5 points
- Fine Flow Control: 2.5 of 5 points (the spikes were printed to their full height, but we encountered some stringing at the top)
- Fine Negative Features: 4 of 5 points (four of five pins were removable by hand)
- Overhangs: 2 of 5 points (30°, 20° and 15° overhangs showed some minor irregularities)
- Bridging: 5 of 5 points (no bridges contacted the surface beneath them)
- XY Resonance: 2.5 of 2.5 points (no ringing detectable)
- Z-Axis Alignment: o of 2.5 points (layer registration effect visible)
Overall, the printer scored a total of 20 out of 30 points.
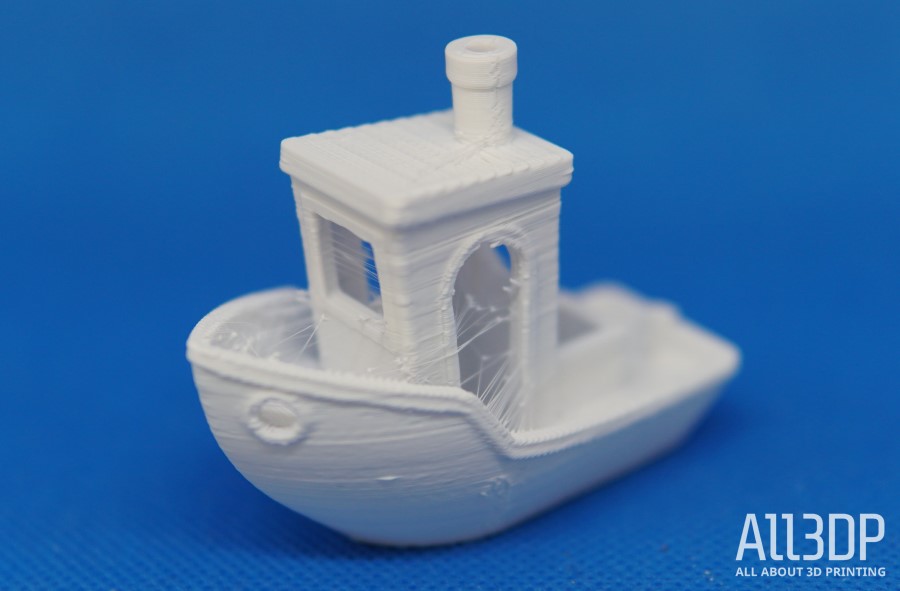
As for the 3DBenchy, the Pro handled it pretty well, though there was quite a bit of stringing (in fairness, this is largely due to the type of filament used as we did not encounter this problem with other filaments) and the overhangs could have been a little tighter.
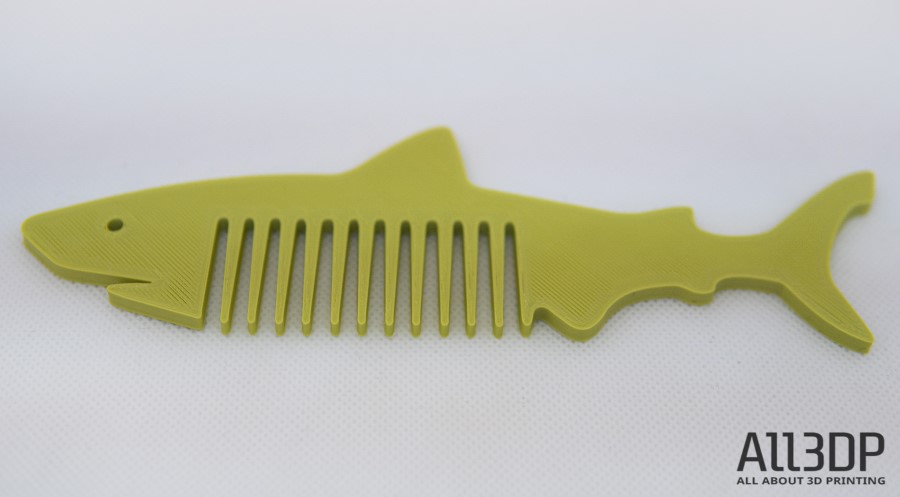
Overall, the machine is able to print fine details and create really smooth prints. Generally speaking, we were very pleased with how most things we printed turned out – especially when printing with PLA.

We also tried printing in ABS with this printer and it wasn’t disastrous. It printed the smaller objects well, but the bigger ones – predictably – warped and cracked, so an enclosure or some more tweaks in Cura to try and prevent that would be helpful.
Our last little quibble with the machine – and it’s by no means a dealbreaker – is that it has no filament sensor. Again, it doesn’t change too much, but it does mean you need to be aware of how much filament you have left in your spool and how much filament your print will require.
Final Thoughts
The Ender 5 Pro is a solid machine that’s very similar to its predecessor, the Ender 5 in most ways. But, it does offer some more premium features, which makes it an attractive option, including the V1.15 Silent Mainboard with TMC2208 drivers for quiet printing, Capricorn Bowden tubing, and a metal extruder frame.
At the time of publishing, the Ender 5 Pro is $379 on Creality’s website and costs $60 more than the Ender 5. Of course, if you already have an Ender 5, there’s always the possibility to upgrade your machine yourself. But, priced at under $400 and offering reliability, decent print volume and build quality, the Ender 5 Pro is a solid bet.
Technical Specifications
GENERAL SPECIFICATIONS
- Technology: FDM
- Year: 2019
- Assembly: Semi-assembled
- Manufacturer: Creality
- Model: Ender-5 Pro
3D PRINTING PROPERTIES
- Build volume: 220 x 220 x 300 mm
- Min. layer height: 100 microns
- Nozzle size: 0.4 mm
- Nozzle quantity: 1
- Max. nozzle temperature: 260℃
- Hot bed temperature: 135℃
- Recommend print speed: 60mm / s
- Frame: Aluminum
- Bed leveling: Manual
- Connectivity: SD Card
MATERIALS
- Filament diameter: 1.75 mm
- Third-party filament: Yes
- Filament materials: PLA, ABS, PETG, TPU
SOFTWARE REQUIREMENTS
- Operating system: Windows, Mac OSX, Linux
- Recommended slicer: Cura, Simplify3D, Repetier-Host
- File types: STL, OBJ, AMF
DIMENSIONS AND WEIGHT
- Frame dimensions: 552 x 485 x 510 mm
- Weight: 11.8 kg
Where to Buy
You can purchase the Ender 5 Pro from these online stores.
License: The text of "Creality Ender 5 Pro Review: Best 3D Printer Under $500" by All3DP is licensed under a Creative Commons Attribution 4.0 International License.
CERTAIN CONTENT THAT APPEARS ON THIS SITE COMES FROM AMAZON. THIS CONTENT IS PROVIDED ‘AS IS’ AND IS SUBJECT TO CHANGE OR REMOVAL AT ANY TIME.