Formlabs Form 3 Review: Best Resin 3D Printer 2020
Rating

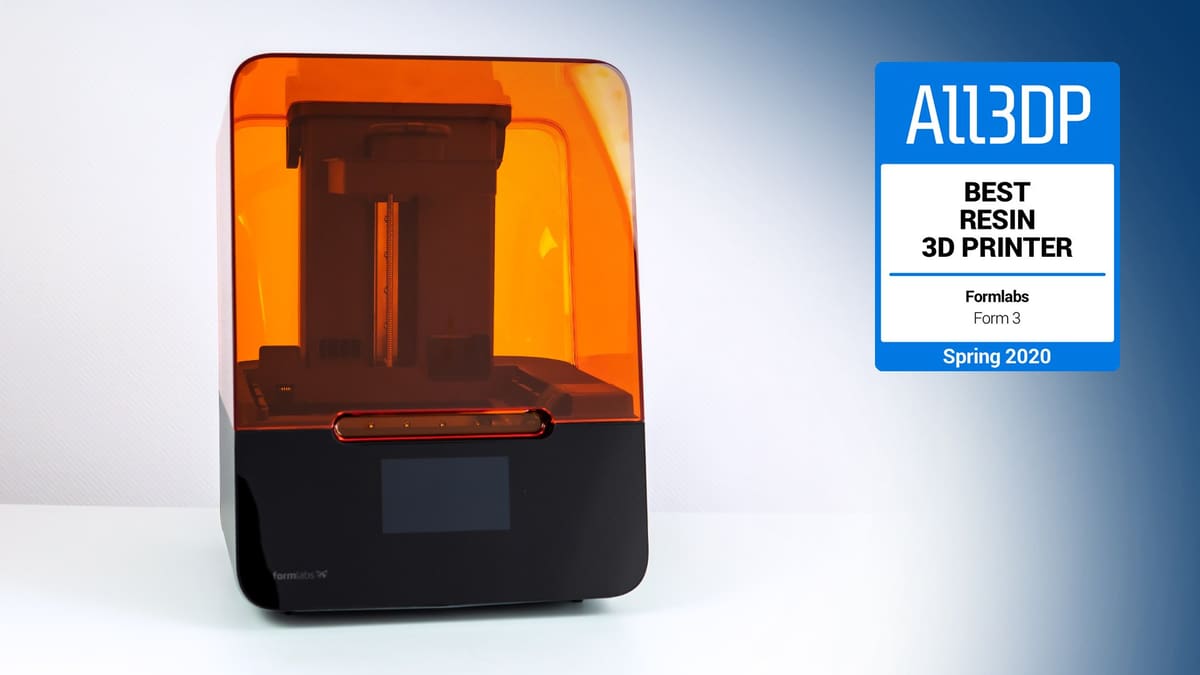
The Formlabs Form 3 is the successor to the famed Form 2. Our current top pick for "Best Resin 3D Printer", check out our full review to learn why.
If desktop fused filament fabrication (FFF) Printers are the go-to for quick and functional prototypes, then stereolithography apparatus (SLA) are the machines you turn to for exacting detail, biocompatibility, castability, and, well, myriad other uses where FFF doesn’t quite cut it. The Formlabs Form 3 challenges this with new SLA printing tech and exciting material options that make desktop SLA faster and more versatile than before.
Announced in the spring of 2019, the Form 3 began shipping to early adopters over the summer. Formlabs kindly sent a unit and post-processing stations for All3DP to test out.
Read on for our verdict as we review the Formlabs Form 3.
Verdict
Pros
- It’s a productivity powerhouse
- Intelligence baked into every aspect
- Utterly fire and forget: One-click printing is generally excellent
Cons
- Early issues with dust inside the laser unit
- Resin cartridges are a bit wasteful
- There’s no “off” button
Brimming with sensors and processes, and complemented by software that completely takes the “3D printing” out of 3D printing, the Formlabs Form 3 is the easiest to use and most reliable machine we’ve gone hands-on with yet.

For high-detail, small-batch, and even fast prototyping, the Form 3 is the printer for you.
The (Not So) Long Read
Since its beginnings as a Kickstarter campaign way back when, Massachusetts-based Formlabs has cemented its spot as the desktop system for reliable and repeatable prints without paying industrial prices.
From the get-go, Formlab’s aim was to democratize SLA tech with an easy to use system that fits on a desktop. The company’s first machine, the Form 1, promised just this and saw instant success when it launched on Kickstarter. Such was the aptness of that fledgling campaign, tapping into an apparent demand for low-cost desktop SLA, that Formlabs later attained unicorn status, expanding into Europe and Asia.
The Form 2, launched in 2015, introduced a number of innovations for the company, including the ditching of manual resin handling in favor of the much cleaner automatic cartridge system, refining the use of its printers and making it more viable for the professional environment.
Now, after almost five years of the Form 2 standing as the (mostly) unchallenged segment leader for ease of use and experience, the company has seen fit to gently retire it in favor of its hot newness, the Form 3.
Radically changing how it handles the SLA process with the aim of increasing detail, speed, repeatability and reducing the post-processing needed for parts, the Form 3 is something of a step-change. It makes use of the core concept of laser-based SLA in a dramatically different way that we can only imagine presented a world of difficulties to achieve.
History lesson over. Here’s what the Form 3 is all about.
The Tech
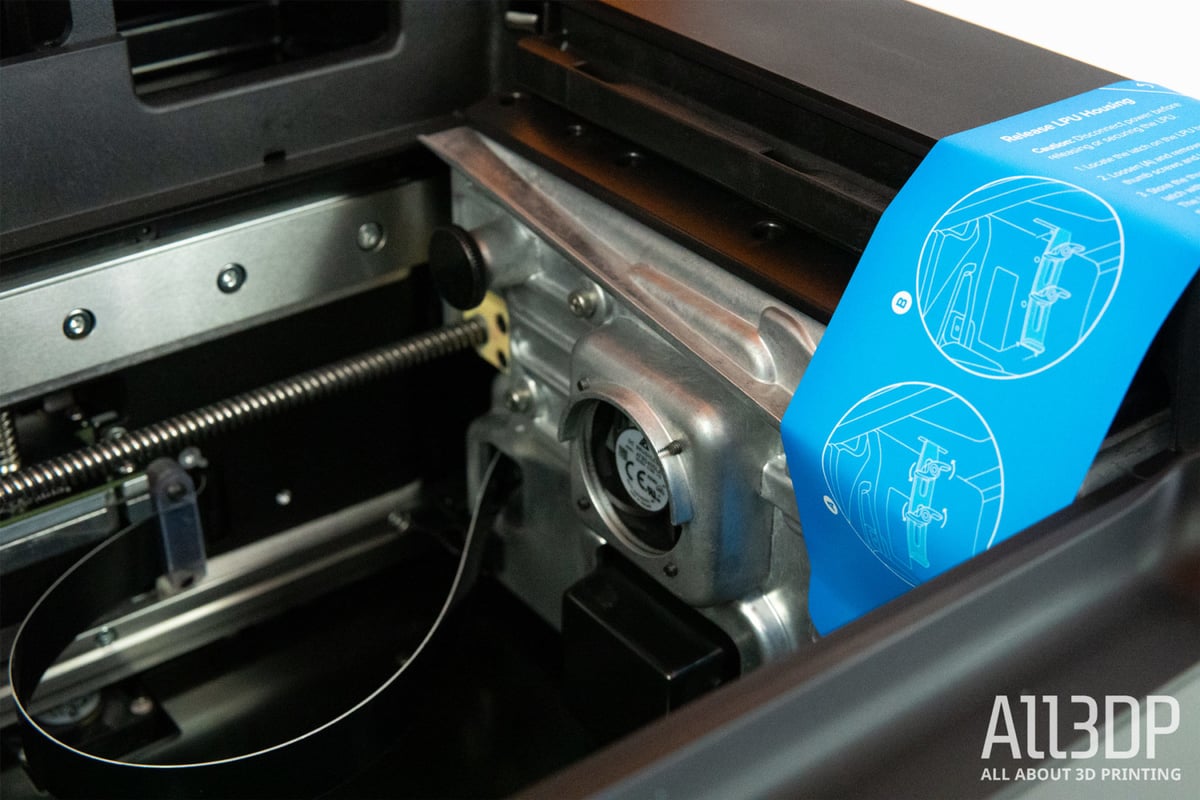
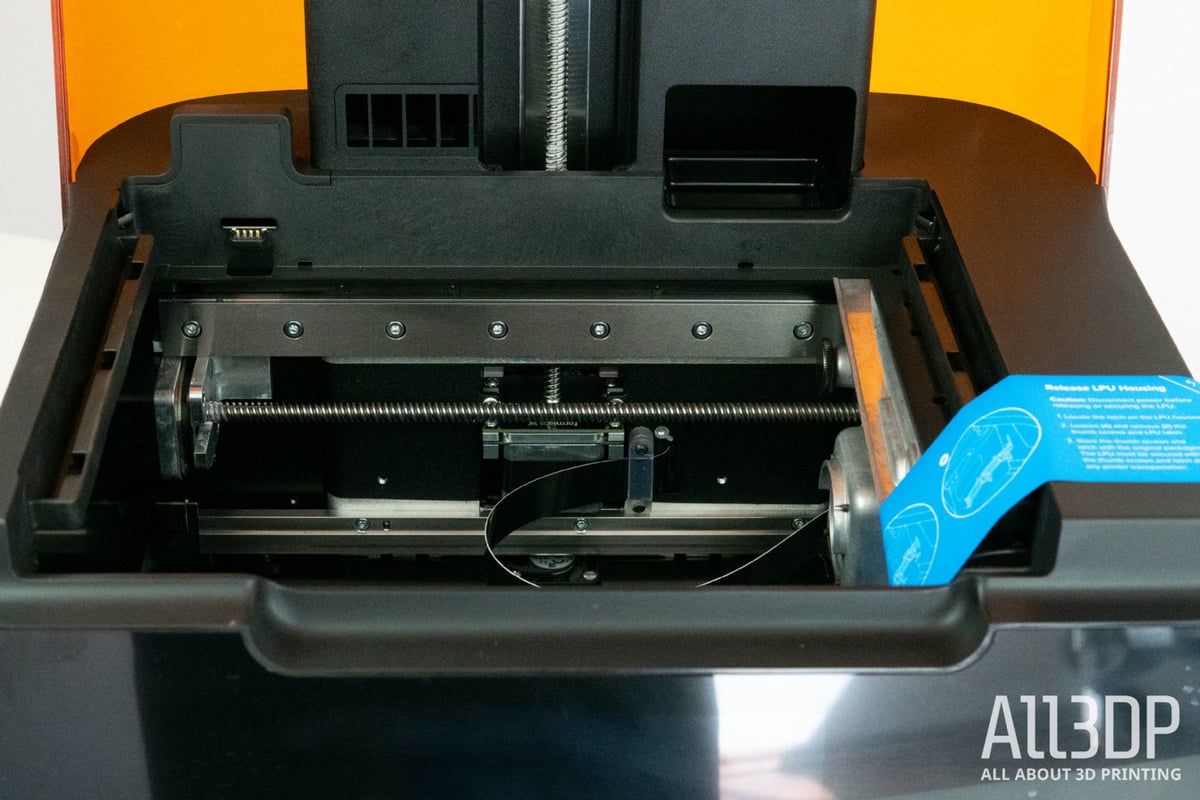
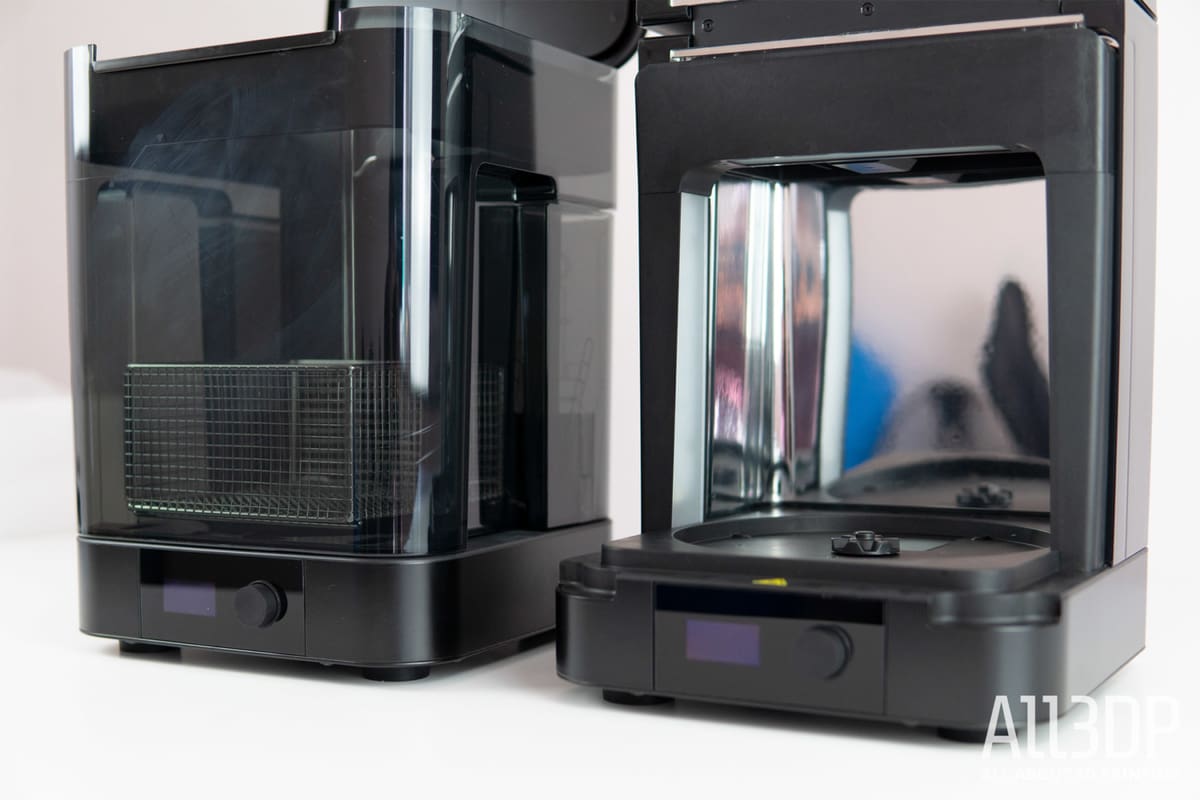
Formlabs has developed an all-new proprietary printing system for the Form 3 that is distinctive for its Light Processing Unit (LPU), and how it is implemented in the machine.
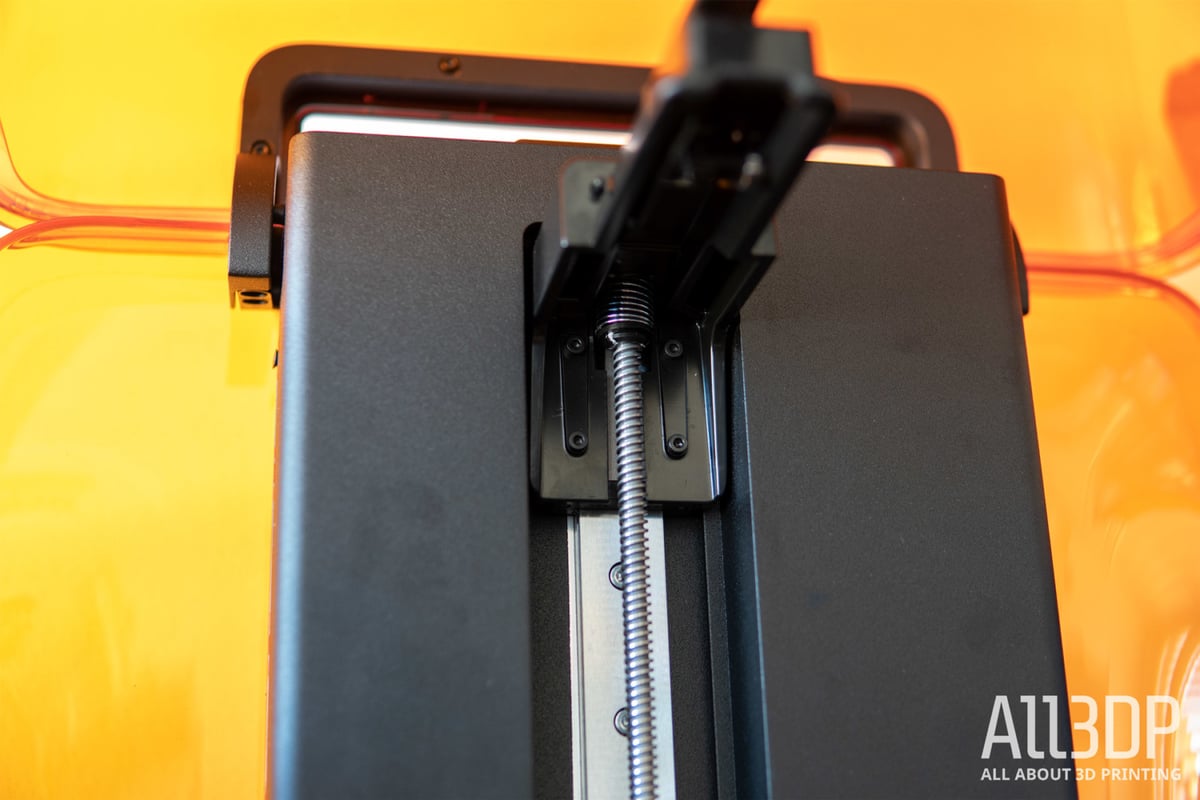
Where traditional SLA setups use a stationary laser, with the beam directed by a pair of mirror-toting galvanometers to trace the model into the resin, the Form 3’s Low Force Stereolithography (LFS) takes this to an extreme, bouncing the laser beam through a chain of single galvanometer (directing in the Y-axis), mirror, and parabolic mirror, all while rowing the entire laser module back and forth along the X-axis of the print.
The video below demonstrates the LPU in action.
The purpose of this extended path for the laser beam is to ensure it can hit the resin perpendicular to any point on the print plate, ensuring scalability (which we will see in action on the dual LPU-wielding Form 3L when it launches later this year) and consistent edge-to-edge print quality.
The LPU unit moves along a stepper-motor-driven lead screw that, sensibly, features vibration damping. Ostensibly, these new moving parts might introduce noise to the surface of a print through vibrations, however, we’ve seen little to suggest this being the case.
Completeness In Action
Complementing the new LPU-enabled printing method is a host of print monitoring sensors geared toward micromanaging every aspect of a print. Between a paired computer and the large color touchscreen on the Form 3 itself, you have a view on the material cartridge in use, the resin vat the material is paired to, milliliters of resin used by a given print, the final print time, resolution and number of layers, a complete history of prints (including successes and, theoretically, failures, but we didn’t encounter any) via a Gantt-chart-like overview, not to mention accountability in the print owner’s name and specific printer (presumably this diversifies with more than one Formlabs machine hooked onto your network.)

And then, complimenting the complimentary, are automations such as the Form 3’s analog to build plate leveling (the LPU presses the resin vat’s flexible film to meet the print plate as it slides back and forth in the X-axis) along with filling the resin vat automatically from the closed resin cartridges, and mixing ahead of a print.
All of the above works in service of a 145 x 145 x 185 mm print volume — similar to that of the Form 2 (which has slightly less travel in the Z-axis.) This gives the Form 3 the added bonus compatibility with Form 2 print plates.
Up and Up and Uptime
Overall it culminates in a sophisticated experience that is clearly designed to let the user spend as little time as possible using the printer, and more time controlling the workflow and keeping things humming along. A paradoxical experience for the reviewer, testing a machine seemingly designed to be interacted with sparingly, but we should imagine for the engineer or business, the Form 3’s hands-off nature is probably most welcome.

In combination with the Form Wash and Form Cure stations, you could practically handle a print job from print preparation to post-processed one-handed. You wouldn’t want to, mind, since resin is nasty stuff and it’s not worth the risk of spilling even a drop, but between flipping the print plate lock open and operating the wash and cure stations — even popping a print off the plate using Formlabs’ custom pry tool — it requires minimum input on the part of the operator.
It is difficult for us to draw a direct comparison between our setup in the All3DP office — a lone reviewer and single machine on the network — to that of an environment that produces parts with various stages of collaboration. We can say that it’s trivial to imagine how the Form 3 would fit into such a setting. It provides all of the tools for oversight and resource management, backing up what is technically a superior printing experience both in terms of usability, and, for the most part, print quality.
Here’s the But
The Form 3 is not infallible, however. Throughout the course of our testing, we have had some small interaction with Formlabs support diagnosing infrequent artifacts on our prints. This was attributable to one of two things: Either an issue with the Form 3’s disposable resin vats, or dust present on the LPU’s glass window; both troubling for their own particular reasons.
The resin vats are consumables — no surprises there. The flexible interface layer — a key attribute of Low Force Stereolithography — can eventually wear out, and with some degree of mechanical movement involved in their loading and mixing, a limited lifespan is to be expected. However, our issue came after only a couple of prints, introducing a clear indentation on prints across the full span of the build plate. This happened twice, for two different reasons.
Consultation with Formlabs quickly diagnosed the first instance as an issue with the resin vat. Discarding the faulty vat a fresh one resolved the problem. The second instance of this print flaw came from when large specks of dust finding their way inside the LPU, settling on the underside of its window.
This is a trickier problem to fix, given the LPU is typically parked out of sight within the base of the printer when not printing. To give this statement context, the only time we ever saw the LPU window exposed to the room during our testing was when faking a replacement in order to check and confirm the presence of dust, and later to clean it off.
Dust and particulates blocking light paths are a common issue with resin printing — there’s no escaping it. Only machines used in clean-room conditions or many magnitudes more expensive with dedicated cleaning systems will completely avoid such issues. But it’s a little puzzling to experience the issue so soon after firing the Form 3 up, especially given the shielded park position and enclosed design of the LPU system.
It’s said that there are some 1,000 Form 3 printers in the wild, but we’ve found little to no chatter online pointing to dusting inside the LPU being a common issue. Such has been the softly-softly launch of the Form 3, and our sense that Formlabs is keen to catch and patch things up quickly.
Enterprise Care
It’s would appear to be early days for the printer — even as we publish this review, the company is still putting together the documentation detailing guides for users to maintain their machines (we tested a user-guide-in-progress to resolve our LPU dust issue, finding the process to be quick and efficient).
We’re glad that we did encounter problems with the Form 3. Such issues on a high-spec device as the Form 3 are instructive not only for how the machine handles but the company and customer care itself.
As mentioned, infrequent email exchanges with Formlabs’ enterprise care team — the same folks that help businesses hit the ground running with the company’s machines — lead to quick solutions and expeditiously shipped replacement parts. This level of customer care is available to those that purchase the optional (but bundled in complete Form 3 packages) Pro Service Plan, but it’s our understanding that Formlabs has set up in such a way as to be able to offer quick diagnostic and instructional support for customers as needed.
The Form 3 has been designed for modularity and, in the rare case it is needed, maintenance from the user, which we saw working first-hand thanks to contact with the company’s enterprise care team. So even in light of the nascent documentation covering the printer, there is a safety net of sorts in place.
Minor Foibles
Less a problem, but seemingly a missed opportunity is that firmware updates for the printer can only happen via USB connection to a computer. Despite the Form 3’s WiFi connectivity, you can’t pipe an update over the air which feels out of place when considered against other areas of the printer’s operation.
Starting at $3,499, we’d argue the Form 3 levels out at a pretty paltry sum when compared to other professional resin printing machines of similar dimensions and capabilities. On the other hand, to be considered a viable manufacturing or industry-specific solution, we would expect that such bumps need to be ironed out.
One bump that might be tricky to iron out is the lack of an “off” button. Clearly the Form 3 is designed for near-constant uptime, which our was and handled excellently, but on the infrequent occasion you have to reboot the print (after a major maintenance task, such as replacing the LPU), you can only do so by ripping out the difficult to reach power cord on the rear of the machine. It’s a bit of a hassle.
Setting Up
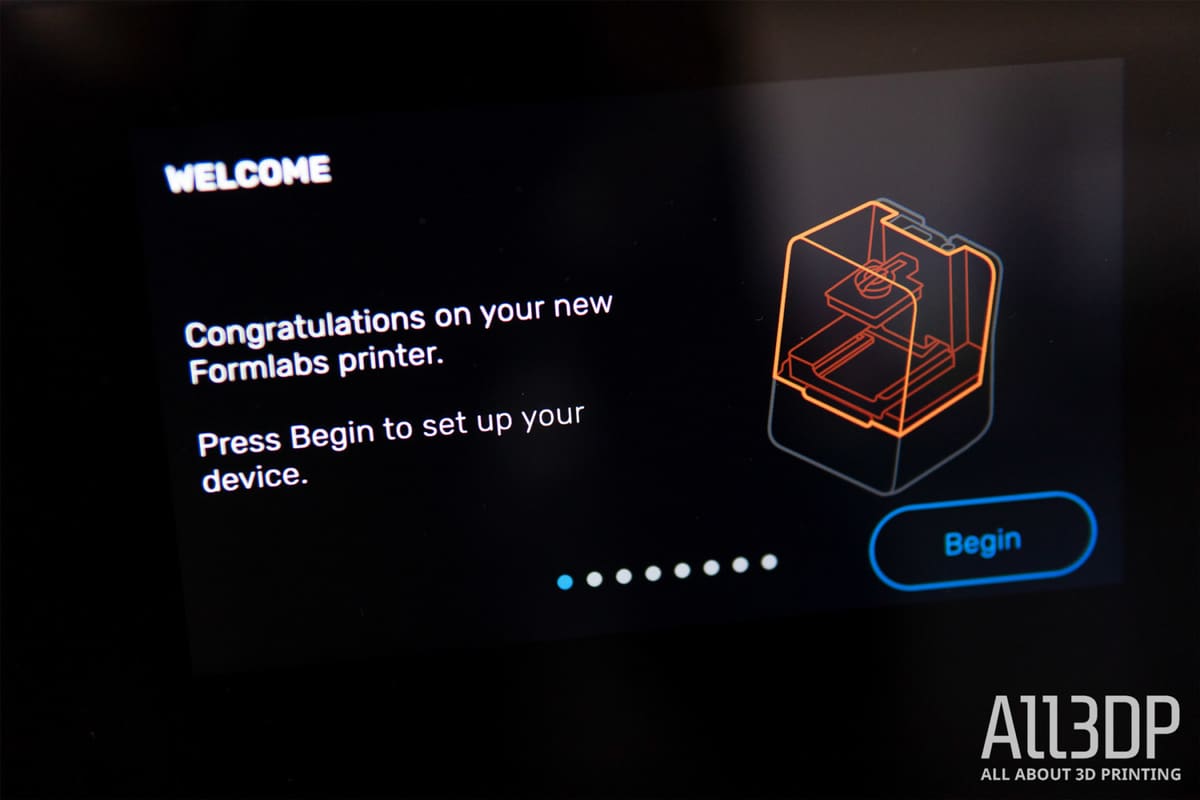
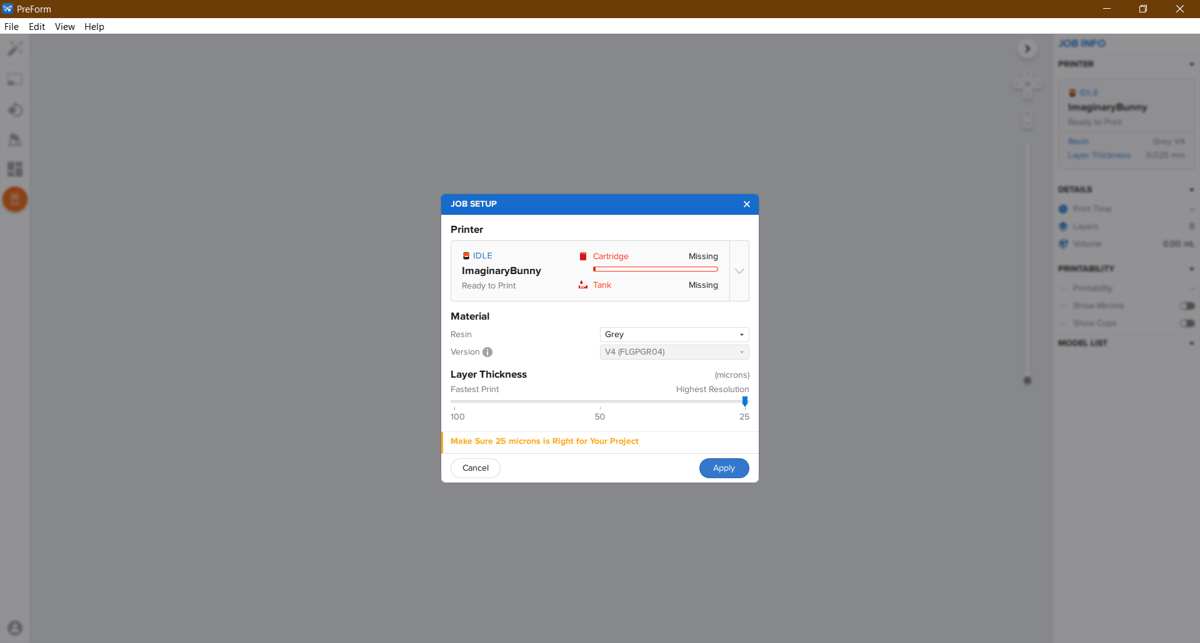
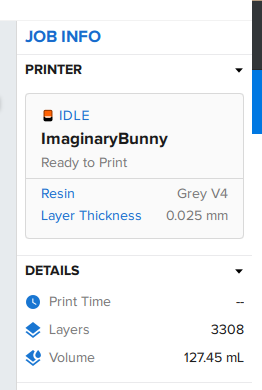
An experience typical of buying most smart electronic devices these days, the crux of a device’s setup lies in entering your WiFi password and creating a user account (or logging in with an existing one.) The Form 3 is no exception and, using the cutesy ID ascribed to each machine (ours is ImaginaryBunny), linking the printer to the PreForm software is a cinch.
Following a cursory machine leveling procedure whereby you adjust the four feet beneath the printer, you are prompted to network the machine.
Once the printer is on your network (a long Ethernet cable is also provided for hard wiring), and you have opened an online account with Formlabs, you gain access to a web-based Dashboard where you can tap into your printer’s status, job history, active resin cartridges and resin vats.
From here it’s child’s play getting up and running with the Form 3.
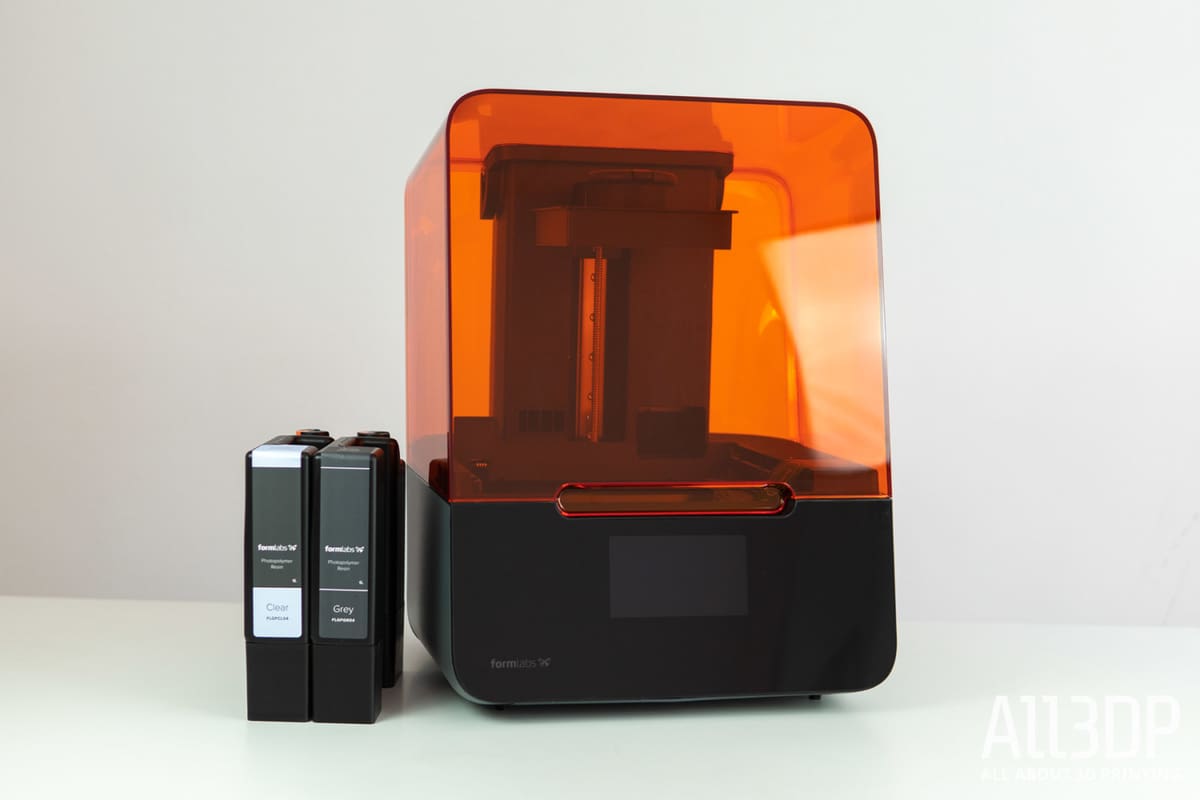
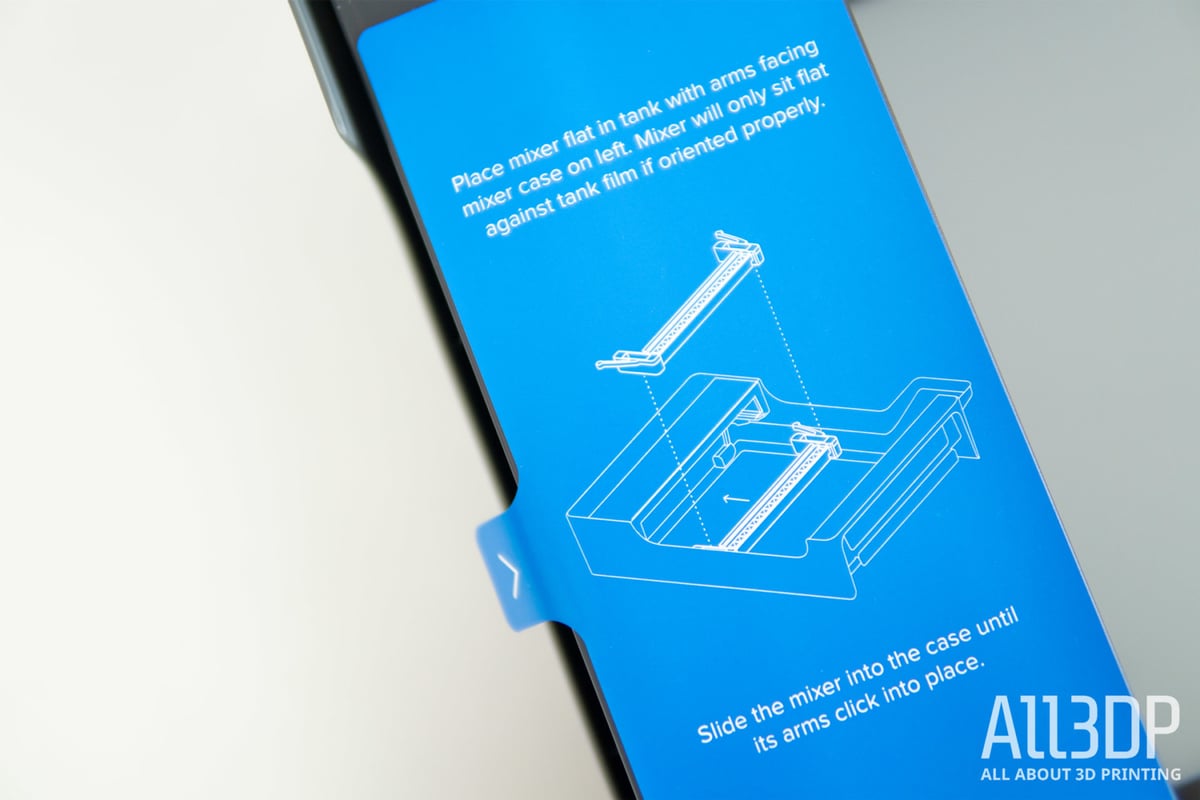
Resin cartridges drop into the back of the printer – accessible by reaching over the top cover – and the resin vat slots into the print chamber with a satisfying thump – both accompanied by a notification from the printer acknowledging the resin type and vat’s assigned resin.
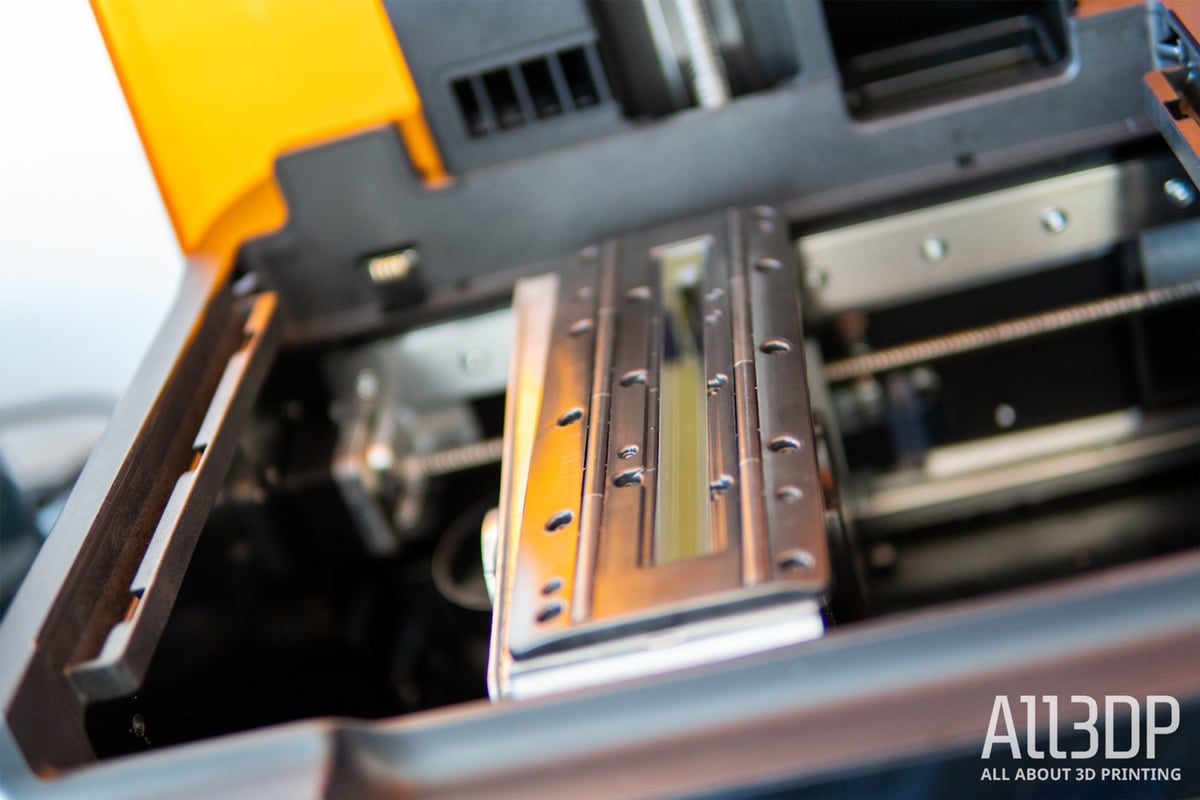
With a print plate locked in place using Formlabs’ distinctive single-arm latch, things jump over to PreForm for configuration and print preparation.
PreForm
Print preparation and monitoring is handled within Formlabs’ proprietary PreForm software, which has grown alongside the company’s hardware offerings.
Behind its sleek white, interface with orange and blue accents (which is just begging for a dark mode), PreForm condenses the print preparation process to its most simple of components.
We often see a duality to desktop 3D printing – there’s the hobbyist aspect that wants to exert control over the printing process for recreational reasons, and there’s the professional solution that exists purely to serve a purpose in the least obfuscating way as possible. The latter is maturing of late, with leading desktop printer manufacturers placing emphasis on streamlining the workflows and automating wherever possible. PreForm perfectly captures this with its One-Click Print option.
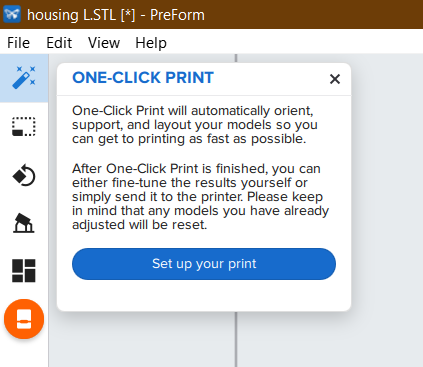
After uploading a model (either by dragging it onto PreForm’s workspace, or using your computer’s file explorer), hit this one button, and PreForm will position, orient, and add support structures to your print, progressing to the print dialogue box to confirm that you want to print. More a two-click print, really, but the concept is clear.
We see real value in not having to think about how to print your object and know it will make it, fully realized, on the print plate, although there’s some small caveat in that we found the decisions PreForm takes when operating One-Click Printing to run a little on the conservative side. Think more supports than might be necessary, and completely avoiding printing on the print plate, which can, on occasion, save you time, material, and improve surface quality.
Some nuanced control of the output here would be beneficial, but don’t let this detract from how useful One-Click Printing really is.
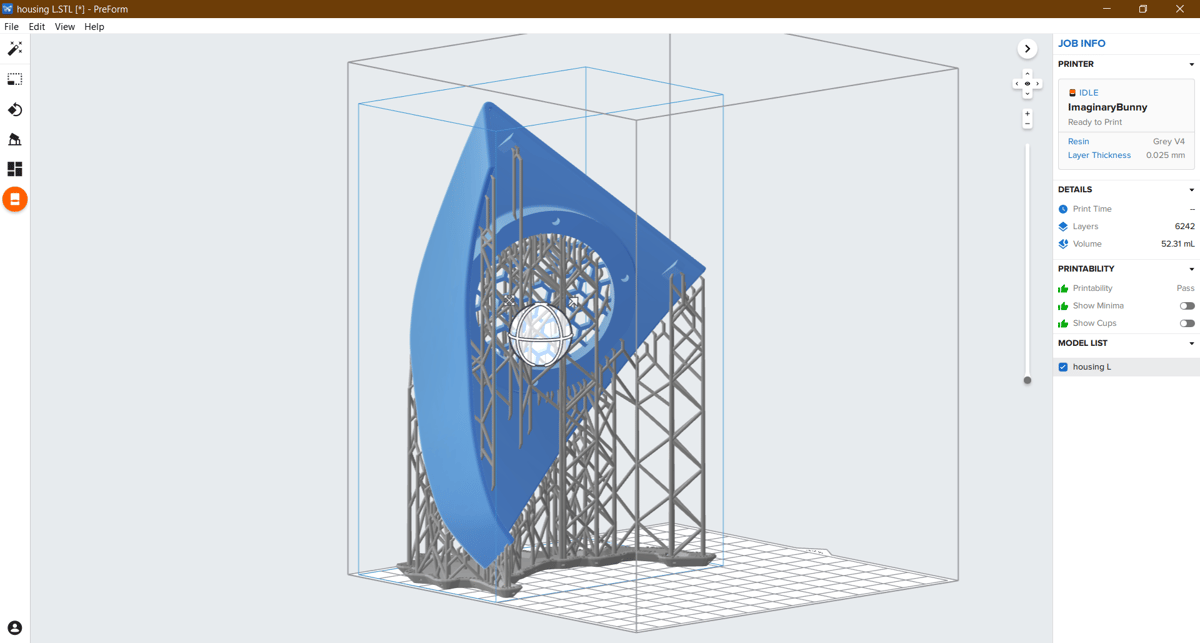
Digging into the minutiae and preparing prints for yourself, PreForm is split into two primary areas: the workspace (for configuring the position, placement, size and support of the model), and Job Info (a tab view on the job time and material estimates, printability (including warning for model features that require attention), and a model list of all the parts currently in the plate.
Much like popular photo editing software, there is a layer view of sorts, that lets you group models and, more importantly, hide them. Theoretically, a wide-reaching project with multiple print plates worth of parts could be contained in a single, easily archived file.
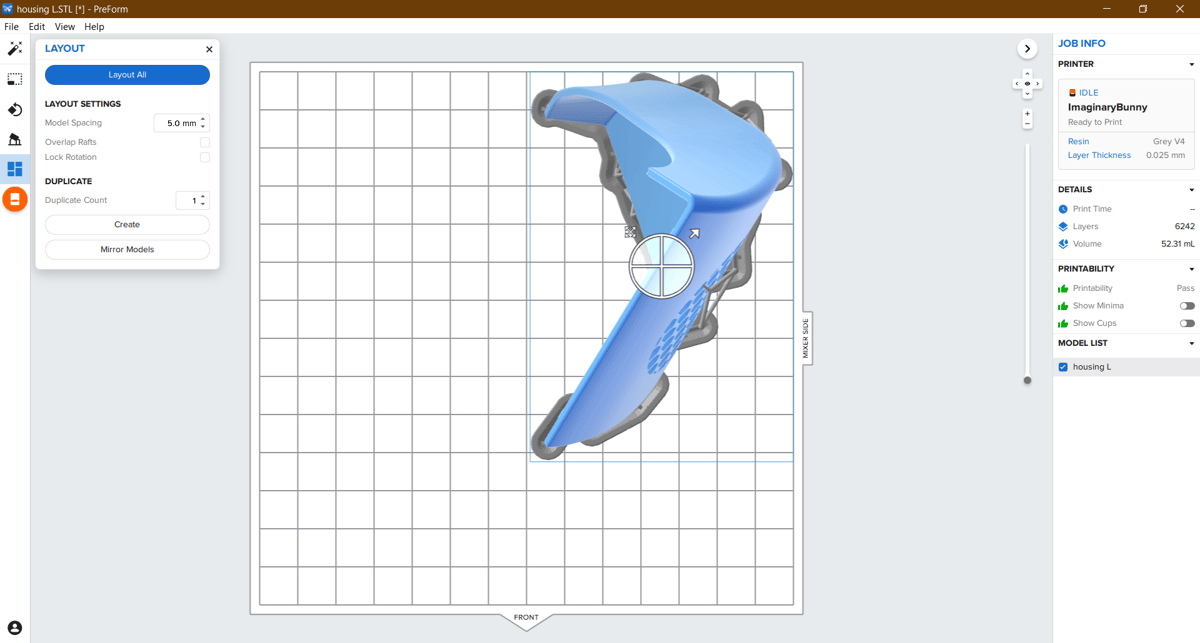
In addition to the One-Click Print, the PreForm workspace gives you four tools with which to manipulate your print: Size, Orientation, Supports, and Layout. With the exception of resizing, for obvious reasons, these tools feature ‘automatic’ options that you can use to let PreForm apply as it sees best. Think of these three automations as the core components of the One-Click Print feature.
This means that even when you need to configure support structures in a particular way that preserves the surface of a print (something One-Click Print is agnostic about), it is still possible to let the software pick the most efficient setup for the other aspects of printing.
Turning our attention to the Job Info panel, from here you can directly see the status of linked printers, including what they’re currently doing, the active resin, resolution and print time remaining, alongside the details and pre-flight checks for the 3D models you’re in the middle of preparing.
For delving deeper into the settings you might need when preparing a print, PreForm presents the majority of functions crucial to SLA 3D printing. Notable in its absence, however, is the ability to hollow large dense models. Saving not only time, but material, the ability to gouge out the inside of larger pieces would be highly useful for quick prints of otherwise dense models and artistic pieces with little mechanical function. Formlabs recommends third-party software, namely Autodesk’s Meshmixer, to hollow your models, which breaks the flow of an otherwise excellent print preparation program.
Using and interacting the Form 3 is not limited to PreForm. There is another fulcrum in the Formlabs Dashboard.
Dashboard

Once a printer (or printers) have been configured on a network and associated with your Formlabs account, they become visible on the browser-based dashboard. From here you get a top-down overview of the machines at your disposal, all of the print jobs that have been assigned, completed, failed, the prints’ respective details, and the materials you have in use.
As a workflow tool, it’s useful to be able to pull active printing information up at a moment’s notice in a browser window, rather than launching PreForm for the task. A Gantt-chart-like print history is available, giving a quick overview of your printer’s uptime. Unfortunately, this view is limited to a three-day window at most. There is the option to subscribe to a monthly report of your machine’s work, but such information would probably be more useful at a glance.
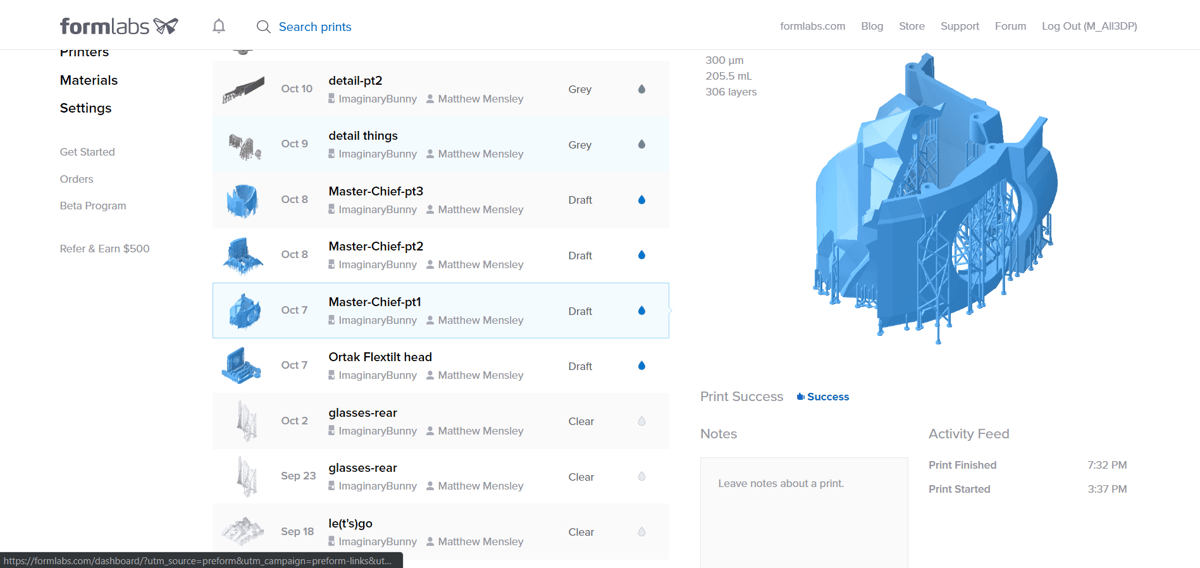
Ultimately the Formlabs Dashboard is a reliable and useful way to keep tabs on your active jobs and print history. It’s also a shrewd way for Formlabs to keep you close for restocking consumables. Resin cartridges don’t take much printing to “empty” (more on that imposing air quotation in our Materials section), and the resin vats all have a limited lifespan. Replacements can be ordered directly within the Dashboard.
Similar to the print history on offer in the Dashboard, the Form 3 itself charts your previous prints, caching them to its internal memory and — something we very much like — letting you recall prints and repeat them from the machine itself, sans software or dashboard.
Printing
And so to the printing itself. Printing on the Form 3, as could probably be divined to this point, is a veritable cakewalk. And a big part of that is down to Formlabs’ automation (and continual improvement) of print profiles.
With material profiles applied in the background once a cartridge is inserted into the Form 3, the only user choice you are left with is to pick a pre-approved layer thickness for the given resin.

Standard resolutions sit at 25 microns to 100 microns, although depending on the material, other resolutions are possible.
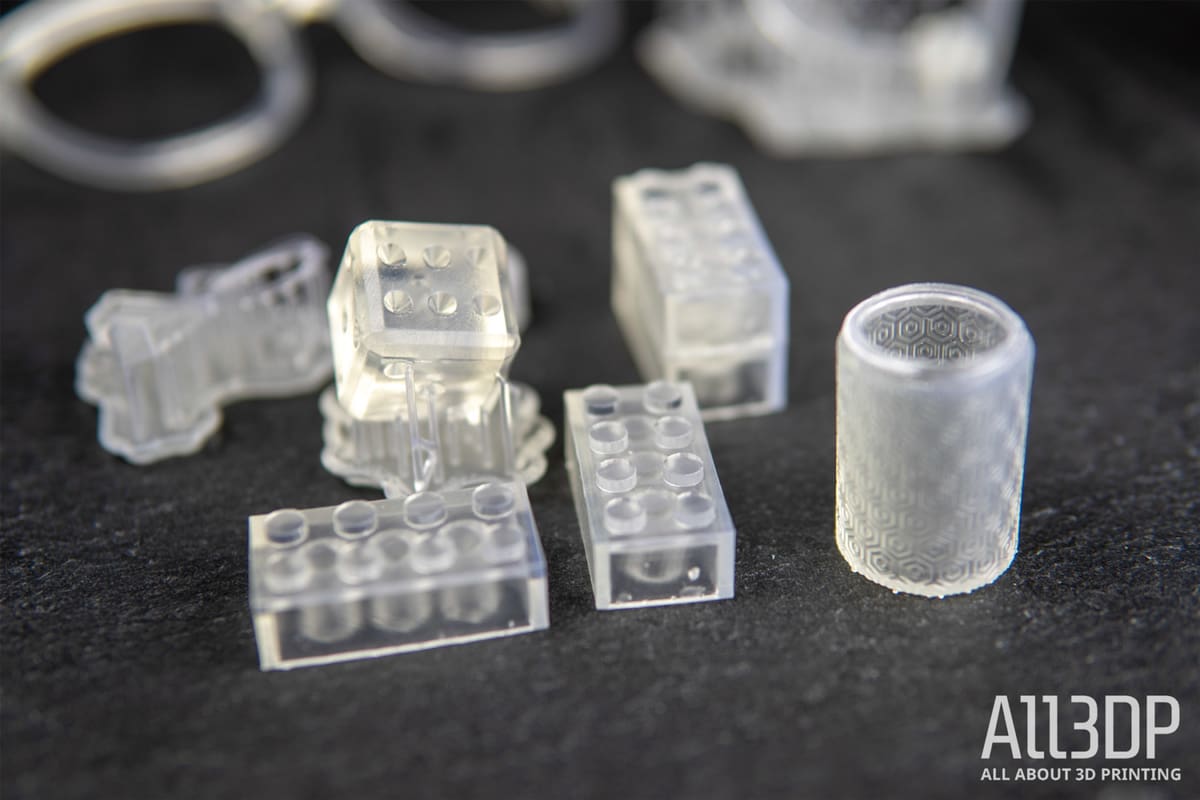
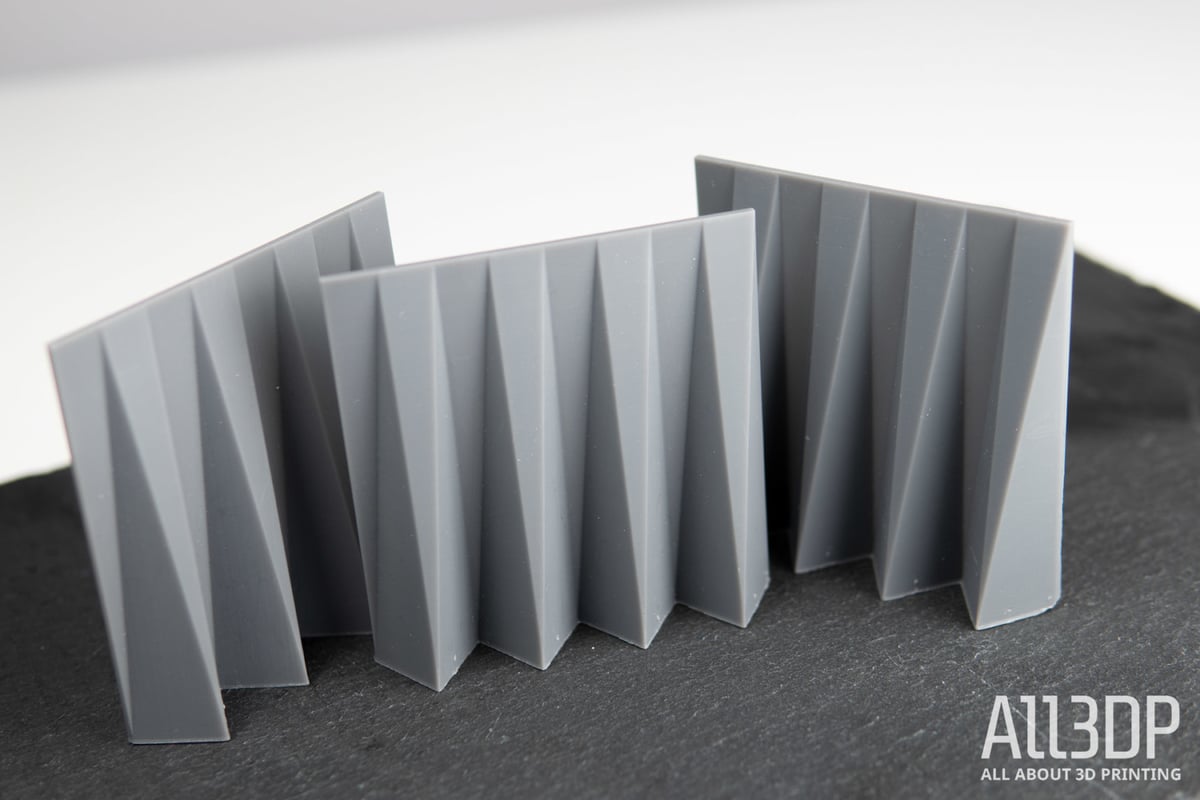
Print quality varies from superb to decent, with our experience suggesting that a print’s finish is dependent on the material in use. Using the standard grey resin with its accompanying V4 profile yields prints of exceptional finish — near injection mold in finish, we’d non-scientifically say.

Conversely, the standard clear resin, which can be optically transparent (a hugely impressive material to see in action), appears to show surface imperfections on some model shapes more than the other resins we used. It’s tricky to pinpoint the cause — perhaps the way light catches on the surface. This is not to say the detail is sub-par — just that it’s a little easier to pick up on the lines on the material’s surface.
It’s already an improvement over clear resin printing on the Form 2, so we expect to see profile tweaks in the future that will iron things out. There is documentation online detailing how to process Formlabs’ clear resin for a perfect finish, which involves plenty of wet sanding, so this quirk is mitigated somewhat with the expectation that post-processing is a prerequisite for optically perfectly clear parts.
It speaks to the Form 3’s reliability that after weeks of testing we experienced not one single print failure or print-related error. Multiple cartridge changes, vat changes, empty cartridge warnings ignored, and the machine performs without skipping a beat.
Materials
As best we could tell, Formlabs’ sanctioned material experimentation is practically nonexistent on the Form 3 – something that is arguably the flip side of the selling proposition of this system. You could, if you so wish, manually pour the resin into the vats and skip past the empty cartridge warning to experiment, but control over laser settings and LPU speed are not possible in PreForm. Using a Formlabs 3D printer remains very much about unlocking access to their library of in-house developed materials.
The machine and system are just so. The fixed library of materials caters to use cases and perhaps most crucially are intelligently handled by the printer. There’s no expectation on the user to configure — simply plug the resin cartridge into the back of the printer and you are presented only with the option to choose the layer resolution. Everything else is taken care of.
To date, Formlabs’ in-house-developed material library caters to the specific demands of a broad stretch of industries, with prices typically reflective of the specialty and output; a standard resin runs at $149, whereas more industry-specific resins can run up to $399 for a cartridge.
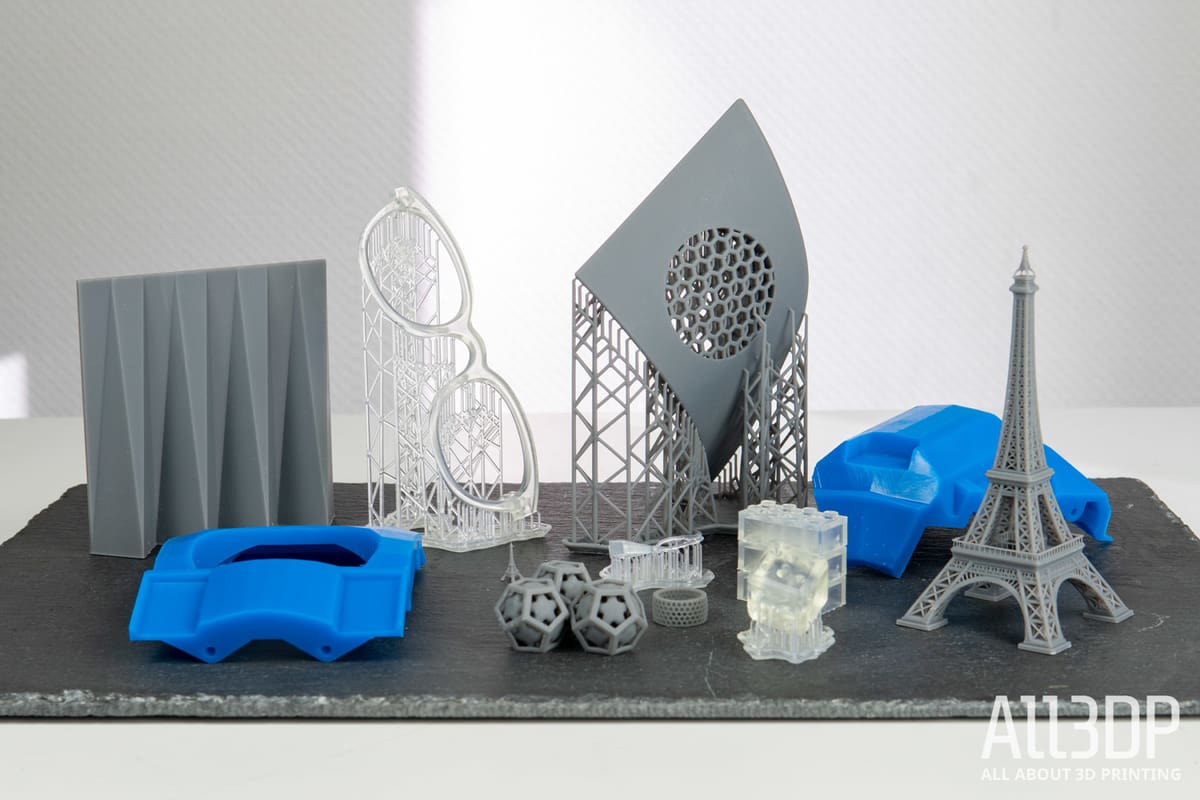
Dental, a key benefactor of the speed and detail offered by SLA 3D printing has a suite of dental resins at its disposal. Artisans casting small detailed objects in metals have options in the company’s ash-free castable resins, while generalist use is catered for by the Standard, Tough, Rigid, Pro, and myriad other resins.
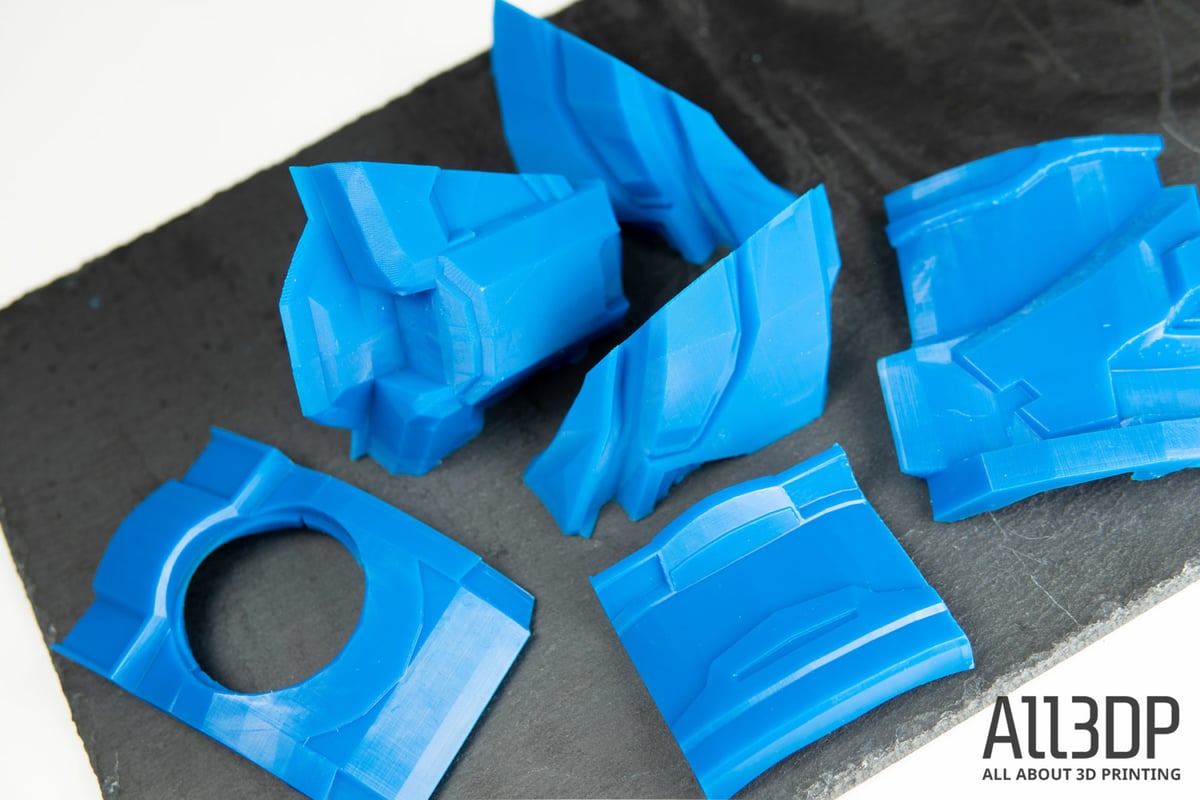
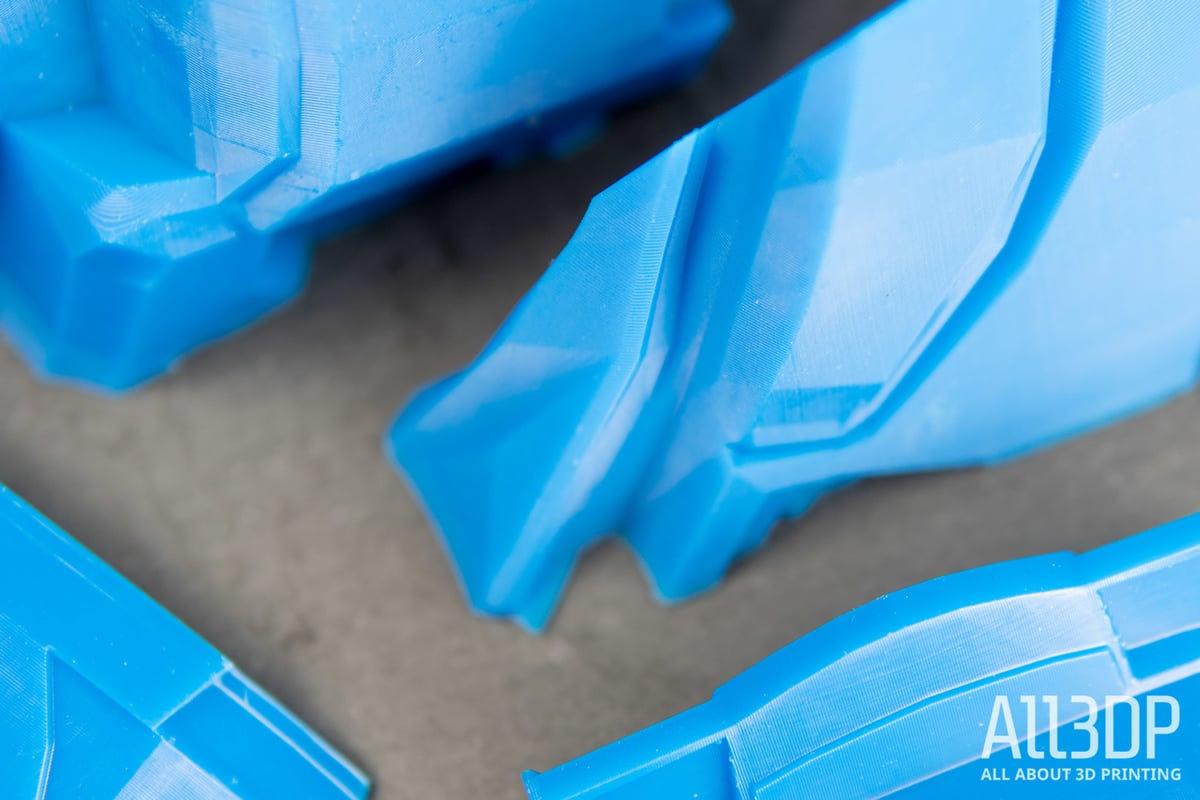
Across our testing, however, we reserve special praise for Formlabs’ new Draft resin, a radical solution to even faster parts. Allowing you to print layers at 0.3 mm, in real terms it means you can prototype parts much faster than previously possible on Formlabs machines, with little loss in quality (with the obvious exception of in the Z-axis.) It makes printing as fast, if not faster than comparable fused filament fabrication 3D printers not only possible but reliable and repeatable.
A strong criticism we’d level against Formlabs is the stinginess of its cartridge system. The empty cartridge warning triggers far too soon, with there invariably being a sizable pool of usable resin left, despite the warning.

It’s possible to ignore this warning and proceed with the print if you are certain there is enough resin already loaded in the vat to complete the job, but you can only do so at the end of a lengthy print pre-flight check the printer runs before each print (preparing the tanks, ensuring even distribution of resin). There’s no option to skip this cartridge check step before a print or remotely via the dashboard, meaning you have a long wait of the Form 3 attempting to load resin it apparently cannot access from the cartidge before you can manually force the print to begin.
And it’s no small amount of resin that falls through the cracks in this situation. It seems particularly cynical and wasteful, given the expense of the material to begin with.
On a more positive note, as a production solution the Form 3’s capabilities should improve over time, what with material releases (and their respective print profiles) under constant iteration and improvement. The standard grey resin we took for a spin is on V4, and shows excellent surface quality with little need for post-processing beyond support removal.
Conversely, as a new material offering, Draft resin currently sits at V1. While awesome to see large dense parts materialize so quickly, they suffer from a tackier finish that’s a little more challenging to completely clean. We would expect subsequent formulations and releases of Draft to optimize things further.
This takes us nicely to the crux of our Form 3 review, which is that, really, the printer doesn’t matter so much. It performs so reliably that it fades into the background, allowing you to focus on other aspects of the task at hand. To this, you’re putting your faith in Formlabs’ material and software engineers to come through, and in the constant trickle of material, software, and firmware updates, things appear to be in healthy shape.
Post-Processing
The Form 3 ships as standard with Formlabs’ basic Finish Kit of post-processing tools. It’s basic in the sense that it doesn’t physically do the post-print washing for you, as the Form Wash and Cure do, but as far as an assortment of stands, tubs, and tools go, it covers all the bases with well-designed implements to make the most of the messy situation that is resin print post-processing typically is.
The main feature is the dual IPA bath tubs, which include one-hand operation lids, and a basket for keeping prints contained and transferring them between IPA baths. A self-supporting print plate stand holds the print plate securely, keeping your hands free and away from uncured resin.
A welcome touch is the inclusion of a squeeze bottle with a long spout for flushing IPA into difficult to reach cavities.
Functionally the kit is perhaps as much as can be done without upgrading to the dedicated Form Wash and Form Cure devices, which, much like the Form 3 itself, simplify the process and make light work of finishing parts.
The Form Wash and Form Cure stand apart as separately purchasable devices. Priced at $499 and $699 respectively, they are also available as part of a $4,999 Form 3 bundle that also includes a year’s Pro Service Plan subscription (think enterprise-level care: immediate replacement parts, print support, online training and other services designed to keep a printer’s uptime, well, up).
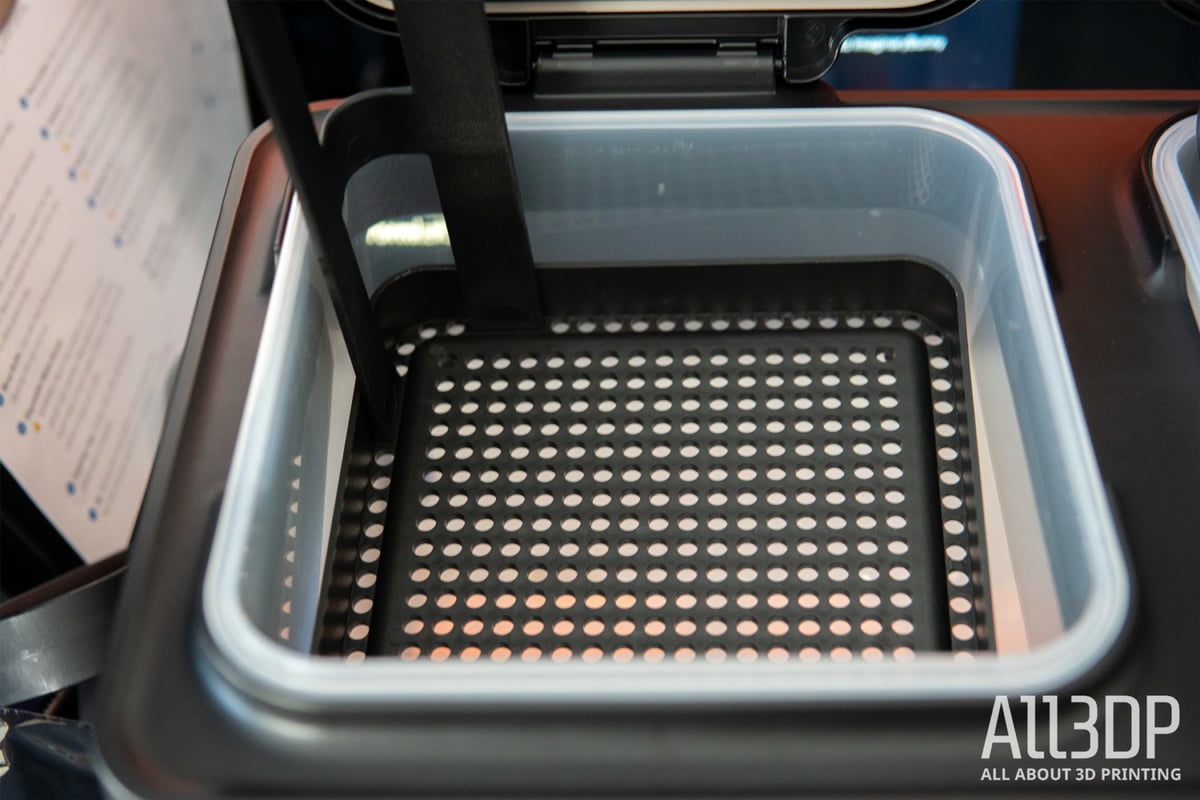
As their names suggest, the Form Wash and Form Cure both serve a specific aspect of post-processing resin prints. The Wash, once loaded with some 8 liters of high strength IPA (operation in a well-ventilated space is a must), takes care of part washing, with both a basket for loose parts and a slot for the print plate — print and all.
With three options at your disposal — begin wash, set time, and open/close — operating the Wash is a simple act of dialing in the required time, and letting the impeller at the unit’s base agitate the IPA sufficiently to wash away the uncured resin. A recommended wash time of 10 minutes is given for the resins we used, but we often found additional short runs were required to completely clean out prints with tricky cavities and dense support structures. A hand pump is provided for safely draining IPA out of the Wash.

Similar in its simplicity is the Form Cure, a device that heats and bakes printed parts in UV light. Essential for hardening prints to their correct mechanical properties and finish, as with the Wash, recommended cure settings for a given resin are provided. After placing prints inside the Cure and starting the process, the chamber heats to 60 degrees Celcius and gently bakes the prints while bathing them in UV light. We’ve little else to say about the Cure. It reliably works as expected.
Using the Form 3 with its standard Finishing Kit is a much cleaner experience than we’ve experienced with other resin 3D printers, which alone increases the value proposition of the machine. As a baseline experience, contact with resin and IPA is mostly contained and your exposure is kept at a minimum.
The Form Wash and Form Cure take this to another level, complementing the printer’s own ease of use and making what can be a messy method of printing and making it clean. Both are terrific.
Is It Worth It?
For a small or medium business in need of a high-detail workhorse, the Form 3 is an easy recommendation. It expects nothing of you, and consistently produces high-detail prints (and thanks to new resins, large drafts) of the 3D models you throw at it.
Some would argue that Formlabs’ consumables are on the expensive side, but for the reliability on offer, things probably balance out in an environment where time is money.
Honestly, if we could spend the rest of our printing days with the Form 3 and a lifetime’s supply of Draft resin, we’d be in heaven. The printer is a matter of moments to set up, and barely a few moments more to One-Click, or configure a part-automated print job. It’s here, and in the novel and specialist material formulations available in its ecosystem, that the Form 3 shines.
Tech Specs

GENERAL
Printing Technology: Low Force Stereolithography (LFS)
Laser: Light Processing Unit (LPU), 250 mW405 nm
Build Volume: 145 x 145 x 185 mm
Z-Layer Resolution: 25 – 300 microns
XY Resolution: 25 microns
UI: 5.5-inch touchscreen
Connectivity: WiFi, Ethernet, USB
Build Platform Leveling: Automatic
Materials: Formlabs resin cartridges
SOFTWARE
Software bundle: PreForm, Dashboard Printer Management
File types: STL, OBJ
WEIGHT AND DIMENSIONS
Weight: 17.5 kg
Dimensions: 405 x 375 x 530 mm
Where to Buy
The Formlabs Form 3 is available from the retailers listed to the right.
License: The text of "Formlabs Form 3 Review: Best Resin 3D Printer 2020" by All3DP Pro is licensed under a Creative Commons Attribution 4.0 International License.