
How To Use Hydro Dipping and Hydrographics on your 3D Prints

Learn all about the cutting edge and traditional variations of Hydro Dipping / Hydrographics -- and how to use them with 3D printed objects.
The ways you can treat your 3D prints are manifold. There are two great ways of getting great results without too much hassle: Hydro Dipping and Hydrographics. Let‘s dive into these interesting techniques.
Hydro Dipping / Hydrographic Technology #1: The Marbled Paper Technique
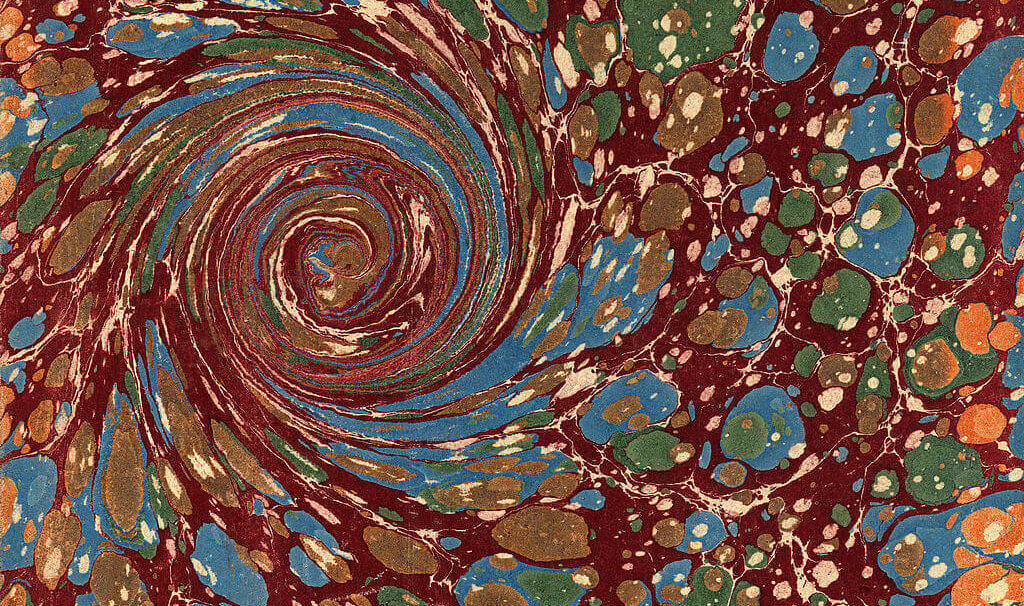
“There is nothing new under the sun” – that’s certainly true for Hydro Dipping or Hydrographics. A similar technique has been used for more than one millennium to apply patterns that resemble marble onto paper. You may have seen these beautiful papers in stationary stores or old books before.
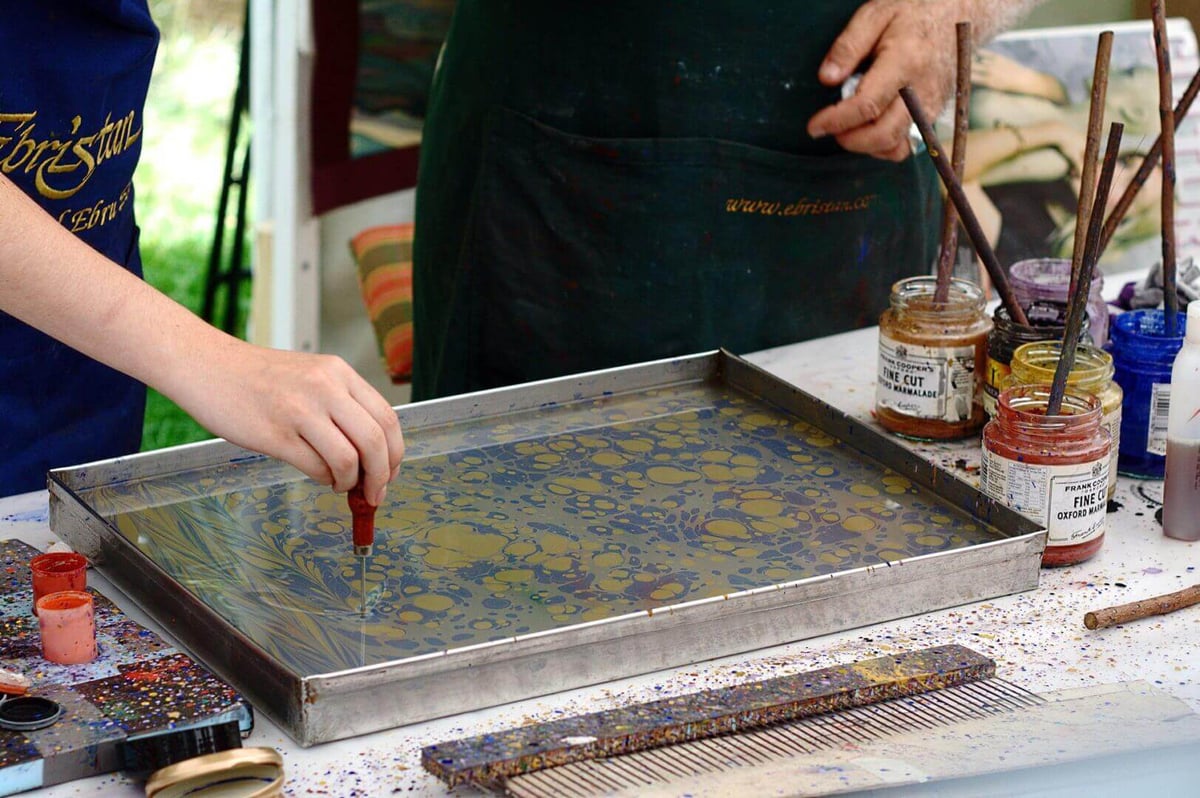
Marbled papers are produced by applying oil-based inks onto the surface of a water tray. Fanciful and intricate patterns can be achieved by blowing on the inks or stirring them carefully. A sheet of paper is prepared beforehand with alum and then laid onto the colorful surface. The paper is then removed and allowed to dry, while the tank is cleaned of remaining ink before the next coloring begins.
Don’t miss the awesome paper marbling hydro dipping kit we found for you!
Hydro Dipping / Hydrographic Technology #2: Spray Can Hydro Dipping / Hydrographics
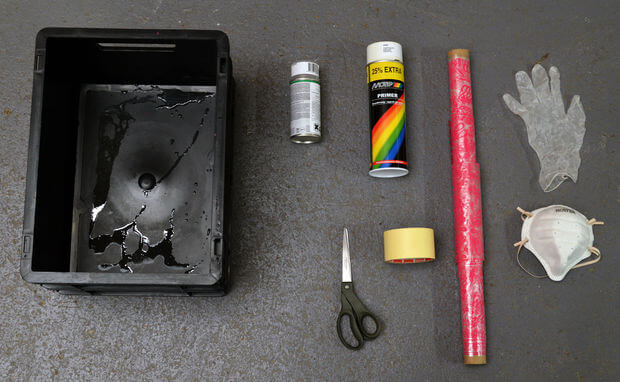
Spray Can Hydro Dipping is the next step in the evolution of paper marbling by applying it to three-dimensional objects. This technique can be used for 3D printed and other parts alike – provided the surface texture can absorb color. If you’re unsure about this, use sandpaper to get a suitable surface. For more complex shapes, careful sandblasting is the way to go. Next, tape all the parts of your part that you don’t want to hydro dip. You can even furnish makeshift handles from tape to ease the dipping.
Fill a plastic container with water. Make sure the container is deep enough to fully submerge your 3D printed parts. Now to the fun part! You can use about any regular acrylic spray paint – Hydro dipping is a great chance to use up old spray cans. Spray generously onto the water. Add sprays on different spots of the water’s surface to create intricate patterns. Go crazy! Spray until you’re satisfied with the general look.
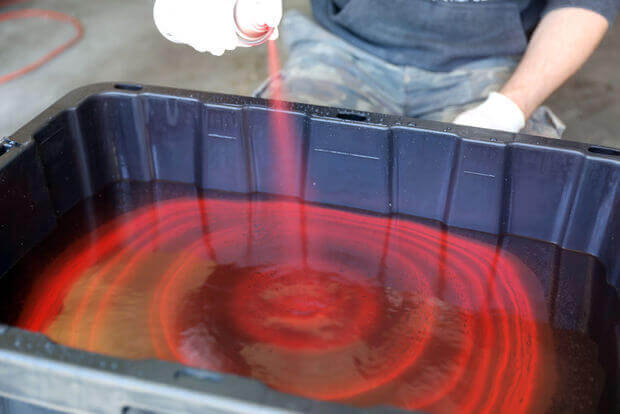
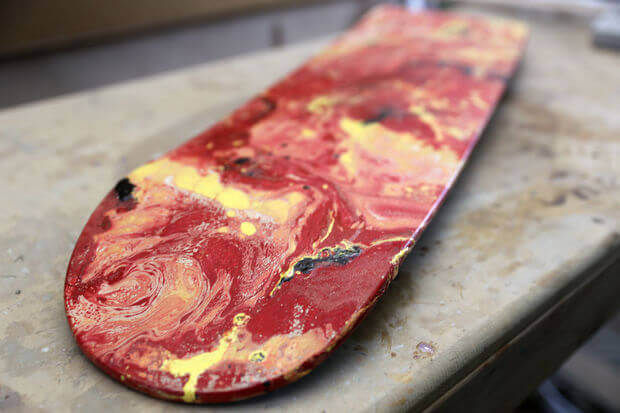
Submerge the part slowly but at a steady pace into the container. You will notice that the floating color wraps around your part almost like a blanket and stick to it. As a general rule, you should dip items at an angle of 45° to achieve good results. But you may prefer different angles for different effects. The same goes for pacing.
Then, push away the remaining paint floating on the water to avoid getting an unwanted second coating onto your item. Only then you can pull it out and let it dry. To protect the hydro dipping paint job spray it with polyurethane two or three times.
For detailed instructions on spray-can hydro dipping, take a look at this Instructable.
Hydro Dipping / Hydrigraphic Technology #3: Transfer Film

The introduction of hydrographic transfer films some 40 years ago ushered in the mass application of the technique. These films can be printed with any desired motive, usually, a repeating pattern, to produce consistent quality and a uniform appearance.
Hydro dipping with transfer films requires equipment that is a little more elaborate than what we have seen in the previous stages of development. You will need two chemicals, one to prepare the part (Primer) and another to activate the transfer process (Activator). Check out this kit that contains everything you need to get you started with hydrographic.
Just like spray paint hydrographics, this technique can be used for 3D printed and other parts alike. Make sure the surface texture can absorb color. If you’re unsure about, use sandpaper to get a suitable surface. For more complex shapes, careful sandblasting is the way to go. Next, tape all the parts of your part that you don’t want to hydro paint. You can even furnish makeshift handles from tape to ease the dipping.
This step is optional. Depending on the hydro dipping film you are using, you can start with a base coat of paint. Some films are translucent and allow the base coat to shine through.
Apply the primer onto your part – be sure to wear a protective mask! The primer enables your object to stick to the film. Allow for it to dry – this can take up to two hours.
Fill a plastic container with water. Make sure the container is deep enough to fully submerge your 3D printed parts. The water should be between 25° C to 30°C (or 77° F to 86° F). Cut the hydro dipping film to the right size. Glue tape to the edges to prevent the film from rolling up. Hold two adjacent edges with your hands. Then, let it slowly glide onto the water surface beginning with the two edges you’re not holding – if you do it properly, the shouldn’t be any air bubbles underneath the film. Let the film hydrate for 60 seconds (times may vary, read the instructions of your film carefully. Activate the film by spraying it with the activator – be sure to wear a protective mask.
Submerge the part slowly but at a steady pace into the container. You will notice that the floating film wraps around your part almost like a blanket and stick to it. As a general rule, you should dip items at an angle of 45° to achieve good results.
Then, push away the remaining film floating on the water to avoid getting an unwanted second coating onto your item. Only then you can pull it out. Carefully rinse off the residue until only the film remains and let the item dry. To protect the hydro dipping paint job spray it with polyurethane.
This amazing instructable will walk you through the entire hydro dipping for 3D printing process picture by picture.
Hydro Dipping / Hydrigraphic Technology #4: Computational Hydro Dipping
Film hydro dipping has been around for a couple of decades and it has done its job well. However, traditional films are limited to repeating patterns. For sure, that’s sufficient for applying camouflage on military gear or revamping your old motorcycle with carbon fiber patterns. Enter 3D printing, researchers from Zhejiang University presented an ingenious method to precisely align hydrographic transfer film on 3D printed objects.
They developed simulations that predict how the film will wrap around a given STL file. Based on the results, an unwrapped version of the graphic is printed onto hydrographic film. Using metal frames, the hydrographic transfer film is then positioned at a specific position on the water surface. Finally, the 3D printed object is lowered into the tank at a controlled speed.
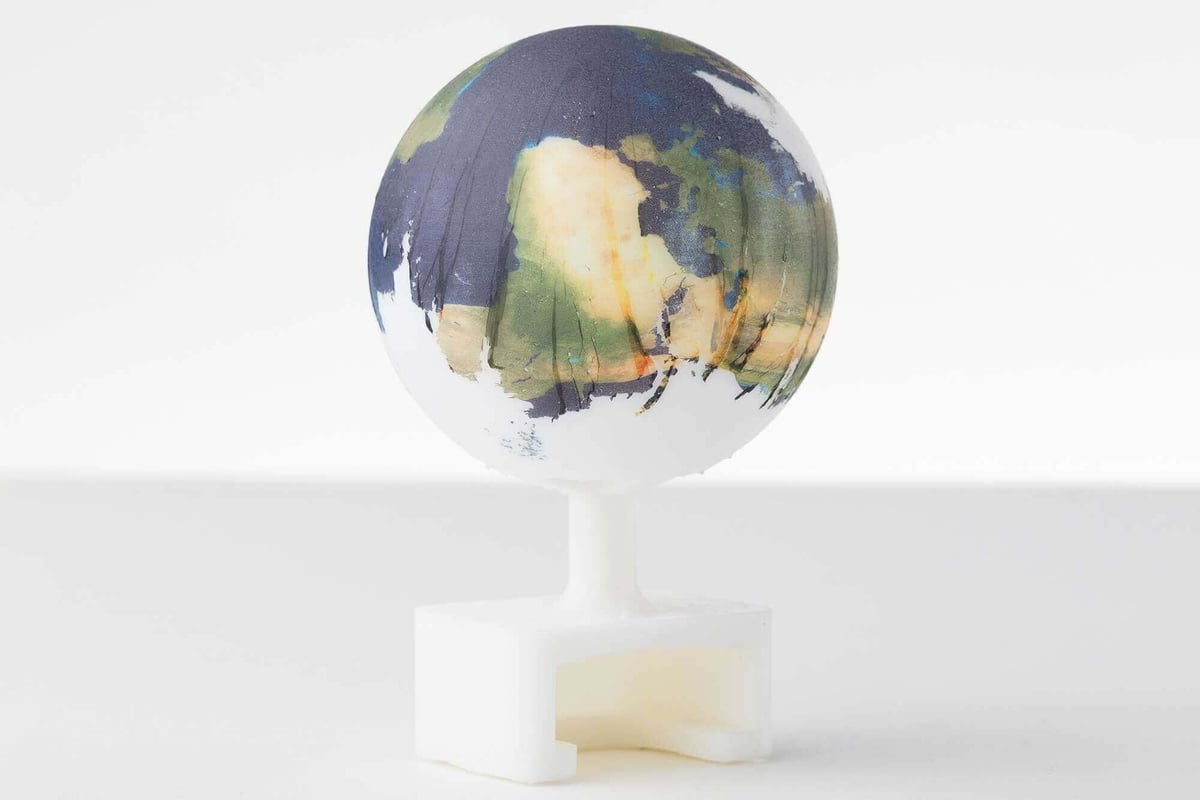
Computational Hydro Dipping, as it is called, works well with solid curved objects, like spheres. More challenging: Objects characterized by undercuts and large z-breaks. But it has been demonstrated that even complex 3D prints can be successfully colored with multiple hydrographic dipping passes.
Since this method was made public in 2015, it has been replicated by other researchers. Formlabs even put a guide on its website that walks you the process in detail. It should make for a quite elaborate DIY project, but it’s definitely doable for ambitious makers. If you want to try this at home, don’t miss the inkjet printable blank hydrographic film on Amazon.
Dodin's Marbling Starter Kit
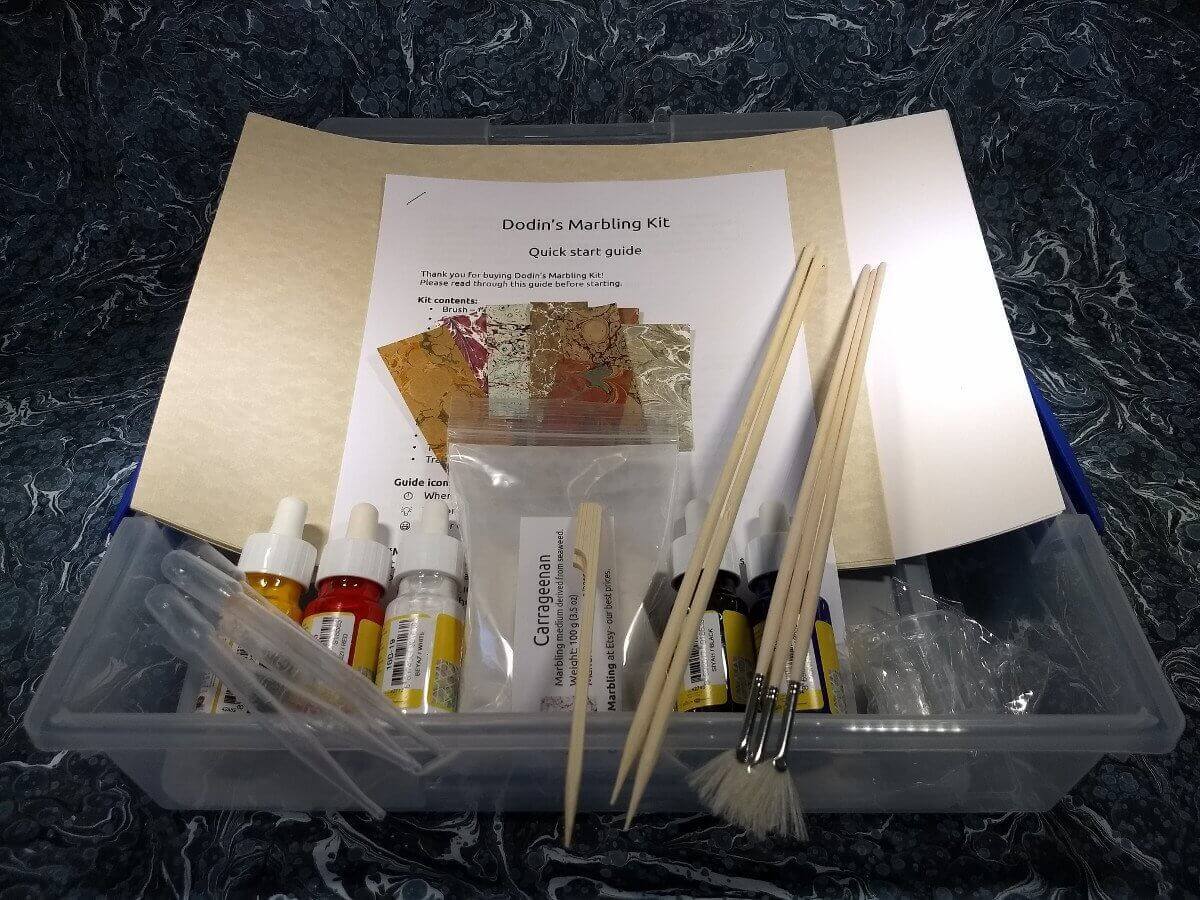
Go old school with this paper marbling starter kit! Immerse yourself in this century old craft and surprise friends and family with your creations. This kit includes paint, brushes, combs, protective aprons and table cloths, an assortment of papers, marbled paper samples, one measuring cup, two styluses, five pipettes, one tray, one stirring stick and a guide with instructions.
Dip Ape Kit
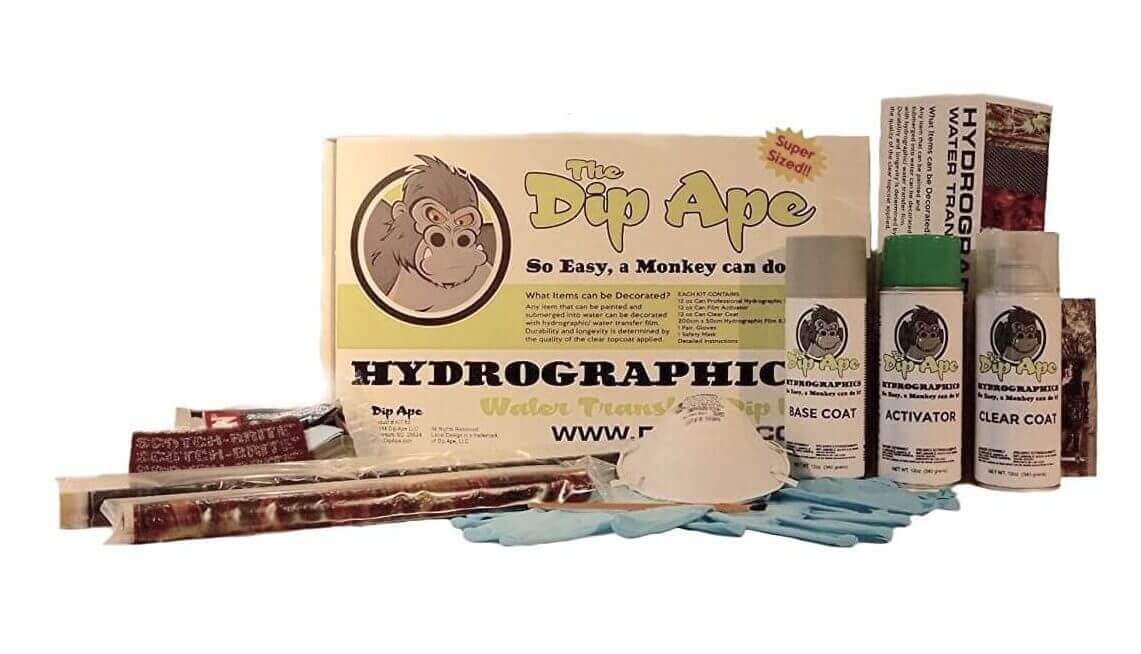
We present the the most comprehensive hydro dipping kit we could find. It will equip you with everything you need to get started. Apart from 1 square meter of film, you get the following items: base coat paint spray, film activator spray, one pair of gloves, one respirator safety mask, one scotch brite pad, one touch up brush, one tack cloth and a set of instructions. Also, this kit includes a classy carbon fiber film.
Dipping Tank
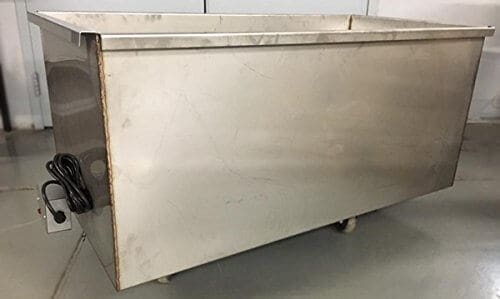
When you first make your feet wet in hydrographics, an ordinary tub or even a large bucket will likely do the trick. However, once you acquire a liking for it you might want to start hydro dipping larger items. This tank is made from stainless steel and equiped with a heater to keep the water at the perfect temperature. Measuring 50″L x 26″W x 20″D, you can dip even large objects. Why not start a hydro dipping business?
Dupli-Color Primer
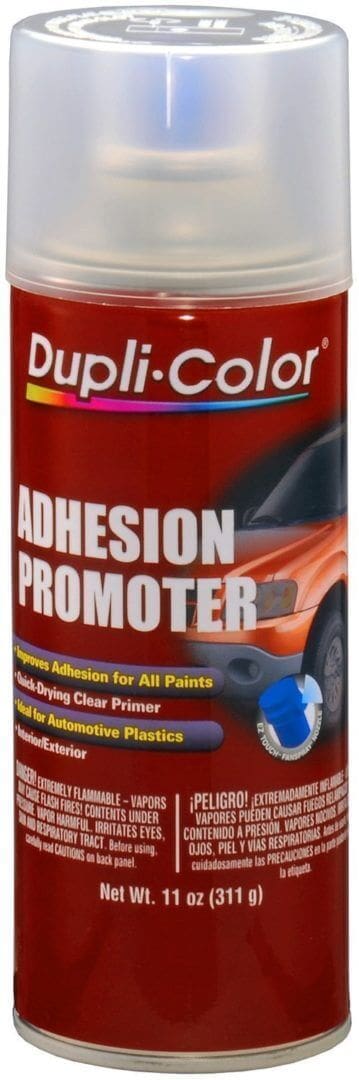
The first necessary ingredient to hydro dipping is the primer. It promotes adhesion of the transfer film to the object. After applying the primer, allow for it to dry, before transfering a film onto your part. This can take up to two hours. This particular brand is quick drying as well as suitable for interior and exterior use.
Southern Hydrographics Activator
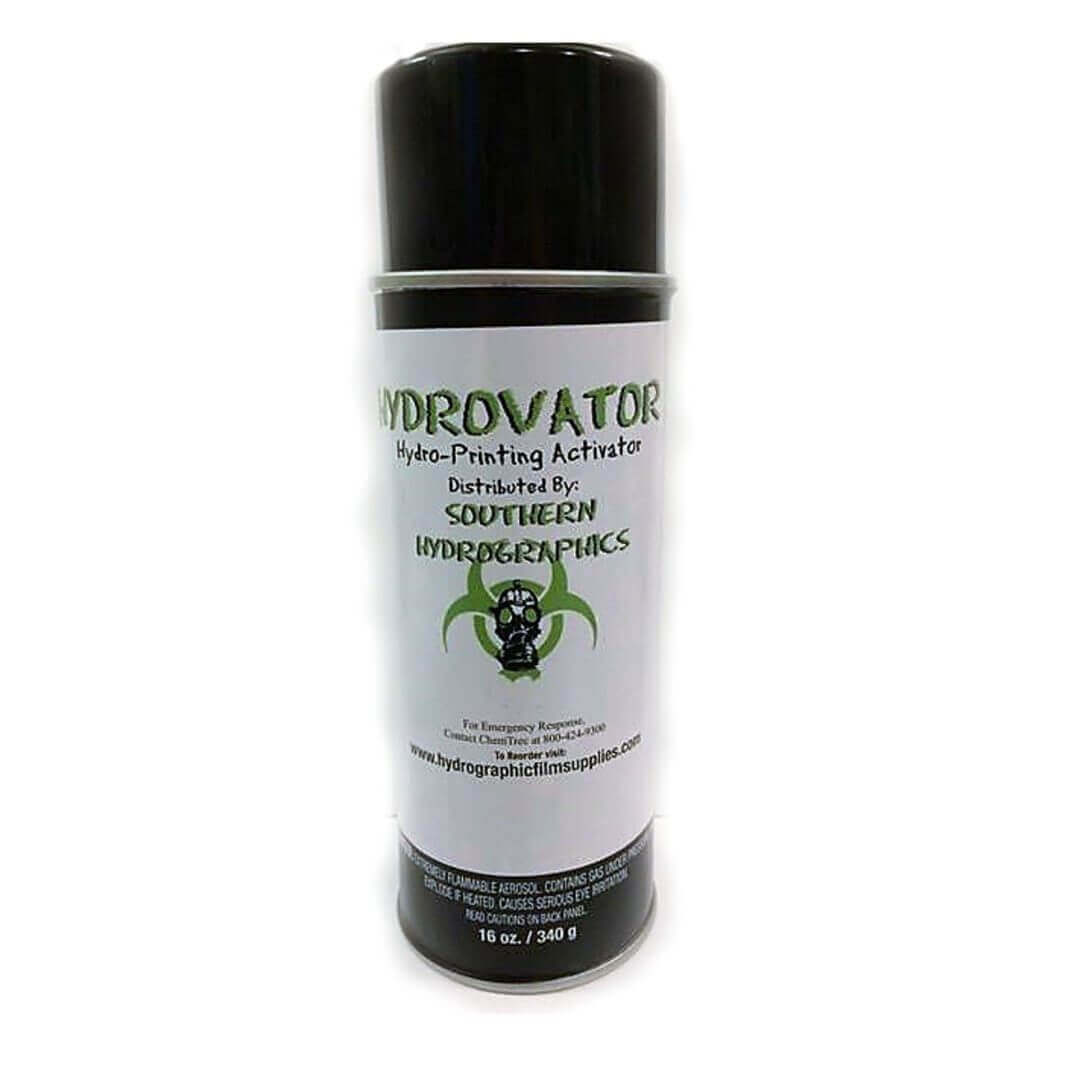
After sliding your transfer film into the water tank, you let it hydrate for about one minute. Then activate it using this second magical ingredient to hydro dipping. Be sure to do this outside or with your windows open, wear a protective mask, as the fumes can be noxious.
Printable Transfer Film
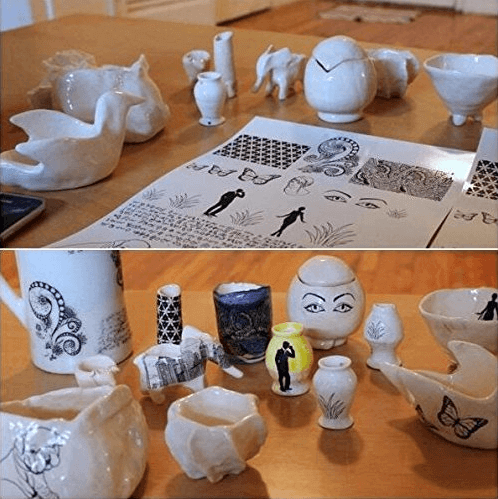
You don’t like camouflage, carbon fiber or skulls? Why not make your own pattern with this printable film. Any 2D inkjet printer will do the job. The 20 sheets should keep you busy for while. After printing, spray the transfer paper with clear acylic paint and allow to dry, then process like normal hydro dipping film.
License: The text of "How To Use Hydro Dipping and Hydrographics on your 3D Prints" by All3DP is licensed under a Creative Commons Attribution 4.0 International License.