Original Prusa XL: Multi-Toolhead First Look

The Original Prusa XL, is available to order, but multi-toolhead units have yet to ship. Here’s our first look.
Prusa Research revealed the Original Prusa XL – a large-format CoreXY 3D printer with an impressive-looking five-head toolchanger – way back at Formnext 2021. Since then, the highly-anticipated 3D printer has suffered repeated delays – largely due to global part shortages – and undergone various changes since its initial reveal.

The Original Prusa XL finally launched earlier this year, but only partially. So far, only the single-toolhead configuration of the CoreXY machine has shipped, with dual-toolhead units now expected to begin shipping this week (June 19) – lagging about a month behind the company’s mid-May prediction. XL’s ordered with five toolheads will lag again by at least another four weeks, so expect them mid-July.
To get a first look at the XL in its multi-toolhead form, we ventured over to Prusa Research’s headquarters in Prague to see the Original Prusa XL for ourselves.
Though we interacted with the machines directly – Prusa even prepared a laptop with Prusa Slicer for us – we wouldn’t exactly call this a “hands-on”. More like a demo. You can only glean so much about a system like the XL in the afternoon we were limited to. That said, we had plenty of questions, and our hosts were forthright with answers. The experience was enlightening, and it was impressive to see the XL doing its thing.

It’s important to note there are too many interesting details about one of the Prusa XL’s crucial components, the Nextruder, to cover here. So, we’ve covered the impressive extruder in its own article. For the full picture, check out our Nextruder deep dive, which covers many of the XL’s advanced features.
Features
Before we get into our brief time with the Original Prusa XL, let’s zoom out and take a look at the machine’s overall composition; its important features and details. If you’d rather get to the good stuff, head down to the Guided Setup section to hear about our time with the multi-toolhead XL.
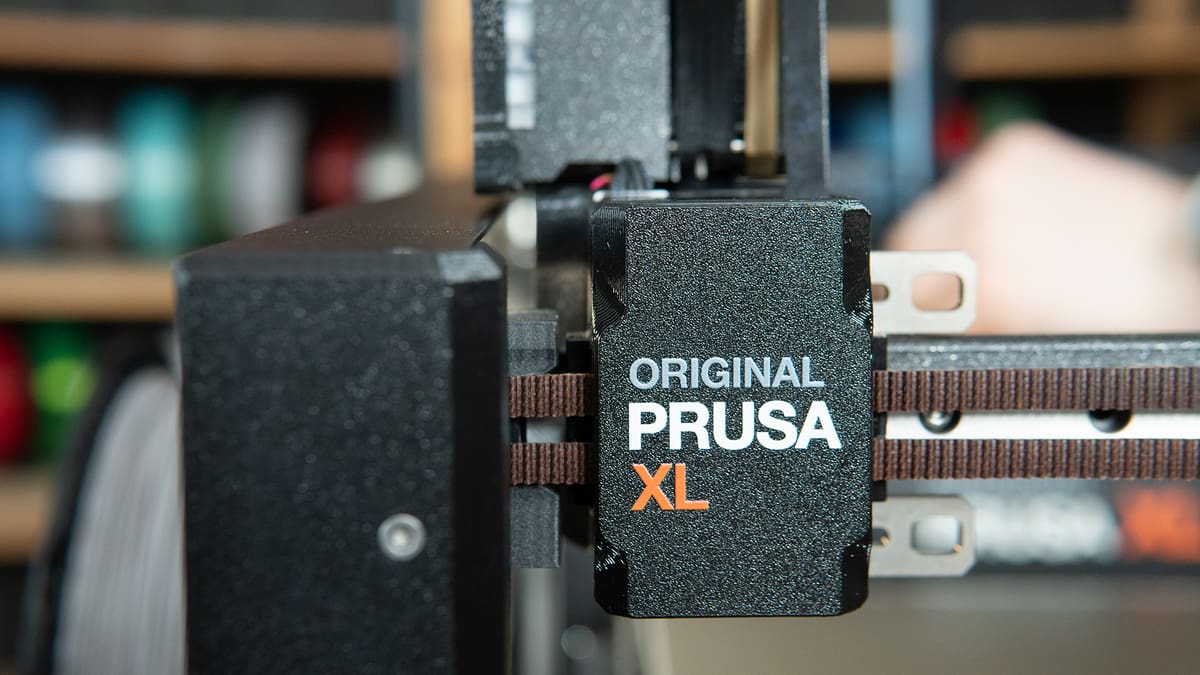
CoreXY
Aside from a large build volume, what we knew from Prusa’s original announcement in its 2019 Mini release blog article was that the Prusa XL would use a CoreXY architecture. It’s a new mechanical arrangement for Prusa Research and follows a huge surge in the popularity of CoreXY 3D printers in recent years.
Because XY motion on CoreXY printers is carried out by a system of long belts and steppers that are attached to the printer’s frame, there are fewer weighted parts moving around. Just the printhead, really. That limits vibrations and should allow for high-quality printing with a large build volume without too many artifacts showing up.
Nextruder
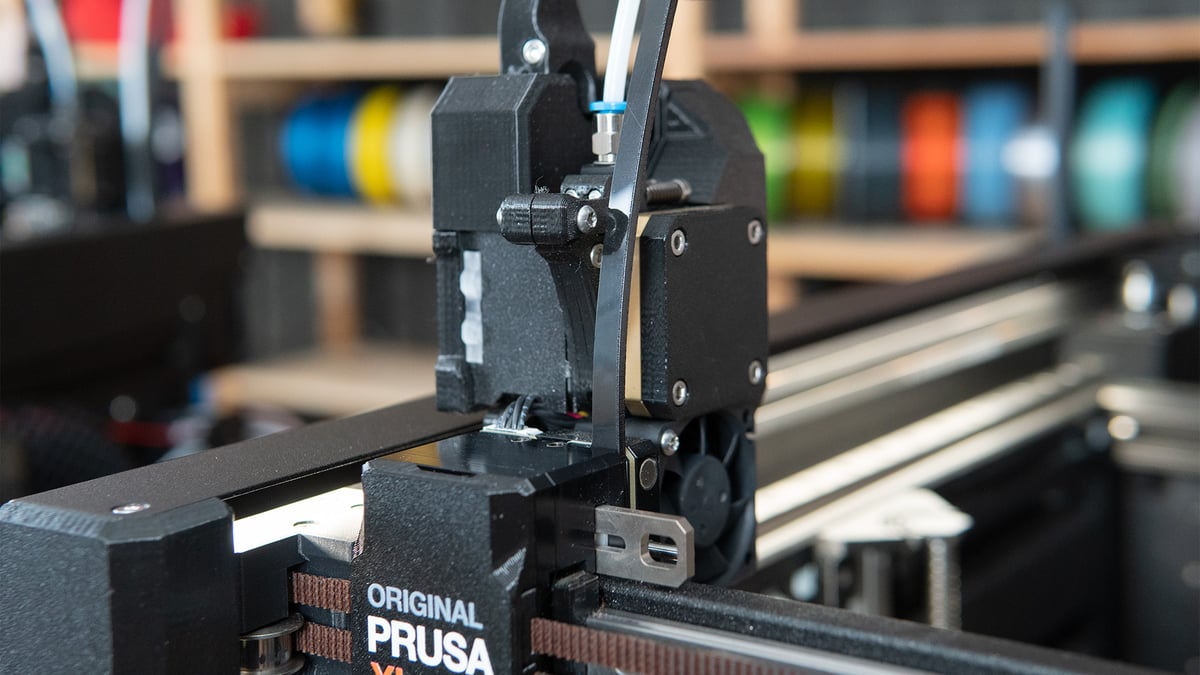
Despite ostensibly being about 30% lighter than the MK3’s print head, a lot of impressive features have been piled into the XL’s new “Nextruder”. These advanced direct extruders have embedded load cell sensors for an “always perfect first layer” and dirty-nozzle detection, a planetary gearbox with a 1:10 gear ratio, a built-in accelerometer, and a “Dwarf” control board with a dedicated CPU to themselves to make the new advanced features work. Even the extruder’s nozzles are a custom E3D collaboration that helps make the whole hot side quick-swappable.
A lot of the Prusa XL’s most interesting features are housed in the Nextruder, and it was just too much to cover in one article. The key takeaway is that Prusa’s new direct extruders are taking center stage. But, give our in-depth article, The Nextruder: Prusa XL Deep Dive, a read if you’re interested in the nitty-gritty of it all.
The Original Prusa XL isn’t the only Prusa 3D printer to feature the Nextruder. The Original Prusa MK4 has a slightly modified Nextruder (just without a CPU and accelerometer). Check out our Original Prusa MK4 review to get an idea of our experiences with the printhead.
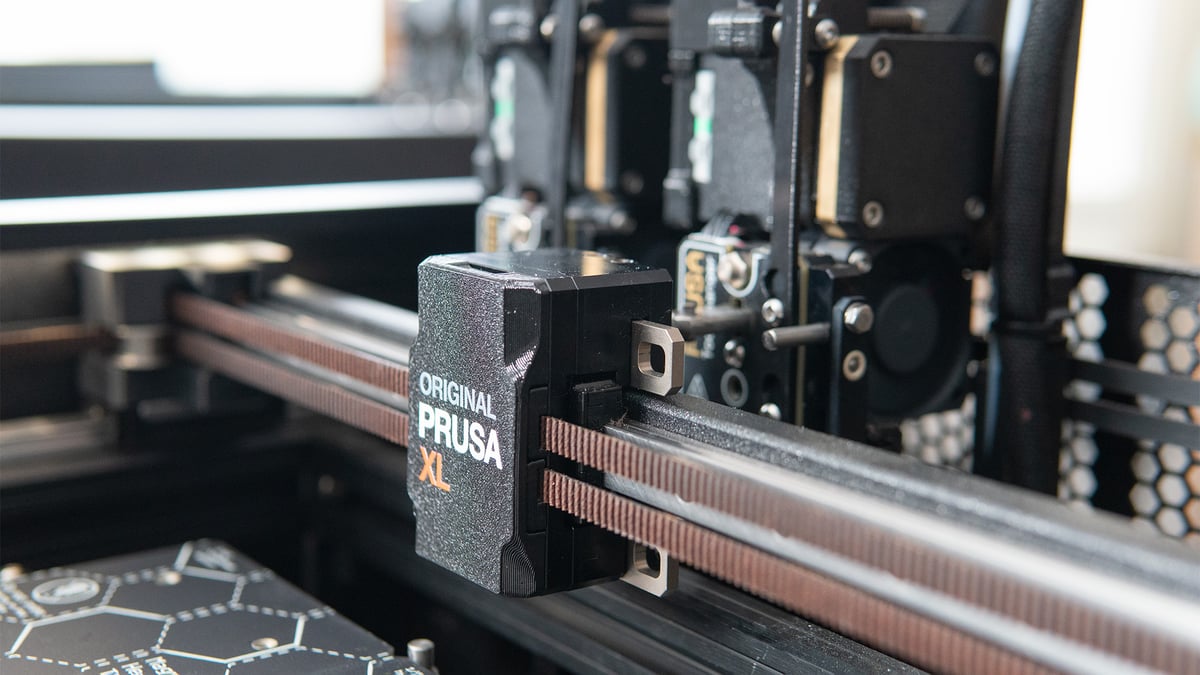
Toolchanger
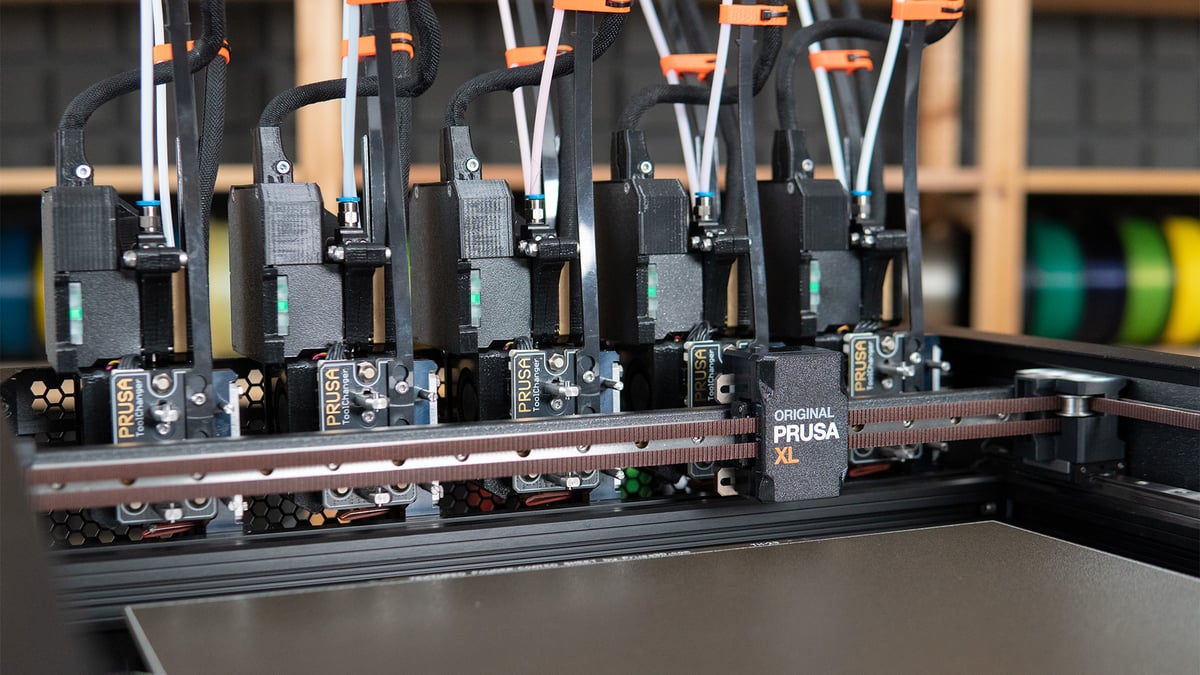
Speaking of print heads, the XL can use five of them with its optional toolchanger. Yes, optional. You can pre-order the Original Prusa XL with just a single print head and expand later if you so wish.
The toolchanger is truly the standout feature of the system. In our brief time with the XL, we were impressed by how quickly it managed to swap printheads and by how well it maintained an accurate XY position when doing so. More on that below.
A second toolhead costs an additional $500 when you order the XL and gets you both the toolchanger hardware and a second Nextruder. To go beyond that, you’ll need an “expansion card” that slots into the back of the machine via PCI-e bus and another power supply in addition to the XL’s default two. Prusa recommends going for the full five toolheads if you think you need more than two, a recommendation you’re forced to accept when you order now – you have a choice of one, two, or five toolheads.
Five toolheads with the XL cost $3,499 ($1,500 more than the single-toolhead XL). Prusa has told All3DP that it intends upgrade prices to be similar to the current difference between versions, but may include a small premium.
Prusa has said that there are “ideas and prototypes for various tool heads, such as for imprinting objects like RFID tags or metal nuts,” but it isn’t ready to announce any new tools yet. The company is also considering the best way to make the creation of toolheads possible for the community, which may be tied up by its issues with the market’s current practices surrounding open-source designs.
Segmented Heatbed
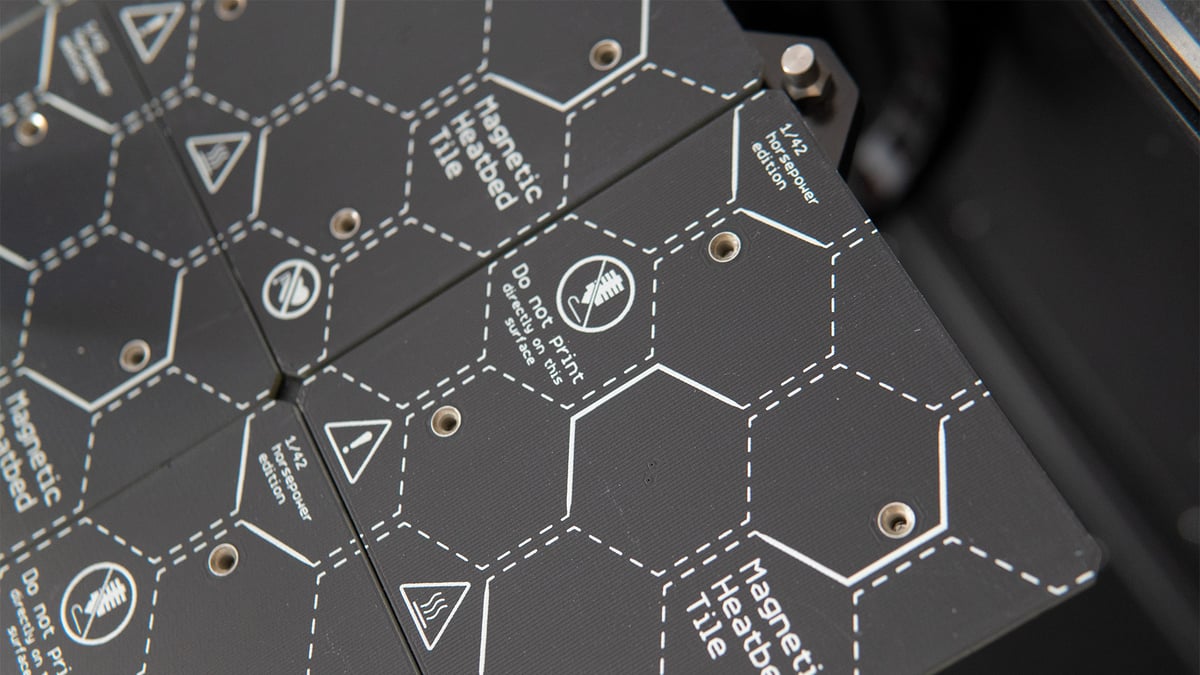
Since the XL is, well… extra large, Prusa seems to feel the full 360 x 360 x 360 mm build plate won’t be fully utilized on a regular basis (and we’re inclined to agree). For some added efficiency, it has implemented a segmented heatbed – the heating element the removable print bed rests on top of. Instead of the usual single solid element, the XL has sixteen 90 x 90 mm heating elements capable of heating independently — and of doing so faster than a Prusa Mini or MK3S+.
The segmented heatbeds sound great for efficiency in terms of energy and speed, and the XL will even be able to relocate prints to place them more efficiently (unless users override this feature). The heatbeds will also clearly make scaling printer build surfaces easier for Prusa in the future. The iX – Prusa’s CoreXY modules for its Automated Farm System – use the same segmented beds in a 3 x 3 pattern. Though, interestingly, the new Original Prusa MK4 takes the classic path with a single larger heatbed.
Further Features
There’s a lot more to talk about here, but the following are just a few features easier to mention in passing than the above:
- 32-Bit Mainboards: Prusa has moved on from the MK3S+’s 8-Bit mainboard to a 32-Bit board in more recent models. The XL actually includes several 32-bit boards: the XLBuddy, which is the printer’s primary mainboard; the Nextruder’s Dwarf board; and the heatbed controller, which manages all 16 of the segmented heatbeds. Fortunately, all these boards running unique firmware are able to be updated at once.
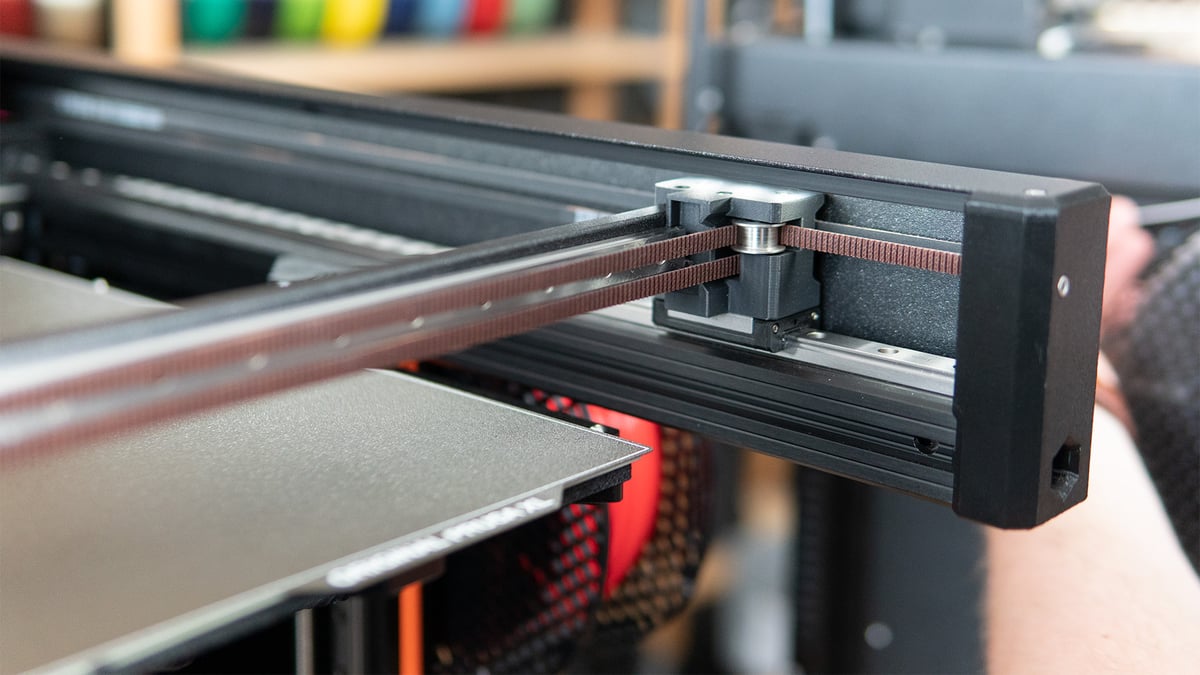
- Linear Rails: It shouldn’t surprise anyone that the Prusa XL uses linear rails as motion guides. A large build volume demands rigid, accurate motion, so these are crucial. Sourcing linear rails was actually one of the reasons Prusa named for development delays. The CoreXY system itself goes a long way, but protecting that belt arrangement from vibrations and keeping everything as rigid as possible will preserve its accuracy for longer.
- Networkable: The Prusa XL comes ready for wired or wireless 3D printing. It comes with PrusaLink built-in for local network 3D printing, and Prusa Connect is available for fully remote monitoring and printing.

Guided Setup
During our visit to Prusa Research’s headquarters to see the multi-toolhead Original Prusa XL in action, the team prepared two machines for us: one unit with two toolheads in its factory state and a fully-loaded five-toolhead unit ready to go so we could see multi-filament printing in action.
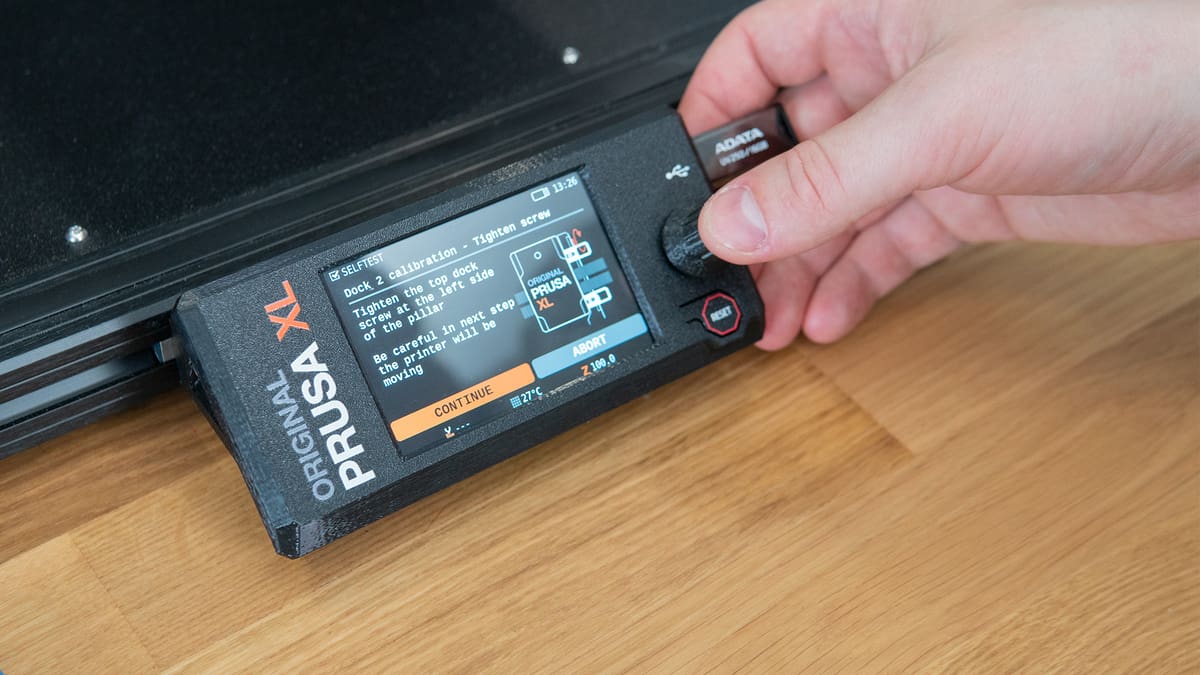
The first-time setup for the Original Prusa XL is a somewhat lengthy semi-automated routine. It’s not something you’ll need to go through regularly, but you can always re-calibrate a particular feature if something isn’t working right.
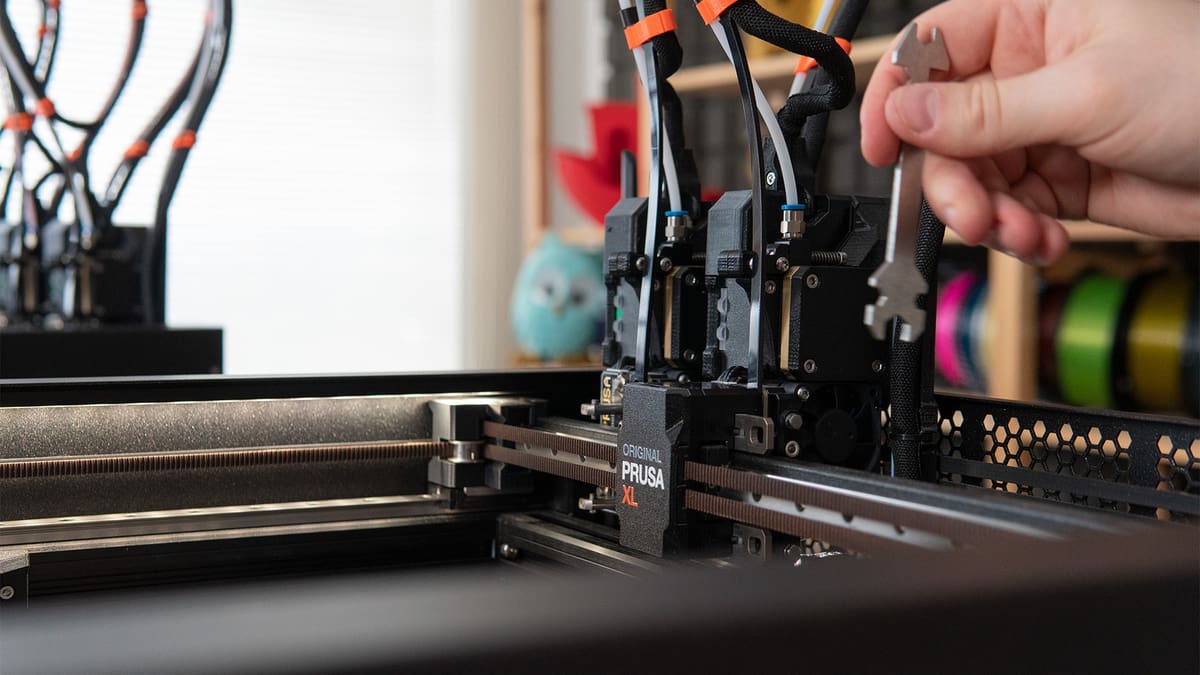
The setup includes initial tests of important sensors like the nozzles’ load cell, calibrating input shaping (resonance compensation), and calibrating the toolchanger for each toolhead – which is the most involved part of this routine.
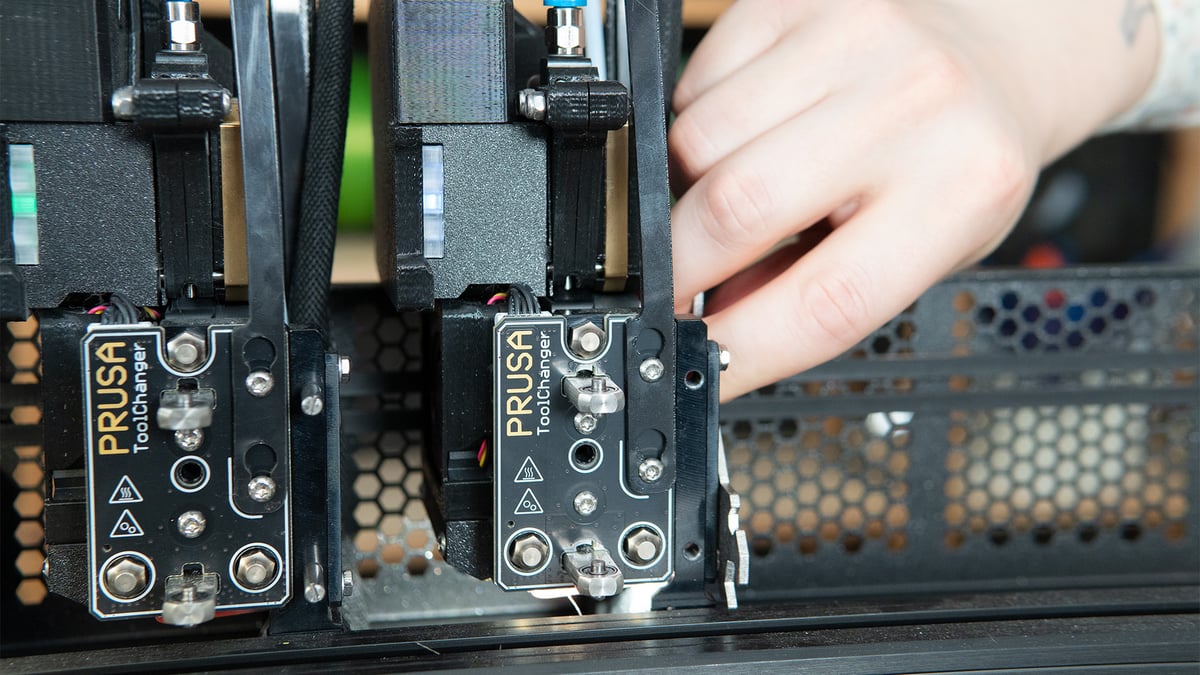
While calibrating the toolchanger, you’ll be guided on screen with clear, simple instructions that include illustrations. The process involves unscrewing some pegs and loosening mounting screws, then moving the toolchanger over to a given toolhead and locking it manually. The printer will prompt you to retighten some screws, run a few tests, then prompt you to re-insert the pegs. Rinse and repeat for each toolhead and you’re good to go.
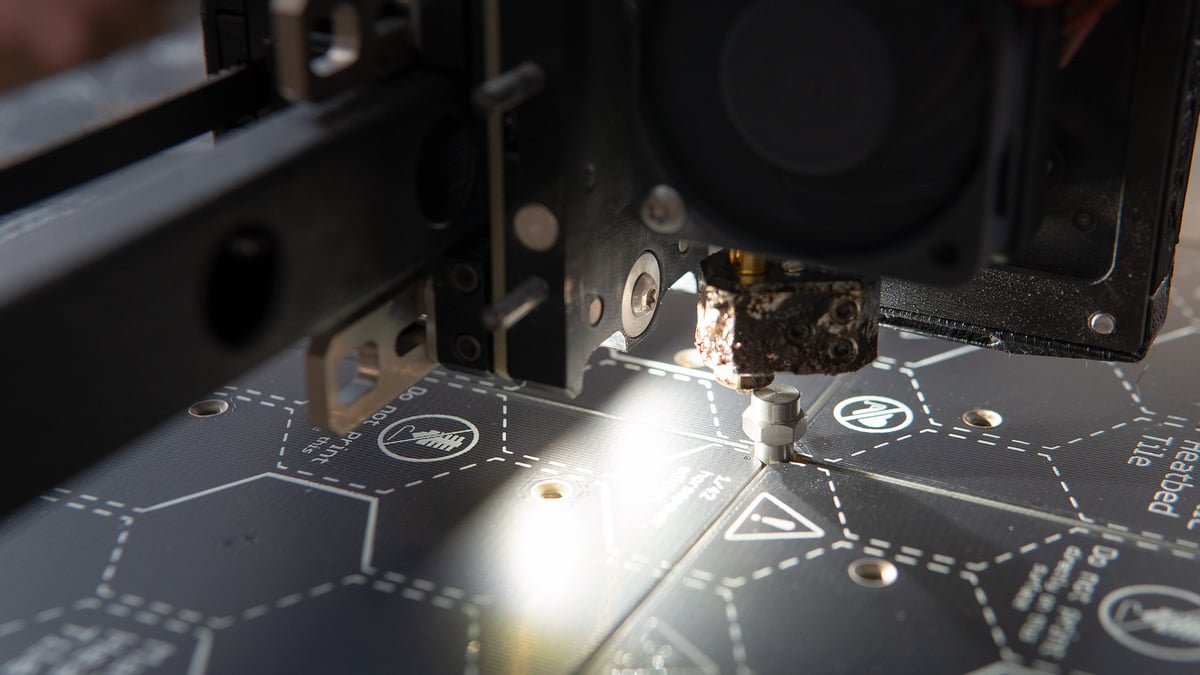
One last small bit you need to get your hands dirty with is calibrating the Nextruder’s load cell sensor. You’ll be asked to tap the extruder nozzle with your finger then, later, to remove the build plate and screw a small metal peg (that Prusa referred to as a “nipple”) into the middle of the print bed. The printer will make contact with the peg (we’re not calling it a nipple) in various ways, then the manual work is done. Easy.
Though a little longer than a typical 3D printer’s first-time calibration, the process isn’t all that drawn out and makes perfect sense for a multi-toolhead machine such as the XL. Then it’s time to get printing.
Printing
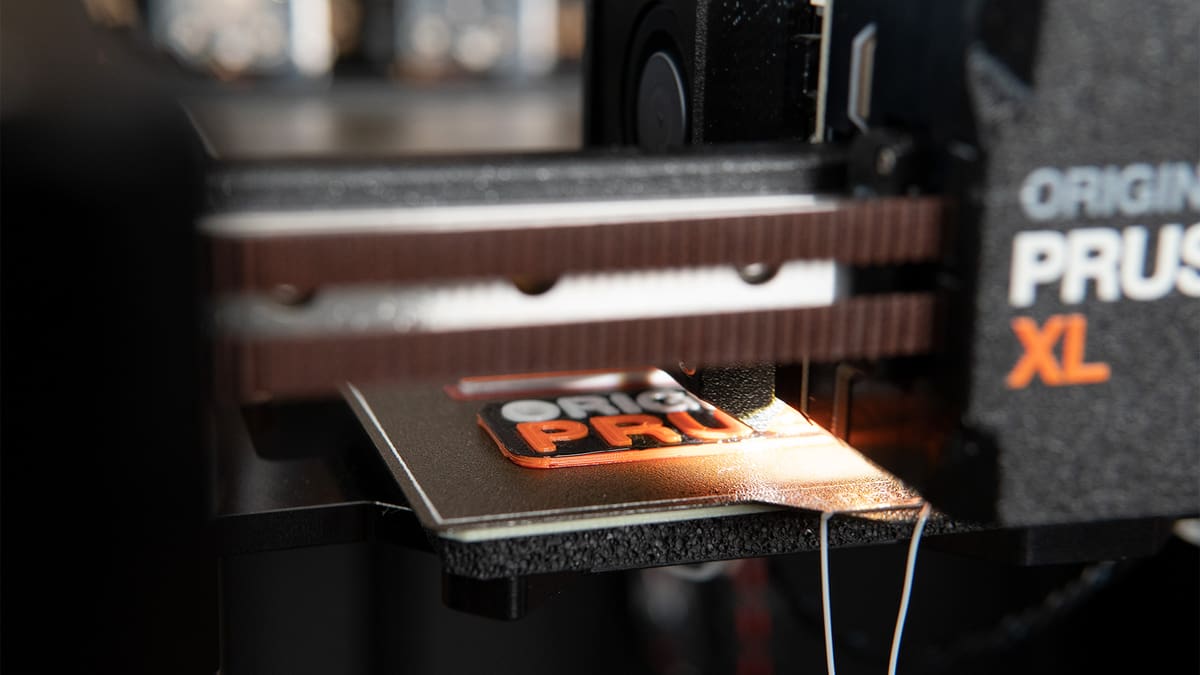
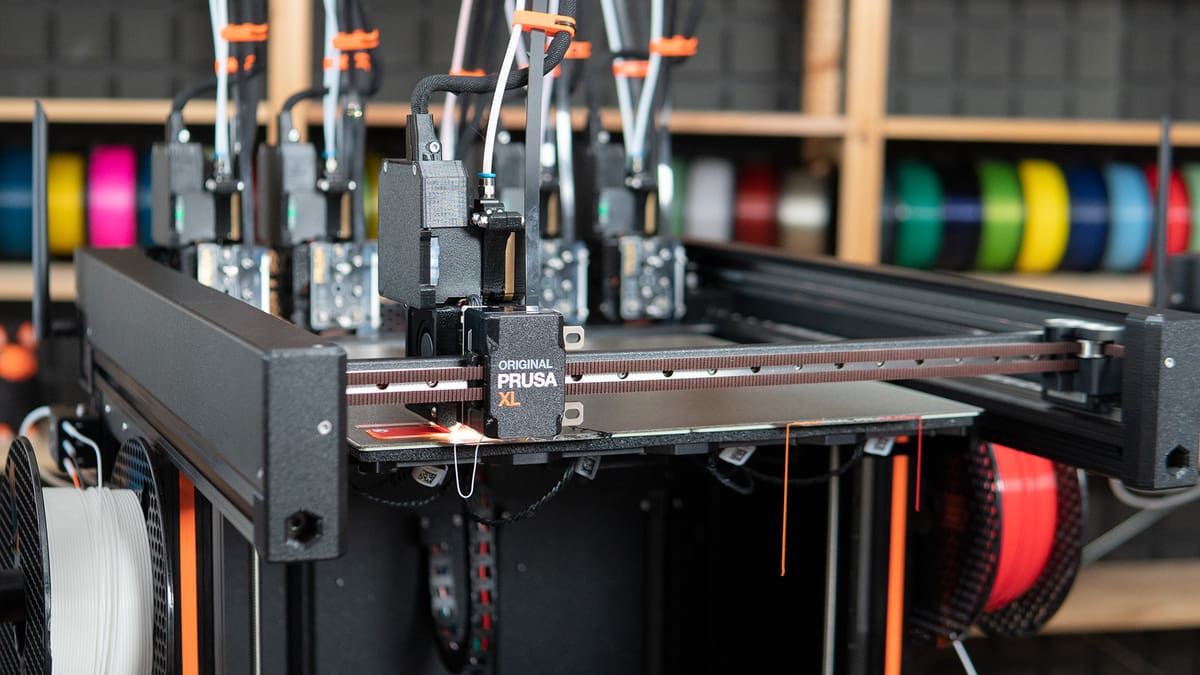
Unfortunately, our time at Prusa Research was limited to an afternoon, so we were only able to print one model: a small “Original Prusa” emblem in three colors. This demonstrated the tool changing in action, the speed of a model with many tool changes, and the quality of smaller models on the larger-than-average printer with a stock 0.6 mm nozzle (bonus points).
Now, a 0.6 mm nozzle isn’t going to change the quality of small parts dramatically. 3D printing enthusiasts are starting to run these slightly larger nozzles as a default compared to the “standard” 0.4 mm nozzle for some added speed with minimal loss of quality. But, still, most large consumer 3D printers don’t seem to consider the benefits of larger nozzles. It’s both nice to see a big machine that comes with a larger bore by default, and one that can still tackle small parts well.
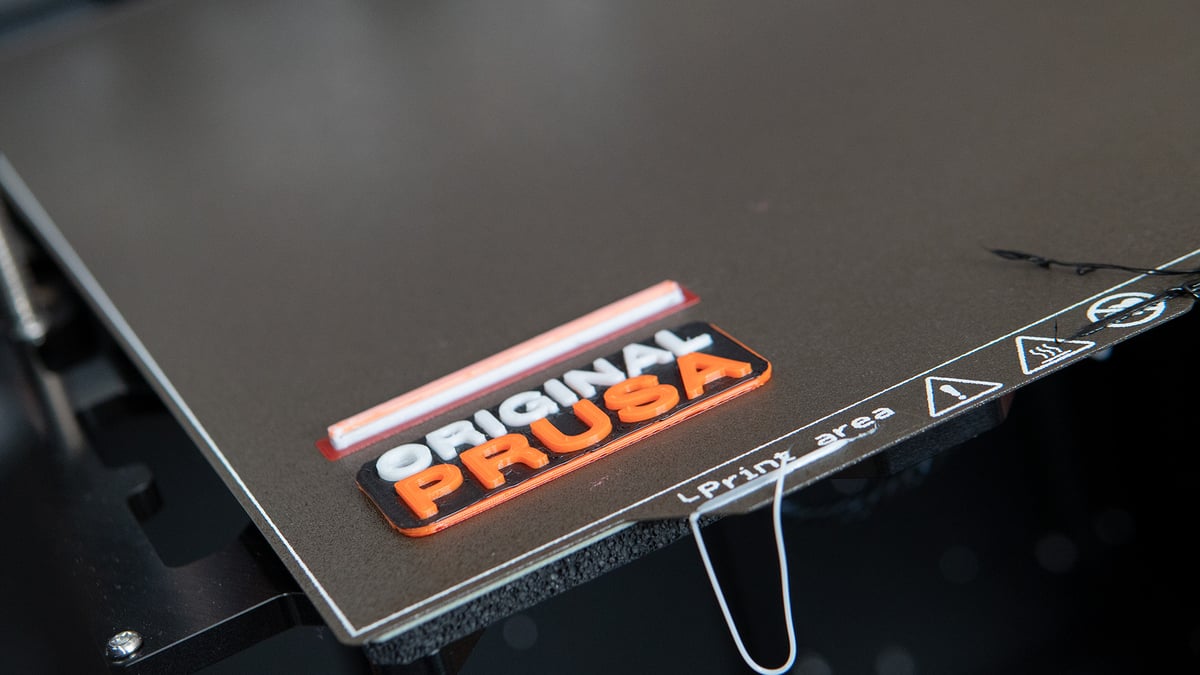
The first thing you’ll notice when you start a small print on the Prusa XL is where that print lands within the build volume. With such a large print surface, Prusa has taken steps to prevent bed warping. Part of that is the new 360 x 360 mm volume comprised of 90 x 90 mm segmented heat beds capable of heating independently from each other as needed. Print location is another: instead of starting a print in the middle, where surrounding cold tiles will inevitably leech some heat, the XL prioritizes printing in its corners where there are fewer surrounding heat beds.
Before printing, the XL probes the print area – and only the print area – for Prusa’s “always perfect” load cell-powered automated bed leveling. Probing just the print area saves ample time, of course, on such a large print volume. We see the same behavior on the much smaller Original Prusa MK4, and the efficiency is welcome there. Here, it’s a must.
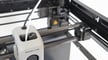
When it comes to switching tools during a print, we expected the process to be moderately paced but were surprised to find it happens rather quickly. The toolchanger swiftly dropped off and grabbed toolheads as needed, with little time wasted on slow or extraneous motions.
Compared to switching filaments on a single nozzle 3D printer, where the print head often resets, switches material, undergoes a lengthy purge, then continues, the time spent changing toolheads on the XL is null. A small purge tower remains, but it’s very small. Ours was a tiny tower that briefly primed each toolhead to ensure extrusion excellence. Little time and material are wasted on each swap.
That brings us to print speed. Prusa has made it clear that it’s not interested in besting competitor speeds at all costs, or in making claims about top 3D printer speeds that produce weak, brittle parts. Still, it is a concern to many makers – and plenty of people in the community are wondering how the XL will stand up to recent fast, quality 3D printers like the Bambu Lab X1 Carbon.
Though the efficient tool changing likely shaved ample time off movements when switching filaments – it’s much faster than switching between materials with Bambu Lab’s AMS and doesn’t waste anywhere near as much material – the XL appears to ultimately be a slower machine than its current CoreXY competition. Our small multi-color emblem print took about 30 minutes to complete.
Speculatively, we think the XL is missing one feature that could improve its speed a lot: an auxiliary print cooling fan.
Though the XL isn’t enclosed like many of the CoreXY 3D printers now opting for an auxiliary print fan – a large fan mounted to the printer’s side that provides additional part cooling – we were somewhat surprised to see one missing all the same. In their relatively recent popularization, these fans have proven to be highly effective at shaving off print time by allowing users to print at higher temperatures and push out more viscous filament faster without the sacrifices to quality caused part cooling limited to a printhead’s small part fan.

It may be that the XL’s much larger-than-average build surface makes this sort of implementation difficult, if not moot, but it does seem like a simple feature to include with the potential to shave some time off your prints – and that matters a lot at the scale of production many users are likely to want the XL “workhorse” for.
All told this isn’t a massive tradeoff – but is something you’ll want to consider if you’re pumping out a lot of parts. Other aspects of the XL may save time overall in production, like the ability to print with different support materials to eliminate post-processing – something more difficult on single-nozzle 3D printers.
Price
The XL launched with three variants in Prusa’s online shop: single toolhead for $1,999, dual toolhead for $2,499, and five toolheads for $3,499.
These prices are for semi-assembled variants while ordering the 3D printer completely pre-assembled will cost you an additional $500 – which might be worthwhile if you need to get up and running quickly. CoreXY systems like the XL can be finicky, and it may be comforting to know the initial assembly was handled professionally if you’re unfamiliar with the mechanical arrangement.
Though single-toolhead XL’s are already in users’ hands, Prusa has a backlog of early orders to go through. It’ll be some time before new orders come through – towards the end of 2023 is expected. Consequently, you don’t need to pay the full price upfront – ordering an Original Prusa XL now will cost a $199 refundable deposit, with the remaining cost payable once your system is ready to ship.
Prusa has yet to release the XL’s toolchanger and Nextruder separately as upgrades but confirmed to All3DP that it intends upgrade prices to be “similar to the current price difference between the versions,” adding that there may be a small premium, but nothing significant. That means a second Nextruder with a toolchanger will cost around $500, while the expansion board and additional power supply (both required for more than two toolheads), and four Nextruders will be in the ballpark of $1,500.
Looking Forward
There are plenty of questions floating around the community about the Original Prusa XL, shipping dates for its variations, and extras that might become available. We managed to rattle a few questions off in line with this. Most are mentioned in the article above, but we’ll share them more straightforwardly with you here:
Q: When are multi-toolhead XLs set to ship?
A: Prusa says dual-toolhead systems are coming this week, of June 19. XL’s ordered with five-toolheads will lag behind by at least another four weeks, with the first units expected to head out in mid-July. Prusa has apologized for the additional delay, saying the extra time is the best way it can ensure a smooth rollout of the highly-anticipated toolchanger.
Q: Will Prusa release toolheads other than the Nextruder?
A: Prusa was excited to note the enthusiasm its team members encountered on their recent North American tour over the toolchanger’s potential to work with tools other than extruders. Prusa has revealed to All3DP that there are “ideas and prototypes for various tool heads, such as for imprinting objects like RFID tags or metal nuts,” but nothing is ready to be announced yet.
The company is also considering the best way to make the creation of alternate toolheads possible for the community. How that will look is uncertain, but we expect this means releasing the toolchanger mechanism’s basic design and constraints – similar to E3D’s strategy to allow third-party designs for its RapidChange Revo nozzle by releasing the cold side as open source. Releasing designs is a tricky subject for Prusa at the moment, having recently lamented over the treatment of open-source designs while reaffirming its commitment to public releases. We’ll see this information eventually, but when and how is up in the air.
Q: Will Prusa expand its Nextruder nozzle lineup?
A: Prusa confirmed that it intends to offer variations of the Nextruder’s new heatbreak-integrated nozzles in more bore sizes and materials, including wear-resistant and high-flow options. When asked if the company’s collaboration with E3D would extend to an ObXidian Nextruder nozzle, Prusa confirmed that it’s already in the works.
Prusa also noted that it wants to sell full hotend assemblies in its online store so users can take better advantage of the Nextruder’s ability to quickly swap assemblies – but no word on when that product can be expected.
Q: Will the XL have an enclosure?
A: The draft shield Prusa showed off in its initial announcement is still to come, but there’s no indication of when. A full enclosure for the XL is also in development, but there are no further details at this time.
As you can likely tell, there remains a fair amount of uncertainty surrounding add-ons and documentation for the XL at this time. It seems Prusa is, for the time being, focused on getting the XL variations and its other recently released products out the door before making any promises for the future. Still, with Prusa confirming its work towards a number of add-ons, there’s clearly more XL to look forward to.
Have any burning questions about the Prusa XL? Mention it in the comments below.
Tech Specs
- Technology: Fused deposition modeling (FDM)
- Year: 2023
- Assembly: Semi-assembled or fully assembled (+$500)
- Mechanical arrangement: CoreXY
- Build volume: 360 x 360 x 360 mm
- Feeder system: Direct; 1:10 planetary gearbox
- Nozzle size: 0.6 mm
- Max. hot end temperature: 300 °C
- Max. heated bed temperature: N/A
- Print bed material: PEI-coated spring steel sheet
- Bed leveling: Mesh leveling via embedded load cell sensor
- Connectivity: Ethernet, Wi-Fi
- Print recovery: Yes
- Filament sensor: Yes
- Filament diameter: 1.75 mm
- Frame dimensions: 800 x 800 x 900 mm
Similar Printers
If you’re keen on a CoreXY 3D printer or the XL’s other impressive features, but simply cannot wait any longer – we hear you. So we’ve put together a few other 3D printers you might be interested in:
Bambu Lab X1 Carbon
Right now, Prusa Research’s main competitor seems to be breakaway success Bambu Lab, with its high-end X1 Carbon. It’s a speedy CoreXY 3D printer with polished design from its hardware to its software. The system has quickly gained a glowing reputation in the community for its speedy printing in high quality and an array of interesting sensor technology (like Lidar) that makes 3D printing extremely straightforward. It’s even displaced the Voron 2.4 as our top pick for CoreXY 3D Printers. The X1 Carbon will cost you $1,199, and you can add $250 to get Bambu Lab’s AMS (Automatic Material System) which allows you to use up to four materials with the single-nozzle system.

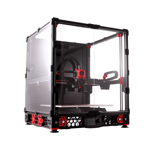
Voron 2.4
The DIYers CoreXY dream: the Voron 2.4. This is a modern printer that has remained very much in the spirit of the RepRap project – which is tough to find these days. It’s a completely open-source system that’s become an overwhelming favorite among enthusiasts. Since the Prusa XL comes at least semi-assembled, if you’re looking for an old-fashioned kit CoreXY system, this should be your go-to. Right now, it’s also our upgrade pick for CoreXY 3D printers. You can pick up a kit for around $800, but mind that you’ll also need some printed parts.
Bambu Lab P1P
If cost is holding you back from these CoreXY machines with all their bells and whistles running up the price tag, Bambu Lab has you covered again. Shortly after releasing its X1 and X1 Carbon 3D printers, the young company came out with the P1P: a simplified, more affordable version of the same machine. The P1P is truly impressive in that it includes most of the features of its sibling printers – including Lidar and AMS compatibility – at a significantly reduced $699 price tag. There are a few tradeoffs: the P1P doesn’t come with an enclosure and its screen is an antiquated 2.7-inch monochrome display. That last bit isn’t really all that important though, since the P1P has all the same networking features as Bambu Lab’s more expensive offerings. (meaning you don’t need to interact with the display all that much anyways.) The P1P is currently our budget pick for CoreXY 3D printers.
License: The text of "Original Prusa XL: Multi-Toolhead First Look" by All3DP is licensed under a Creative Commons Attribution 4.0 International License.
CERTAIN CONTENT THAT APPEARS ON THIS SITE COMES FROM AMAZON. THIS CONTENT IS PROVIDED ‘AS IS’ AND IS SUBJECT TO CHANGE OR REMOVAL AT ANY TIME.