One does not have to be a 3D printing enthusiast to have come across the name Prusa. Few brands have the impeccable reputation and fervent fanbase that Czech-based Prusa Research enjoys.
Creators of the Original Prusa i3 MK3S, which currently boasts All3DP’s Best 3D Printer award, Prusa Research achieved its goal of creating a high-quality open-source 3D printer accessible to the masses. For the SL1, the company has set out to do it again — this time tackling desktop Stereolithography (SLA) printing.
To help them with this massive undertaking, Prusa acquired the Czech company Futur3D, which already specialized in SLA 3D printing and had five years of experience in the field.
“The SL1 isn’t trying to compete with the flimsy Photon or with the ultra-pricey Form,” said Prusa himself, “but instead I want it to be the MK3 of the resin world – have the best print quality, convenient design and features, ease of use and other things, while keeping a price accessible for an everyday hobby maker.”
So, did Prusa succeed? Read on as we review this printer and find out if the master of the maker scene, Prusa, came through on his words – once again.
See Also: Best Resin 3D Printers in 2025: Our Picks in 9 Categories

Verdict
Pros
- Complete ecosystem with the CW1
- Minimal setup
- Comprehensive build guide (if you get the kit)
- Slick design
- Compatible with third-party resin
- Replaceable carbon filter
Cons
- Relatively small print bed, for the price
- Washing turbine (CW1) does not function properly
- Slicer estimated time is inaccurate
- Supports sometimes lose adhesion to bed at fringes
- Bed raising not possible mid-print
It’s no secret that Josef Prusa and his team are striving for perfection. And yes, the SL1 is on the right track, but its also not quite there yet in terms of his own ambition.
Compared to the budget resin printers Prusa has clearly stated he is not competing with, the SL1 does offer a bouquet of convenient features that give users the Prusa-feeling of a well designed and harmonized machine. You can expect high-quality prints with little effort even without any prior 3D printing experience, just as Prusa’s goal is.
However, for the price tag, the downsides of the printer can also not be too easily overlooked.
We think of the SL1 as the MK2 on Prusa’s way to creating the MK3S of the resin printing world.
The Tech
The Original Prusa SL1 is an SLA, or more specifically, an MSLA 3D printer.
MSLA stands for Masked Stereolithography Apparatus. Generally, SLA printers use UV light to cure (solidify) photosensitive liquid resins. The SL1 does so via its build-in high-resolution LCD screen that displays a mask — hence the name — in the shape of a single layer.
The UV LED panel shines UV light through the mask into the resin tank’s transparent bottom, curing a single layer of the printed object, which adheres to the printing platform. After a layer is cured, the printing platform moves by a small increment upwards, creating space for another layer.
Much like the DLP process, MSLA effectively cures an entire layer at a time as opposed to the point-to-point technique of traditional SLA printing and can, therefore, achieve significantly faster print times. The downside being, with MSLA, the pixel size of the LCD photomask defines the granularity of a print.
Using a 5.5″ 2K LCD screen, the Original Prusa SL1 offers a possible XY-resolution of 47-microns. Paired with a recommended layer height (Z) of 0.025 to 0.1 mm, the SL1 is capable of incredibly detailed prints.
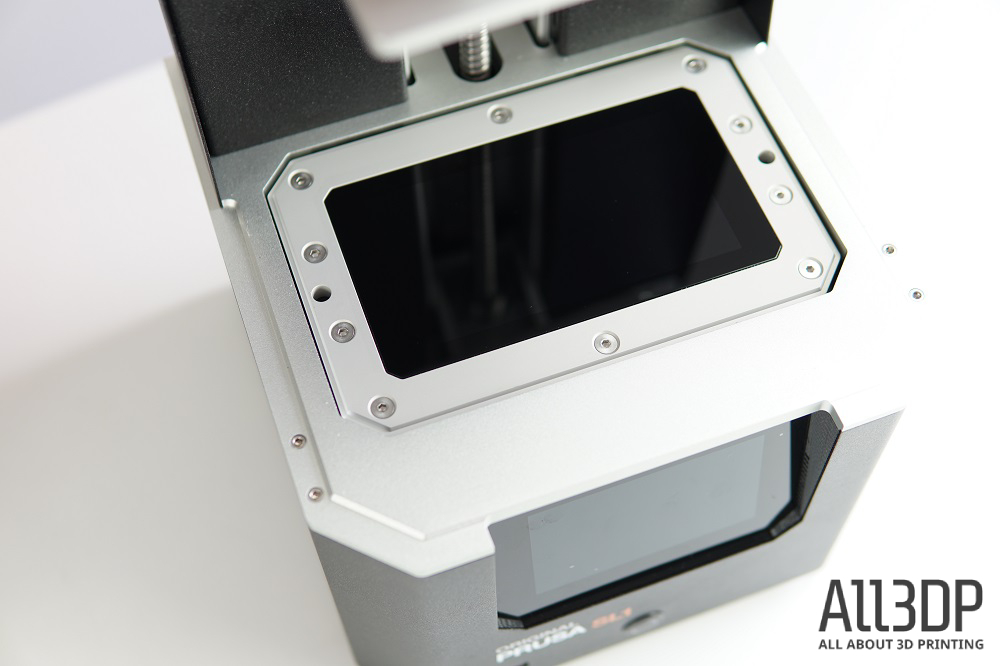
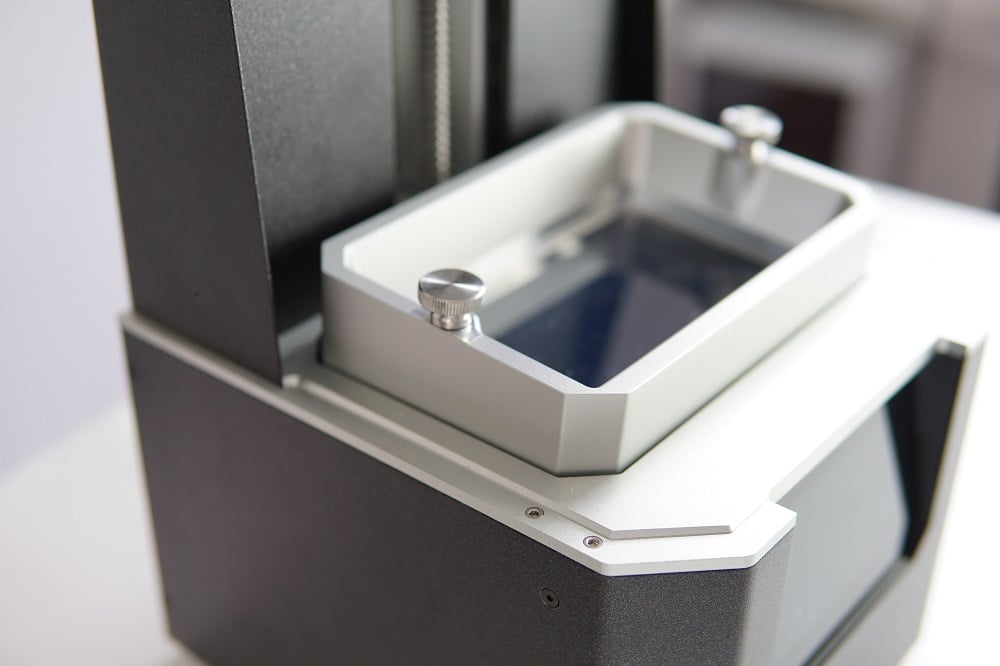
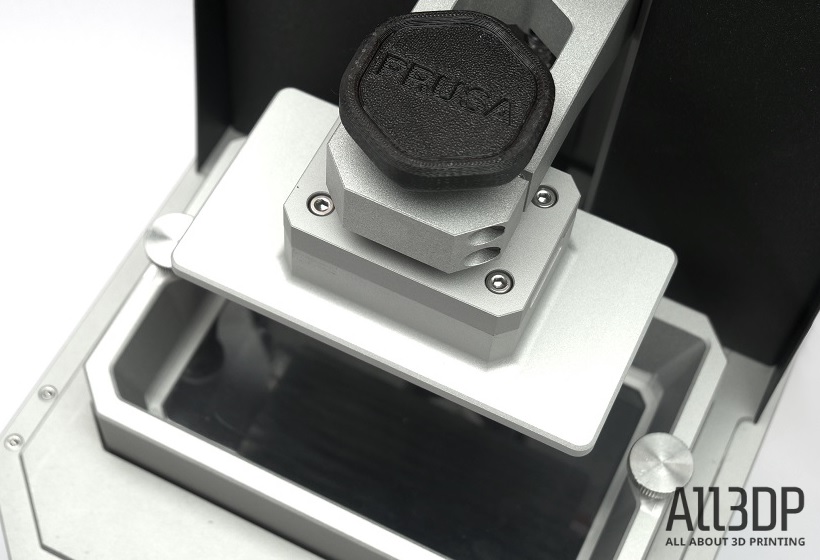
As is typical for an LCD resin printer, the SL1 features a removable resin tank that uses a transparent FEP film as its bottom. Unique to the SL1 though, is how a motor gently tilts the vat after each layer change, thereby separating the print gently from the FEP film instead of lifting the print vertically and thus significantly reducing the tension exerted on the print inside the resin vat. By tilting the tank, the resin is also continuously stirred, improving the surface finish and overall quality of the print.
Beyond what’s under the hood, right off the bat, the printer’s build quality is noticeable. Especially when assembling the kit, you can see all the parts fitting together neatly; no need for jamming or bending parts into their designated place.
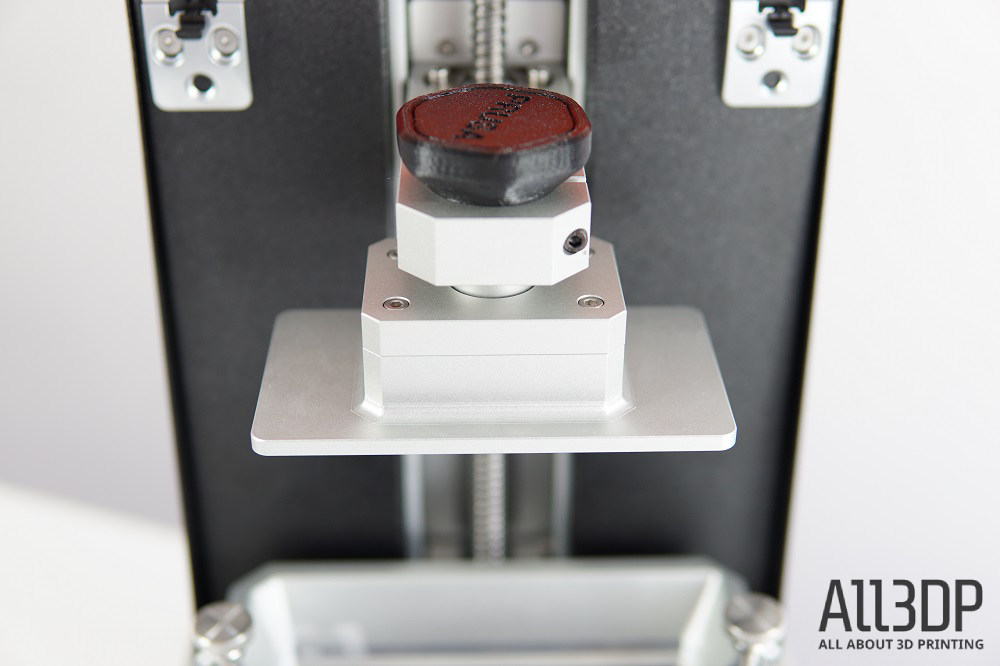
The Original Prusa SL1 boasts a rigid aluminum frame core, with a separate body. The sturdy Trinamic driver — battle-proven from the MK3 — ensures excellent z-axis stability and, with a weight of about 4 kg, the printer is neither too heavy nor too flimsy. When filled with toxic resin, a certain weight is exactly what one wants.
To minimize fumes inherent to the SLA process, the SL1 features a built-in high-quality carbon filter at the back. The fan’s casing can also be removed and mounted with a hose to channel them out the window.
When it comes to print area size, the Prusa SL1 offers a maximum of 120 x 68 x 150 mm, which is in the same ballpark as its budget competition and pretty standard on desktop LCD-based resin printers.
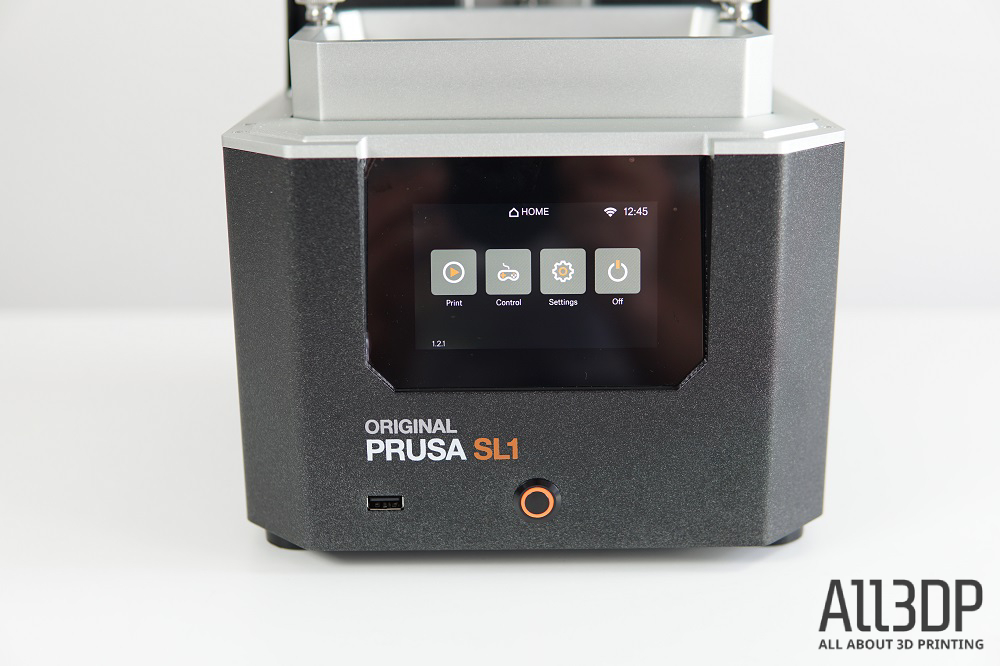
What does give the machine a premium feel, however, is the ease of operation. Gone are the days where you had to twist and turn a knob to scroll through the menu of a Prusa printer. For the SL1, Prusa ditches its distinctive click wheel knob and furnished it with a large color touchscreen that lets you tip-tap your way around the file directory in comfort. During prints, the UI provides you with an ample amount of information including the print time, the amount of resin used, and the total layer-height. You can even get a live visualization of each layer as it is printed.
Furthermore, the SL1 displays a level of thoughtfulness not present on many other machines of its stature. Take the manual fill level indicator, which serves as a maximum fill line and lets you top up without overfilling the vat. Similar helpfulness comes in the inbuilt resin sensor, which informs you if a print is likely to run out of resin mid-print.
When it comes to connectivity, the host of options is now expanded by the possibility of connecting your SL1 to WiFi, allowing you to directly send the sliced files from your computer to the printer. Running back and forth with an SD card or USB stick could be a thing of the past if it wasn’t for the fact that you still had to start the print manually. Besides WiFi, the SL1 also supports USB and LAN.
Assembly
Setting up the Prusa SL1 3D printer is a simple and straightforward process, taking you about 20 to 30 minutes — if you ordered yourself the assembled version.
In case you went for the kit, the assembly will take you up to 10 hours of turning screws, plugging in wires and hooking up circuit boards. But, thanks to the instructions provided online by the Prusa team, this highly complex electronic machine can be set up even by an absolute novice. Just don’t forget about the crucial in-between-steps of enjoying some sweet Haribo gummy bears. It seems like someone in the Prusa team knows a little bit about the psychological factor of conditioning.
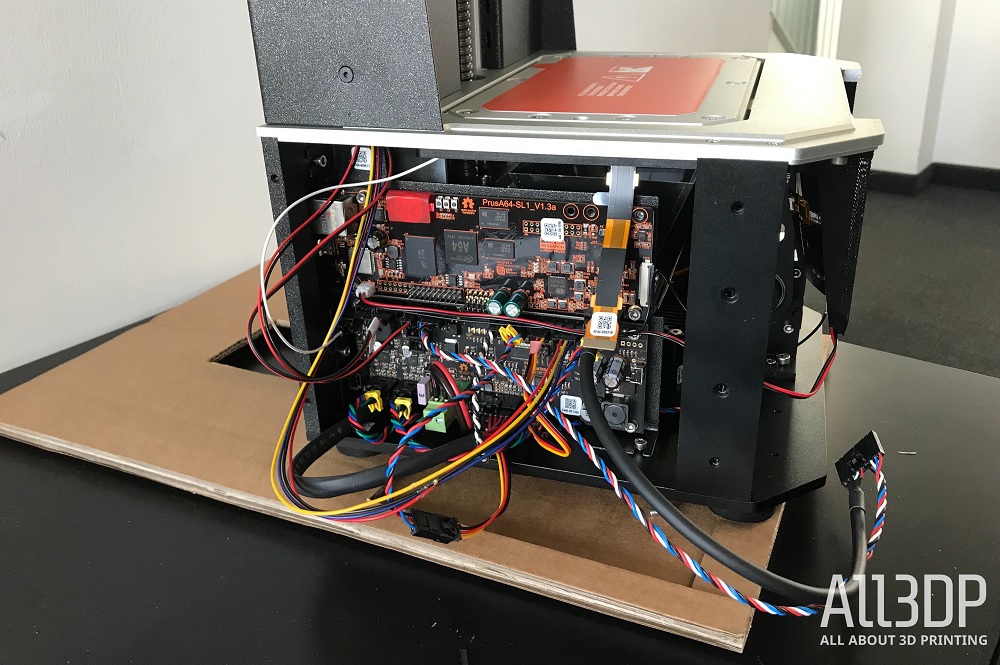
All in all, the process of assembling was smooth sailing with only one major incident: connecting the WiFi cable to the circuit board (Chapter 4. /step 19. in the setup guide). Without being dramatic, getting the pinhead-sized connector to stick to the circuit board took us more than half an hour, a stark contrast to the one-click-and-be-done-with-it instruction. It also resulted in some anxiety when first turning on the printer, as circuit boards tend to be somewhat fragile, and any slip of the tools might lead to a premature end to the review.
Thankfully none of these worst-case scenarios happened. As a hint, off-record, to anyone having the kit in mind: Attach the WiFi cable to the circuit board before you screw it in. Then proceed as instructed. It might save you half an hour of frustration.
Apart from this minor hiccup, the setup was a stroll in the park.
Once the machine was assembled, plugged it in, and fired it up, we followed the setup wizard on the printers LCD display for the pre-flight check and calibration.
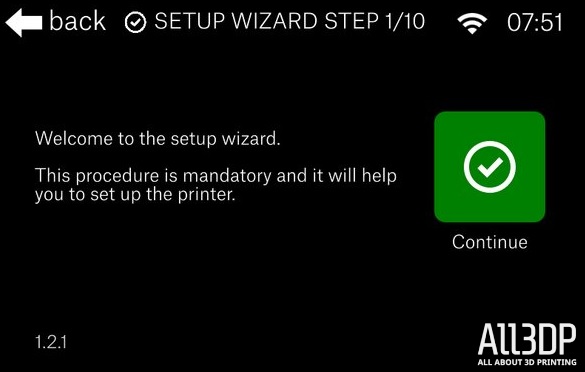
Prusa advertises the crucial step of calibrating the printer’s print platform and printing bed as being done automatically when, in truth, it should be called something along the lines of assisted calibration. Nevertheless, it’s an easy setup as — again — all instructions are presented not only in the manual but also on the printer’s LCD screen in the form of photographs and illustrations. The whole process takes less than 5 minutes, and once the machine is calibrated, it will stay calibrated for all consecutive prints.
After the assembly and pre-flight calibration are completed, it is finally time to start printing with the Prusa SL1.
License: The text of "Original Prusa SL1 Review: The MK3S for Resin?" by All3DP is licensed under a Creative Commons Attribution 4.0 International License.
CERTAIN CONTENT THAT APPEARS ON THIS SITE COMES FROM AMAZON. THIS CONTENT IS PROVIDED ‘AS IS’ AND IS SUBJECT TO CHANGE OR REMOVAL AT ANY TIME.