Restoring classic cars is a labor of love, even for professionals. Bringing back to life something that was doomed to never run again is a satisfying feeling the engineers at ES Products & Design know well.
Today, classic car fans and restoration professionals no longer have to resort to non-native parts – decreasing the value of the restoration – or abandon the project entirely because a particular part just doesn’t exist anymore. Nearly anything can be 3D printed as long as you have an original part to 3D scan – or talented digital engineers to create a new one.
Let’s take a look at how ES Products & Design – a UK-based firm specializing in reverse engineering and remanufacturing projects for the heritage vehicle market – successfully applies 3D scanning for reverse engineering and uses 3D printing and traditional manufacturing to create prototypes and final parts.

High Tech, Vintage Character
ES Products & Design Ltd. is a company based in Northamptonshire, UK. The “ES” stands for Edward Smith, the owner and an engineer with a long history in the motorsport industry, initially as a mechanic in British Formula 3 and International F3000 racing, repairing and preparing cars for drivers, before gaining a degree in mechanical engineering.
All those years of experience not only lead to a robust understanding of engineering design, reverse engineering, and remanufacturing of legacy parts, but also to a logistical mindset for project management, procurement, and supplier relationships.
In fact, Smith has a database of reliable suppliers, locally and globally that he has built over the years. He also has the means to help clients understand the benefits of various manufacturing methods whether they need one part produced or a thousand.
Smith’s team adapts its workflow to the circumstances of every restoration project. Sometimes customers have existing parts for reverse engineering or digital drawings and legacy documentation. Some times, clients only have a rough sketch or just an idea. In any case, the key is to always generate CAD (computer-aided design) data for manufacturing purposes. Most often, CAD data is generated from 3D scanning an original part or a similar part that can then be modified digitally.
3D scanning original parts takes place either in-house or at the customer’s location. ES Products & Design opted for a robust yet affordable scanner from Peel3D, which is ideal for auto parts. The Peel 2 CAD scanner outputs data in either .stl or STEP formats (standard for the exchange of product data, an ISO standard exchange format). Then, to reverse engineer, Smith’s team imports the scan data to Siemens NX CAD software.
After the reverse engineering process is done, the team typically sends STEP files, mechanical drawings, and reference pictures to the part manufacturer.
Smith is realistic about the limitations of 3D scanning and often compliments it with traditional measuring methods and hand tools, especially when parts have fine details, deep pockets, or thin walls.
Remanufactured Brake Shoe for a Vintage Car
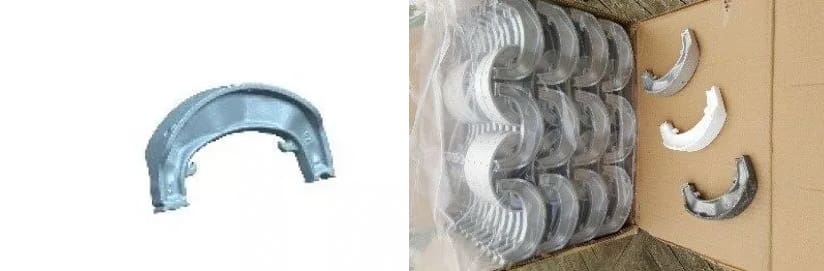
Not long ago, a local supplier of discontinued spare parts for a specific British vintage car approached Smith for 1,500 die-cast aluminum brake shoes, assembled with stainless steel wear plates fitted. For this purpose, the customer provided ES Products & Design with a used sample part for them to reverse engineer.
To capture the geometrical data, they scanned the part with a low-resolution setting due to its small size. Then, they post-processed the digital data to isolate key features and export them to Siemens NX for reverse engineering. After finishing the reverse engineering process, the resulting STEP model and drawings in PDF format were sent for quoting and manufacturing.
This project might sound simple, but it was far from it. For example, before fully committing to die-cast tooling – the method chosen over 3D printing because of the high volume of parts – Smith decided to 3D print a prototype first in a high-performance plastic. Then he fitted the brake linings and other associated items to the 3D printed part and trial fitted that assembly to a car. With enough confidence in the design, he proceeded with die casting samples that they also tested driving a car before finally committing to mass production.
Customized Carbon Fiber Land-Rover Panels
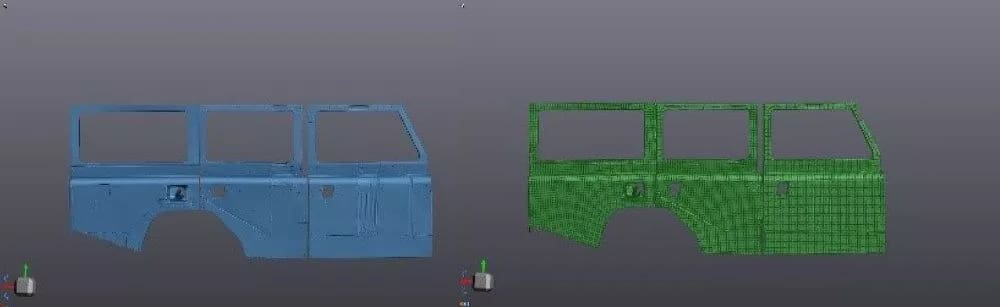
Another customer was developing a 4×4 vehicle based on a Land-Rover but wanted to take it a step further and make doors, hood, front and rear quarter panels out of carbon fiber to reduce weight and make the vehicle more aesthetically desirable.
The client provided mock-up panels based on the Land-Rover versions. ESP&D then scanned these panels.
The digital files were used to eventually machine the molds. The panels for this project were molded in carbon fiber, which first requires the design and manufacture of custom molds. This is a slick, versatile, and accurate way to convert your ideas into real parts.
Reverse Engineering & Digital Modification
In another case, a customer requested a replacement for a deteriorated rear suspension item on a classic British tourer. Because the client did not have detail drawings, they provided ESP&D with the original part. Smith’s team proceeded to scan the part and exported the STEP file to the computer-aided design software.
The original part was cast, but, as times change and technologies evolve, there are now more cost-effective ways to produce a single unique part, including metal 3D printing and CNC milling. Since it was a low volume production, Smith chose to CNC mill it at a third party. The engineering team had to modify some features that it could be replicated via CNC milling. With the drawing and the model at hand, they could program the CNC mill to produce the final product from billet aluminum.
For more on the processes, ESP&D uses to reverse engineer classic car parts, visit the Solid Print3D blog.
About the Author: Alejandro Auerbach is a mechanical engineer specializing in additive manufacturing at Solid Print3D.
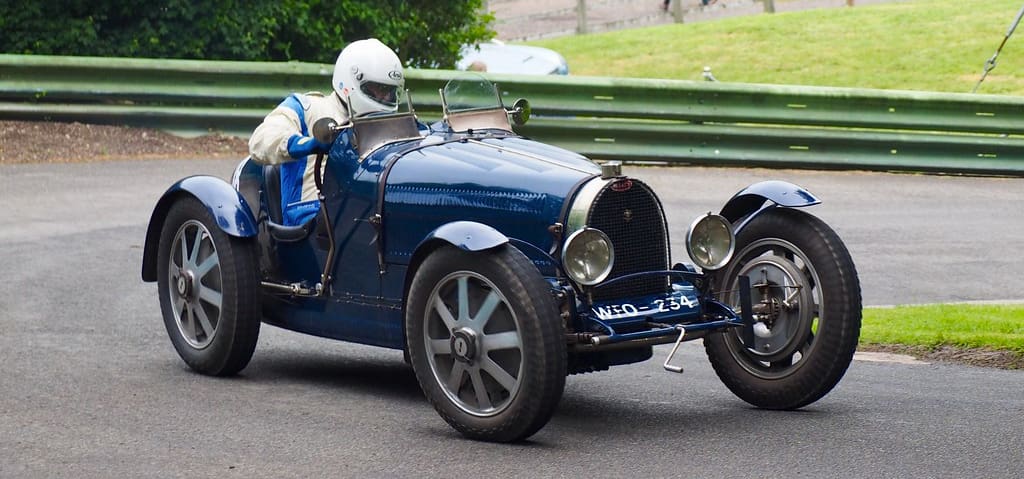
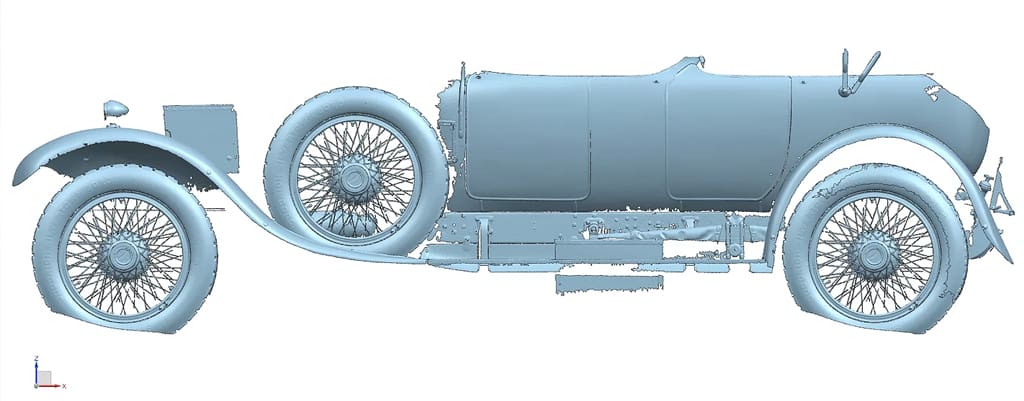
Lead image source: A 1935 Bently. Source: Classic Car Garage
License: The text of "Reverse Engineering & 3D Printing Classic Car Parts" by All3DP Pro is licensed under a Creative Commons Attribution 4.0 International License.