![Featured image of [Project] 3D Printed Mini Catapult Inspired by Leonardo da Vinci](https://i.stageall3dp.com/workers/images/fit=scale-down,w=1200,h=675,quality=79,gravity=0.5x0.5,format=auto/wp-content/uploads/2019/03/07192835/3d-catapult-e1551983353813.jpg)
[Project] 3D Printed Mini Catapult Inspired by Leonardo da Vinci

Want a fun way to pass the long work day? This 3D printed miniature catapult by designer Oliver Chatwin is an amazing desk toy that will let you launch your boredom far away.
Back in ancient times, the catapult was widely regarded as one of the most innovative tools used in the early days of warfare. This ballistic device was used to launch lethal projectiles from great distances and was being used leading all the way up to World War I.
Even the iconic artist and polymath Leonardo da Vinci was enthralled by this mechanical device. The legendary Renaissance man sought to improve the design of the catapult by implementing a large wooden leaf spring to increase the power of the catapult.
Nowadays, the catapult has less a violent connotation, finding itself more commonly used to launch things like human beings and pumpkins. Thanks to UK-based designer and student Oliver Chatwin, you can 3D print your very own functional, miniaturized catapult for your desk.
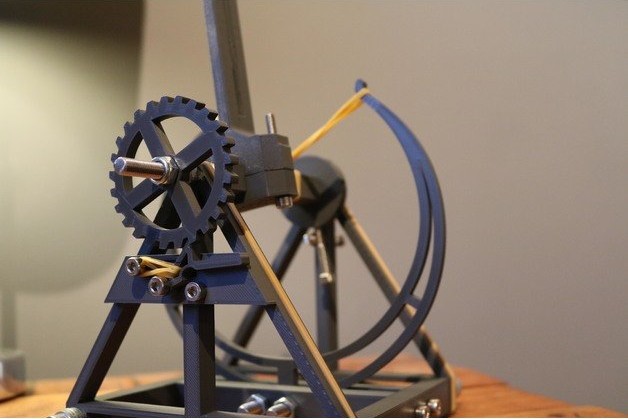
Inspired by the work of da Vinci, Chatwin has designed a 3D printable catapult prototype that is roughly 110mm tall. But don’t be fooled by its short stature, this device can still launch objects far and beyond what you might expect.
This particular project is a prototype of a large-scale model that is being created for a university project that requires students to make an adjustable catapult that can launch objects 1-5 meters away. The 3D printed version was developed to analyze the motion of components in conjunction with one another.
The resulting prototype was recently shared on Thingiverse, garnering the attention of the maker community and becoming one of the more popular new models to grace the 3D model repository.
Want to learn how to create your own desk-sized catapult? Yeah, we thought so. Let’s take a closer look at how to build one on today’s edition of Weekend Project!
What You Need & How to Build it
The STL files for the Leonardo da Vinci-inspired Catapult are available via Thingiverse. There are thirteen different 3D printed parts that make up the frame of this device, all of which can be printed in your filament of choice (however, the stronger the mechanical properties, the better).
Aside from the 3D printed parts, you’ll also need an assortment of components to complete this project. Here’s the checklist of non-printed parts:
- M4 cap screws (12 or more)
- 7x M6 cap screws
- 100mm M6 threaded rod
- 1x M4 nut
- 5x M6 nuts
- Washers (optional)
- Elastic bands (smaller = more power)
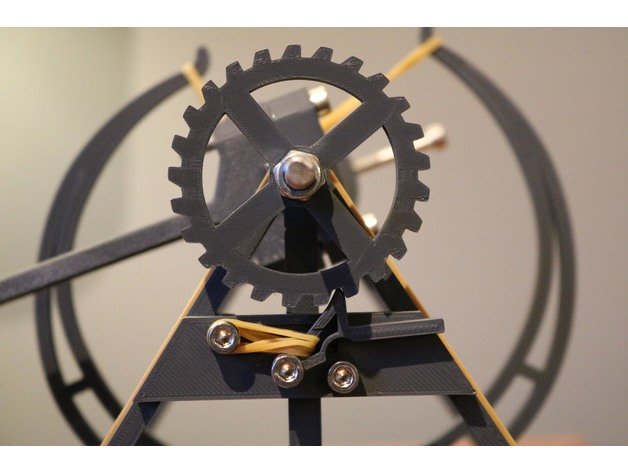
Once you have the STL files 3D printed and components gathered, it’s time to start assembling this miniaturized catapult. Chatwin states that the holes in the 3D printed parts might need to be drilled out to enlarge them, particularly the holes at the top of the “A_Frame” section.
The designer doesn’t provide much information in way of assembly instructions, but the detailed photos available on Thingiverse should be enough to guide you to the finish line. As you can see in the photo above, the small elastic bands should be fitted around the trigger mechanism and main C spring.
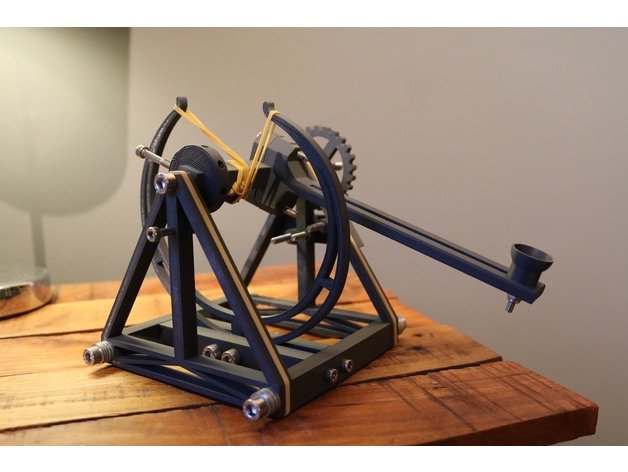
As for the bucket, which is used to hold and inevitably launch the “projectile”, Chatwin explains that you can create customized versions so long as they have a 4mm hole to secure the screw in place.
If you have any questions about the assembly or functionality of this project, be sure to reach out to the designer on Thingiverse for more information.
And, one final word of advice for all you makers out there: be careful. Despite looking like a harmless and small ballistic device, this tiny catapult is more powerful than meets the eye.
License: The text of " 3D Printed Mini Catapult Inspired by Leonardo da Vinci" by All3DP is licensed under a Creative Commons Attribution 4.0 International License.