How to Turn Your Creality 3D Printer into an Engraving Tool

Swedish maker and YouTuber Simon Sörensen shares a new instructional video on how to turn a Creality CR-10 3D printer into an engraver with just a few simple steps.
As any maker knows, 3D printing technology is just one key component to a full-fledged DIY toolbox. Other tools like 3D scanners, laser engravers, woodcutters, and CNC routers can be complementary to your desktop 3D printer, and come in handy when you need to get a specific project done.
Versatility is the key to having a proper workshop setup, and while there are a handful of all-in-one 3D printers on the market, they tend to cost more than a frugally-minded maker is willing to spend. But Swedish maker Simon Sörensen, known for his DIY-centric YouTube channel RCLifeOn, recently shared a video showing his viewers how to transform the popular Creality CR-10 into an engraving tool.
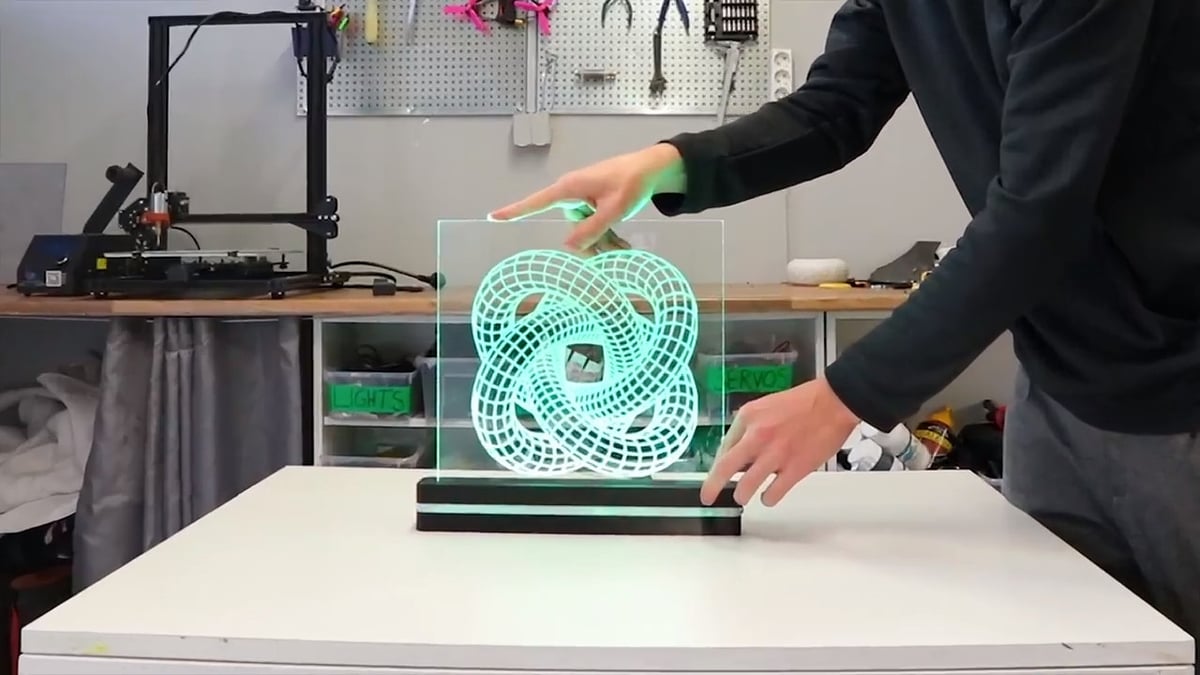
After equipping the engraving tool onto his 3D printer, Sörenson was able to accurately engrave detailed images into an acrylic sheet. As you can see below, the results were extremely impressive, especially when it was mounted onto a base that contained a strip of RGB LED lights.
We recently featured Sörenson in our Weekend Project series for his innovative use of 3D printed stencils to create custom graphics for clothing. Now, the popular YouTuber is stirring up excitement throughout the community once again with his out-of-the-box experimentation with engraving.
While his particular video focuses on the Creality CR-10, we imagine that with the proper tweaks, his methodology could also be applied to the Creality Ender 3 and perhaps even other budget 3D printers. Even if you don’t own either of these machines, Sörenson’s latest project will at the very least get your creative juices flowing.
Let’s take a look at the required parts and step-by-step instructions on how to turn the CR-10 into an engraving tool.
What You Need & How to Build it
Sörenson’s project utilizes the Creality CR-10, an affordable and highly coveted desktop 3D printer with a large build volume of 300 x 300 x 400mm. Aside from the 3D printer itself, here’s what else you need to complete the transformation:
- Motor
- Chuck
- 12V Power Supply
- PWM Controller
- LED Lights
- 4mm Acrylic Sheet (might be easier to find the right size at local hardware shop)
You’ll also need to 3D print the motor mount, which can be downloaded from Thingiverse.
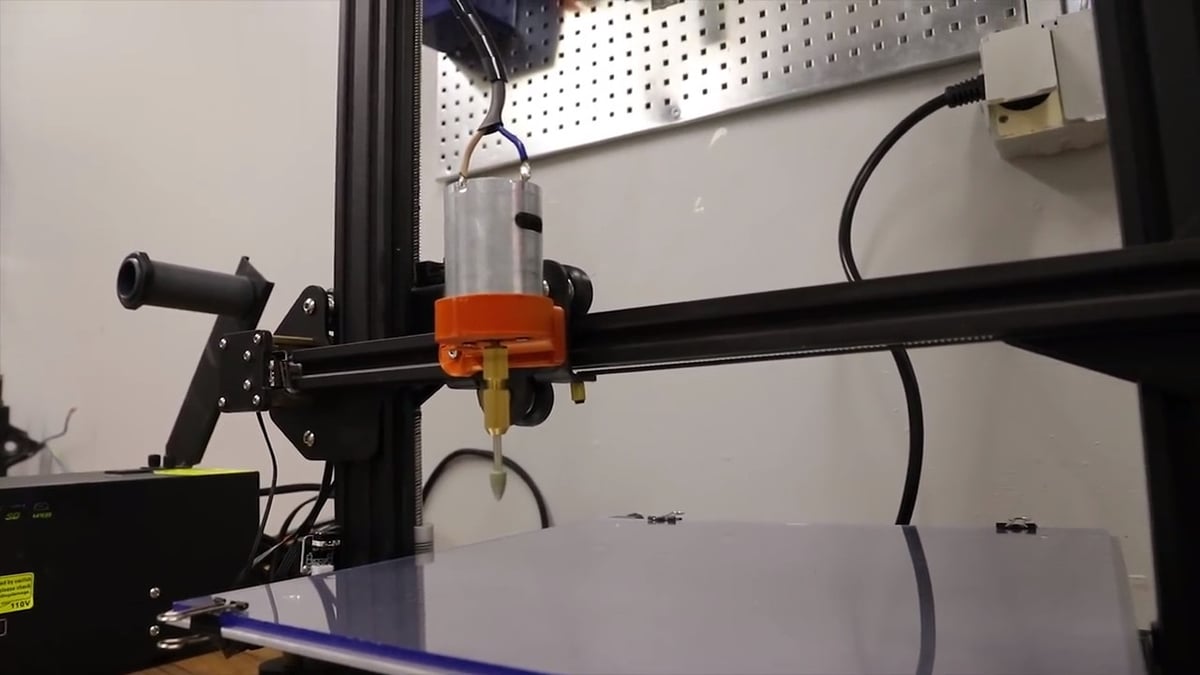
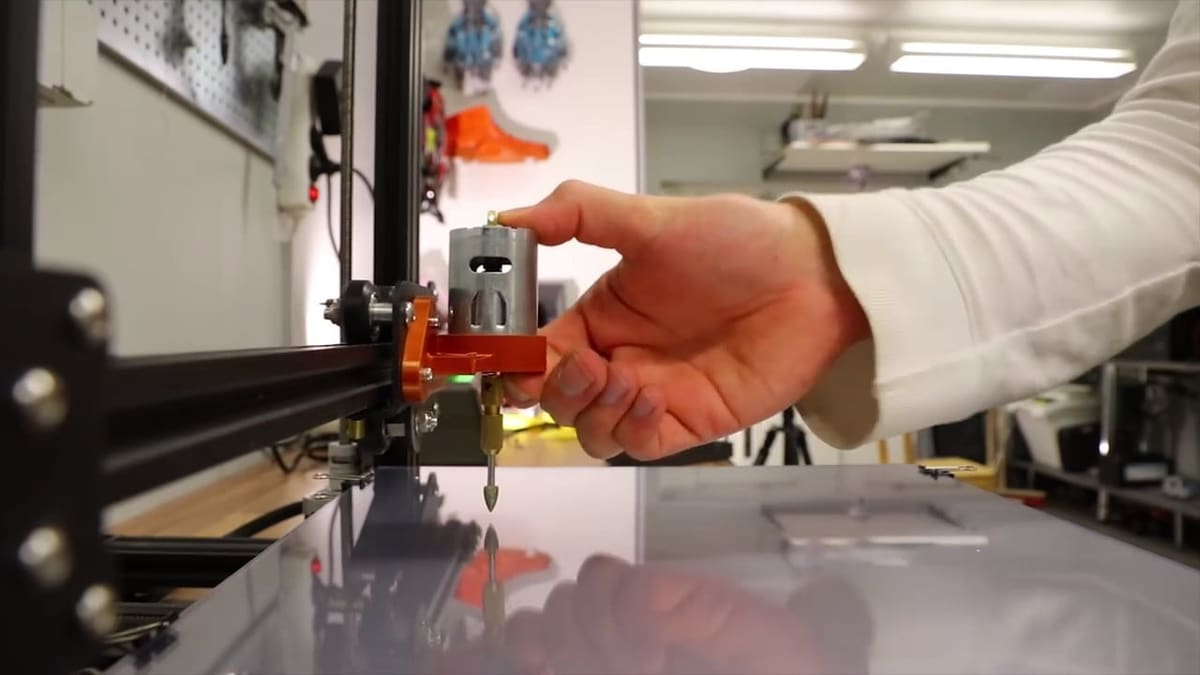
As you’ll see in his instructional video below, the assembly process is relatively simple. The motor needs to be connected to the PWM controller, which is powered by the 12V power supply. After gathering all of the supplies, the maker went ahead and designed a CR-10-specific motor mount to 3D print.
After attaching the mount to the extruder, the motor is inserted and should fit snugly into the 3D printed attachment. After connecting the controller and power supply, simply plug it in and watch the motor and chuck bit spin away.
Sörenson then shows viewers how to design an image (using Spongebob Squarepants) and prepare it on the slicing software. There are certain settings that need to be adjusted in order to make the printer behave like an engraver. For example, the image itself should be set to around 1mm in layer thickness, the nozzle diameter should be 0.2mm, the retraction vertical lift should be activated to 1mm, and so on.
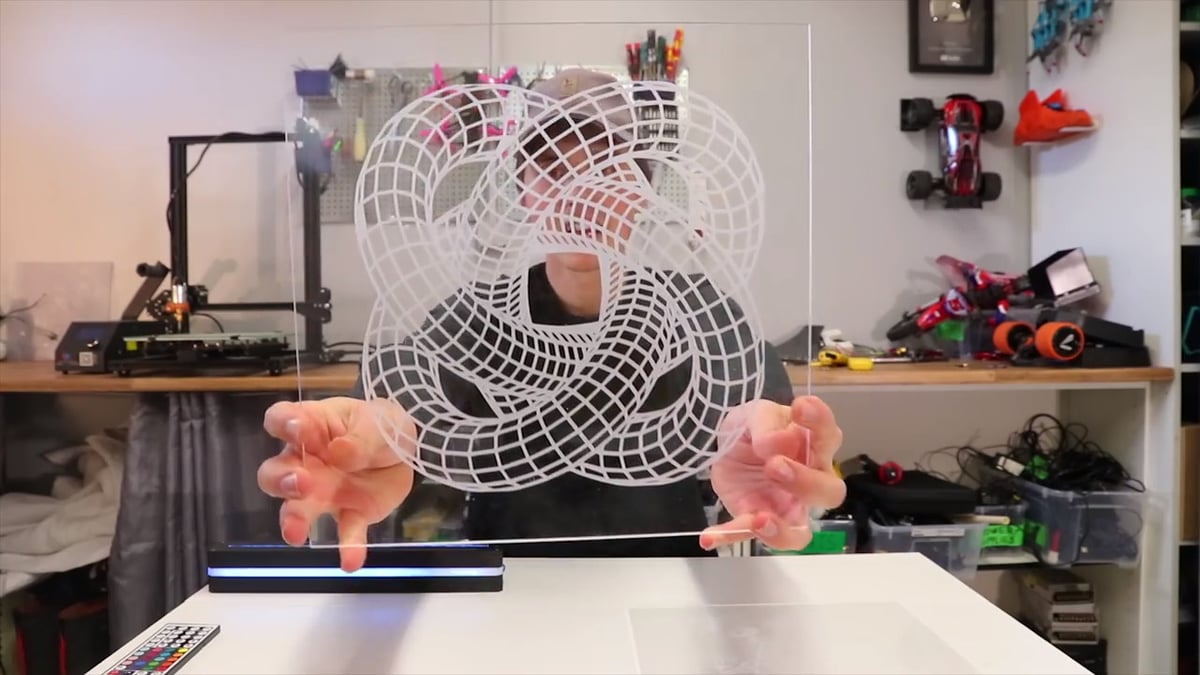
In order to display the engraved acrylic with LED lights, the maker also designed a base that can also be 3D printed. You can learn more about the design process of this part in the video below. While the results of his first attempt are pretty incredible, Sörenson continues to refine his process until he engraves a mesmerizing 3D wormhole.
License: The text of "How to Turn Your Creality 3D Printer into an Engraving Tool" by All3DP is licensed under a Creative Commons Attribution 4.0 International License.