![Featured image of [Project] Turn Old Filament Spools into a 3D Printed Clock](https://i.stageall3dp.com/workers/images/fit=scale-down,w=1200,h=675,quality=79,gravity=0.5x0.5,format=auto/wp-content/uploads/2019/02/28193226/Filament-Spool-Clock-e1551378784158.jpg)
[Project] Turn Old Filament Spools into a 3D Printed Clock

Want to take on an environmentally-friendly project this weekend? How about we pull that used filament spool out of the trash and repurpose it into a Filament Spool Clock with LED lights.
One issue with 3D printing that many in the maker community have tried to improve is the sustainability of the technology. Let’s face it, we’ve all filled a trash bin with failed prints, filament scraps, and empty spools, oftentimes leading to a massive graveyard of wasted plastic.
However, there are numerous ways to get creative with your plastic waste, especially with those pesky filament spools. We’ve already seen how the esteemed 3D printer manufacturer Prusa Research has created fun projects by recycling Prusament spools.
For today’s Weekend Project, we’ll take a look at the Filament Spool Clock created by a Thingiverse user named dominofreak. Equipped with LED lights and a clockwork mechanism, the maker was able to develop a vibrant, functional timepiece that would look terrific on any wall.
It’s a relatively easy and well-balanced project that utilizes 3D printing and LED lights in a sustainable way. It’s time to stop tossing those plastic spools in the trash bin, let’s repurpose them and create a color-changing wall clock instead!

What You Need & How to Build it
Aside from the empty spool, there are also a handful of 3D printed parts that make up this clock, such as the diffuser and clockwork. You can download the STL files on Thingiverse.
Now, before we proceed, there’s an important note to keep in mind. Not all filament spools do not have the same physical dimensions, and so, you might have to measure your spool and tweak the 3D designs accordingly.
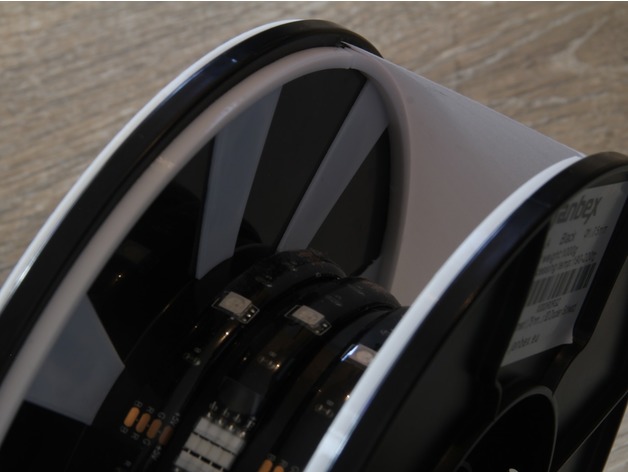
The maker of the project utilized a plastic spool from the German 3D printing filament manufacturer Janbex. The exact dimensions of the spool can also be found on Thingiverse.
In addition to the spool and 3D printed parts, you’ll also need to acquire an LED strip and clockwork mechanism. Once you have all of the materials gathered, it’s time to start constructing your filament spool clock.

According to dominofreak, the 3D models are designed to be printed with support structures. In order to ensure that the light is properly emitted through the 3D printed diffuser panel, the maker used white PLA and a thin wall thickness of just one layer.
The 3D printed brackets are designed to connect the diffuser with the spool, using spaces to maintain a distance between the spool core and enclosure. Once the light diffuser is glued into place, there are tiny brackets that can be added to seal the seems and stabilize the thin 3D printed part.
For the LED strip, the maker suggests using a battery-powered strip to avoid having a cable hanging down from the clock. The battery compartment can be safely tucked away in the middle part of the spool.
Finally, the 3D printed holding bracket is designed to fit standard clockwork mechanisms with a maximum size of 58 x 58mm. Using hot glue, mount it onto the bracket before fitting it into the spool.
Be sure not to glue the bracket and clockwork into place, as the battery will need to be changed eventually. Don’t be afraid to break off a bit of the plastic from the spool in order to fit the clockwork into place.
And that’s about all it takes to create your own Filament Spool Clock. If you have further questions are want to learn more about this project, you can contact the creator on Thingiverse.
License: The text of " Turn Old Filament Spools into a 3D Printed Clock" by All3DP is licensed under a Creative Commons Attribution 4.0 International License.