3D Printed Bobblehead: All You Need to Know to Make One

Looking for something fun to 3D print? Bobbleheads are well-known collectible figurines, and for good reason. Find out how to print your own!
We’ve all seen those cool figurines with big, wobbling heads, many of which feature celebrities or iconic movie characters. They’re called bobbleheads – also known as nodders – and their oversized head movement can be catchy and fun to play with. But have you ever wondered how bobbleheads work or how they’re made?
Well, what if we told you that 3D printing allows you to create and customize your very own bobbleheads? By following a few simple steps, which mainly involve printing the pieces, assembling them, and adding some touch-ups, you’ll have a personalized bobblehead on your desk. Of course, extra steps, like sanding or painting, might be required depending on your desired result. But don’t worry, we’ll walk you through all these steps in detail.
In this article, we’ll show you what you need to make your own bobblehead and the main steps involved in the process. We’ll also provide a few examples of fun 3D printable models, as well as three tutorials, so you don’t have to start from scratch if you decide to create your own. So, read on to learn more about these fantastic examples of creativity!

Design
Whether we talk about a professional-grade, realistic bobblehead of a celebrity, or a simple, creative design personalized to look like its creator, all bobbleheads are comprised of three basic elements: a body, which is sometimes just a base, a spring-like element that enables the bobbling motion, and, of course, a big head. There are plenty of models out there that consist of movie or TV show characters, famous people, and original creations. The options are as numerous as the imaginative people who know how to create 3D models.
When designing your bobblehead, it’s essential to keep the assembly in mind. As mentioned, a minimum of three elements are required to create a bobblehead. Hence, you should be aware of these parts when 3D printing, specifically the tolerances and clearances of the features that are going to join the different parts. If you opt for metallic springs instead of 3D printed ones (more about this later), then we suggest printing samples of the pins or joining elements first to make fitting tests before printing all of the pieces.
If you’re getting your 3D model from an external source, you might have to make slight modifications to the STL files, such as making the head hollow to hide the spring. Independent of your choice of spring, whether it’s metallic or 3D printed, long or short, stiff or loose, make sure to leave enough space inside the head to hide it.
Materials
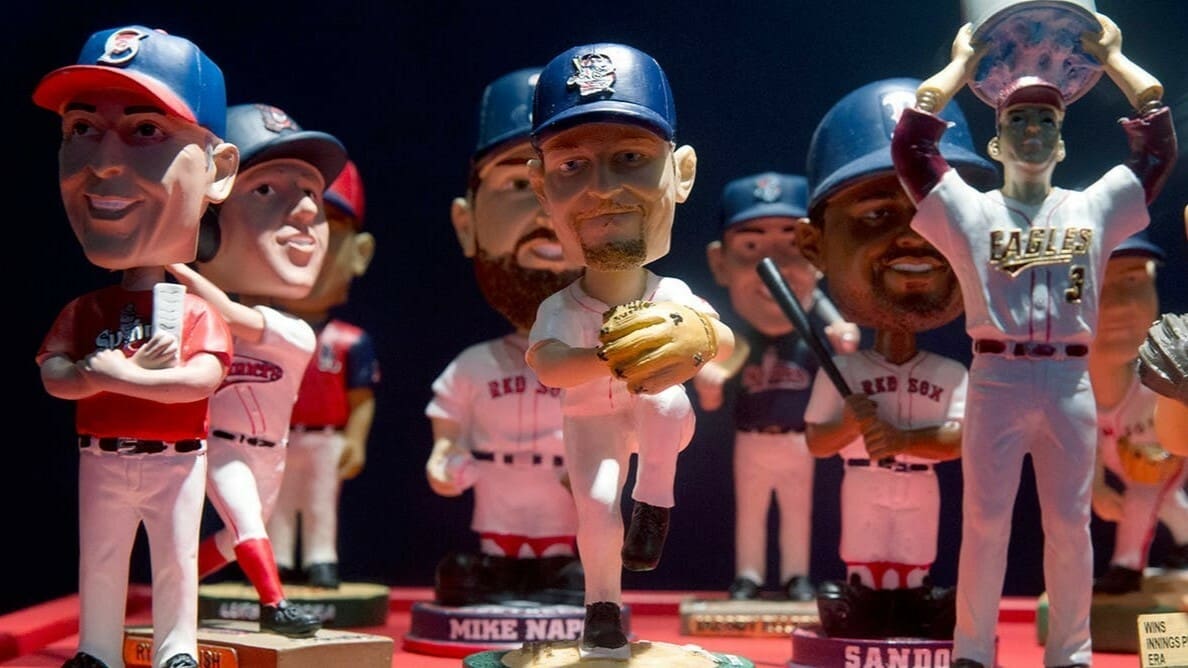
The first bobbleheads that appeared in the beginning of the 19th century were made of porcelain. After getting a boost in popularity in the 1960s, mainly due to the Major League Baseball, bobbleheads started to be made of ceramic, turning them into true collector’s items. During the 1990s, they experienced another increase in popularity, and, thanks to new manufacturing processes, they started to be mass-produced. While plastic materials were used for both the body and the head, in terms of the connecting element, the original bobbleheads usually used metallic springs.
Nowadays, thanks to the increase in popularity and accessibility of 3D printing technologies, you can 3D print your own bobblehead in a variety of materials. The choice will depend on the finishing type you want, as well as the level of detail that you intend to achieve. Just keep in mind that some materials will require more elaborate post-processing than others.
If we talk about fused deposition modeling (FDM) printers, then PLA, ABS, and even TPU are good options. If you prefer to use a resin printer, a higher level of detail can be achieved and there are different resin types you can consider. For a silky smooth, finely detailed mini-sculpture, resin could be the way to go, but it’s good to keep in mind that it also involves a significant post-processing process. We’ll walk you through these, and FDM’s, post-processing tasks later on.
Another advantage of 3D printing your own bobblehead is that you don’t need to buy extra materials like the springs to connect the head to the body, because even these elements can be 3D printed, like these parametric bobblehead springs.
3D Printing
As mentioned, when it comes to materializing your design, you can use either an FDM or a resin printer. The main difference between these two options is the level of detail that can be achieved based on their resolution. Commercial resin 3D printers can achieve a layer height of up to 10 microns (0.01 mm), while filament printers can usually print layers 100 microns tall (0.1 mm).
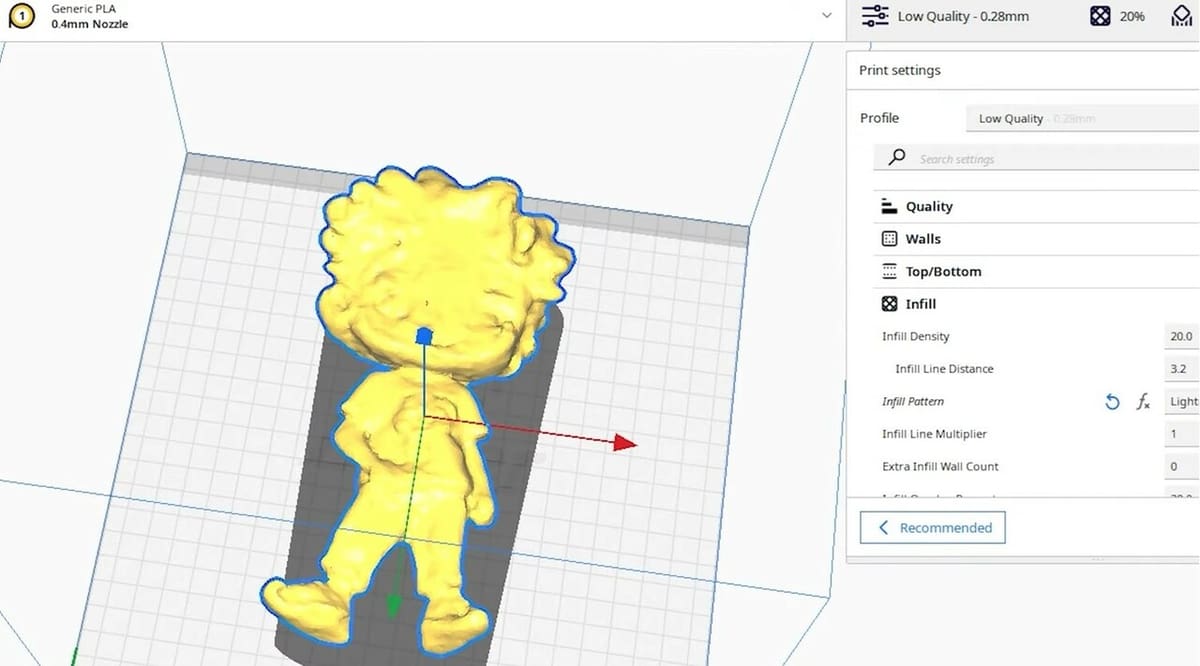
When it comes to the slicing settings, regardless of the type of printer you intend to use, we recommend using a layer height as small as possible. For FDM printers, using a 0.1-mm layer height will give you better results than the default 0.2 mm. With resin printers, 0.05 mm is more than enough to obtain a smooth finish. Both values should be achievable by most printers, even entry-level ones.
In addition, reducing the print speed slightly will help avoid issues due to abrupt changes in direction.
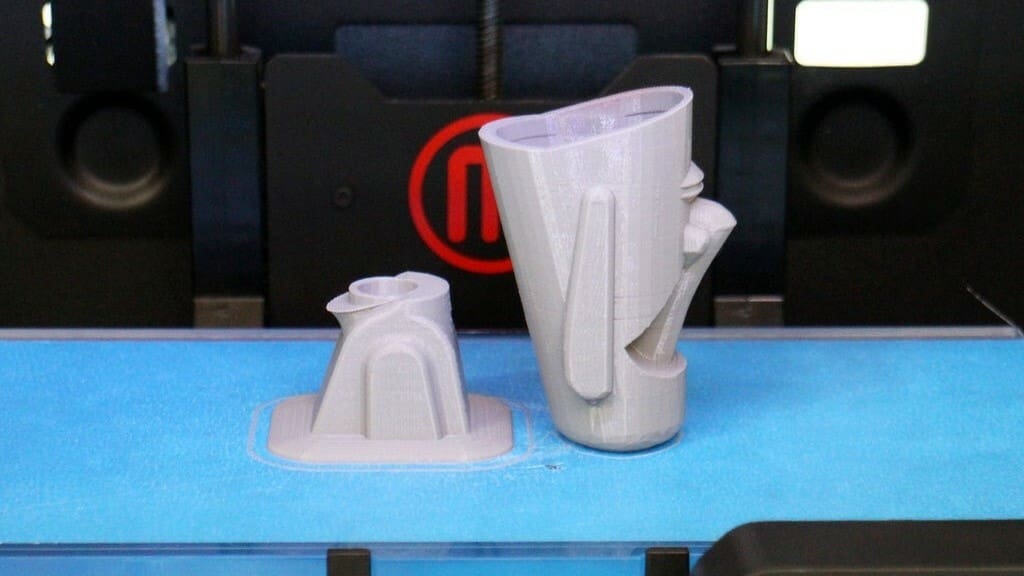
If you’re dealing with a complex body or a head with intricate geometries, chances are that you won’t find a suitable flat surface to place the object on the build plate. A simple solution is to split these elements into two or more parts to make your life easier. Just make sure to add proper locator pins, which will allow you to perfectly align the parts and glue them back together.
A newer 3D printing feature is multicolor capability. With this technology, you can get a multicolored 3D printed bobblehead straight from the build plate, with little to no post-processing work required. This not only simplifies the process, but also minimizes the chance of mistakes during post-processing, like loss of detail due to excessive sanding or smoothing, or leaving painting brush marks. Among the most noteworthy examples are Bambu Lab printers that are compatible with the Automatic Material System (AMS), like the A1 and A1 Mini, the X1 series, and the P1 series.
Other brands like Anycubic and Creality have released their own versions of multicolor printers, including the Kobra 3 with Smart MultiColor Printing and the K2 Plus with CFS (Creality Filament System), respectively. However, for these last two printers, deliveries are just getting started at time of writing. The downside of these 3D printers is that their price tag is still quite high, and chances are that you’ll opt for the traditional paint-by-hand method if you’re on a budget or if the filament colors aren’t exactly what you’re after.
Post-Processing
Once you have all the pieces you need, it’s time to assemble your bobblehead. Assembly can be as simple as connecting the body and the head using a metallic spring or joining them with a 3D printed spring. There are different ways to do so, from simple pins and interlocking joints to snap-fit joints and glued parts. Whatever the method you prefer, this activity shouldn’t take more than a few minutes.
However, depending on the design you choose and the desired level of detail, some additional post-processing operations may be required, such as acetone baths for ABS prints or sanding PLA prints to get rid of unsightly layer lines and Z seam.
If you opt for resin-based 3D printing, then carefully removing the supports and curing the print(s) should be completed before painting. If tiny artifacts are left where the supports touched the model, the print(s) need to be smoothed by sanding. A hobby knife can improve support removal, helping you avoid sanding.
If you plan to paint your prints, remember to use a filler primer after sanding and before applying any type of paint to obtain the best results. There are plenty of painting techniques for 3D printed parts that you can look more into before getting started.
Example Projects
Now that you know about the main elements that comprise a 3D printed bobblehead and the main tasks involved with bringing one of these creatures to life, it’s time to check out some successful 3D printed bobblehead models.
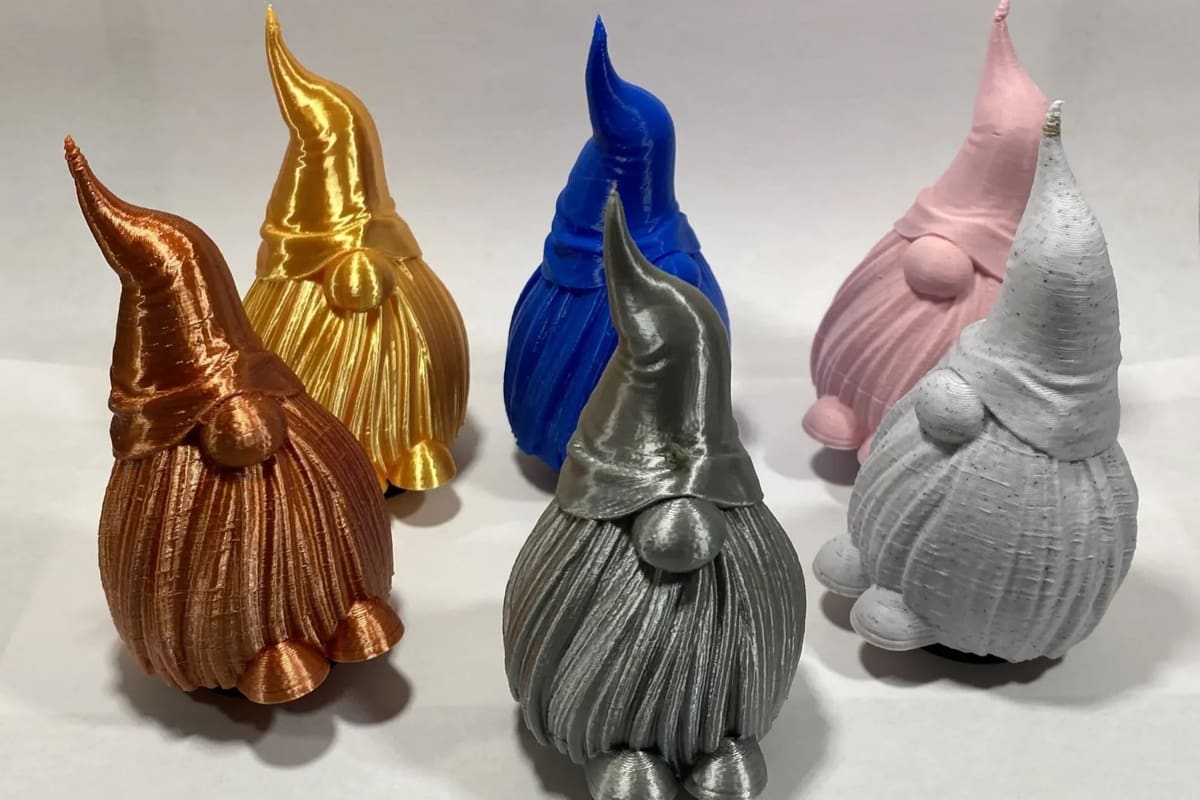
In addition to these examples, you’ll find plenty of others in repositories, forums, and 3D printing blogs, like the adorable gnomes pictured above. We hope you can find inspiration in these models and don’t have a hard time deciding which one to print first!
Rick & Morty
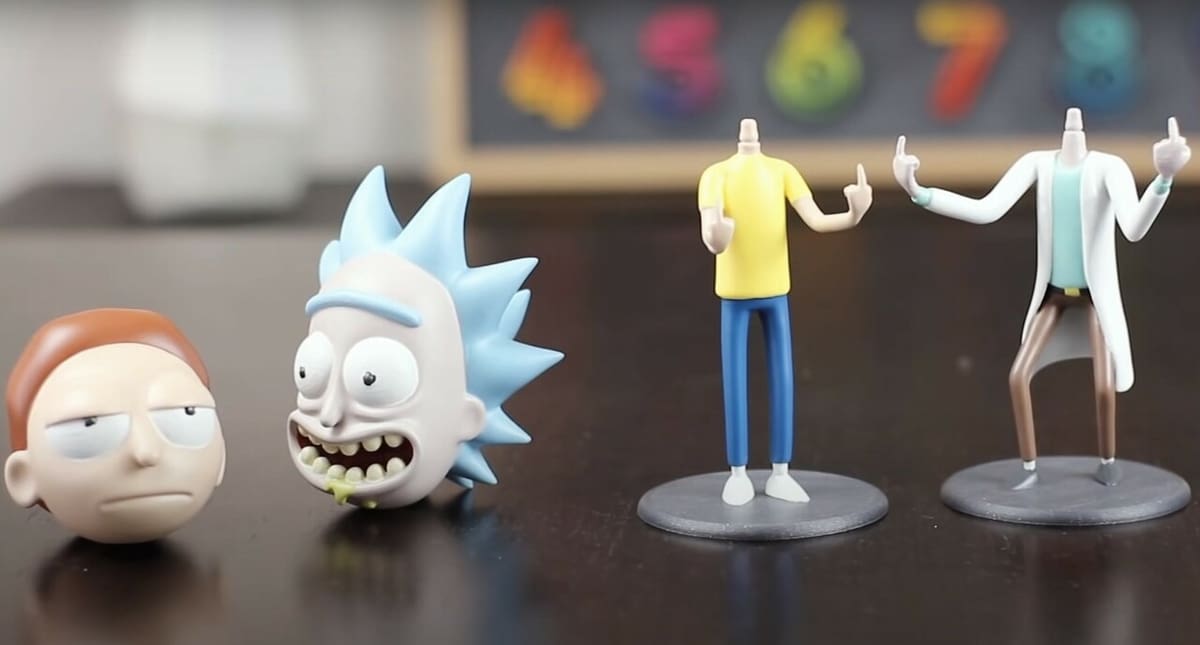
A well-designed version of Morty from the popular TV show Rick and Morty has been created by dukedoks.
Whether you try to print the head and the body in one piece each or you decide to print them using the split files, you’ll have fun with this project. However, if you have any trouble, there’s a handy YouTube tutorial.
If you want to complete the set, you’ll have to pay for Rick’s STL files on dukedoks’ Cults page.
- Who designed it? dukedoks
- How printable/popular is it? There’s an impressive 42 makes, 5 remixes, and over 49,000 downloads of Morty from both sites.
- Where to find it? Thingiverse, Cults
R2D2
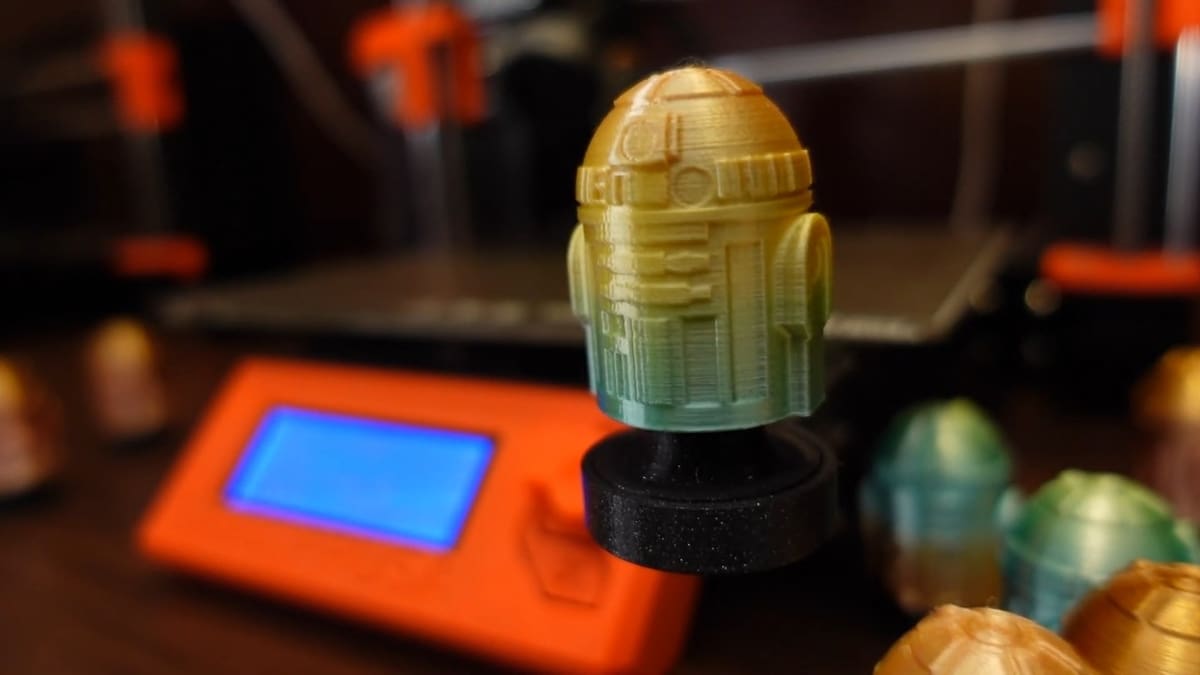
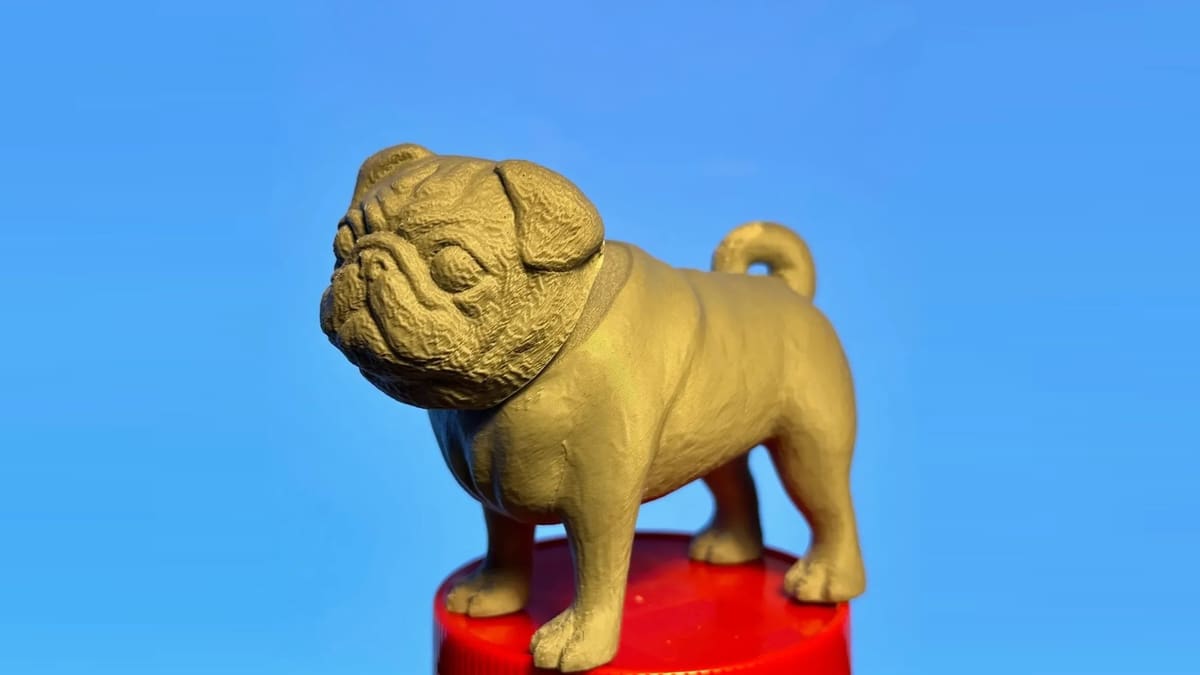
If you’re a Star Wars fan, you’ll love this mini bobblehead of everyone’s favorite droid. Designed to fit on top of your printer’s extruder head, it will bobble forever – well, as long as you keep your printer working.
Along with the robot character, you can also download and print the base and spring. The simplicity allows you to print all the parts without the need for supports, and you can add magnets to keep it attached to your printer’s extruder head after you’re finished.
- Who designed it? 3d-printy
- How printable/popular is it? So far, there are 3 remixes and over 340 downloads – you can be the first to share a make!
- Where to find it? Thingiverse
Lego
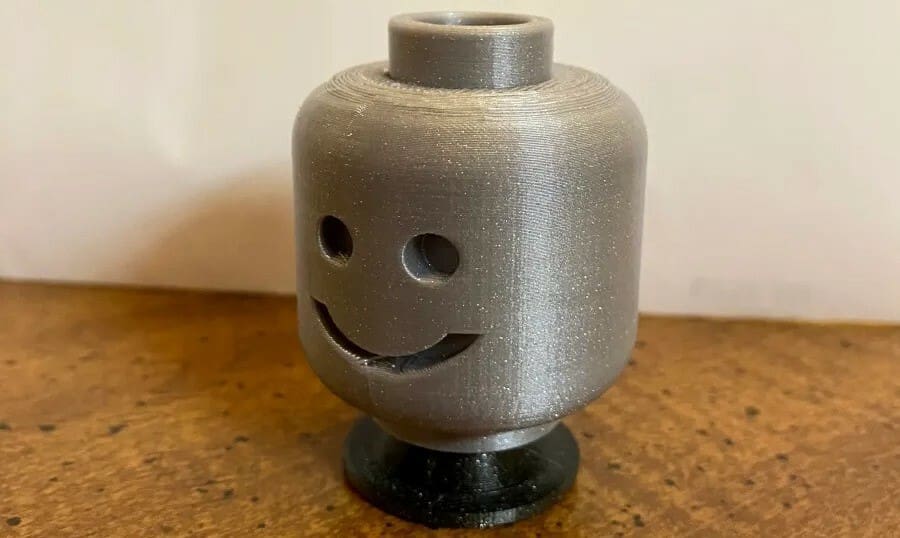
Looking for a more kid-friendly option? This Lego bobblehead is sure to make you happy! In addition to the base, spring and head kit, you can also download and print two different hats: a traditional cowboy-like hat and a Jane Foster (Mighty Thor) helmet.
If you’re into tinkering, you can explore more options by creating additional accessories for this bobblehead, just like you would do with the original Lego minifigs.
- Who designed it? BlackLion
- How printable/popular is it? This little Lego has 1 shared make, over 260 downloads, and around 60 likes.
- Where to find it? Printables
Tutorials
If after extensively looking for THE Bobblehead, you still aren’t satisfied with the options, you might want to check out the next three tutorials.
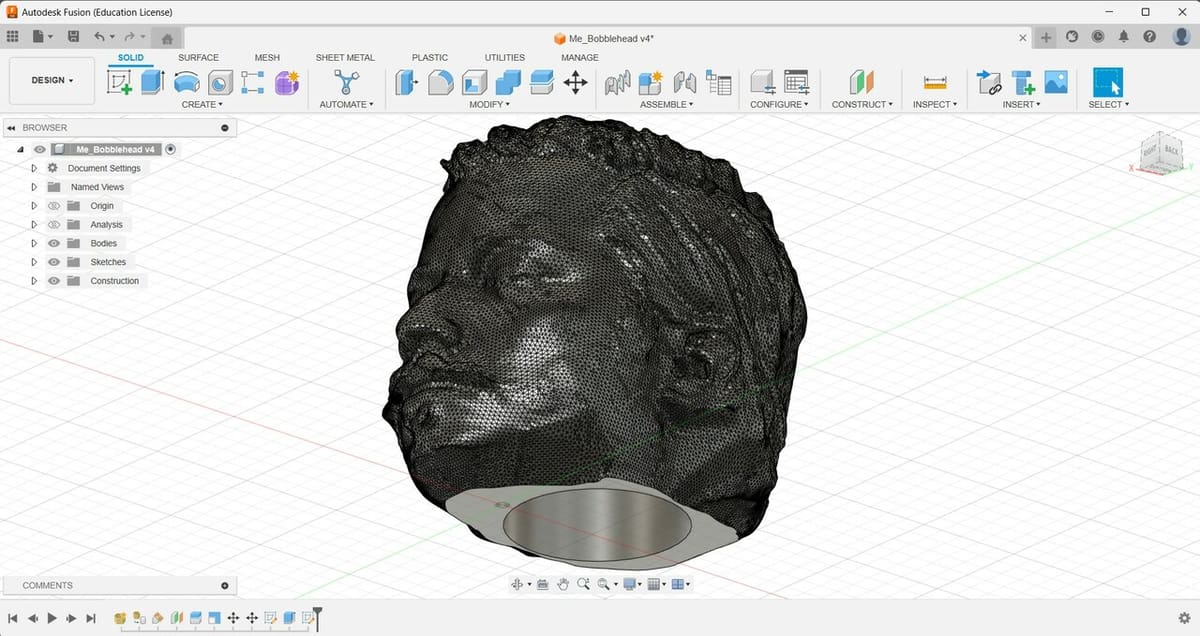
The first two explain how to convert practically any STL file into a bobblehead, while the third one is about a website that creates STL files from images using AI. Additionally, there are tutorials out there about creating your own bobblehead from a 3D scan of your head. Since there are many ways to 3D scan yourself, including using a 3D scanner (professional, DIY, or smartphone apps), photogrammetry, and infrared light, as well as many ways and programs to edit these scanned files, such as Meshmixer, Blender, and Fusion, we won’t go deeper into these tutorials here.
Emoji
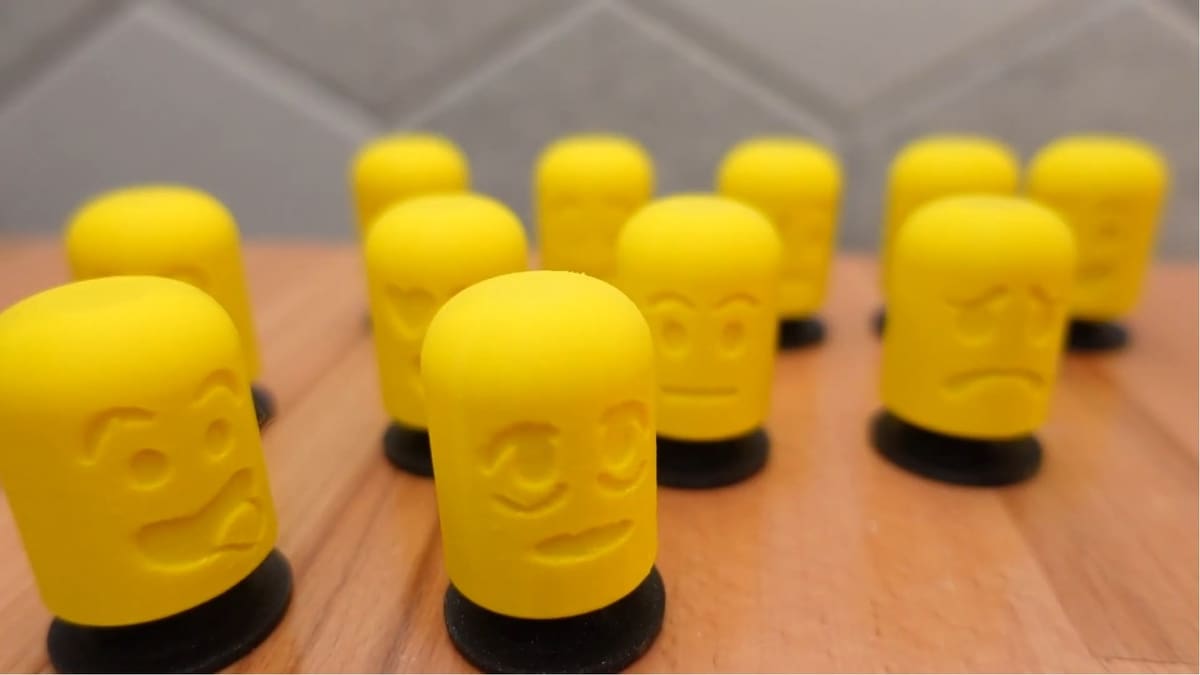
This first tutorial lets you adapt any STL file to a bobblehead. In the YouTube video, Joe shows us how to create a bobblehead using PrusaSlicer, starting from any STL file. After some modifications, such as adjusting its size and orientation, the STL file that you choose becomes compatible with the base and 3D printed spring provided in the tutorial.
A drawback is that the base consists only of a simple disk, instead of a complete body. Nevertheless, we find this tutorial beginner-friendly and well explained. Hence it being a noteworthy introductory step into the world of 3D printed bobbleheads.
Moai Statue
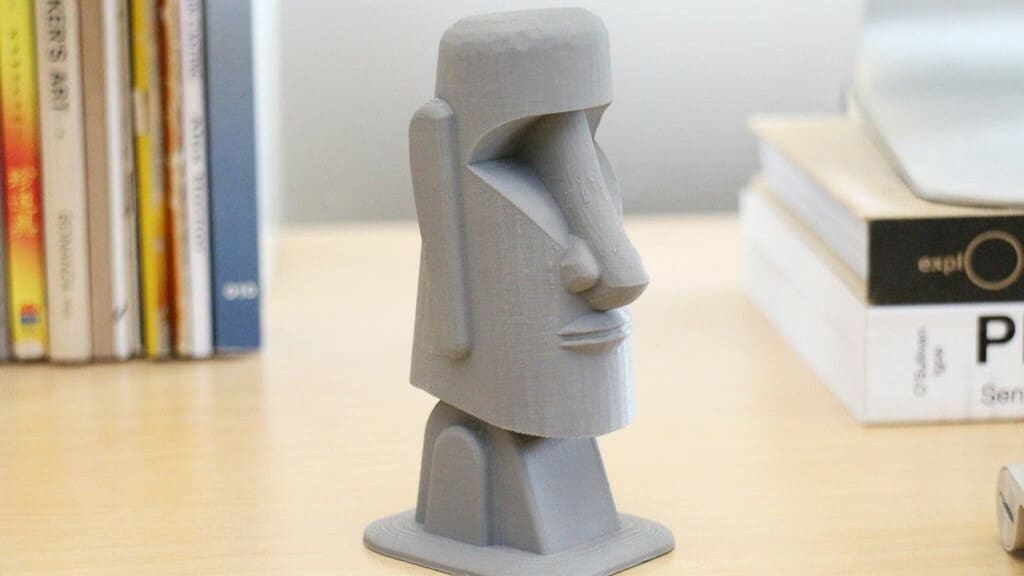
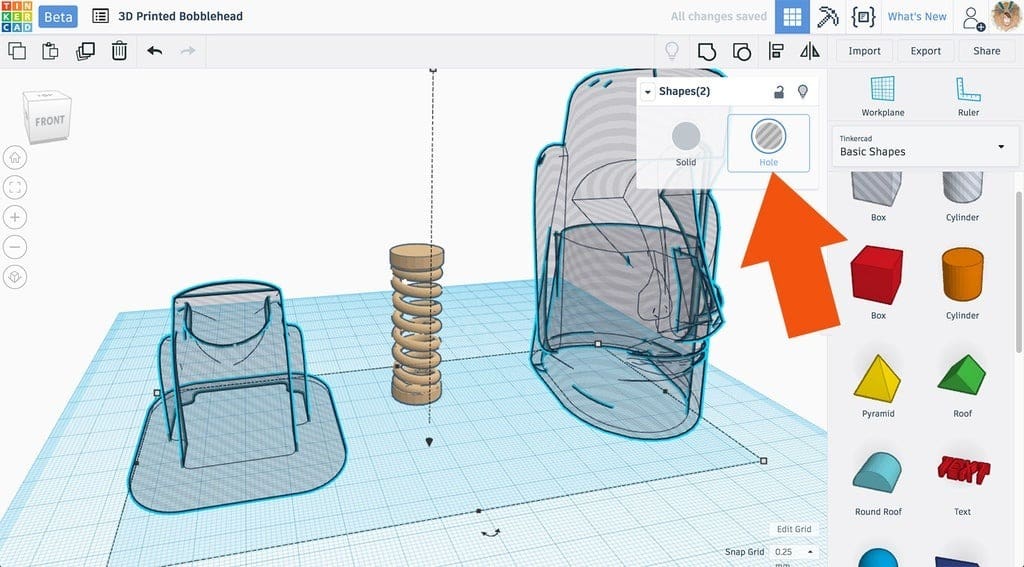
In this next tutorial, Paige Russell goes through the entire process of modifying an existing STL file – a Moai Easter Island head – using Tinkercad to convert it into a bobblehead. With plenty of images and GIFs to follow her indications step by step, this tutorial is a great starting point for those who aren’t familiar with more advanced features of slicing software or more robust computer-aided design (CAD) programs. Instead, Paige uses the free, browser-based Tinkercad to give you the tools to unleash your imagination and create as many bobbleheads as you want.
All the files are available to download from the tutorial, including the spring one. We like the attention to detail and appreciate that the process is thoroughly explained. However, because of this, some may find this tutorial unnecessarily lengthy.
Personalized
This short tutorial shows you how to create a bobblehead after converting an image into a 3D model using Artificial Intelligence through the CSM 3D Viewer. The output is an STL file that you can later split into the body and the head. After printing and painting, you can simply join them by means of a metallic spring.
While this tutorial doesn’t properly describe how to create a bobblehead – based on the lack of design of the bobble element – it does provide a good option to create custom bobbleheads using your own photos and AI. To fully make the most of this tool, however, you must first sign up for an account.
License: The text of "3D Printed Bobblehead: All You Need to Know to Make One" by All3DP is licensed under a Creative Commons Attribution 4.0 International License.