Bedroom decor goes far beyond simple objects; it reflects personality, style, and functionality.
With 3D printing, you can transform your space in a creative way, adding unique and personalized pieces. Whether you want to add a fun touch, improve organization, or create a cozy environment, 3D models offer endless possibilities!
From clocks that combine technology with retro style to pop culture-inspired lamps, each item was chosen to combine aesthetics and utility, making your space more organized and inviting. Get your favorite filaments ready and get to work so that you can later sit back and enjoy.
And if your 3D printing setup isn’t up to task or you don’t have the exact material you’re looking for, check out Craftcloud. With manufacturers all over the world and as many materials as you can think of, in a few simple clicks your design will be on its way to being 3D printed and delivered to your doorstep.

Retro Clock Stand
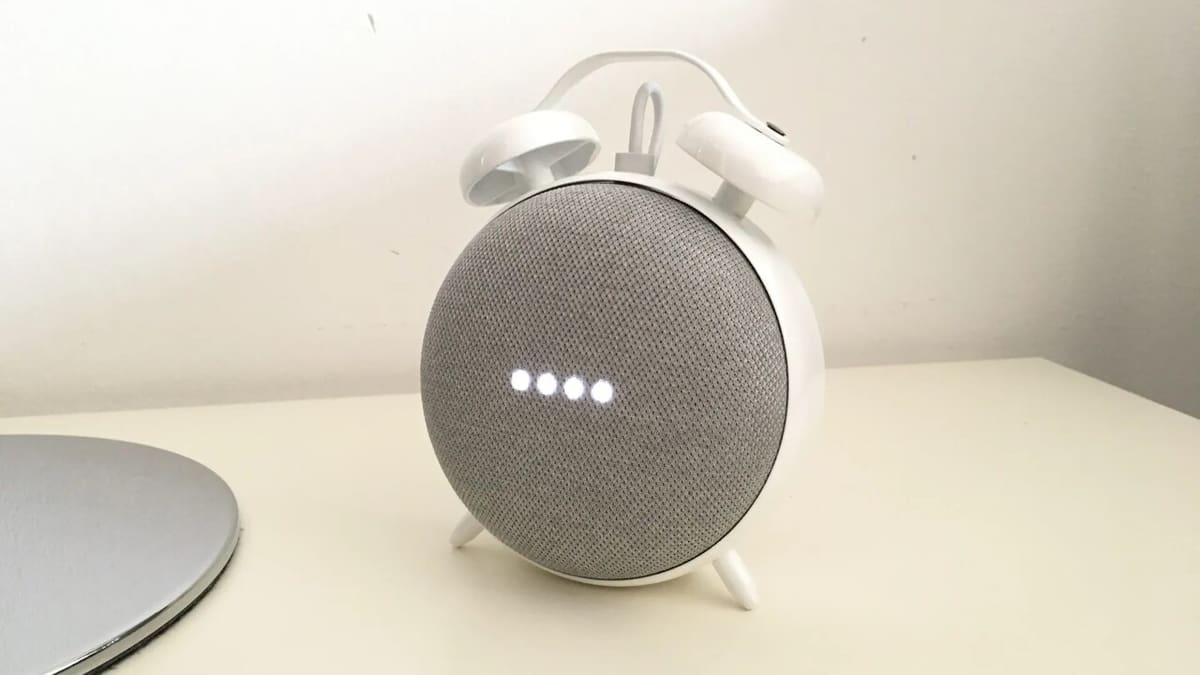
Turning your Google Home Mini into a charming retro alarm clock is easier than you think – this 3D printed stand proves it with style to spare.
Inspired by classic double-bell bedside clocks, this design combines nostalgia and functionality without compromising on modern aesthetics. In addition to its eye-catching design, this upgraded version is a perfect fit for the device, eliminating the need for additional adhesives or mounts.
The designer shares that they opted for a layer height of 0.2 mm and an infill of 20%, and also mentions that the pins at the base (the feet and bells) were printed at a reduced speed to avoid deformations. Once the 3D printing is done, the post-processing stage requires attention to detail. A bit of sanding might be needed because the fit of the holes for the bells and the main body is tight, and the designer suggests performing fitting tests to check the alignment of the holes. To fix the top bar, you can use two M3 screws or simply opt for glue.
- Who designed it? Naesstrom
- How printable/popular is it? There are a total of 35 makes across the repositories and more than 11,000 downloads combined, showing that there’s no time to waste printing one.
- Where to find it? Thingiverse, Printables, Cults
BellSprout Lamp
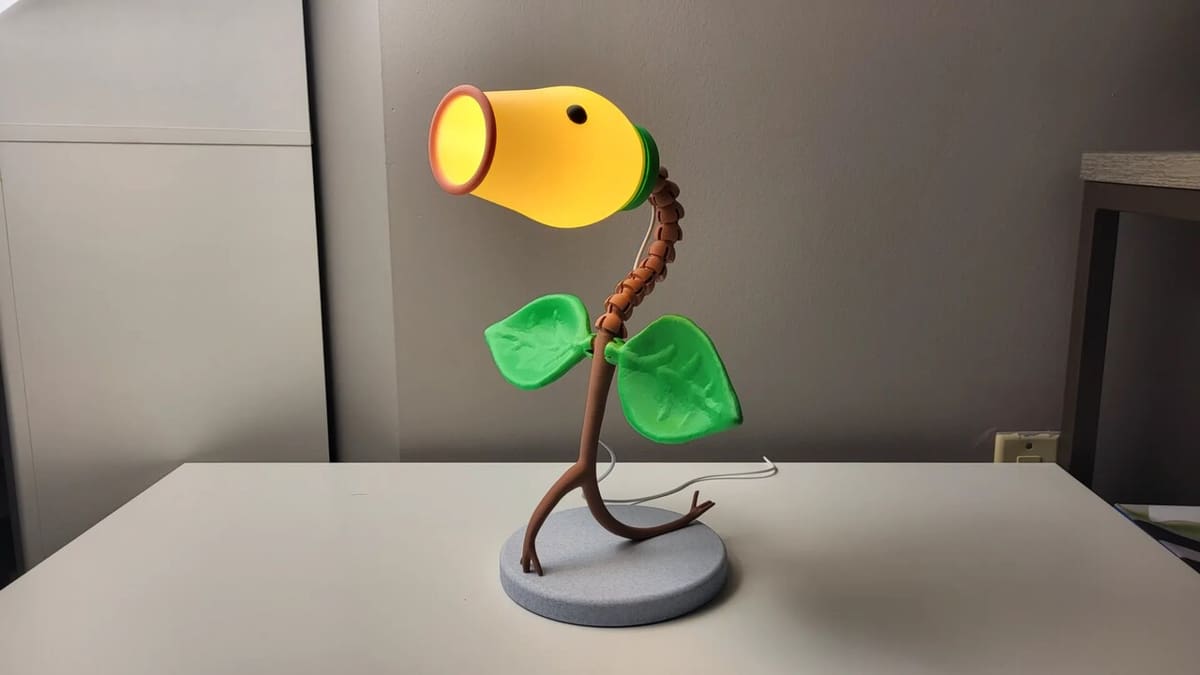
Inspired by the character Bellsprout from the Pokémon franchise, this lamp is both decorative and entertaining, making it a valuable addition to any fan’s space. The model was developed for a lighting contest on MakerWorld, and while the designer is considering selling the model, at time of writing it’s still free.
It’s not an easy project to recreate, but it will certainly be a rewarding experience and will provide you with a sense of achievement.
The LED lamp kit is available for purchase on Bambu Labs website (you can support the designer by following their link); all other parts are 3D printed.
Among the detailed information provided by the designer, they warn that it’s crucial to test the joints with the intended filament, as variations can affect friction, before you start printing the whole model. Plus, they say that the joints work best with four walls and 10-20% infill – a higher percentage will lead to failure during assembly. While they’ve shared a variety of printing profiles depending on the setup and parts, there is plenty of information for each to figure out how to proceed, with a variety of helpful comments from the community as well.
- Who designed it? SavageLau
- How printable/popular is it? More than 5,800 prints and 7,800 downloads according to MakerWorld make it clear that Bellsprout is a superstar worth the challenge!
- Where to find it? MakerWorld
Habit Building Alarm Clock
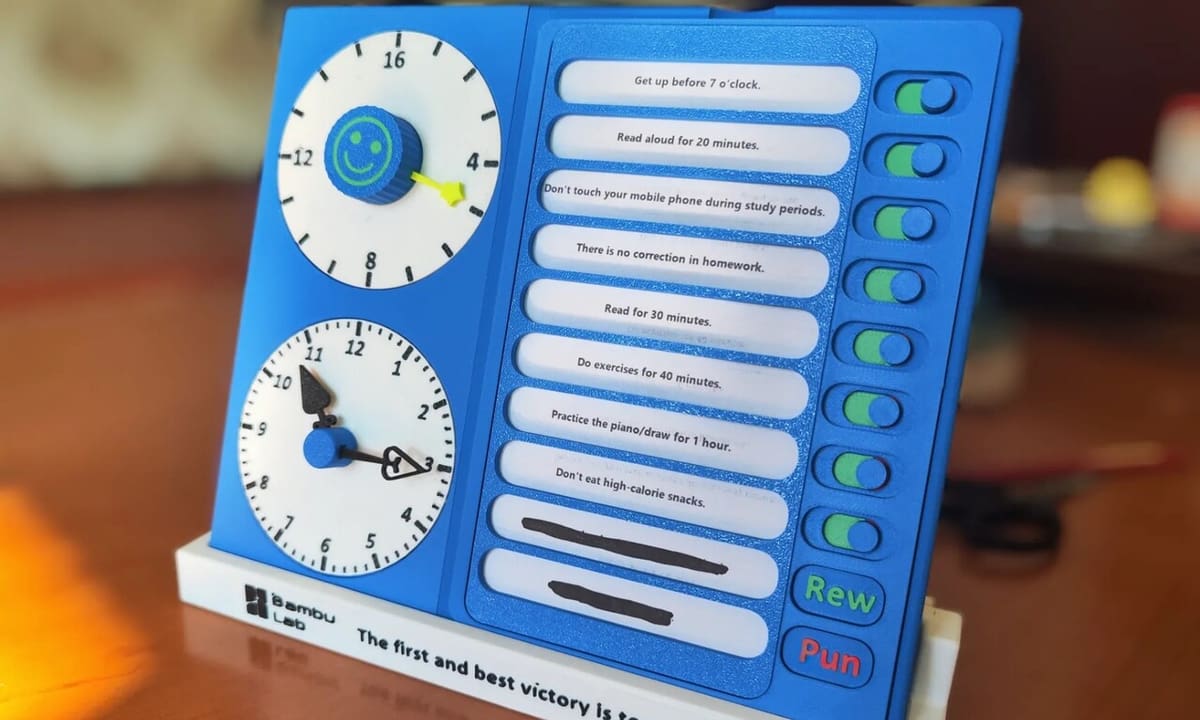
The Habit-Building Alarm Clock model is designed to help children create routines in an interactive and personalized way. The model allows children to input their own schedules and tasks, encouraging autonomy as they organize and carry out their daily activities. With a modular design that also provides a bit of storage, it’s a perfect desk accessory as well.
The print profile shared by the designer includes a 0.2-mm layer height, two walls, and 5% infill, with all the parts spread across eight plates, totaling a little over 14 hours of printing. While maker mfour reported a challenge when releasing the sliding buttons, the designer mentioned that supports aren’t necessary for that part. Given the useful guides shared, as well as the positive comments from other makers, this looks like a replicable and useful habit-forming assistant to 3D print!
- Who designed it? 箱庭猫猫
- How printable/popular is it? So far, MakerWorld reports 70 prints and over 260 downloads.
- Where to find it? MakerWorld
Simple Life Organizer
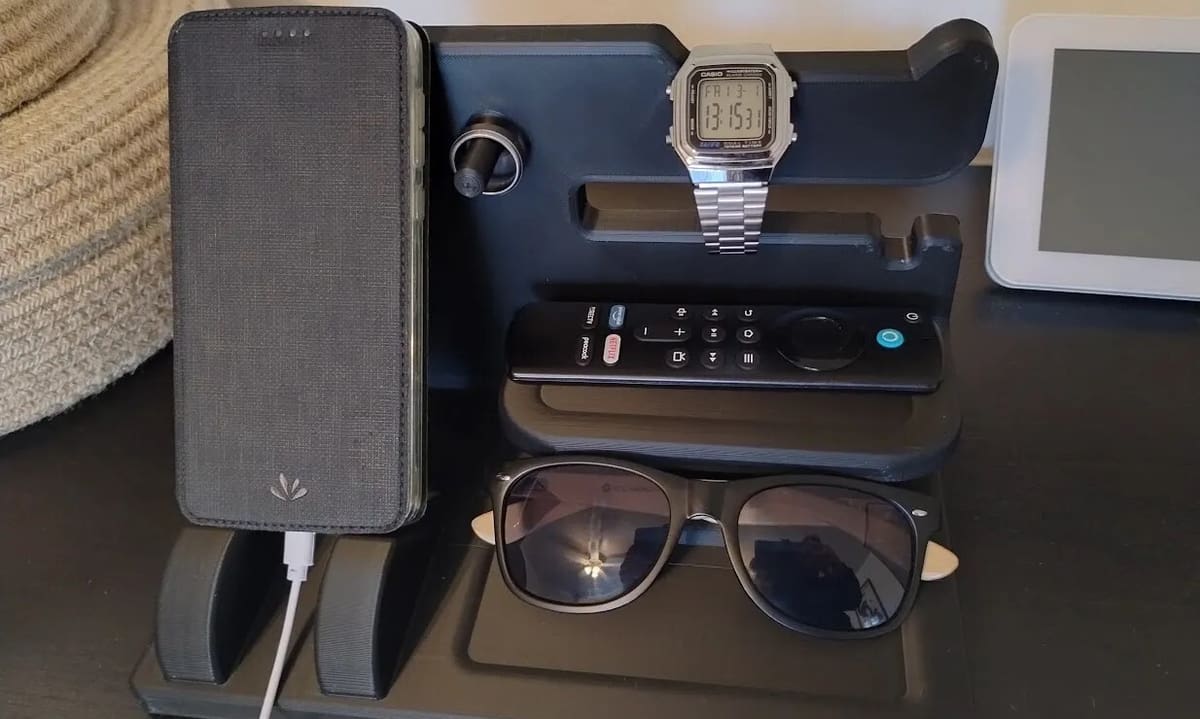
The “Simple Life Organizer” is a practical and efficient solution for those who want to keep their bedside table organized. With a minimalist design, it offers compartments that are ideal for storing essential items next to the bed, such as glasses, watches, rings, a remote control, or your smartphone.
Designer Freer suggests printing the model without supports, which simplifies the process and saves material. While the author doesn’t specify any 3D printing settings, they shared an image showing the ideal orientation of the model on the print bed. Remember to adjust the parameters and experiment with your desired filament for best results – PLA should do the trick, and a layer height of 0.2 mm with an infill of 15-20% should also work.
- Who designed it? Freer
- How printable/popular is it? This simple organizer only has a make so far, but it has been downloaded almost 400 times so far.
- Where to find it? Printables
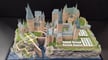
Endless Interchangeable Shelf
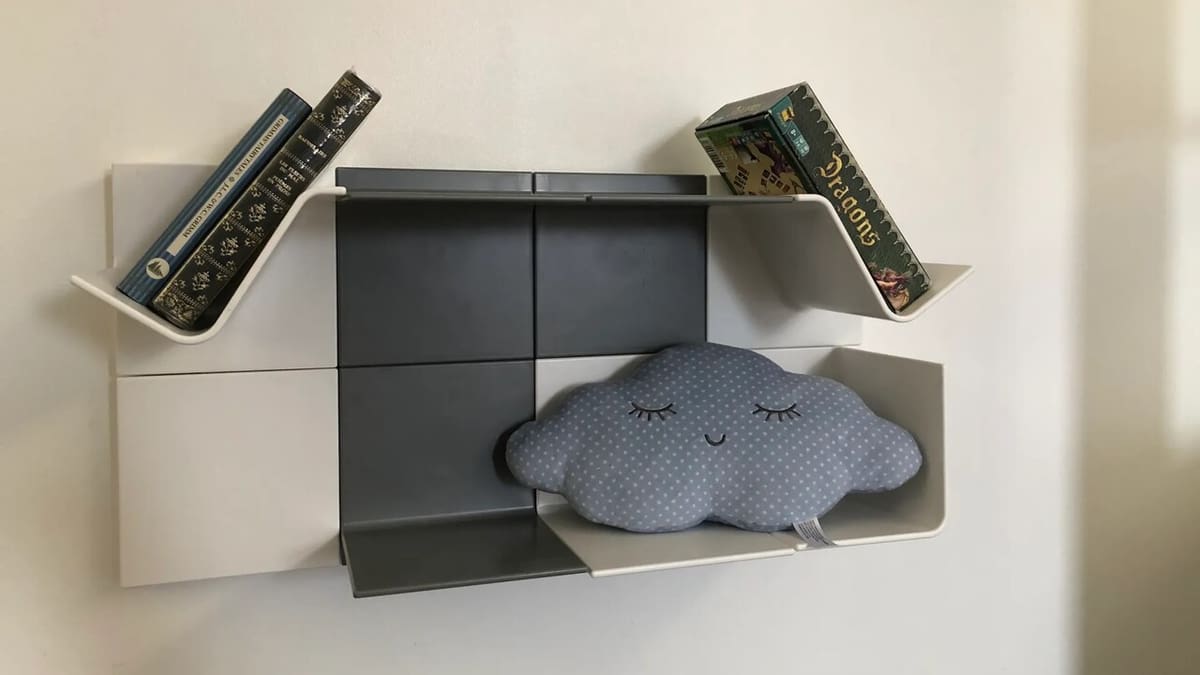
Created by Kashimi, this customizable modular shelf allows you to print as many segments as you want and connect them in a variety of ways.
For the customization enthusiast, there are even themed board options, such as the Game Rack model, designed to store Nintendo Switch, PS4, and Xbox One games, and the QI Board, which transforms the shelf into a wireless station for Ikea’s QI charger.
The main module should be printed with a 0.15-mm layer height for a more detailed finish, although the designer suggests sanding or smoothing every segment. The connector that joins the modules requires supports in at least four places, as indicated in Kashimi’s pre-configured 3MF file.
The interchangeable plates can be printed without supports, although some “advanced” plates, such as the Handy Cuby and Pegboard Plate, require such structures. Maker MicahFarley also shared guards that can be added to the edges to prevent objects from falling.
Keep in mind that it’s recommended not to exceed 5 kg per module and to use more resistant materials, such as PETG.
- Who designed it? Kashimi
- How printable/popular is it? With 7 makes and almost 4,500 downloads, this useful and customizable design is definitely printable.
- Where to find it? Printables
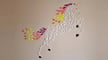
Geometric Wolf
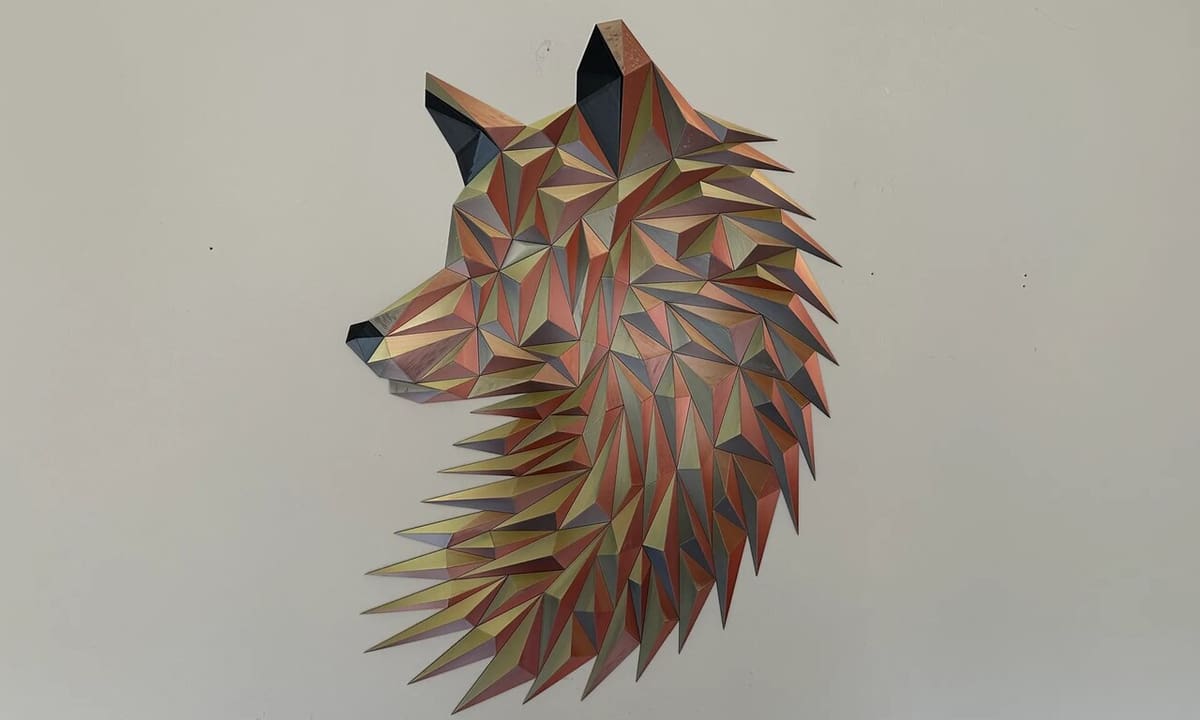
With an angular and minimalist design, this piece fits perfectly with different types of decor, from more rustic environments to ultra-modern spaces. Composed of 96 pieces, the mosaic has a standard size of around 90 cm x 65 cm, although it can predictably be scaled up or down depending on your needs. Although assembly may seem challenging, all the pieces are numbered and there’s a PDF template that makes it easier to identify where each part should go.
Fixing the pieces to the wall will depend on what you have on hand; you can use Velcro, double-sided tape, hot glue, or Blu-Tack, just to name a few.
While the designer hasn’t shared any printing tips, a maker shared printing profiles on MakerWorld that make use of a layer height of 0.2 mm, 2 walls, and 15% infill. These settings clock printing time in at approximately 30 hours in total. Depending on the printer and material you use, the time may be a little longer, as indicated by maker NewHouse3D.
Regardless of the challenges, both they and other users like Fuse agree that it is a beautiful art creation.
- Who designed it? dgemily
- How printable/popular is it? With at least 238 makes and almost 8,500 downloads across different repositories, it’s as popular as it is printable.
- Where to find it? Thingiverse, Thangs, MyMiniFactory, MakerWorld, Printables
Mario Tissue Dispenser
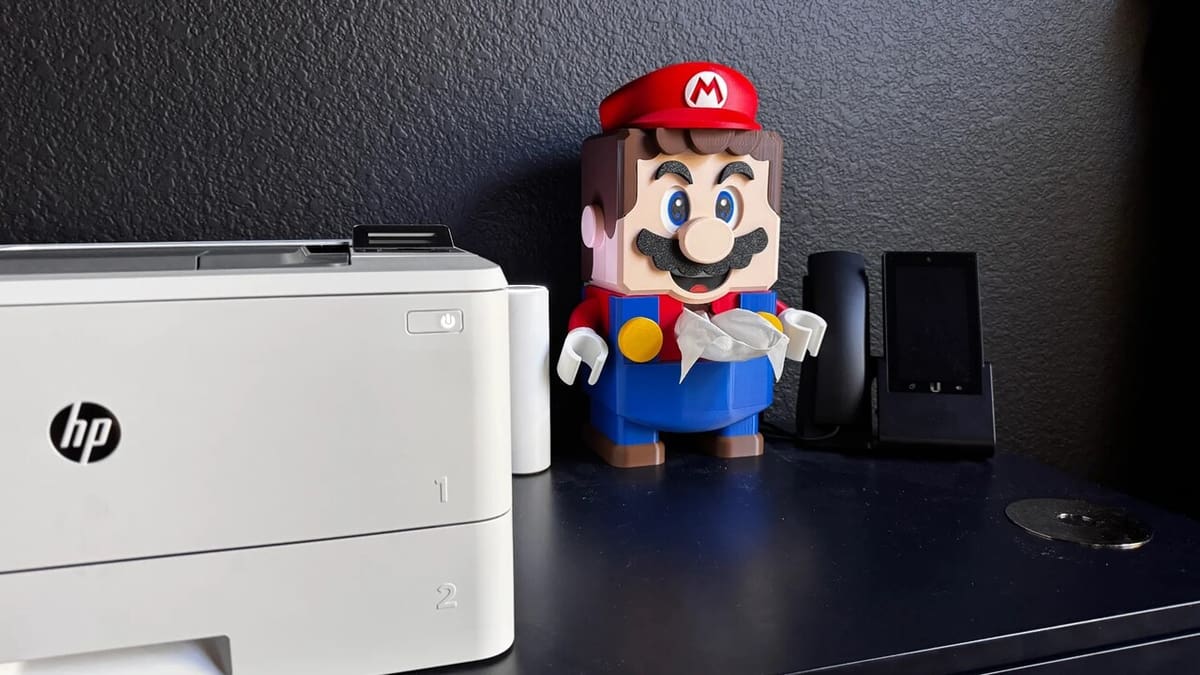
With the popularity of character-themed decor items, the Mario Tissue Dispenser offers a creative and functional approach to adding a fun touch to your home. Created by soarpix, this model is not only a solution for storing tissue boxes, but also a great accent item for anyone who loves the Super Mario universe. He will always be there, ready to unclog drains, or in this case, stuffy noses.
The designer shared a printing profile that includes 0.25-mm layers, 15% infill, and 2 walls, with an approximate duration of 22 hours. Maker Girn shared their own take, which adapts the design to be printed on an A1 Mini, increasing the time by roughly 3 hours.
Some of the model’s parts are designed with snap-fit joints, although others require either wood screws or glue for greater stability. FlyguyPrintguy shared his experience using glue instead of screws, which resulted in an efficient and secure assembly.
- Who designed it? soarpix
- How printable/popular is it? So far, MakerWorld reports over 630 makes and 1,600 downloads. To quote Mario, “Mamma Mia!”
- Where to find it? MakerWorld
Bedside Bookshelf
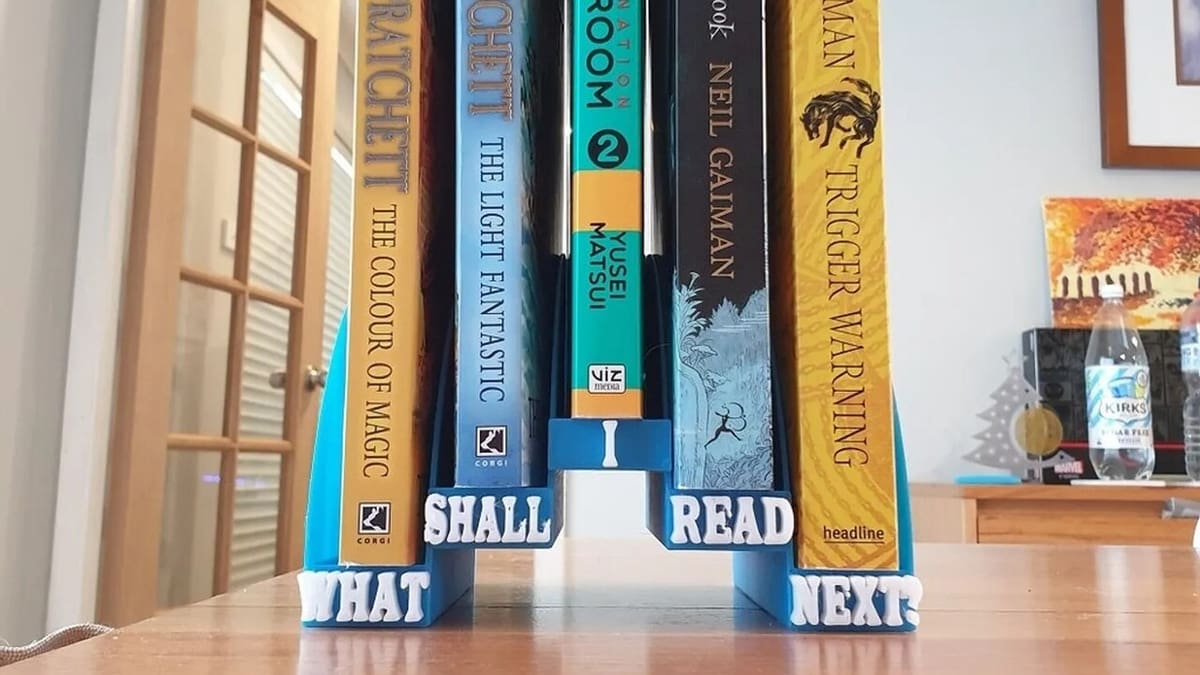
Reading is a gateway to knowledge that can expand horizons and enrich the mind, and we should always take care of this good habit. If you’ve got something in mind for your next read and just leave your books piled up on the bedside table or far away on the shelves, this could be the solution. This small stand can be very useful for organizing your favorites and even making your books part of your decor!
The designer didn’t share her print settings, but success stories are shared in the comments, noting a 0.18-mm layer height and opting for PLA. Maker lyk comments that they scaled the design to fit thicker books, although this also increased printing time to 11.5 hours.
To make the words a different color from the shelf, as in the photo above, if you don’t have a multicolor setup, pausing at height should do the trick.
- Who designed it? 3DPrintBunny
- How printable/popular is it? 5 makes and around 300 downloads are proof that reading is still in fashion and that you don’t need to be an expert to add one of these to your bedside table!
- Where to find it? Printables
Do Not Disturb Door Hanger

There’s nothing like a “Do not disturb” sign that stands out even in the dark, right? This 3D printed sign that glows at night with the right filament is the perfect fusion of practicality and fun. It ensures that even in the darkest places or in the absence of power, your request for privacy is clear and stylish. Go ahead and transform the simple gesture of asking for peace and quiet into a modern and creative touch for any environment!
The designer didn’t leave any recommendations for print settings, however, the model shouldn’t be difficult to print, as indicated by maker Florian. He shared a beautiful make done in a vibrant and different color that will attract attention at any time of the day or night, and confirmed that it is very easy and simple to print.
- Who designed it? TripleGWorkshop
- How printable/popular is it? This notorious and simple warning has 4 makes shared and it’s been downloaded around 430 times so far.
- Where to find it? Printables
Jewelry Box
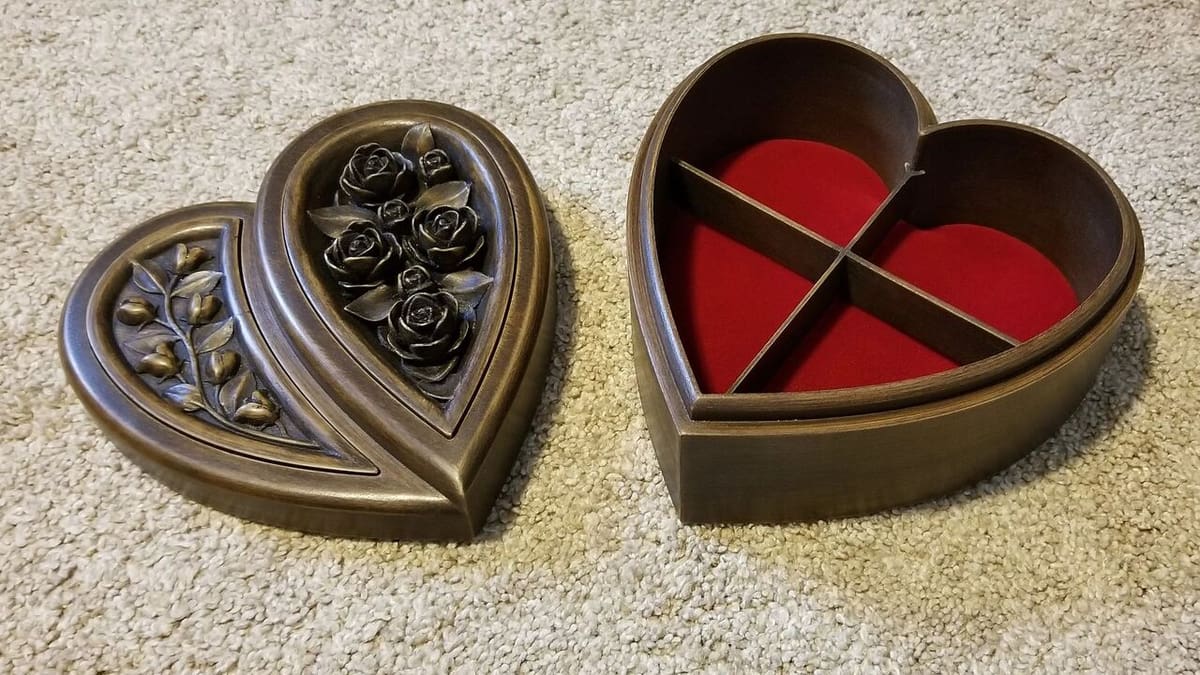
Decorating involves thinking about every detail; taking the best possible advantage of limited space is important, which is why a well-designed jewelry box is a special touch. With removable dividers that allow you to organize the interior space into two or four compartments, this box adapts to different needs, making it a versatile and sophisticated gift.
No supports are necessary and to give it a good weight, the infill should be between 20-30%. The designer shares that they enabled a brim for the divider pieces
To achieve a handmade and luxurious look like the one in the photo above, some tricks were used, starting with opting for Hatchbox and Sunlu wood PLA, for example. According to JollyRager, who created the incredible make, caution is warranted for the direction of the light sanding; it should be parallel to the layer lines to make the work easier and improve final results. Plus, applying wood stain and adding a final layer of finishing wax were necessary. The good news is, if you’re after such spectacular results, JollyRager shared a detailed account of all the work carried out.
Last but definitely not least, you can also glue on velvet for a soft and delicate touch.
- Who designed it? TheGreatMrBill
- How printable/popular is it? 153 makes, 8 remixes, and an impressive 149,000 downloads make it beyond clear that this is both a printable and popular model.
- Where to find it? Thingiverse
License: The text of "3D Printed Decor for the Bedroom" by All3DP is licensed under a Creative Commons Attribution 4.0 International License.