
3D Printed Lathe: 10+ Great Projects to Build Your Own

Lathes can be a handy but expensive tool. Read on for DIY 3D printed lathes and accessories. Save money and start cutting!
A Dizzying Art
Lathes are one of the most common fabrication tools out there, allowing makers to create a custom-shaped object. They work by spinning a workpiece on its axis against a tool to perform various deformation acts (also called subtractive manufacturing), such as cutting and drilling. Lathes have a wide variety of uses and applications, though they’re primarily used for custom manufacturing and fabrication.
In this article, we’ll be listing our favorite lathes and lathe accessories. But they’re not just any old tools; these one are all DIY projects that use 3D printed parts and some purchased hardware. As a result, it’s important to note that none are suitable for industrial cutting.
If you see a lathe that you want to assemble, but you don’t have the means or desire to 3D print the parts yourself, head to Craftcloud. With an extensive catalog of materials and finishes, you’ll be getting exactly what you want delivered straight to your door.
Now, before we get to the models, let’s go over some equipment and tools you’ll be needing as well as a few safety concerns.

Tools & Parts
Each lathe needs different parts and tools, but most of them end up needing a drill and a high-power motor for construction. M3 screws are another common material used. To find out which specific tools and parts you’ll need, check the bill of materials for the specific project you’re interested in.
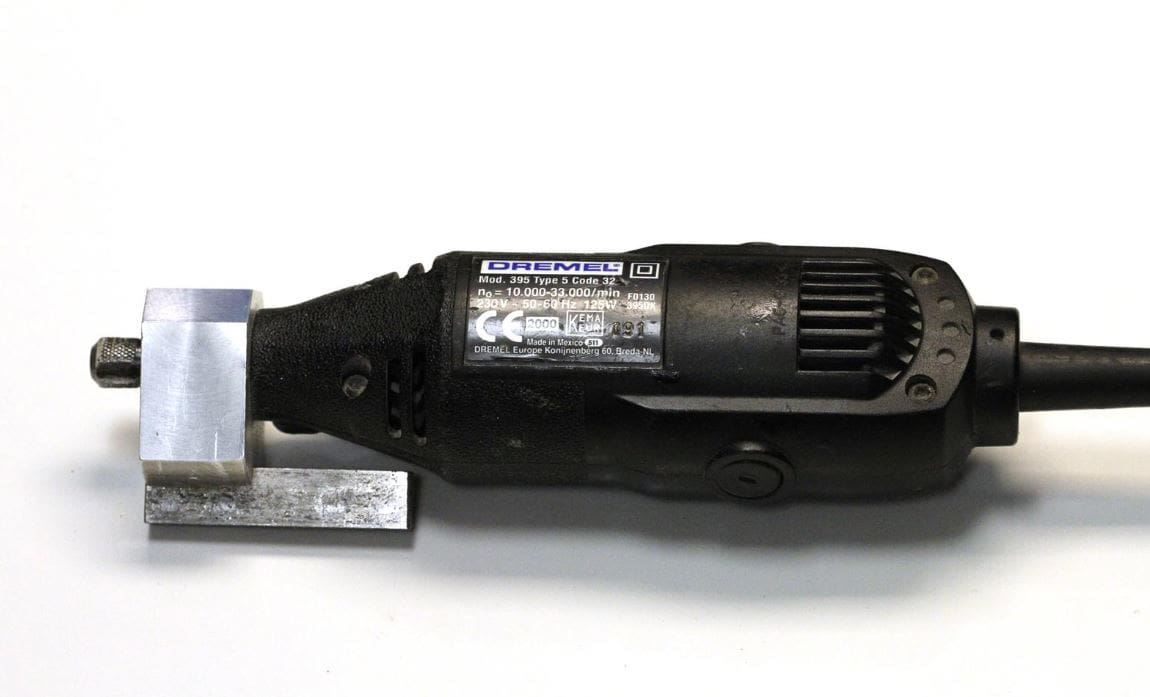
One of the more common motors used in these lathe projects is a Dremel motor. The Dremel is a rotary motor with a lot of power and torque, perfect for lathe projects. Since there are many different versions, check what the project page specifies.
Safety & Strength

As a final step before we get into the lathes projects, we want you to be aware of some hazards when building.
First off, your home-built lathe may not adhere to the safety standards that you’d expect of purchased products. Be cautious at all times when constructing and later using a lathe.
Second, and this goes for all lathes, make sure you don’t put your hands in the lathe. These are powerful machines that can severely injure you.
Lastly, when 3D printing parts for your lathe project, make sure to print them in a durable material. Using high-strength materials (like PETG or ABS) and smart print settings (e.g. high infill percentage) means your parts are less likely to break mid-action, which of course can be very dangerous.
Lathes
Now that we know all about some of the tools you’ll likely need, and how to keep yourself safe, let’s check out the projects!
Micro
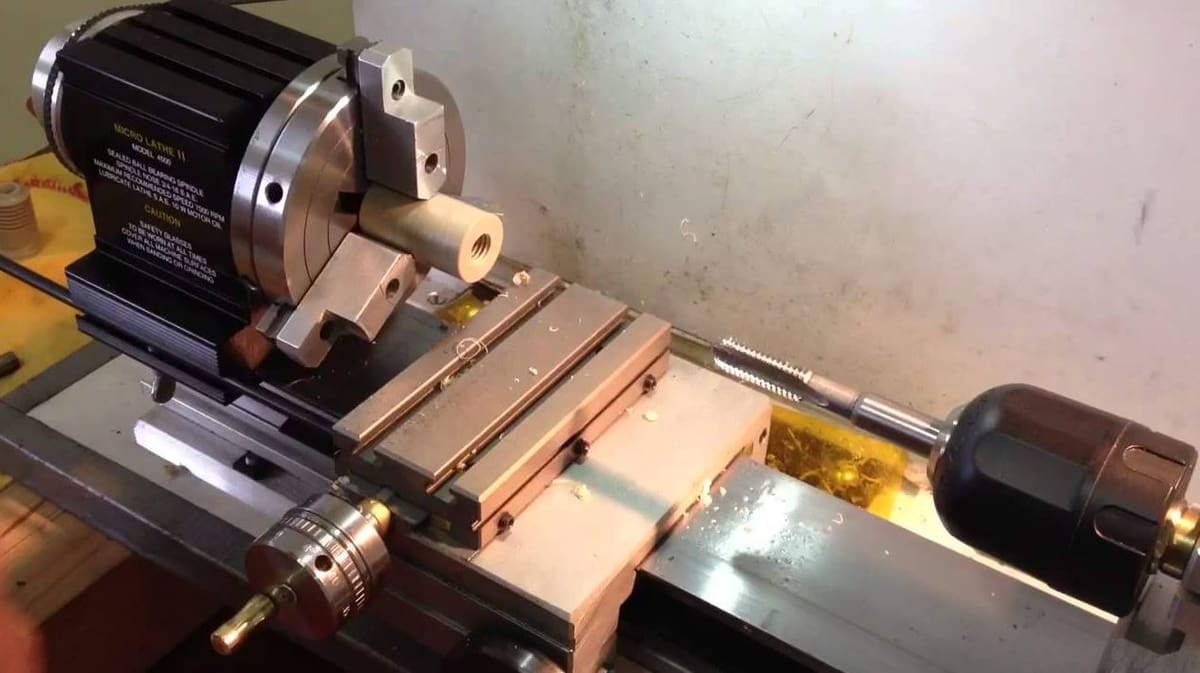
To start off the list, this micro lathe is the perfect option for those seeking a small but effective lathe. It’s composed of 12 different 3D printed parts.
Although the bill of materials isn’t stated on this model’s project page, another lathe model from the same designer has a parts list. It’s recommended to print the parts with a 0.3-mm layer height as well as in PLA.
- Who made it? gil1
- Who printed it? This first lathe has 1 recorded Make and around 11,000 downloads!
- Where to get it? Thingiverse
- Difficulty: Medium-hard
- Build size: Not stated, but it looks fairly small (and the designer calls it a micro-lathe).
Stepper Motor
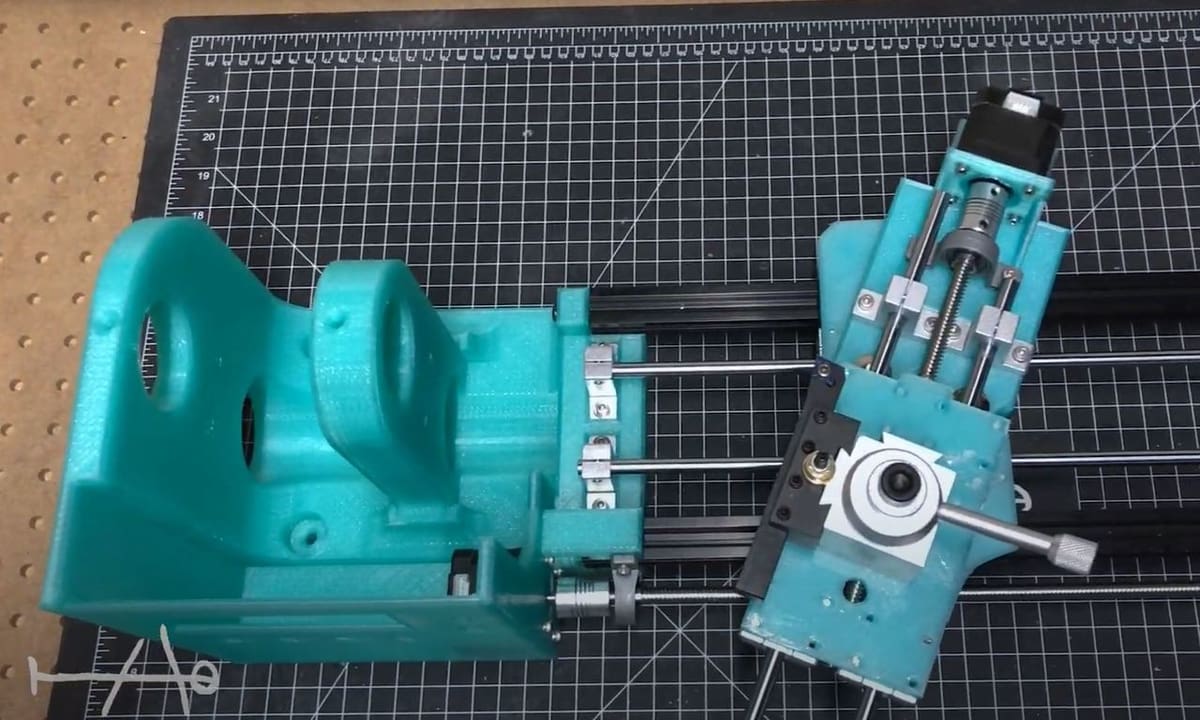
Designed in Fusion 360, this lathe can deform many soft materials such as wood, plastic, resin, and even some metals, according to the project page. In addition to the 3D printed parts, you’ll need a NEMA 17 stepper motor, a custom Arduino board, and more. (A full list can be found on the project page.)
Assembly should be easy peasy, as the designer has posted multiple construction videos on the project page. The lathe was designed to fit almost every printer no matter the build size, too!
This lathe should be printed with a 0.18-mm layer height with seven walls according to the maker. The creator of this model also suggests printing with seven top and bottom layers and a 35% gyroid infill.
- Who made it? TheContrappostoShop
- Who printed it? There are over 4,000 views and 146 downloads of this functional lathe.
- Where to get it? Cults
- Difficulty: Medium
- Build size: Not stated, but based on the picture, it looks like it’s on the larger end.
Parametric
This Dremel parametric lathe is a design that’s had multiple updates to improve the design and functionality. It uses five different 3D printable parts as well as multiple pieces of hardware such as a Dremel, M3 nuts, M3 bolts, bearings, a ratchet clamp, and more.
You can check out the instructions on the project page to see what other materials you’ll need. Assembly shouldn’t be too hard either because the creator of this lathe project has a lot of detailed instructions that’ll walk you through the process.
The only printing advice the designer added was to print at 230 °C, meaning that they might have been printing in a higher-durability material such as ABS or PC.
- Who made it? cathalgarvey
- Who printed it? This lathe project has 8 recorded Makes, 1 Remix, and over 24,000 downloads!
- Where to get it? Thingiverse
- Difficulty: Medium
- Build size: Not stated, but it looks pretty small based on the picture.
Demo

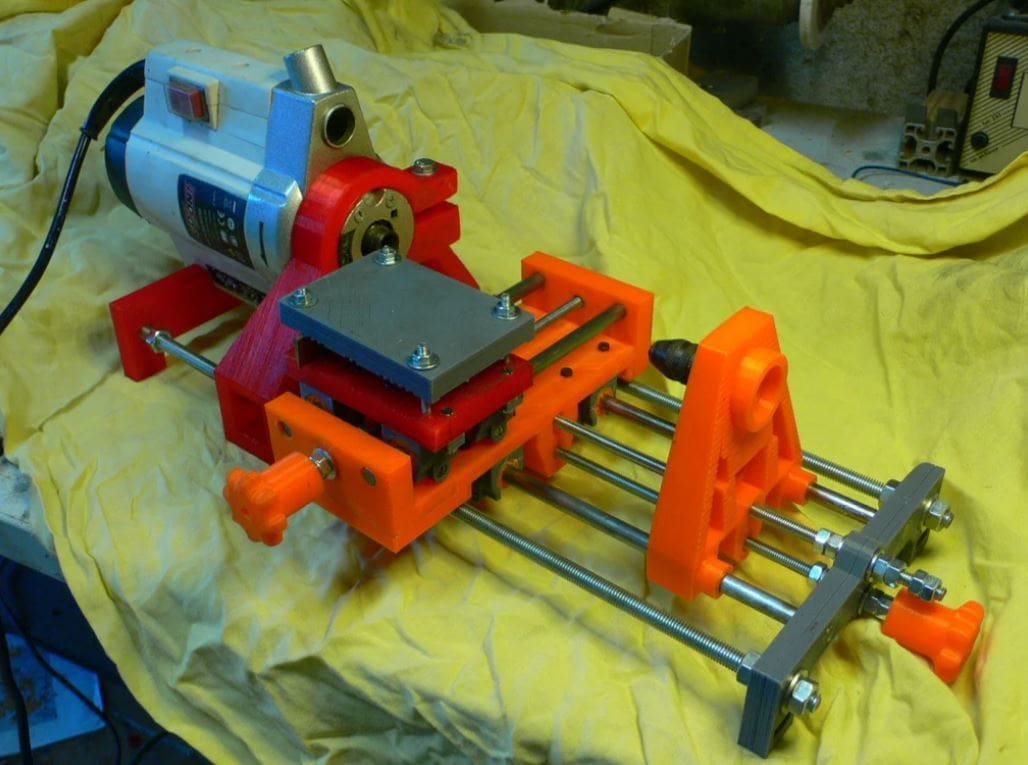
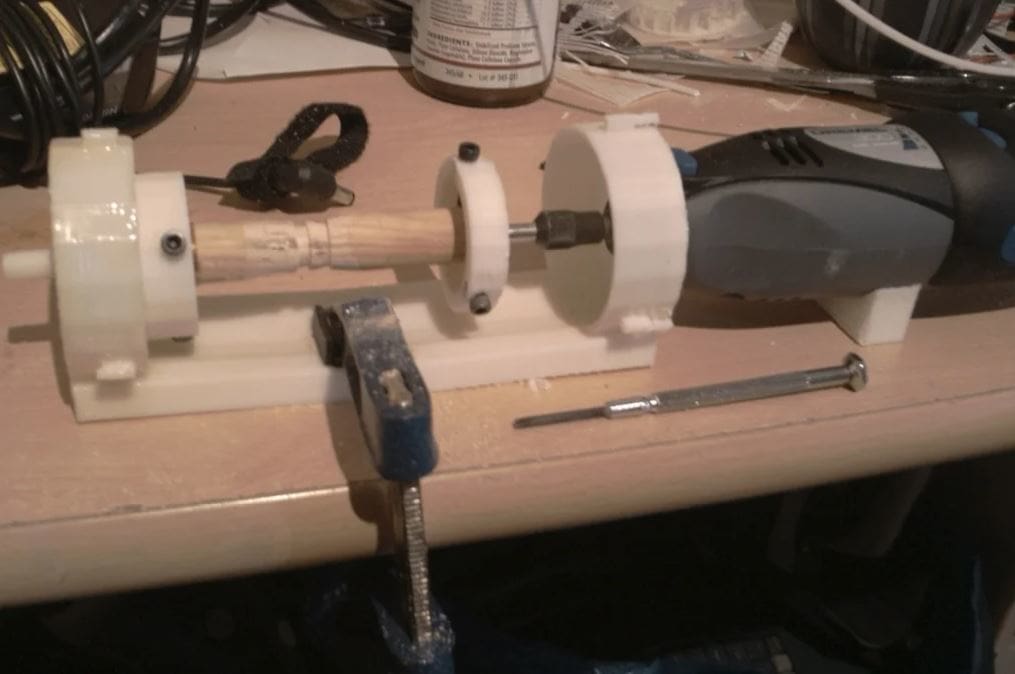
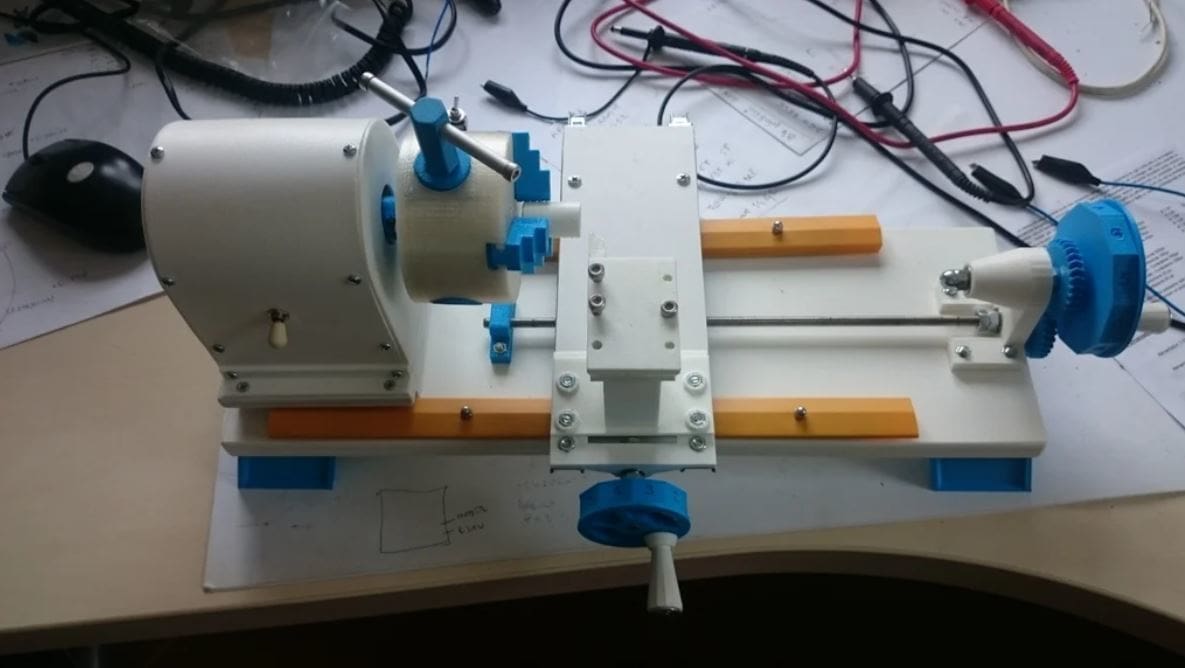
This small model isn’t meant to machine anything but just to demonstrate how a lathe works. Still, you’ll need both printable and non-printable parts to create this one.
The project page contains the full list of necessary parts including the 10 different printable parts (15 pieces total), ball bearings, M8 nuts, threaded rods, and more.
The designer suggests printing parts with a 20% infill in PLA. They used an FDM printer to print the parts and noted that it used approximately 400 grams of filament. Assembly shouldn’t be too hard as the maker has also posted a YouTube video going through the assembly of the lathe.
- Who made it? nicolasexposito
- Who printed it? This lathe has more than 3,700 views as well as 384 downloads.
- Where to get it? MyMiniFactory
- Difficulty: Medium-hard
- Build size: As stated, it’s meant to be a model and not to cut, but it should be pretty small.
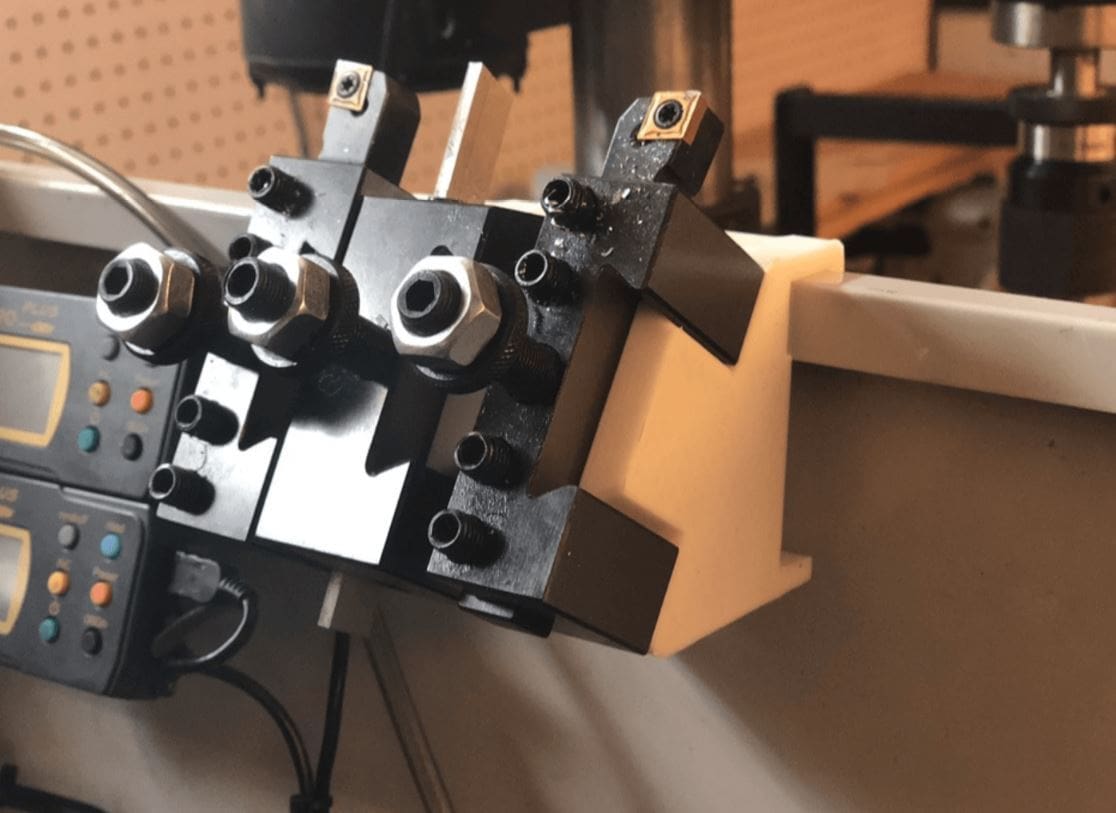
Full-Size
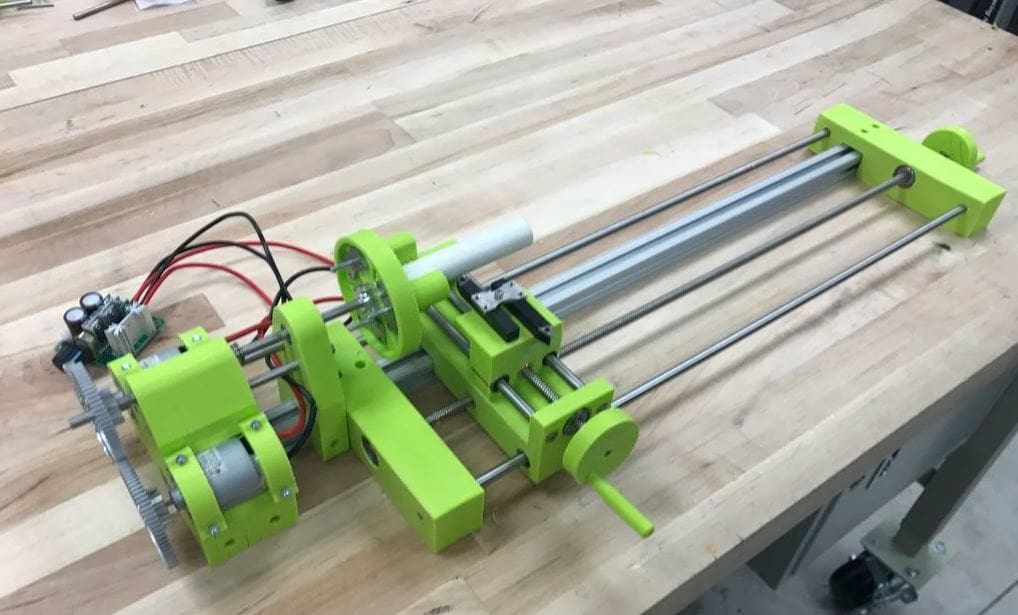
This lathe is great for any large parts that need to be cut. This project is a full-size lathe that, according to the designer, is capable of cutting aluminum and even brass.
Born out of not wanting to buy an expensive, full-scale lathe, this project requires a hefty amount of tools and hardware. A full list of tools and materials needed are on the Instructables page below. Expect to pay around $200 (excluding the 3D printed parts) if you need to purchase everything.
There are very detailed steps included that’ll help you construct this lathe. The designer recommends printing in ABS with a 35% infill and says that the parts need to be relatively strong to function properly. The maker also suggests printing with the highest resolution that your printer can print with, a 0.2-mm wall thickness, and a brim activated. Although most parts shouldn’t need supports, a few do.
- Who made it? westworld300
- Who printed it? This full-size DIY lathe project has almost 76,000 views and 876 likes. Wow!
- Where to get it? Instructables
- Difficulty: Hard
- Build size: The designer states that it’s a full-size lathe and can cut something that’s around 60 cm in length. (So, pretty large.)
Adjustable
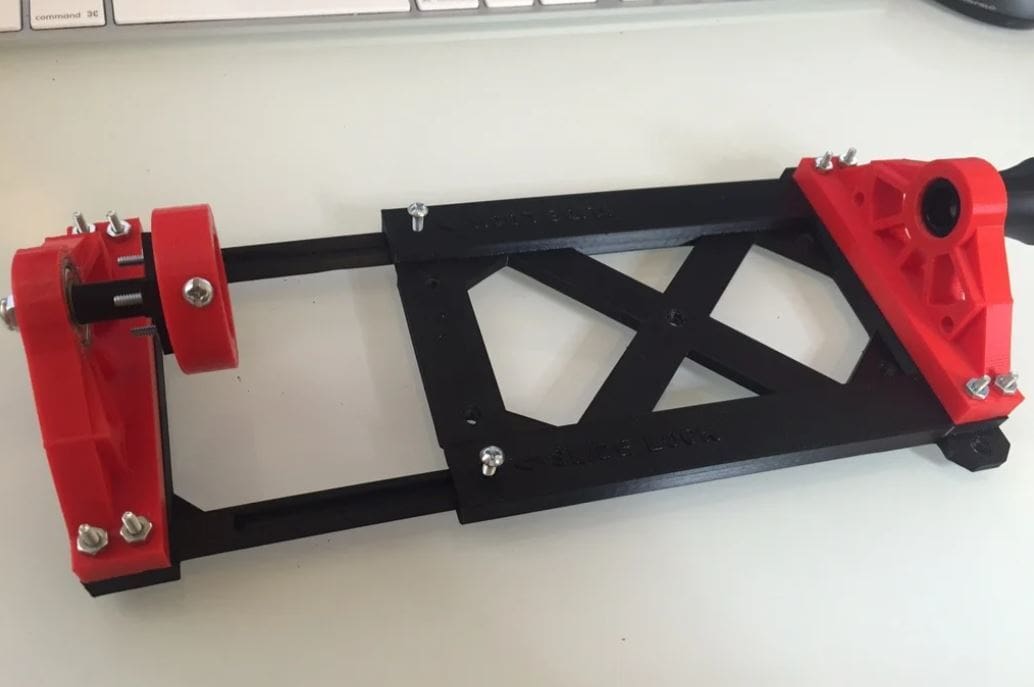
This adjustable lathe is similar to the first option on the list, with the main difference being that this one is angle-adjustable. You can rotate the carriage for your tool from 15° to 45° to get unique cuts and deformations on your part.
This project consists of 10 different 3D printable parts along with some other hardware. You can look at the full bill of materials on the project page linked below.
The creator of this project listed that they printed the parts using an FDM printer but didn’t include any printing suggestions.
- Who made it? gil1
- Who printed it? This adjustable lathe project has 1 recorded Make and around 11,000 downloads.
- Where to get it? Thingiverse
- Difficulty: Medium
- Build size: About 200 x 250 mm with 15° to 45° rotation, which is pretty average.
Plastic Cutter
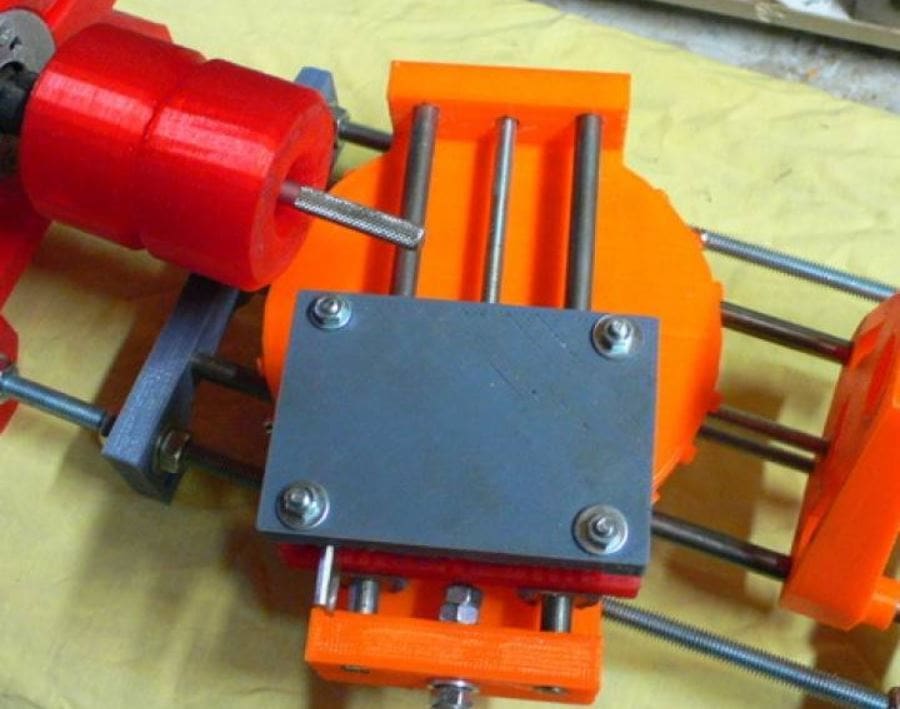
This mini 3D printed lathe uses a significant number of 3D printed parts: 35 in total! It’s meant to deform and cut plastics according to the creator. As you can see in the picture, to move the tool along the axis, you can turn the handle accordingly.
The maker advises you to print the pieces with a 20% infill and no supports.
- Who made it? Branez
- Who printed it? There are lots of comments for this lathe plus around 40,000 views.
- Where to get it? Thingiverse
- Difficulty: Medium-hard
- Build size: Not stated, but based on the photos, it looks a little bit on the smaller side.
Dremel Remix
This micro-lathe is remixed from the parametric design we listed above. This design improves upon that one by including a rail slider system, upgraded tool and bearing fixtures, a reinforced base, and more.
To see the full list of the improvements as well as the parts needed to make this project, check out the description on the project page linked below. Some of the parts include a Dremel 4200, bearings, bolts, and more.
The creator of the project recommends printing with ABS at a 30% infill. They also suggest printing with a raft and a 0.2-mm layer height. Lastly, they state that the only part that needs to be printed with supports is the “main_rails” piece.
- Who made it? bcoover
- Who printed it? This design has 3 recorded Makes, 1 Remix, and around 19,000 downloads!
- Where to get it? Thingiverse
- Difficulty: Easy-medium
- Build size: Not stated, but based on the picture, it looks like a pretty decent size.
Tools
Now that you’ve seen a bunch of great lathe models, you might want some cool 3D printed lathe tools. Let’s see what’s available!
Sharpener Guide
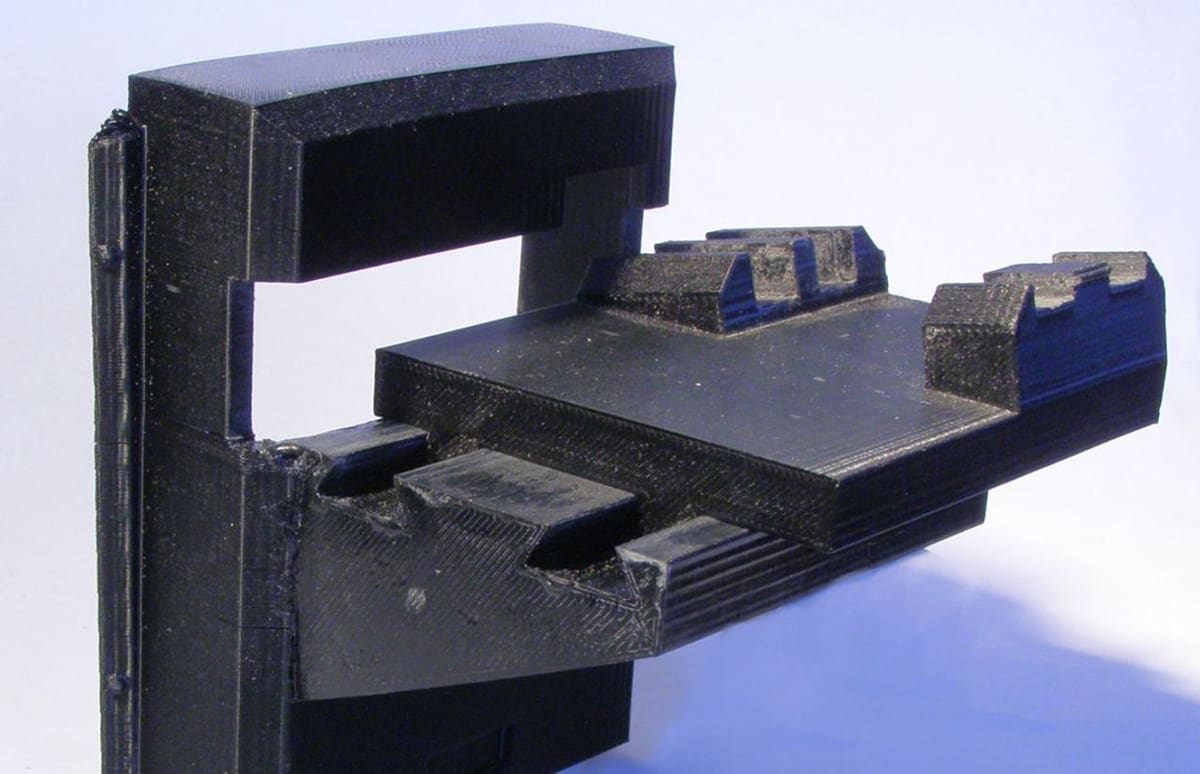
Lathes use a tool, generally a sharp one, to make precise deformations to an object. However, when a tool gets dull, the lathe will become less effective, which is why we’ve included this sharpener guide.
This design is meant to go along with a tool sharpener machine. With this design, you’ll be able to sharpen from multiple angles.
The maker states that they used FiberForce filament to print this model that consists of six different parts. You’ll also need about 250 grams of filament.
- Who made it? krmela
- Who printed it? This lathe accessory has around 4,200 views as well as 196 downloads.
- Where to get it? MyMiniFactory
- Difficulty: Very easy
Rack
This is another useful part if you have a lathe: A tool rack that can be mounted on the back panel with some tape.
The designer recommends printing it at a 50% infill, and no supports or a raft are needed.
- Who made it? cheewee2000
- Who printed it? This lathe tool rack has around 1,300 views and 49 downloads.
- Where to get it? Cults
- Difficulty: Very easy
Steady Rest
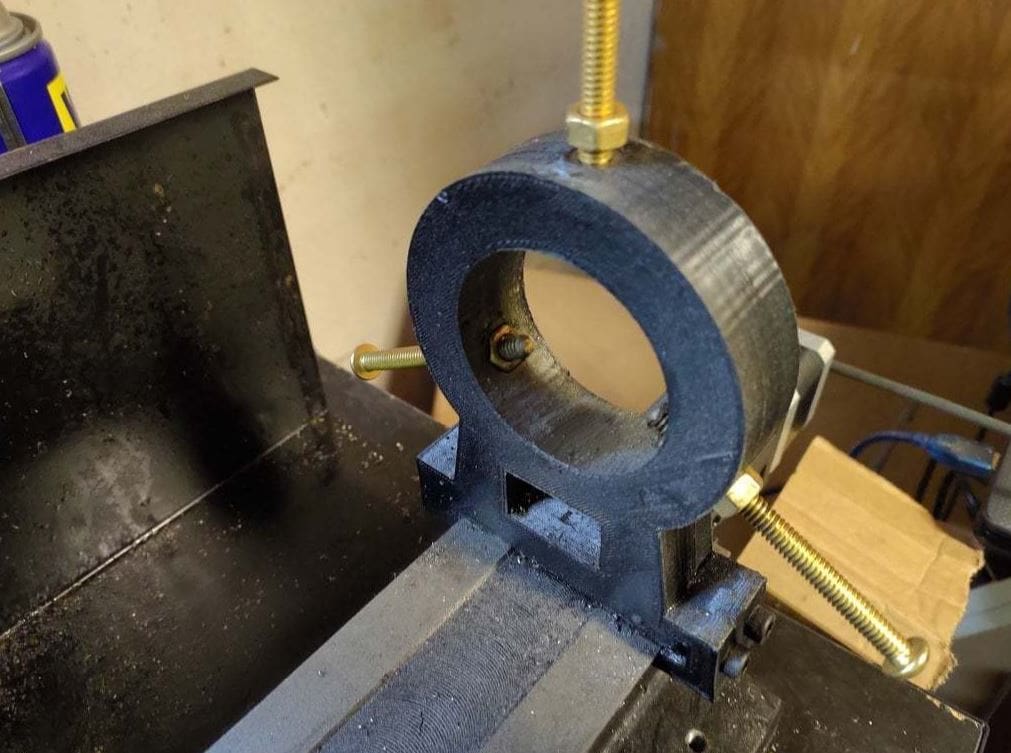
This lathe steady rest allows long, round parts to be rotated on the lathe without too much wobbling when being spun and deformed. All you need to do when you want to use it is slide the cylindrical object through the hole and fasten it to the lathe motor.
This steady rest is a remix of another design and meant to work with Sieg C1 lathes. However, the Fusion 360 file is included so you can customize it for whatever lathe you have. A full parts list is on the project page but, like usual, you’ll need some 3D printed parts and purchased items to assemble this.
The maker didn’t provide any printing tips, however, we suggest considering a high infill percentage and strong pattern for strength.
- Who made it? Punisher_4u
- Who printed it? This lathe steady rest has around 700 views and 22 downloads.
- Where to get it? Cults
- Difficulty: Easy
Lead image source: westworld300 via Instructables
License: The text of "3D Printed Lathe: 10+ Great Projects to Build Your Own" by All3DP is licensed under a Creative Commons Attribution 4.0 International License.