3D Printer Bed Adhesion: 3 Simple Tips to Succeed

3D printer bed adhesion is critical to printing success, but it can be tricky. Learn 3 simple tips to make your prints stick.
Keeping Your Prints Down
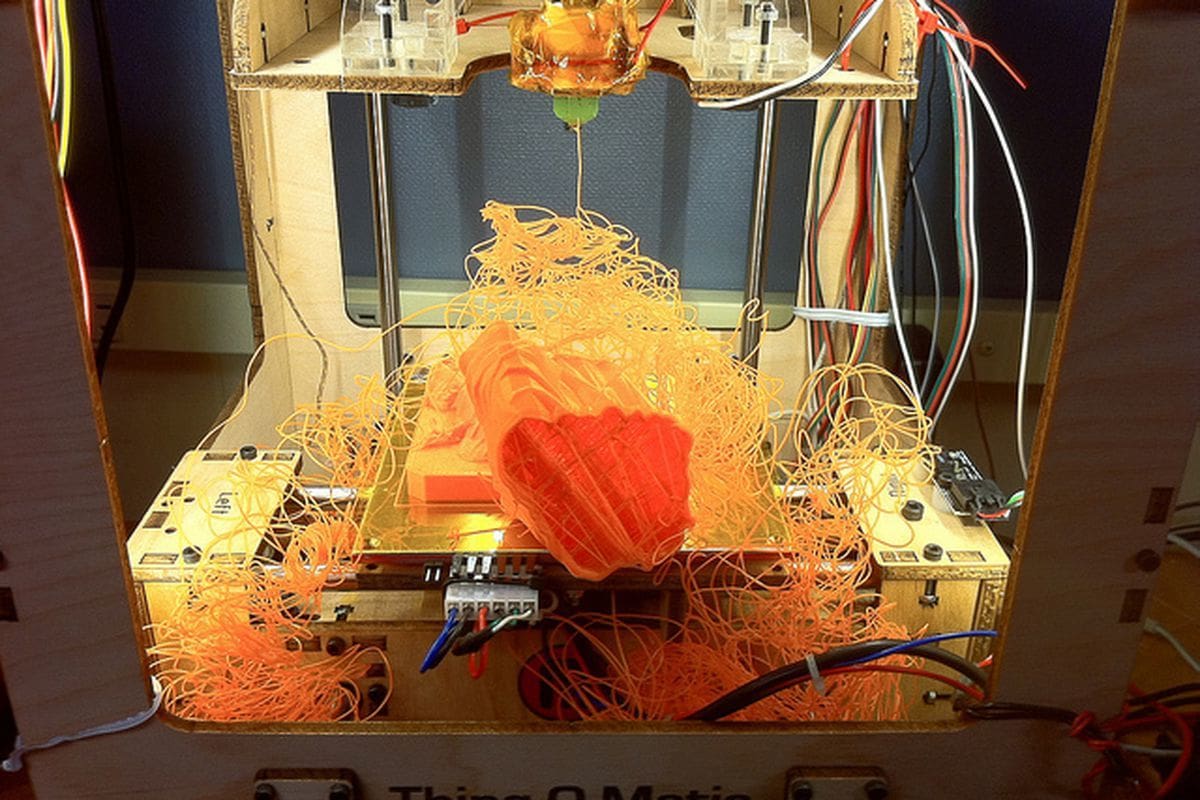
Proper bed adhesion is critical to every FDM 3D print. Without adhesion, prints dislodge before being fully formed, leaving a bird’s nest of mis-extruded plastic (depicted above). Such failures can be incredibly frustrating, consuming both time and material.
As such, you’ll want to do the best you can to achieve proper bed adhesion. To get you started, we’ll run through some popular tips and tricks for keeping your prints stuck down.
Let’s get started!

Tip #1: Get the First Layer Right
With FDM printing, plastic is extruded layer by layer. Everything is built off of the first layer, so naturally, it has to be firmly adhered to the bed. This is such a critical step that we have an entire guide dedicated to getting it right, so here we’ll just gloss over some key points.
Leveling the Bed
Make sure that your printer’s bed is level. This provides a perfect surface for the first layer to grab onto. If you’re not sure how to level your bed, we have a handy guide.
First Layer Print Settings
Your 3D printer slicer has many print settings dedicated to the first layer, including bed temperature and printable adhesion aids (i.e. rafts, skirts, and brims). Tuning these settings will optimize first layer performance by ensuring that the first layer is firmly squished down to the bed (excessive squishing is often referred to as “elephant’s foot“). We go through these in more detail with our first layer guide.
Increasing Surface Area
Orient or design your part such that there is as much contiguous surface area on its bottom surface as possible. Having little surface area or isolated “islands” on your first layer
Cleaning the Bed
Oil, dust, and other grime can interfere with your prints grabbing onto the print bed. Before every print, make sure that your print surface is clean. If it’s not, a wipe-down with some isopropyl alcohol usually does the trick.
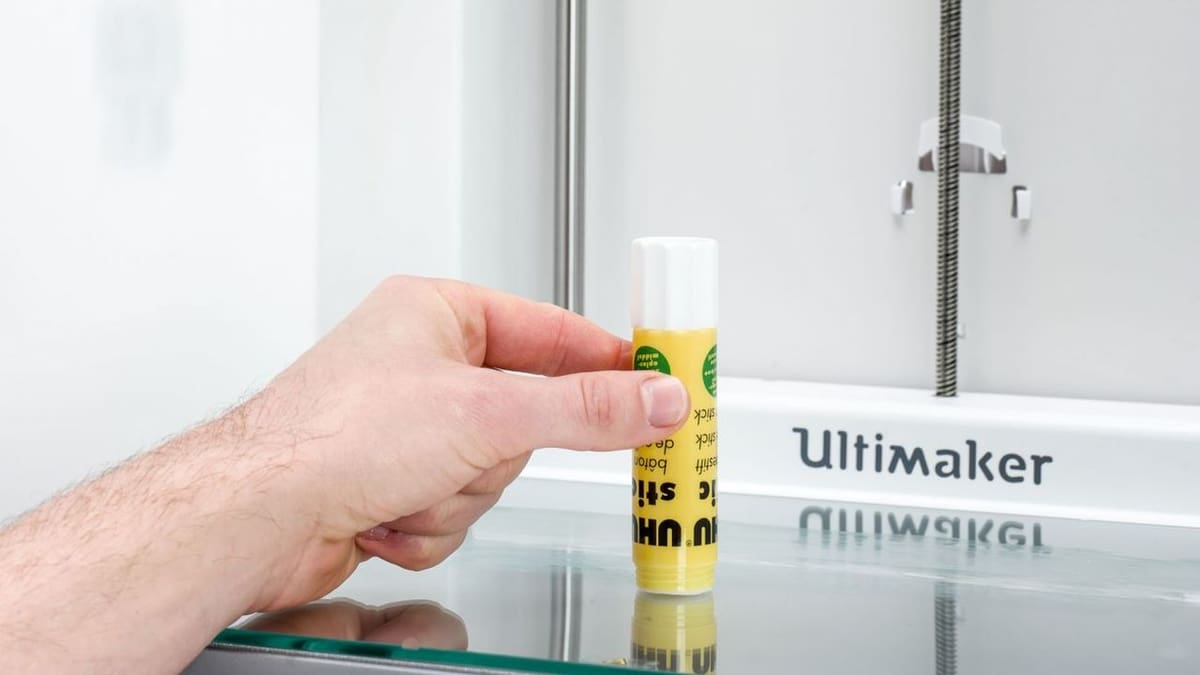
Using Adhesive Aids
Adhesive aids exist for holding down 3D prints. These include PVA glue (regular household glue stick), Kapton tape, and blue printer’s tape. Commercial solutions such as Magigoo also exist. Your mileage with these may vary between materials, so consult your filament manufacturer for their recommended adhesive aids.
With the tapes, cover the build plate with a single, flat layer and replace it as it wears. With wipe-on adhesives, apply a thin coat before each print. Just remember to routinely clean your print bed!
Tip #2: Prevent Print Head Collisions
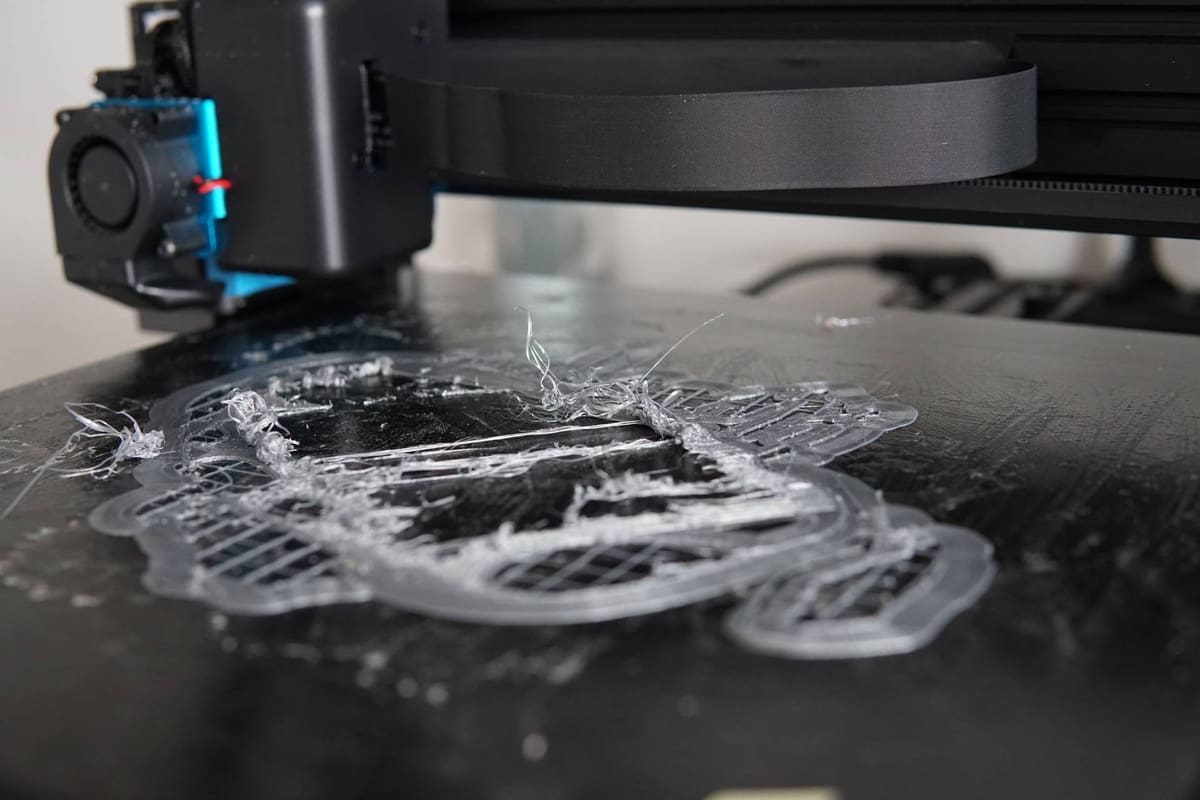
Even if your first layer sticks well, there’s still a chance that your print might dislodge. This commonly happens if the print head collides with a part of the print. You may see this happening if your printer is especially prone to blobbing, which produces surface irregularities that may cause issues.
To mitigate the odds of print head collisions, make sure you tune the following slicer settings:
Retraction Settings
Retraction is when the filament is pulled back to prevent undesired oozing of the plastic. Improper retraction settings can result in mis-extruded plastic, which in turn can catch on the print head as it moves, dislodging the print. Nailing retraction is an art in and of itself, so we have a dedicated guide for it.
Z Hop
Z hop is a special setting that lifts the print head (or lowers the build plate) before travel moves. This helps the print head clear printed parts, reducing the chances of anything catching.
Avoiding Printed Parts
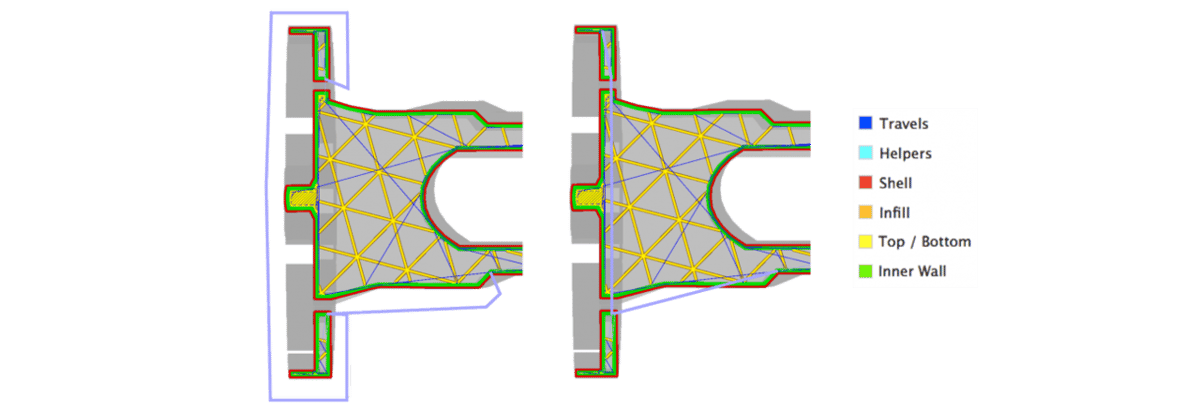
Many slicers have a dedicated setting that adjusts all travel moves to avoid printed parts (above). This setting will increase print times, as the print head will no longer be able to take the most direct travel moves, but it will also help avoid mishaps.
Tip #3: Keep a Stable Ambient Temperature
This tip especially applies to printing high-temperature materials, which can be sensitive to temperature fluctuations. Even if your first layer goes well, temperature changes at a later point during printing can cause changes in thermal expansion. Printed plastic doesn’t contract or expand like most build plates, so these temperature changes can cause prints to pop off the print bed.
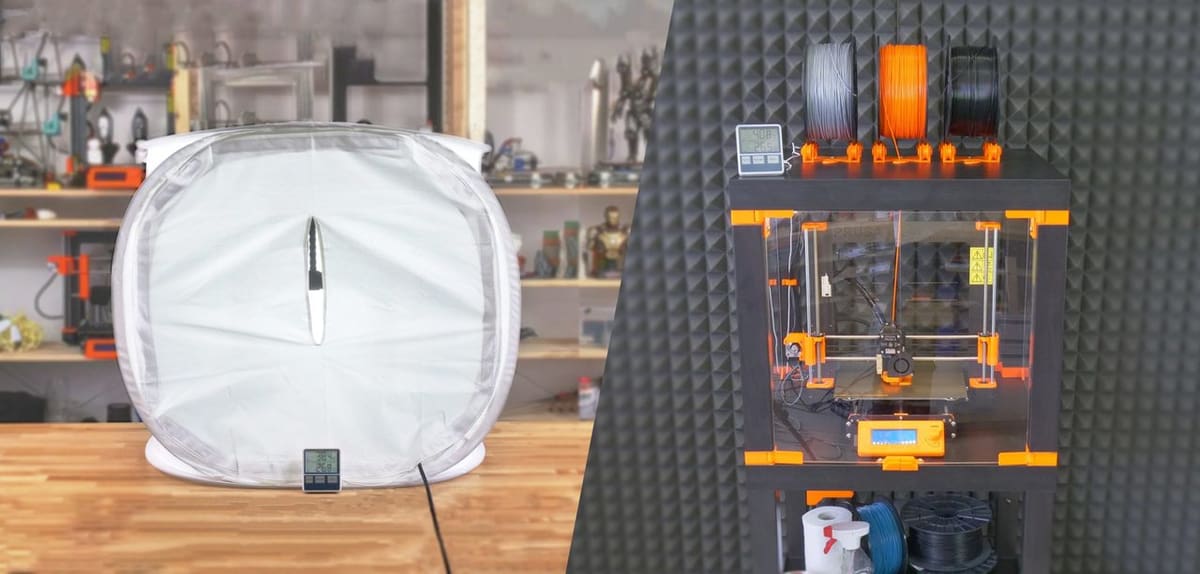
To avoid temperature fluctuations, we recommend enclosing your 3D printer. This will help keep a stable internal printing temperature as well as shield against unexpected gusts of cold air.
If an enclosure doesn’t seem feasible or appropriate, simply moving your 3D printer to a gust-free area will help.
There You Go!
And with that, you have our top tips for improving 3D print adhesion! With these tricks up your sleeve, you’ll be able to print confidently, knowing that your parts aren’t going anywhere.
If you’re looking for other troubleshooting tips, we have a handy troubleshooting guide. Otherwise, now that you’re printing successfully, you can start working on improving your print quality!
Happy printing!
(Lead image source: Ultimaker)
License: The text of "3D Printer Bed Adhesion: 3 Simple Tips to Succeed" by All3DP is licensed under a Creative Commons Attribution 4.0 International License.