Is Your 3D Printing Setup Complete? Check These 10 Essentials

The right gear will go a long way in supporting your 3D printing journey. Read on for the absolute essentials!
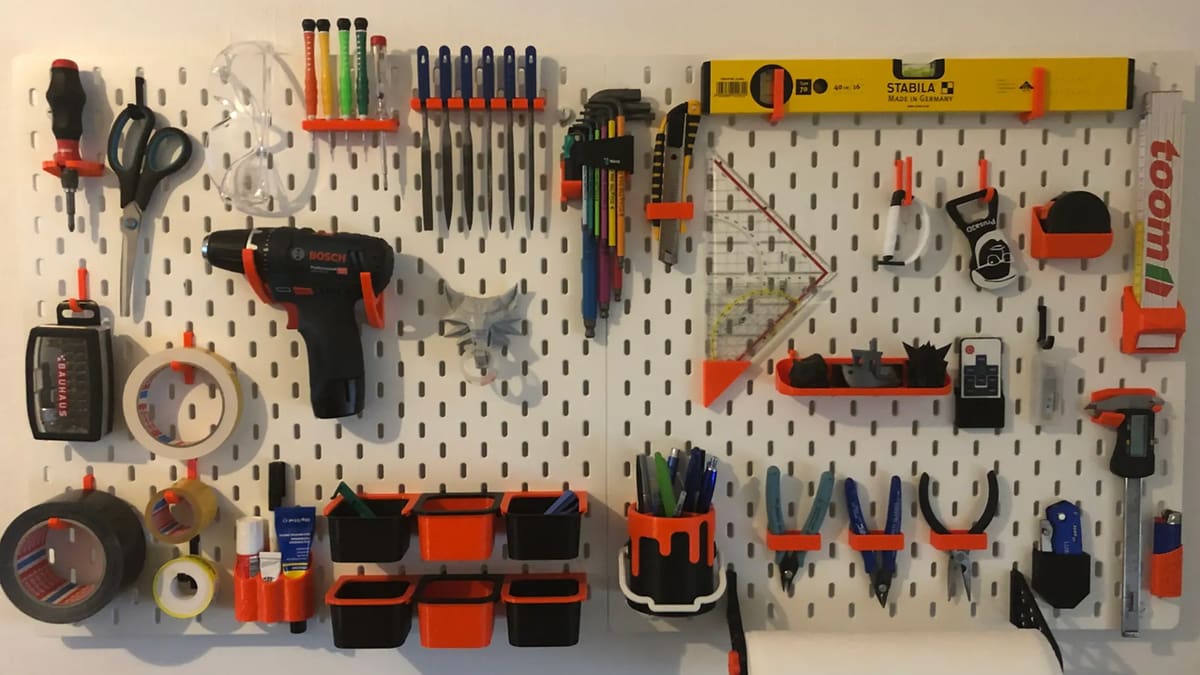
As owners of 3D printers, many of us have learned that a whole set of tools and accessories are required to get the most out of our machines. Specific tools are required to get our printers up and running, and like all machines, they’ll require periodic maintenance, lubrication, and cleaning – which means you’ll need stuff for that, too. Sometimes, your prints will need to be post-processed to make them presentable or ready for use – and that requires another set of things.
That being said, there’s a lot that you don’t need – either immediately or ever – to achieve fantastic prints. In this article, we’ve compiled a list of essentials for your 3D printing setup. You’ll find these tools and accessories incredibly useful within the first few months of your 3D printing journey. Even better, they’ll help you to produce high quality prints.
At a Glance
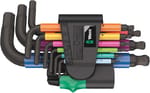
Hex Wrench Set
Hex bolts make up most, if not all, of the bolts found on a 3D printer. This means you’ll need hex wrenches for the majority of the work you’ll do to your printer, whether it’s maintenance or modifications.
You may already have a basic set of hex wrenches that came with your 3D printer to aid with assembly. However, these wrenches are likely low quality; they can strip or snap very easily. For these reasons, we suggest investing in higher-quality wrenches or hex-tipped screwdrivers for better durability and ease of use.
As the hex wrench set is one of the most used tools in a 3D printing workshop, we’re recommending a couple of options. If you’re on a budget, Bondhus is recognized by some makers for its great price-quality ratio. There are different types of sets available, but the double ball end is the most handy when assembling or disassembling in tight spaces.
Our upgrade pick is the Hex-Plus multicolor set by Wera. This set is color-coded and features a plastic sleeve that helps with grip and a ball end on one side of the tool. Wera is one of the most famous hex wrench kits out there and is renowned for its quality and durability. At Amazon, it has 4.8 stars with over 2,000 ratings.
Airtight Filament Storage
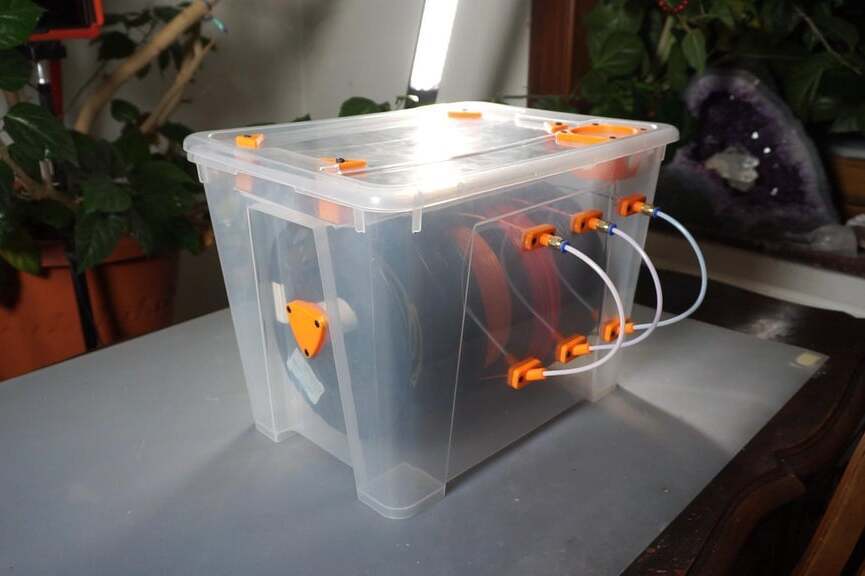
All FDM filaments are hygroscopic to varying degrees, meaning they readily absorb moisture from the air. Wet filament tends to exhibit poor layer adhesion, stringing, and inconsistent extrusion – all leading to weakened print quality.
To prevent your collection of filament from absorbing moisture when not in use, we recommend storing your filament in a dry box. Fortunately, you can DIY a solution. A basic dry box can be made using an airtight container and a dehumidifying solution like silica gel or dessicant packs.
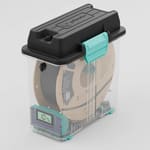
Alternatively, you could buy some of the commercially available options. PrintDry, for example, produces vacuum-sealed filament storage containers. They’re easily stackable, and the five pack comes with a pump that allows you to air-seal the containers.
PolyDryer from Polymaker allows for both storage and drying of filament. It’s basically an airtight box that comes with a hygrometer and some packets of dessicant. The box attaches to a drying dock that – surprise surprise – dries the filament. The best part is that spools rollers are integrated into the box, so it’s possible to print directly from it while preventing the filament from absorbing too much moisture. Plus, there are community-designed mods for the dryer.
IPA
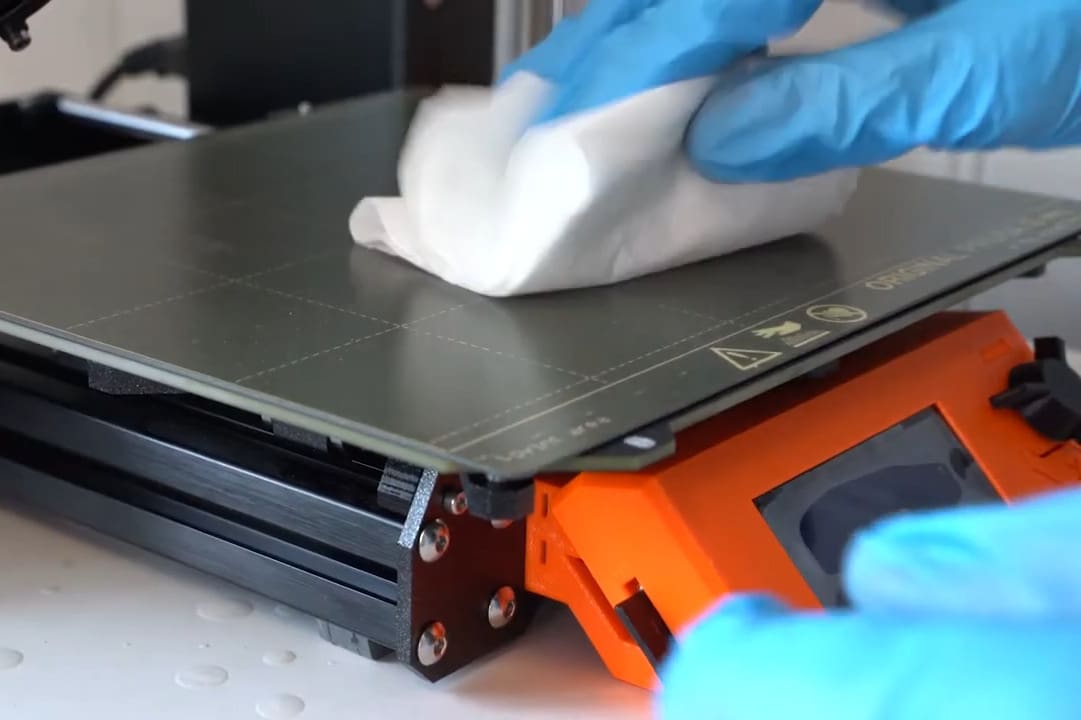
A clean build plate is essential for good bed adhesion. Between every print, you should wipe it down with isopropyl alcohol (IPA) and a microfiber cloth. This should also be done whenever you touch the build plate because oils from your skin remain on the plate and can also be problematic for adhesion.
There’s not much difference between IPA brands, but ForPro IPA has a great price-quality ratio and many positive reviews. For example, a reviewer shared that it’s great to clean the build plate and that the bottle is tough enough to be reused many times.

Nozzle Tools
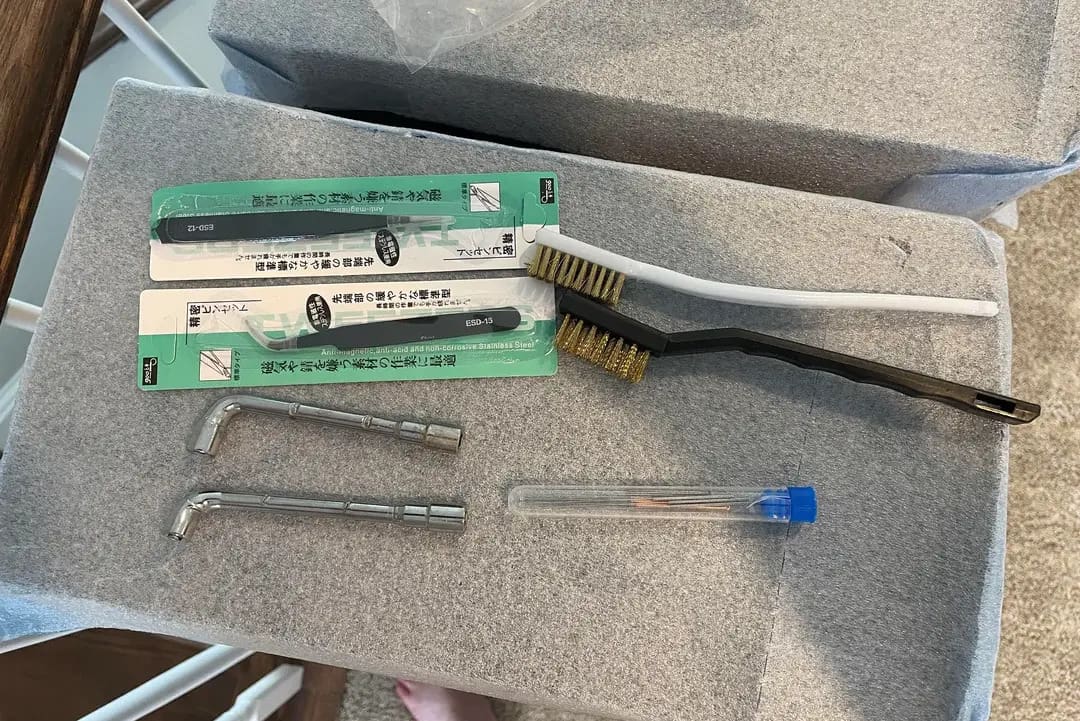
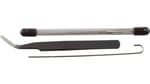
Your 3D printer’s nozzle is one of the most important parts of your 3D printer and should be cleaned and maintained to increase its lifespan. Symptoms that your nozzle is overdue for maintenance include inconsistent extrusion or complete jams. To maintain your nozzle, we recommend a few different tools: nozzle needles, tweezers, a wire brush, and a nozzle wrench.
Nozzle needles are helpful tools for clearing nozzle debris by pushing it through the nozzle. Tweezers are invaluable for precise tasks where fingers are too large or may risk burns near heated components. A wire brush allows you to clean any filament that may be stuck on the tip of the nozzle.
Should you need to remove your nozzle for unclogging or other purposes, it’s recommended to use an angled socket wrench that fits over the nozzle to prevent stripping; 6 mm and 7 mm are the most common nozzle sizes.
There are a few kits out there. 3DPrima sells an inexpensive one that includes 12 needles of different lengths and diameters, a pair of tweezers, and a cleaning wire to clean the hot end, which is especially useful when there’s a clog. You’ll have to source the copper brush and nozzle wrenches separately.
For those of you in Europe, 3DJake’s nozzle cleaning set is also a great inexpensive option. The set includes 10 needles, a pair of tweezers, and a copper brush. Both options have 4.7-star ratings on their respective sites.
Print Bed Adhesive
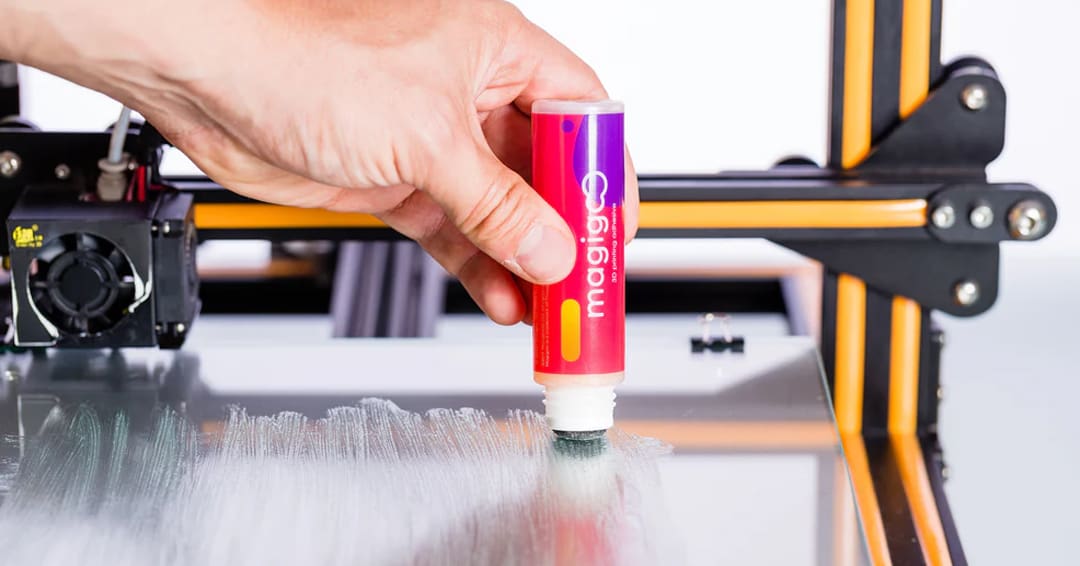
Print surface adhesives are used to improve filament adhesion to the build plate, helping to prevent warping or detachment during printing. The need for adhesives depends on factors like the build plate’s quality, levelness, and the type of filament being used. Certain materials, such as ABS or nylon, particularly benefit from adhesives to maintain consistent bed adhesion.
Common adhesive options include glue sticks, hairspray, specialized adhesive sheets, and liquids. However, before applying any adhesive, it’s essential to ensure the print bed is properly leveled and clean, as this minimizes the need for additional solutions.
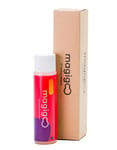
Magigoo is my go-to when I need a print bed adhesive. There’s a wide variety of options tailored to specific materials. The most versatile stick was formulated for ABS, PLA, PETG, and TPU, but there are also sticks specially formulated for tougher materials, such as PP, PC, nylon, and metal filaments.
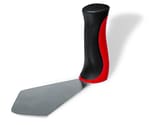
Print Removal Tool
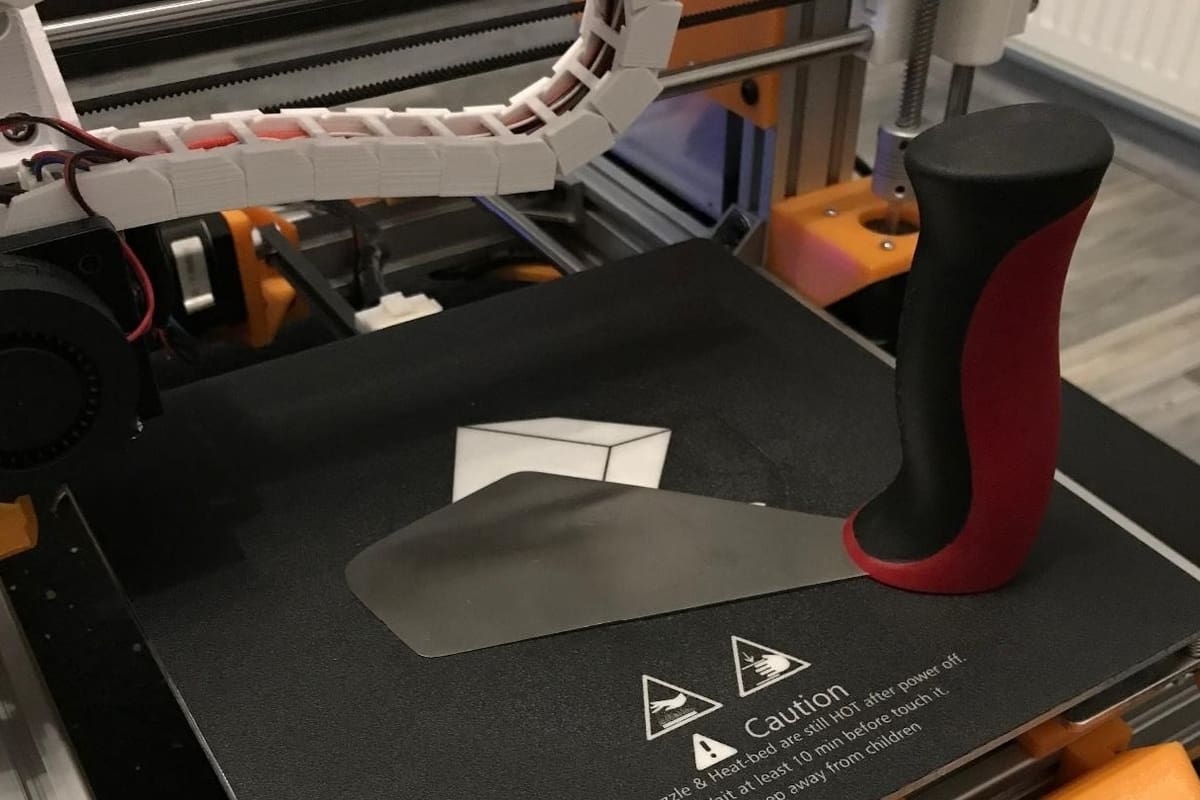
Prints often adhere firmly to the build plate, particularly when using materials like PLA or PETG. While strong adhesion is essential for print stability, it can make removing finished prints challenging.
When printing on flexible spring steel build plates, allowing the plate to fully cool, then bending it until the print pops off usually does the trick. However, some prints are tenacious and require more coaxing. In such cases, a scraper is just what you need.
You can print one yourself or buy one optimized for 3D printing such as BuildTak’s spatula. The latter’s 90-degree handle makes it comfortable to use, and the blade has a thin front edge that helps reach under the print to detach it. You can choose between a smaller 120-mm version and a 250-mm one for larger models. Just be careful to avoid scratching the coating of your build plate, not to mention damaging your print!
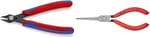
Pliers
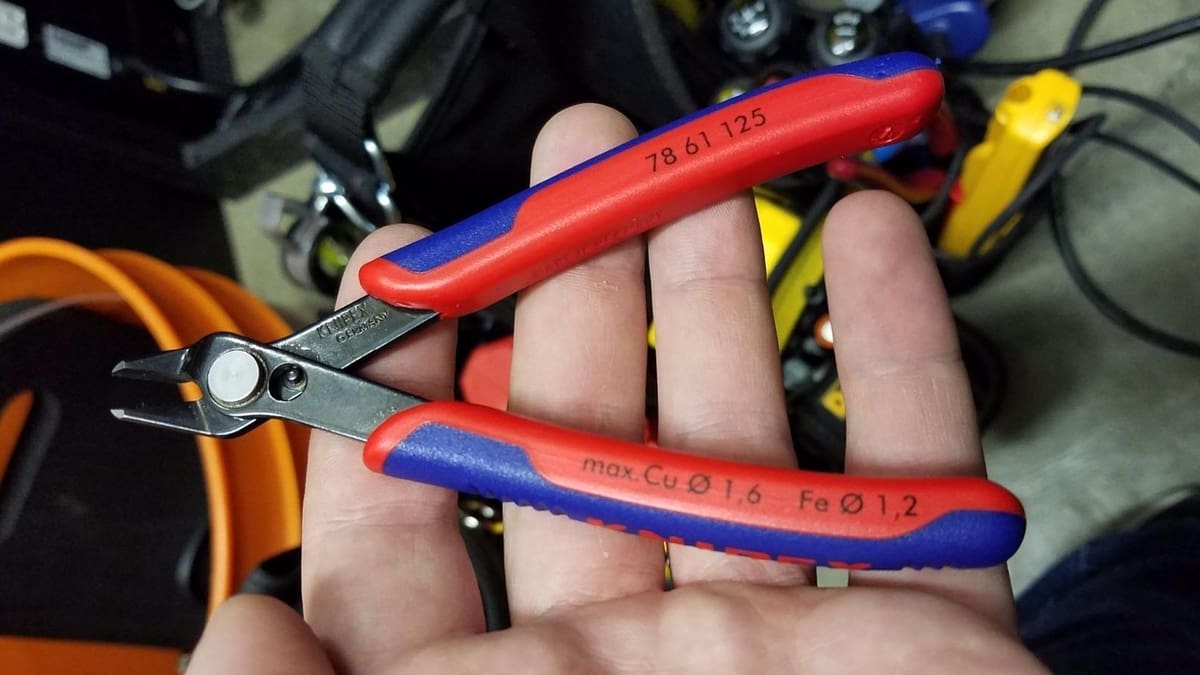
We recommend adding two types of pliers to your 3D printing setup: needle nose pliers and a flush cutter. Both are useful in removing support material.
With the needle nose pliers, you can pull the bulk of the support material away, then use the flush cutters to trim off the remainder. Flush cutters are also great for snipping filament.
I swear by the Knipex set, which I use in my own workshop – and I’m not the only one! The set includes both a flush cutter and a needle nose plier; the tools are awesome quality. The rating at Amazon is pretty high (4.7 stars at out over 1,700 review), and a number of makers have left 3D printing specific reviews. For example, a reviewer praises the flush cutter for post-processing prints.
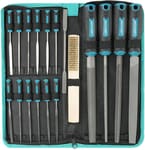
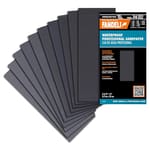
File Set & Sandpaper
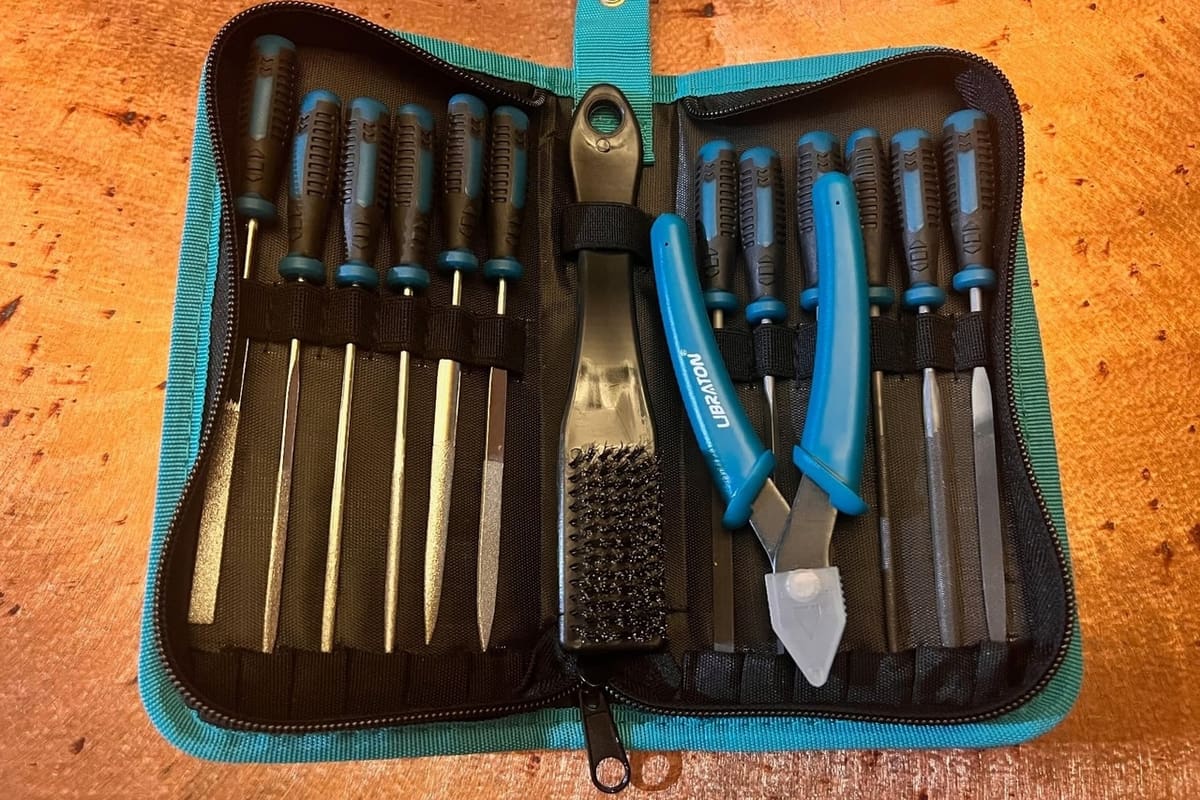
Finishing tools like sandpaper and file sets are great for refining 3D prints. They can easily remove roughness from support material remnants or layer lines. These tools help enhance the print’s appearance and prepare it for additional processes, such as painting or assembly. Together, these tools make post-processing easier and produce smoother results.
Libraton produces many tools for DIY projects, including a nice file set. Their file kit includes 12 small files and four big files, but there are also other versions of this kit. For instance, there’s a version that includes only the small files as well as another with only the larger ones.
A handful of makers have shared their experience with this kit. For instance, MC wrote that he uses these files to clean ABS and PETG prints and that he likes the rubberized handles.
It’s also important to choose a great quality sandpaper set for a great post-production experience; sanding becomes a nightmare if you’re using poor quality sandpaper. I typically use Fandeli’s sandpaper, which comes in a set of 36 sheets with different grits. It’s great for sanding 3D prints.
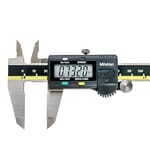
Calipers
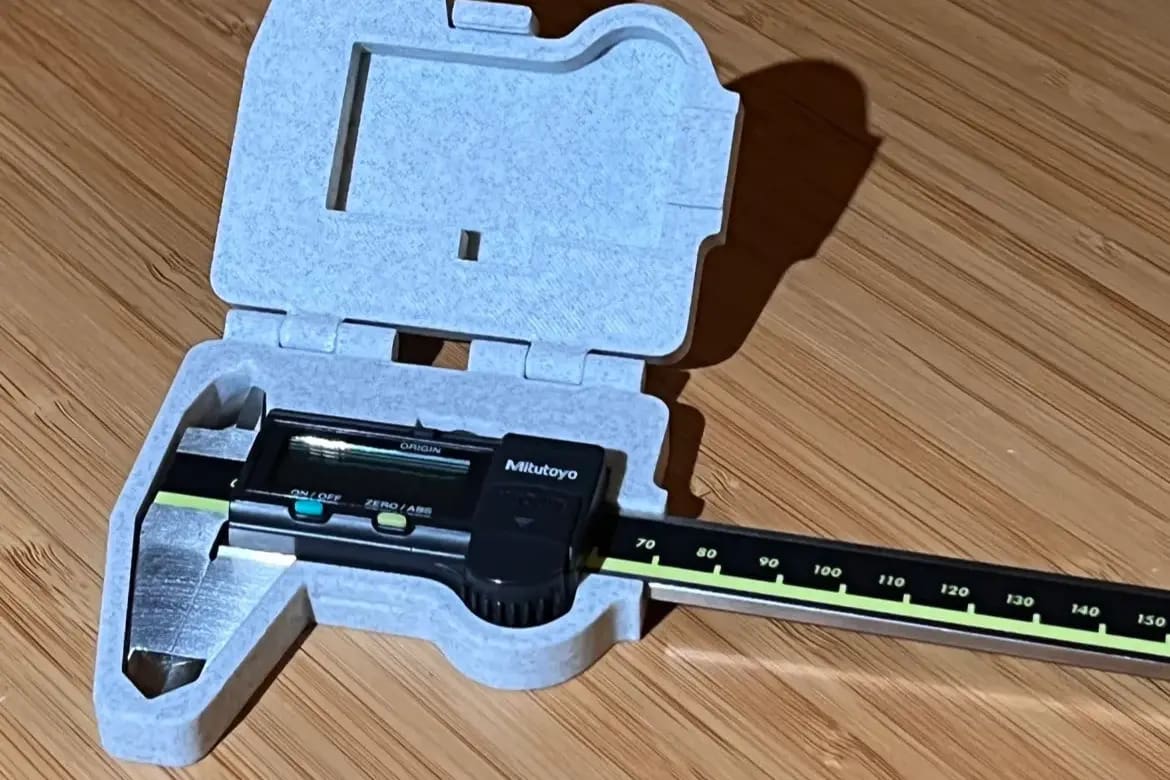
Calipers are especially handy when you’re calibrating your printer and testing tolerances. A lot of measurements are involved, and precision is key.
When you’re ready to reverse-engineer parts, calipers can also be used to check measurements, helping you to 3D model the design accurately. By verifying critical dimensions beforehand, you can decrease material waste and increase the likelihood of a successful print on the first attempt.
We have selected two options that offer the precision needed for 3D printing calibration.
On the affordable side of the spectrum, iGaging EZ Cal is a digital caliper that features metric, inch, and fractional measurements. It’s also available in different ranges: from 6 to 12 inches. Its reported accuracy (0.001″) is great, as is it’s resolution – 0.0005″ or 0.01 mm.
Mitutoyo, however, is widely regarded as the best option – although you’re likely to find some dissenters. Reviewers mention the smooth movement, overall quality of the tool, and the possibility for both absolute and incremental measurements as standout features. When it comes to accuracy and resolution, the reported values are identical to iGaging’s calipers.
Lubricant
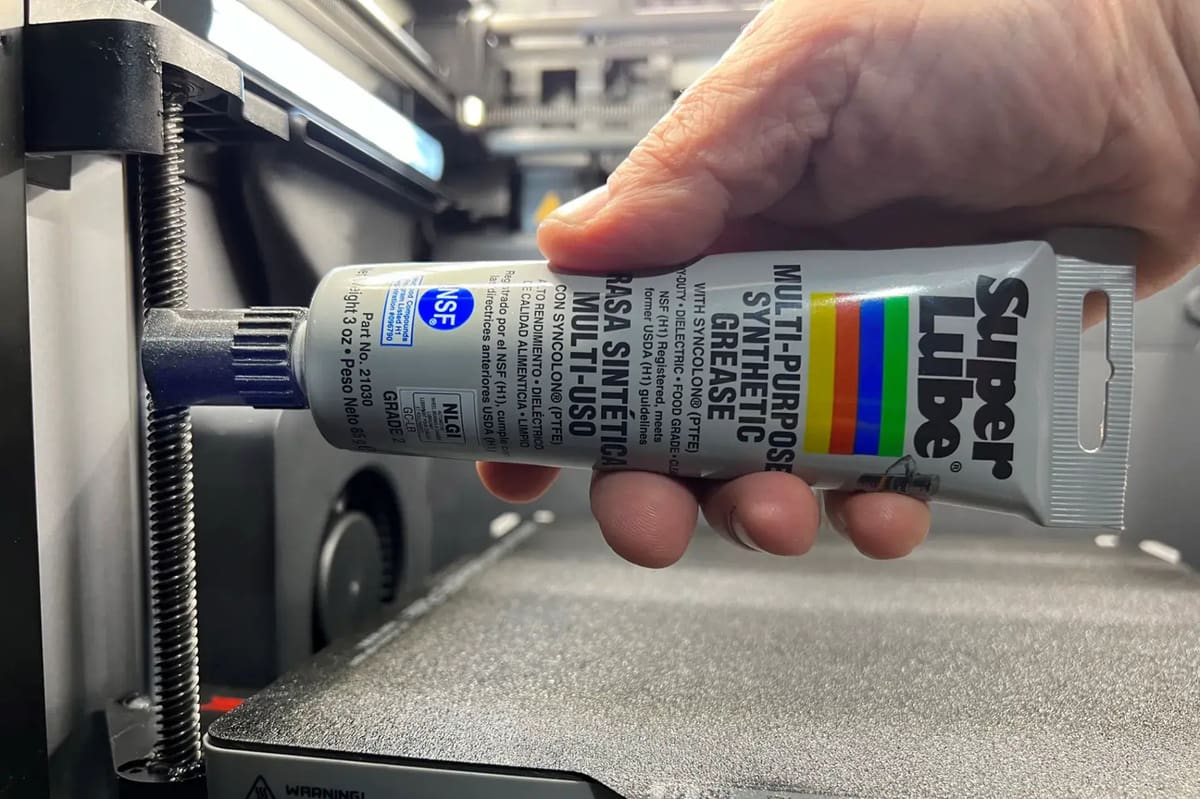
Just like the oil in your car must be changed every few months, the moving components of your 3D printer must be lubricated periodically to maintain smooth operation and longevity. You’ll need to lubricate the printer’s smooth rods, linear rails, lead screws, bearings, and extruder assembly. While you shouldn’t need lubricant immediately, it will definitely be necessary within the first three to six months depending how frequently you print.
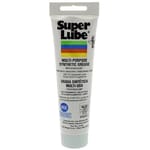
When you’re ready for it, we definitely recommend Super Lube. It’s a food-safe grease that won’t hurt your filament or rubber belts if it accidentally comes in contact with them.
Many makers have shared that they use it for their 3D printers. For example, a reviewer noted that it makes a huge difference in print quality. At Amazon, it has 4.8 stars with over 7,600 ratings.
There are alternatives, but be sure to stay away from WD-40! It’s a protectant, not a lubricant, and it can actually remove what grease is left on your printer, causing more harm than good.
Kits
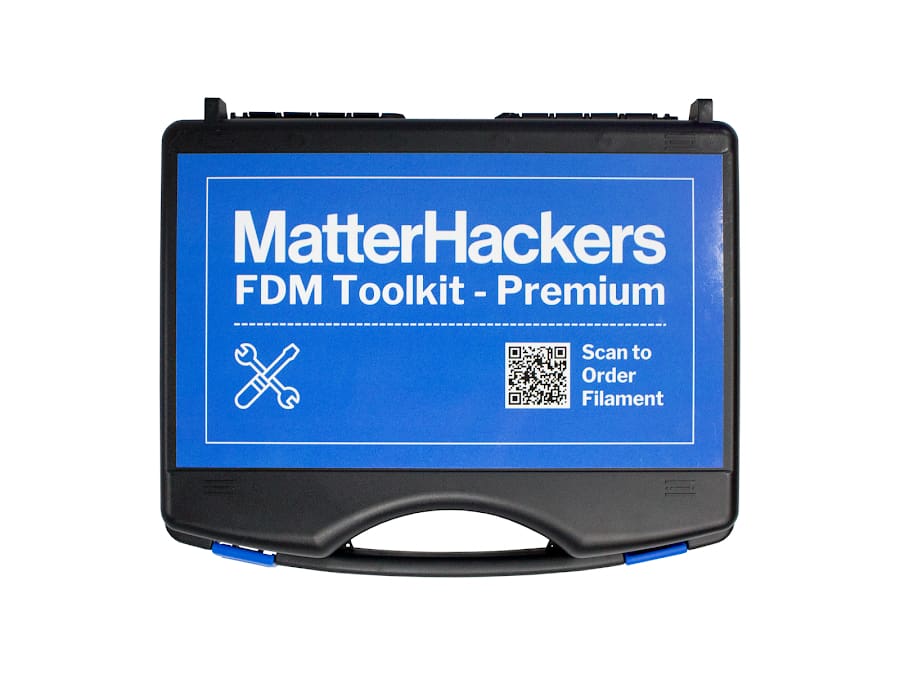
If you’ve found that you already have many of these tools lying around, that’s great. However, if you’re going to have to purchase most of these, try looking into a 3D printing tool kit. These kits are specifically catered towards 3D printing and come organized in a storage case. These kits will include most of the tools we listed above.
- MatterHackers: Offered by the popular retailer MatterHackers, this kit is well-rounded and best matches our recommended list. The premium kit is also the most expensive at around $95, but there’s an essentials only kit for about $55.
- Creality: With 74 pieces, the Creality tool kit is the largest one on this list. It comes in a soft-shell case and costs around $40.
- Microcenter Inland: Microcenter’s Inland 3D printing tool kit is a great basic case that comes in a hardshell case. Although it lacks quite a bit more than the other two, it is the most budget-friendly: It’s price at $25.
License: The text of "Is Your 3D Printing Setup Complete? Check These 10 Essentials" by All3DP is licensed under a Creative Commons Attribution 4.0 International License.
CERTAIN CONTENT THAT APPEARS ON THIS SITE COMES FROM AMAZON. THIS CONTENT IS PROVIDED ‘AS IS’ AND IS SUBJECT TO CHANGE OR REMOVAL AT ANY TIME.