
20 Tips: How to Reduce 3D Printing Cost

Wondering how to control 3D printing costs? Avoid unnecessary costs and become a frugal maker with the following great tips!
There are a number of benefits that 3D printing technologies offer over traditional manufacturing techniques. But the perks that truly interest budget-conscious makers and manufacturers is the ability to reduce time and the cost of 3D printing.
Still, the overall cost of 3D printing can sometimes exceed what you’re able to invest. Aspects like material costs will run up your bill if the actual print itself is not dealt with correctly.
Whether you’re using a fused deposition modeling (FDM) or resin-based desktop printer, or you’re outsourcing the production, there are several ways to cut the cost of 3D printing.
Every step of the process, from design to post-processing, has some price tag attached. However, there are many ways to ensure that you’re getting the most bang for your buck when opting for a 3D printing technology in your workflow. To help you save money while you let your imagination extrude away, we’ve gathered some tips on how to keep the cost of 3D printing low.
Designing & Slicing
There are various ways to get what you want to 3D print and prepare it for production. If you’re on a budget, you can design and slice your prints keeping some ideas in mind to save some money.
Whether using free modeling software or preserving material, 3D printing doesn’t have to break the bank.
Use Free 3D Modeling Software

It all starts with the design.
Have you ever had a specific problem you thought 3D printing could fix but couldn’t find any premade models to accommodate said problem? If so, 3D modeling software may be a way to bring your design to fruition.
If you want to create original 3D designs or modify existing ones, there’s no need to spend a dime on 3D modeling software. There are many great free 3D modeling tools available. Freely available programs like Tinkercad or SculptGL will turn you into a 3D modeling artist in no time, while more advanced options like FreeCAD and Autodesk Fusion (with a free trial) will even match the needs of industry professionals.
Since choosing the right 3D modeling program can be challenging, we’ve compiled a list of tools for you to sort through. Find the right 3D modeling software for your creative endeavors and save on the cost of 3D printing software.

Use or Modify a Free Design
If creating a model isn’t for you – time is money, after all – a free model can be a great option.
Depending on the goal, free 3D models may better address your needs. More often than not, they may have updates or tweaks for better printability or to address user complaints. There are a ton of great designs out there, so you don’t have to necessarily reinvent the wheel yourself.
3D printing sites like Thingiverse have thousands – if not millions – of free designs for you to choose from and 3D print for personal use, and there are plenty of other sites worth checking out. All you need to do is download the file you like, and you’re ready to start printing.
Note that some models are restricted to non-commercial use, so be sure to check whether the design you’re altering allows modification and that your use of the model follows copyright protections. If you do intend to sell 3D prints, there are a few more things to keep in mind.
Select the Right Materials
Maybe you’re looking to print something that will benefit from resin, or you know that you need PETG’s properties. Having a clear idea of what you want to print and what aesthetic or mechanical properties it may require is a must. There’s a wide range of printing materials on the market, including plastics, ceramics, metals, and many others. The price difference between different materials is huge, and they’re also limited to different technologies.
When it comes to FDM desktop 3D printing, within the range of materials, the most commonly used are PLA and ABS plastics. The price can range anywhere from $19 and $175 per kilogram (obviously, picking a cheaper filament will help reduce the cost). This is the result of varying attributes like color, translucency, and special glow-in-the-dark or wood fiber properties. It’s also important to select a material that’s affordable and which matches your needs (for example, not all filaments are good for outdoors use).
PLA is one of the cheapest materials out there in upfront cost and amount of electricity used. This is because PLA melts at a low temperature and doesn’t require a heated bed or heated enclosure, so it doesn’t use much energy to process. ABS may have a similar upfront cost, but it requires a heated bed and for best results, an enclosure. It will use significantly more energy to process this material as compared to PLA. PETG is a good middle ground. It doesn’t require a heated enclosure and the print bed doesn’t need to be heated to significantly high temperatures. This plastic will offer more durability for prints that will encounter stress as compared to PLA, but not quite as good as ABS.
For resin 3D printing, you won’t find a standard type of material like with FDM. Instead, they will be blends of different elements that change their properties.
Because of this, there will be more trial and error when choosing the correct type of resin for your projects. Fortunately, there is a lot of information out there for some of the most popular types of resin, including compatibility with specific machines, as well as their mechanical properties.
When it comes to materials like metals or ceramics, which you can’t 3D print at home unless you have a specific setup, there will be a higher cost. For professional 3D printing services, the material selection still plays a major role in the cost of 3D printing. Those with advanced mechanical properties, like CLIP resin or HP’s powder-based material will increase the cost of 3D printing. However, materials like white polyamide are more affordable and are still suitable for many applications.
The sooner you pick the right material, the faster you will achieve your goals, thus saving you time, material, and overall costs.
Optimize Print Settings
If you’re looking to save a few bucks while also achieving higher print quality, you might want to ensure you always use the optimal print settings.
When preparing your print on slicing software, it’s important to enter the best possible settings for your printer and selected material, be it filament or resin. Not only do the correct settings ensure higher-quality prints, but they also reduce the chance of print failures and frustrating errors that will have you restarting prints and reaching into your wallet. By ensuring you have the right print settings, you can preserve material, thus cutting down on the cost of 3D printing.
One of the best places to start when tuning in materials are the presets built into your slicer. These profiles are often tuned specifically for your selected printer and will have basic starting points for generic materials like PLA, PETG, or ABS in the case of FDM. In most cases, these profiles will work great with no tuning, but some tweaking may yield better print results (especially if you’re opting for a specialty version of a filament).
For resin-based 3D printing, there’s much less to tune in the slicer. Most of the tuning that will need to be done is in the support settings and the layer curing time. The machine profiles built into the slicer will do a great job, but tuning in profiles for each resin type may yield faster times or better quality.
Reduce the Size of Your Print
The saying that “bigger is better” might ring true in some situations, but not when it comes to your 3D printing costs.
If what you’re printing doesn’t have a specific function, it might make sense to reduce the size of your design.
However, at the end of the day, this is a question of personal preference and general needs. Still, if you’re able to make your model smaller, the printing process will require less material, thus resulting in a lower overall cost for 3D printing.
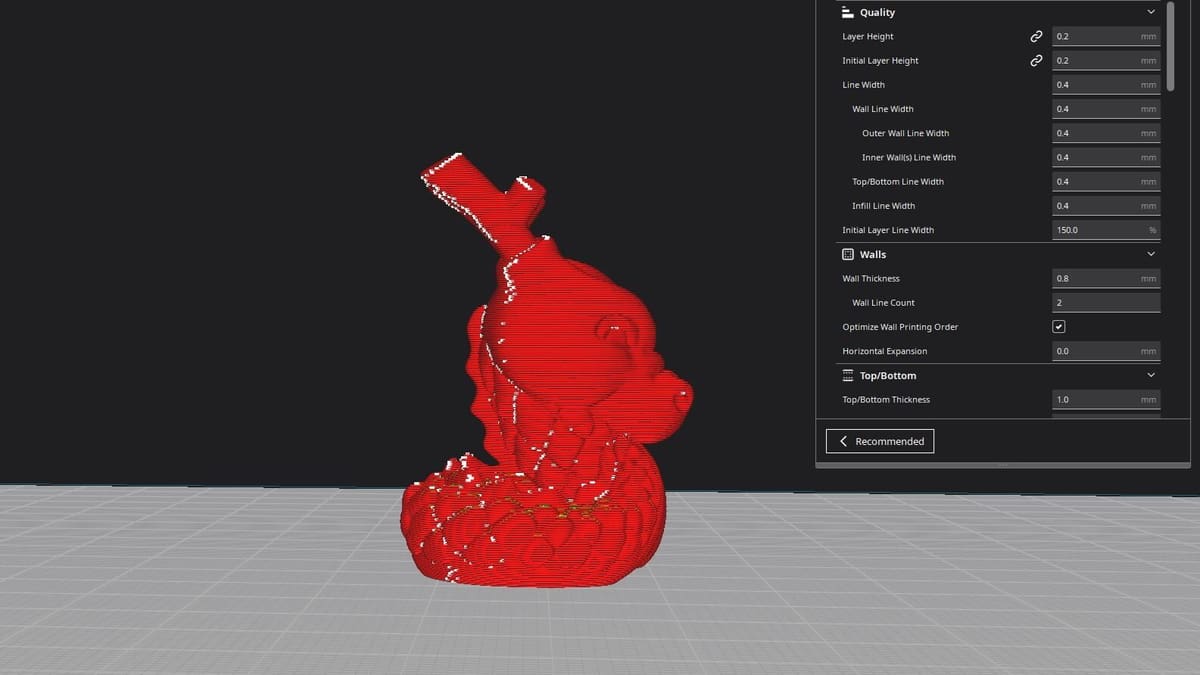
Change Infill Settings

Another way to save on the cost of FDM 3D printing is to reduce the percentage of infill used whenever possible. Not only will you preserve more material this way, but your prints will also finish faster.
Of course, there may be instances where higher percentages of infill are needed to meet certain structural or mechanical needs. But when you don’t need to create a solid or very strong object, changing the infill pattern, lowering the infill percentage, or using gradual infill is a great place to start.
Gradual infill is a setting that increases the infill percentage toward the top surface. At the bottom, a part may only be 5% infill, but 2 mm away from the top surface, it may be 30%. It’s a great way to ensure top surface quality and low material use for models that don’t require a high infill percentage.
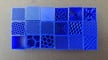
3D infill patterns such as gyroid and lightning are more efficient in material use for their strength and have similar strength no matter the axis of stress. When a 3D infill pattern is used in conjunction with gradual infill, the results are high-quality and have a high strength-to-weight ratio. And it’s worth noting that different slicers, like Cura and PrusaSlicer, have different infill patterns and settings to offer.
When it comes to resin printing, infill doesn’t really come into play – at least not in the same way. During the process of resin 3D printing, the excess resin must have a way to exit through the top of the model on each layer, or uncured resin will accumulate inside the model. Because of this, resin 3D printing doesn’t use infill; instead, it uses thicker walls or completely solid parts to achieve a higher part strength.
Use Fewer Walls
In FDM 3D printing, the walls use the most material of any structural part, so decreasing the number will drastically reduce material use and speed up the printing time in the process. However, using fewer walls will significantly reduce the strength of the part. Only decrease the number of walls if you’re sure the part will have enough strength for its purpose.
If your part is strictly decorative, you may want to experiment with vase mode. This prints a single wall as a spiral from bottom to top and has no infill, which can be very useful for saving material on parts that have the right geometry for printing as a spiral.
In resin-based 3D printing, there will still be a wall thickness setting that has a similar effect as the number of walls in FDM printing. When printing a hollow model, the thickness of that model will directly correlate to the amount of resin used, but, again, only reduce the thickness if you’re sure that the part will have enough mechanical strength or it may break.
Choose an Appropriate Layer Height & Resolution
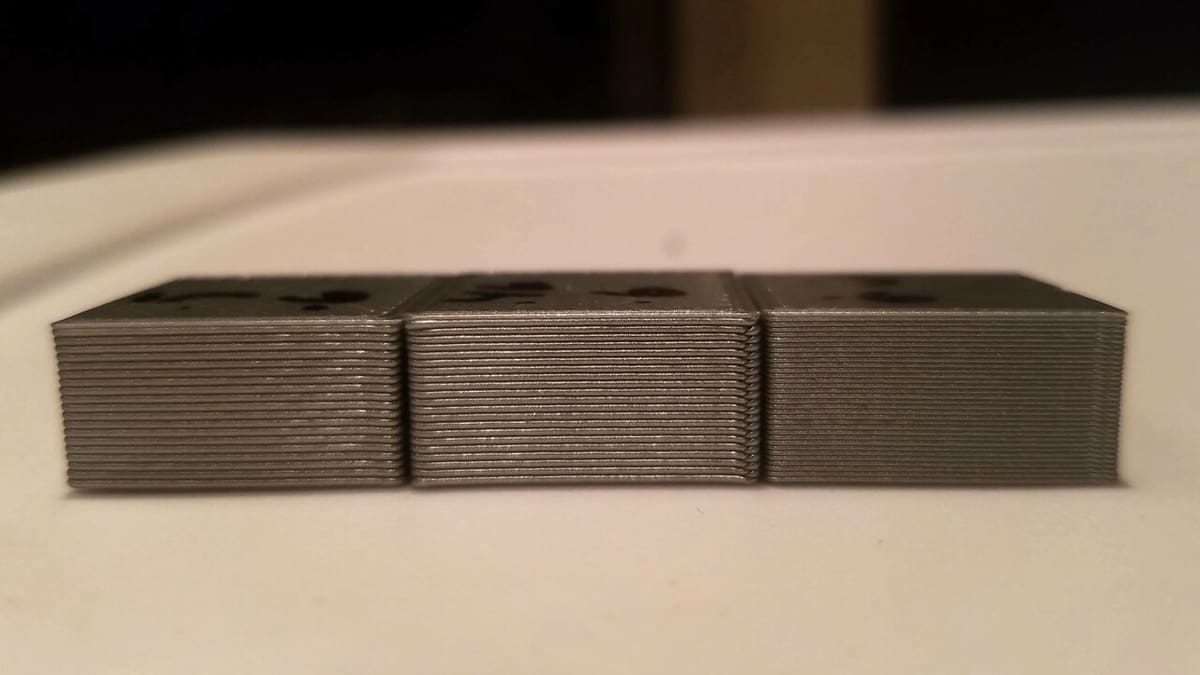
3D files are sliced into layers that can be printed one by one to form the physical object. The height of these layers determines one type of resolution of the printed item (think of it as the pixels on your computer screen).
Whether using an FDM or resin printer, a low layer height will result in a smooth surface, but it will also drastically increase the time it takes to print your 3D file. This may be worth it, especially if your part requires sharp edges to function or has to fit with other parts.
When it comes to desktop FDM 3D printing, larger layers will use slightly more material than thinner layers. The increased time it takes may constitute a slightly higher power consumption but it will most likely be negligible, especially if appearance and functionality are important.
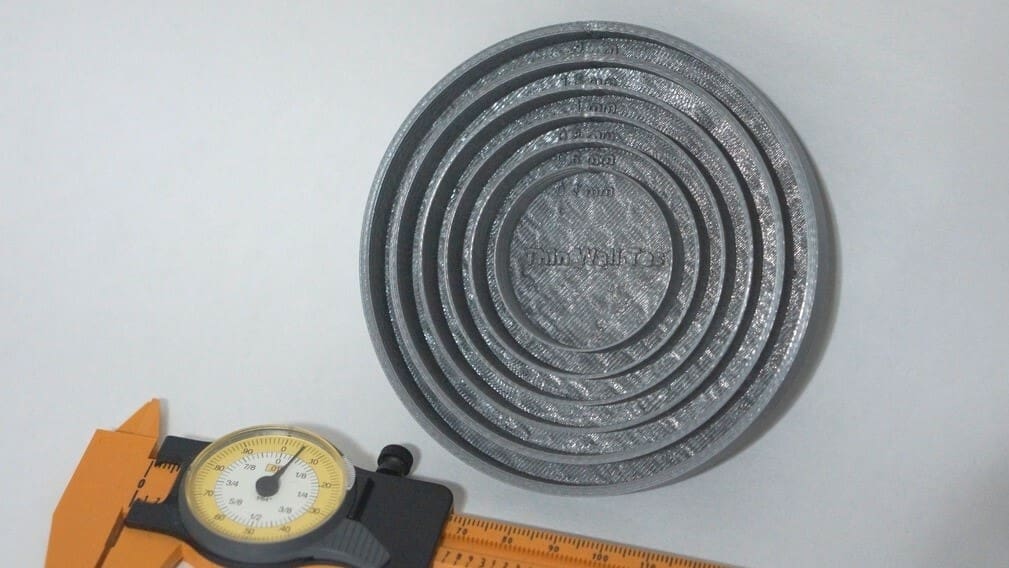
Using a smaller diameter nozzle will let you print in higher detail while also allowing you to print thinner walls for your models, reducing the amount of material needed to complete these walls. Note that thin walls will result in more fragile prints and should only be used if durability isn’t required.
For resin 3D printing, layer height isn’t as relevant because the differences are minimal, and they don’t change the material use in a significant way, so it’s not a difference that would really affect the cost.
If you’re hiring a 3D printing service (which we’ll get to later), the time your part spends in the 3D printer is directly reflected in your overall cost since such providers make their money by printing as high a volume of material in as short a time as possible. Increasing the layer height will generally result in a lower cost of 3D printing.
Avoid Supports & Rafts
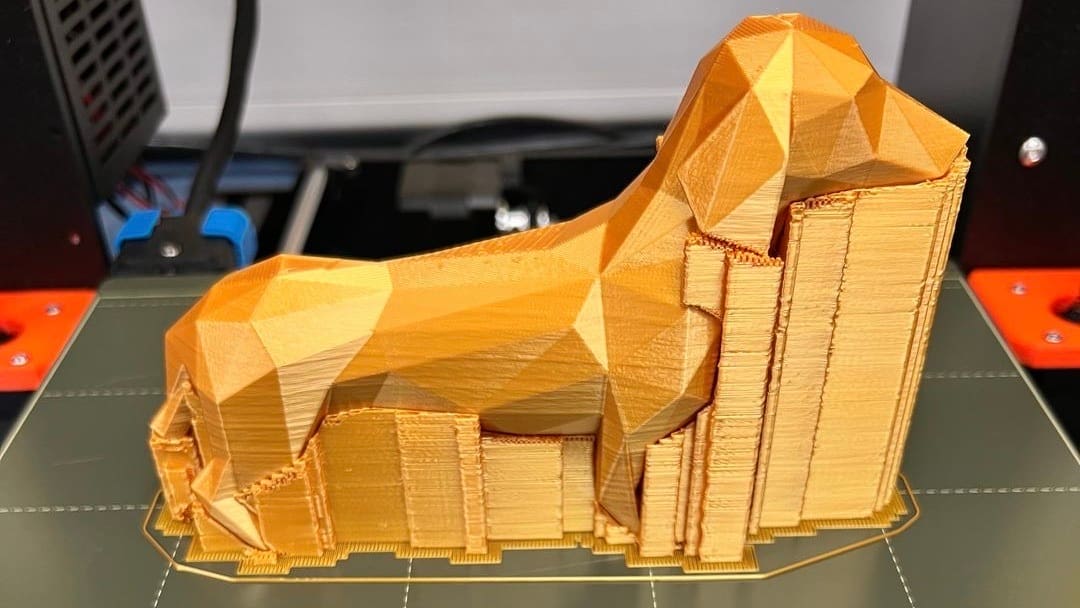
You can cut down on the cost of FDM 3D printing by eliminating or reducing support structures and rafts. Similarly to the infill percentage tip, there will always be projects that require support structures. But sometimes, simply reorienting your object in the slicing software or tweaking the settings can help rid your print of unnecessary plastic waste.
If a model can’t be reoriented to remove supports, changes can be made to the model itself, like splitting it to be glued after it has finished. This may not work for all models as it leaves an interface point between the parts, but it can be desirable if supports can’t be used.
Rafts are used less often nowadays due to heated beds becoming more mainstream, and they’ve arguably been replaced by brims. Brims are similar to rafts but they are only one layer thick and reduce warping by tying down the edges of the part. If you use rafts often, maybe give brims a chance – they’re more material-efficient and less time-consuming while offering good bed adhesion.
Not only can the removal of support structures reduce the cost of 3D printing and overall time spent, but it will also help produce cleaner prints. Anyone with desktop 3D printing experience knows how painful it can be to remove support structures at times and be left with lackluster print quality and rough surfaces.
As for resin 3D printing, supports are generally mandatory, but you can reduce this number by orienting the part on the build plate with flat planes angled towards the build plate. Rafts are much more common with resin because they don’t affect the look of the bottom of the part as they do with FDM rafts. They can serve as a point to start prying the part from the build plate after it’s finished, which may save the part from being broken in the process.
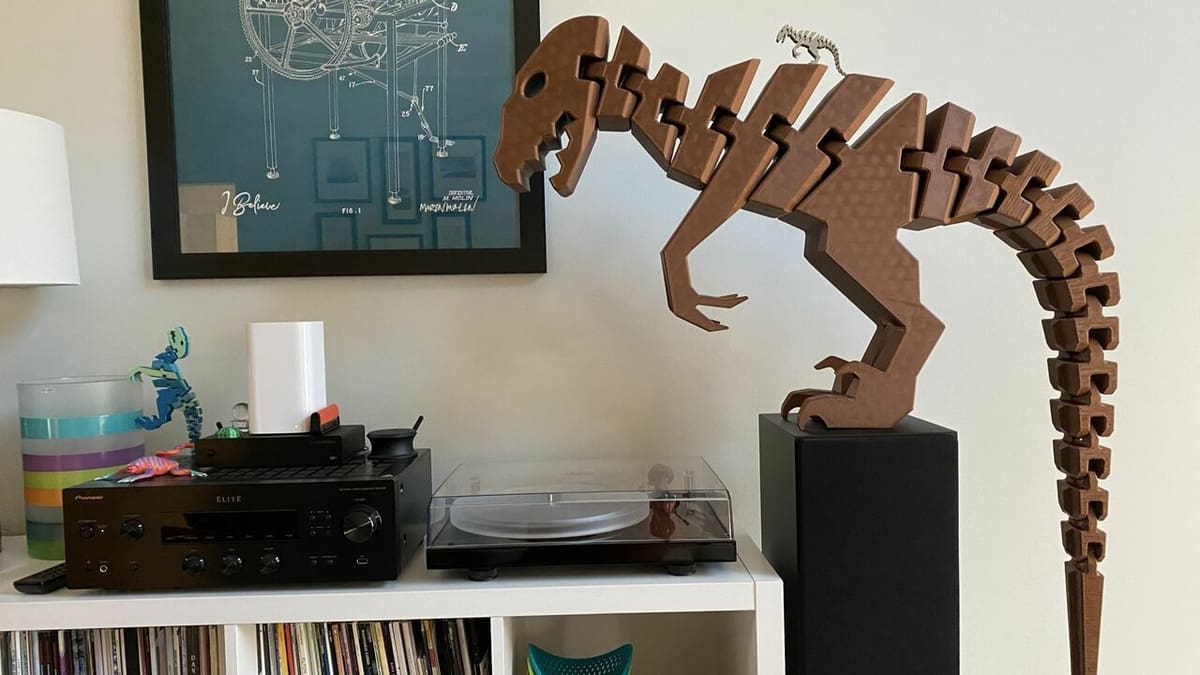
Take Advantage of Complex Shapes
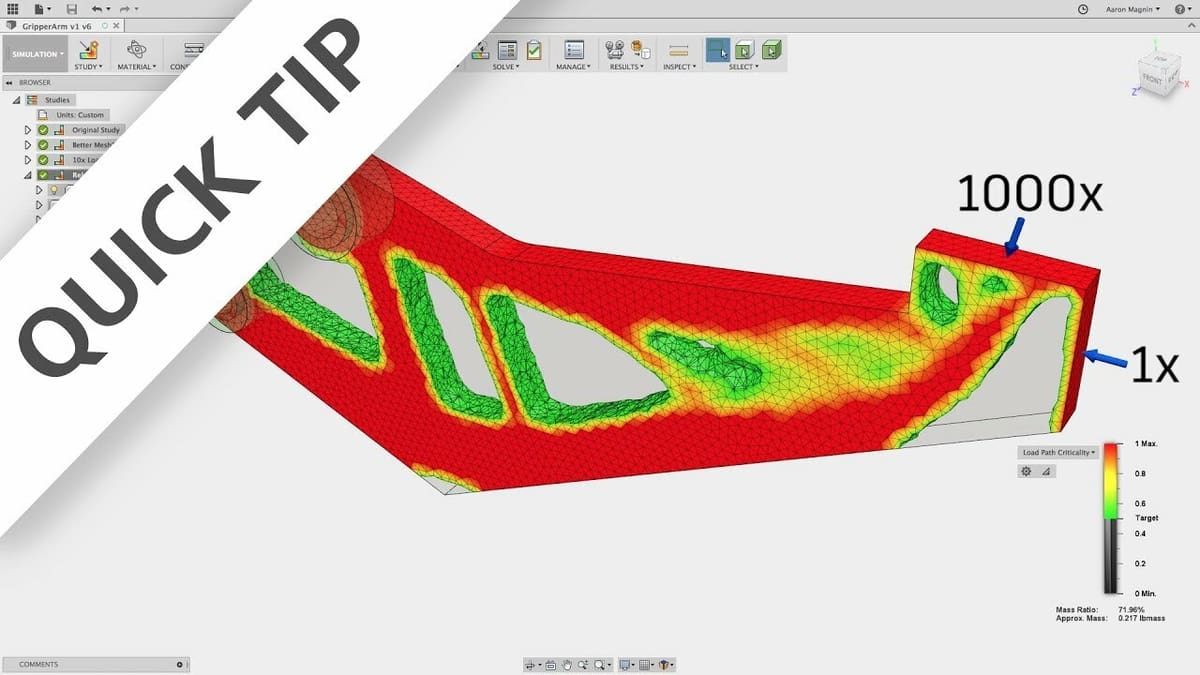
You might have heard about major airlines using 3D printing to reduce the weight of planes and save billions in fuel costs every year. This is accomplished through organic and algorithmic design techniques such as topology optimization. Basically, this is the application of biological phenomena to design and engineering. When used with 3D printing, this method can help you save on the cost of 3D printing.
In general, one of the biggest advantages of additive manufacturing over traditional methods is the ability to replicate complex shapes and structures that are found in nature, such as honeycombs. With 3D printing, it’s easy to design lean 3D shapes that have been trimmed down to the minimum amount of required material that are still stronger and more lightweight than traditionally manufactured parts.
Using biological concepts, you can cut the cost of 3D printing for material. If you use Fusion, a tool called Shape Optimization is built-in for you to take advantage of this. If you want to experiment with this concept for free outside of Fusion, check out free 3D modeling tools like Meshmixer.
Printing at Home
Once you know what you want to 3D print, it’s time to decide whether you’re opting for a home-based desktop (or workshop) setup, or if outsourcing makes more sense.
There are plenty of ways to cut down on costs if you’re printing at home, including storing filament properly and choosing the right post-processing. If you’re feeling ambitious, you can even build your own 3D printer!
Buy Your Own 3D Printer
So, let’s say you don’t have a 3D printer yet. Our first suggestion would be to buy your own. Now, you might be thinking to yourself, “I thought this list was supposed to help me save money,” but sometimes you need to spend before you can save. Buying a desktop 3D printer can be a pricey investment, but if you plan on 3D printing often, it’s a worthwhile purchase that will help reduce the cost of 3D printing over time.
First, you won’t have to pay service or shipping fees for your 3D prints. More importantly, you’ll have a fun machine to play and experiment with, which will help you become more familiar with this emerging technology. You can even reduce the cost of 3D printing by building your own 3D printer if you have the skills and ambition.
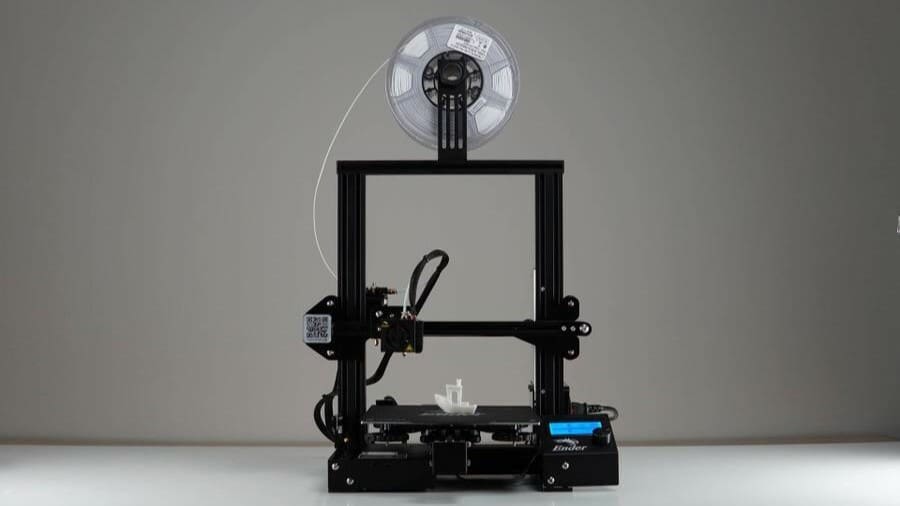
Over the past couple of years, entry-level 3D printers have become incredibly cheap, reliable, and capable of producing truly stunning prints. Now is as good a time as ever to look into buying a 3D printer either for a hobby or to aid in other hobbies with your prints.

Multicolor Printing
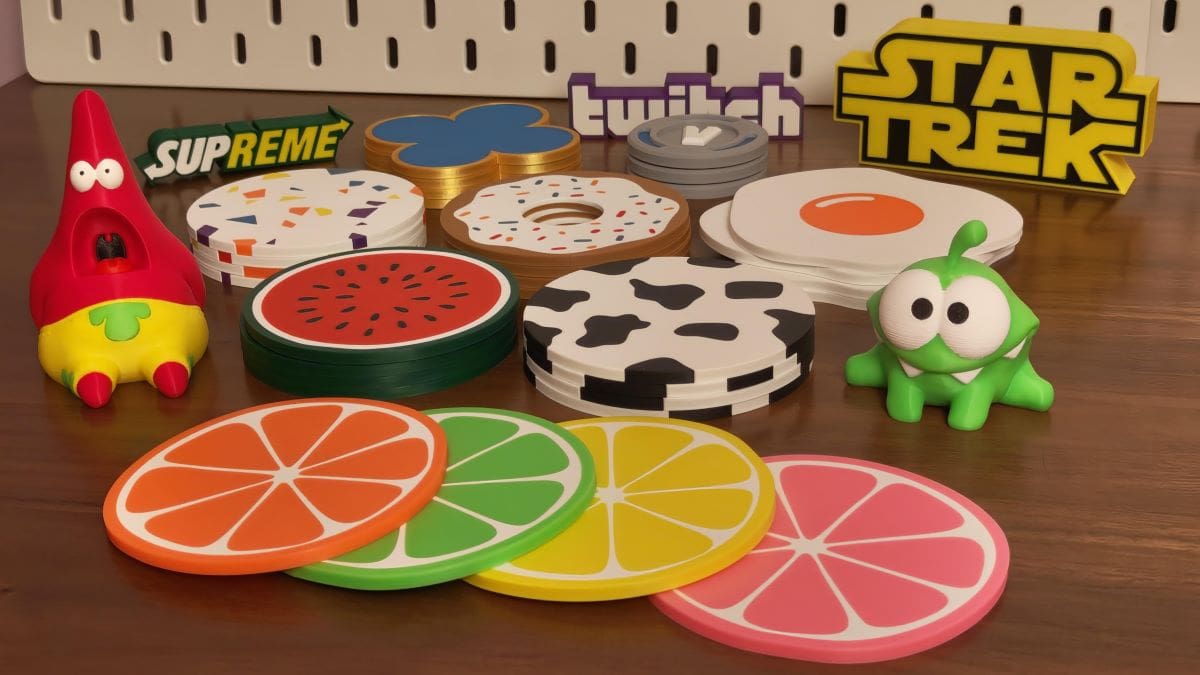
The 3D printing community is rapidly shifting towards multicolor printing as companies like Bambu Lab and Prusa continue to add some great machines and setups to the market that make this style much more accessible. Multicolor printing allows users to bypass the need for paint or part assembly for many of their models, removing the cost of painting supplies and time commitment that would otherwise be required.
The largest downside that comes with multicolor printing is the purging of filament, which results in more material used per print than a single-color printer. That said, there are a few ways to reduce the amount of waste.
Firstly, be sure to calibrate your slicer settings and fine-tune your purge amounts so that you aren’t extruding more material than needed when swapping colors. Second, you can actually purge into your infill when performing a filament swap. This can not only reduce wasted filament but can lead to faster print times as well.
Last but not least, it would be best to print multiple multicolor objects at the same time. The number of purges required to print five copies of a model is the same as the number of purges needed to print a single copy of that model. When you have the chance, always try to fill up your build plate with your models and you will notice a significant reduction in wasted filament, saving you money as well.
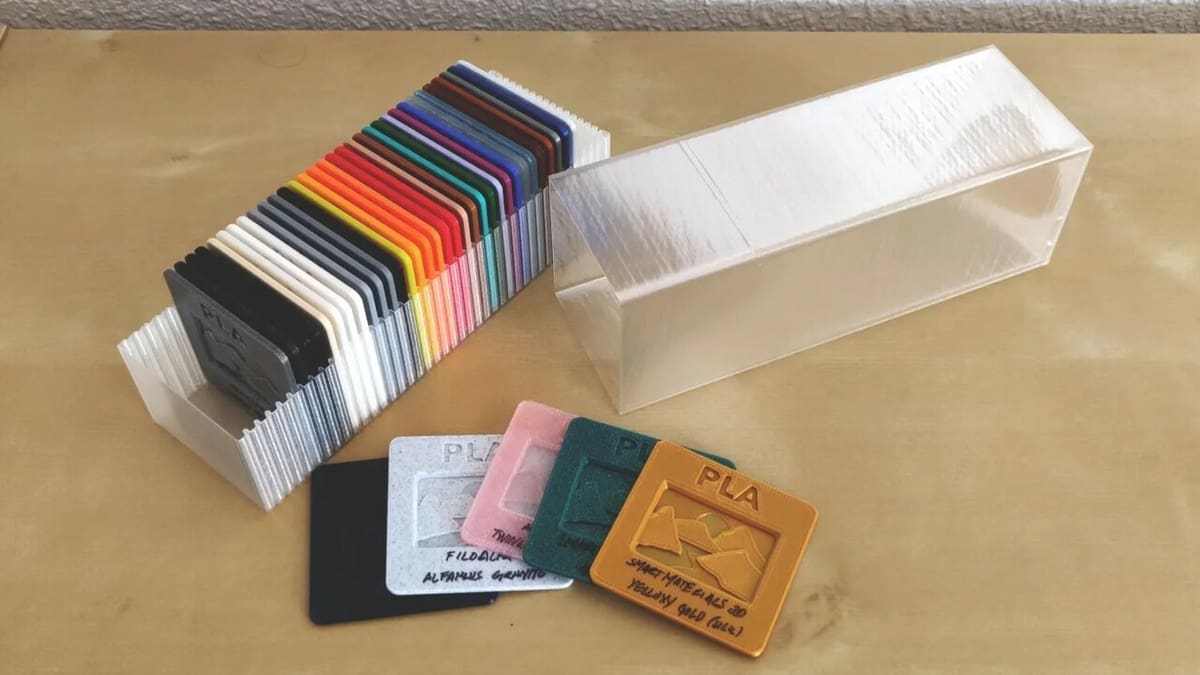
Keep Filament Properly Stored
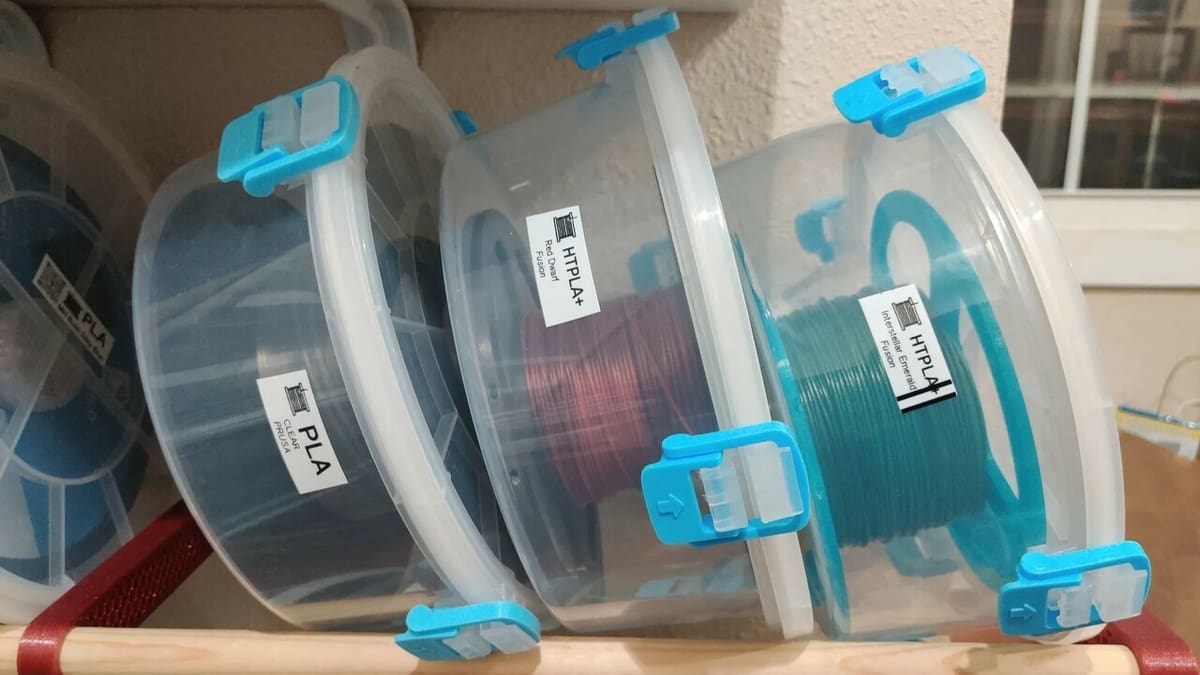
For desktop FDM 3D printer users, properly storing your filament can make the difference between preserving every inch of material and ruining an entire spool. That’s why filament storage is a critical part of saving on the cost of 3D printing.
One of the easiest ways to store filament is in a vacuum-sealed bag with a silica gel packet inside to keep the humidity within the bag low. While this solution works, oftentimes silica gel packets will be too small to adequately keep the humidity low inside the bag for long periods of time. Solutions to this include simple 3D printed silica gel holders that are designed to hold a larger amount of desiccant in the bag with the filament to keep it dry for longer. Another popular method is creating a filament dry box, which is designed to hold multiple rolls of filament. You can print it with a Bowden tube connecting the box to the printer.
By sealing your filament in such an environment, you can prevent the material from bubbling or becoming too brittle, which in turn means less money. This is a great way to save on the cost of 3D printing.
Select the Appropriate Finish
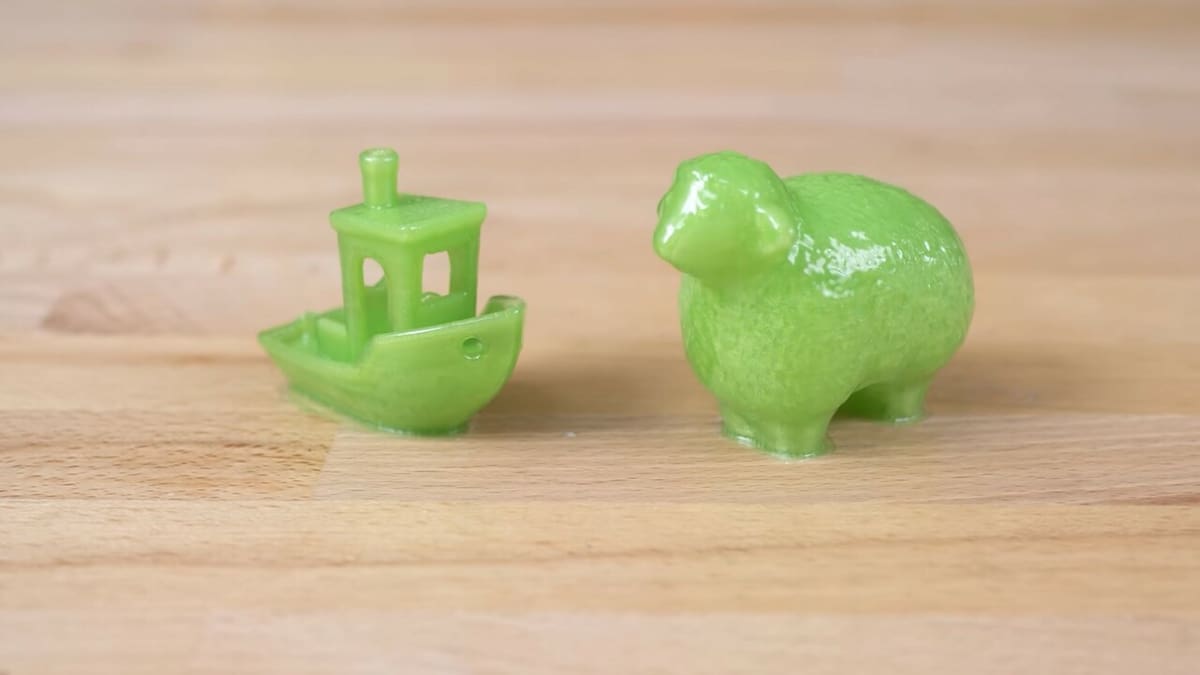
3D printing services are happy to give your part the treatment it deserves. In the image above, you can see how the acetone finish really makes that FDM print shine! But beware, professional finishes are usually done manually and thus increase the overall cost of 3D printing. Some post-processing techniques are cheaper than others simply because they take less time.
One of the most popular finishes for 3D prints is acrylic paint. This coating is a way to add color and quality to the surface of the part. This process is time-consuming and thus expensive, so only have your parts professionally painted if they need to be. You can also paint the parts yourself.
While dyeing, for instance, is quicker and cheaper than painting, it is also less durable and of lower quality. If you want to save on costs and still have your print stand out from the rest, make sure you research different post-processing techniques and what they will cost you.
As for resin prints, even if they come out looking much sharper and more detailed than FDM prints, it may still be advantageous to use a finish on them. Because these parts already look great, there will be no need to smooth them (although note that you’ll have to cure the prints, no matter what). Painting and dyeing are the main ways to either add some color or wear resistance to the parts. All of the previously stated techniques will work with resin prints except for solvent smoothing.
Mix 3D Printed Parts with Non-Printed Parts
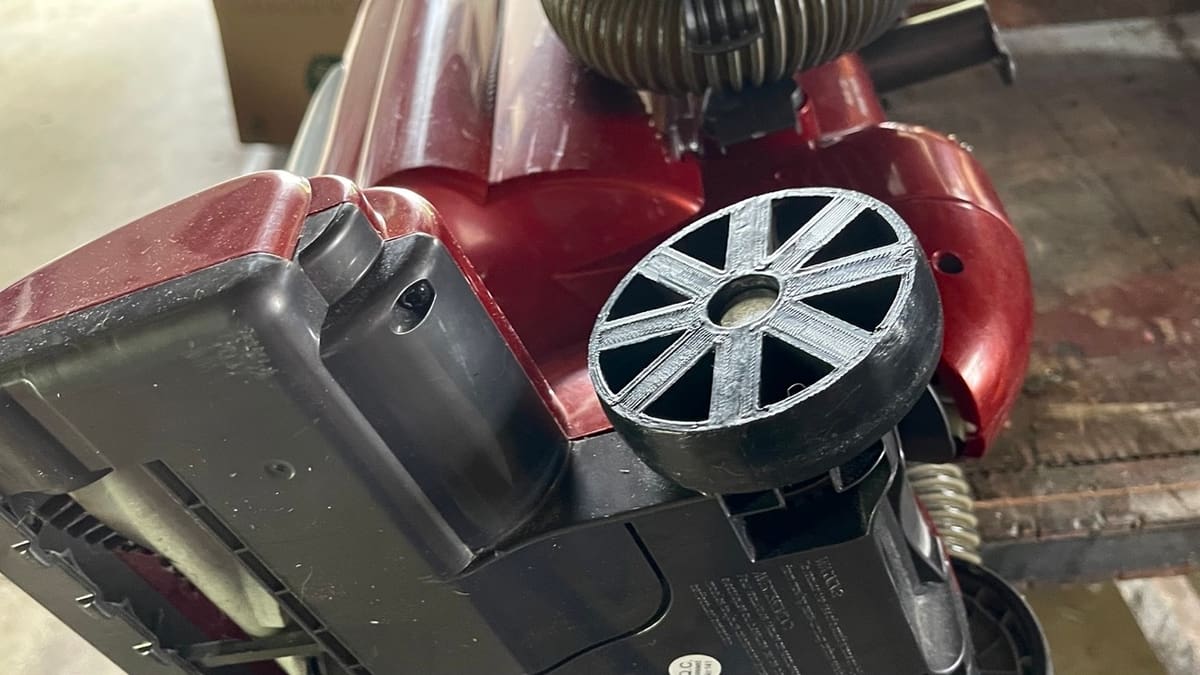
Sometimes, 3D printing only needs to be one part of the overall puzzle. Instead of using your 3D printer to create an entire mechanism or prototype, you can instead use the technology more sparingly when nothing else will do. This will help cut down your cost of 3D printing.
You might only need a few 3D printed components to repair or create an innovative object or product. By mixing 3D printing technology with parts that are already accessible, and maybe adding a scanner to your setup, you can still utilize the full potential of 3D printing while also saving on costs along the way.
Shopping Around
Last but definitely not least, there are plenty of online services – and options related to what you pick – that can help reduce your 3D printing costs. Check out these considerations on price comparison websites and loyalty programs to make your hobby even more affordable.
Use a Price Comparison Service
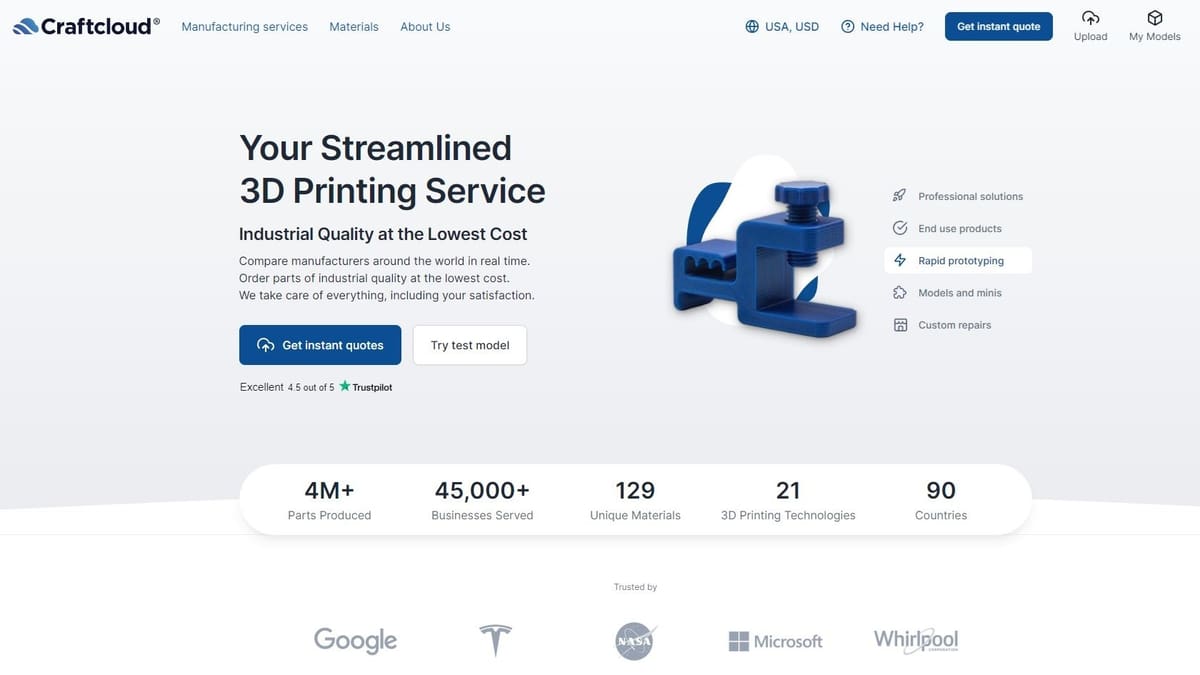
If you’re looking for the online 3D printing service offering the best price, using a price comparison service can save you tons on the cost of 3D printing.
Such platforms enhance competition between the service providers, usually resulting in fairer prices. It also gives you the chance to weigh the price you pay against customer service, time of delivery, and the quality of your print.
A great option is to use Craftcloud. Simply upload your model, choose the technology and material, and see which manufacturers can cater to your needs. Different prices and shipping information are included so you can decide which way to go.

Use an Online 3D Printing Service
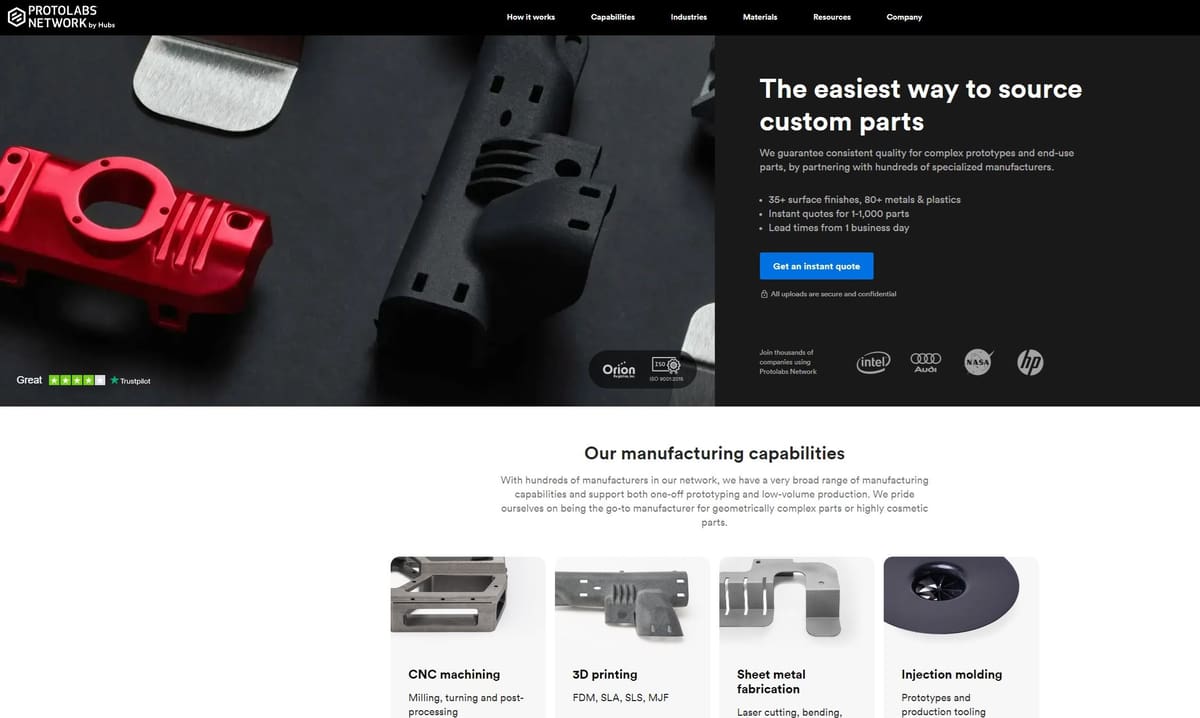
If you’re new to 3D printing and haven’t decided which technology best suits your needs, you could take a look at online 3D printing services for a proper introduction. That way, you can experiment with a wide range of different technologies, 3D printers, and materials without the fear of blowing large sums of money on something that may not be right for you.
Certain materials, especially metal, can only be printed on incredibly expensive industrial 3D printers. When you properly research your options, you’ll likely come across a service that will help ease the cost of 3D printing.
In cases like this, an online 3D printing service is the only way to avoid driving up the cost of 3D printing to insane levels. Online 3D printing services are a convenient alternative for those looking for advanced materials or unwilling to invest in their own 3D printer. Plus, you don’t have to worry about failing prints when your 3D files are handled and printed to perfection by trained professionals.
From options that work with specific technologies, like PolyJet, MJF, and SLS, others focusing on materials like metal or carbon fiber, and even some dedicated to large prints, you’re more than likely to find what you’re looking for.
Use the Economy Mode

If you prefer a low price over speedy deliveries, this tip is for you.
Some online 3D printing services offer “economy mode” discounts on specific materials and printing technologies (usually white polyamide plastic). You can try this mode to save on 3D printing costs. Also, it may take a few more days until your item ships since it’s added to other orders to fill up the build volume.
So, if you’re not pressed for time and can live with a part in white polyamide or another cheaper material, this is a great way to shave some dollars off the cost of 3D printing.
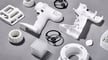
Take Advantage of Bulk Discounts
Online 3D printing services are eager to fill the build space of their industrial printers with as many parts as possible. In case you want to produce your parts in medium-to-large volumes, these services usually offer bulk discounts that can help reduce the cost of 3D printing. For them, it’s more economical than piecing their print runs together one part at a time, and for you, it’s also a steal!
Some 3D printing services specializing in bulk operation may even have a minimum amount of parts you can purchase at one time to keep their build plates full.
What’s more, some printing services provide tools that allow you to effectively take control of their 3D printer’s build space via the web. You can position and align your parts to your liking and optimize your 3D printing costs.
Join Loyalty or Student Programs
Some online 3D printing services offer programs that reward customers who buy a certain number of 3D printed parts in a given timeframe. For example, if you place three orders within 100 days, the fourth one might be free. It’s up to you to do the math and find out if that pays off for you.
Students can also save loads. If you’re enrolled in engineering, design, or art programs, you can profit from educational discounts of up to 20%. All you have to do to cut your costs is verify your status by submitting a copy of your student ID.
Additionally, some 3D printing manufacturers will also offer discounts and special printer deals for students or loyal customers. If you’re looking to keep the cost of 3D printing down while using your own printer, it might be wise to look for a company that will reward you for money well spent.
All in all, whether you’re making prints at home or using a professional 3D printing service, there are many ways to reduce the cost of 3D printing. Most of the time, one of these tips will be applicable to your situation, and saving a few bucks can always go a long way.
License: The text of "20 Tips: How to Reduce 3D Printing Cost" by All3DP is licensed under a Creative Commons Attribution 4.0 International License.