3D Printing Prototypes – A Hands-On Introduction

Are you interested in 3D printing prototypes? Here's a guide on how to use your 3D printer to create, produce, and test your very own prototypes.
Why Create Rapid Prototypes?
If you own a 3D printer, chances are you’re looking to make things that don’t already exist or aren’t readily available. Whether it be modifications for RC vehicles, home decor, or rigs and jigs for the woodworking shop, producing your own models is something 3D printers are made for.
Prototyping is defined as the process of iteratively producing a custom model. A prototype is a work in progress, something that is still being improved. 3D printers are perfect for prototyping because they make it incredibly easy to make custom objects using a wide range of materials. From simple, rigid fixtures to flexible, organic geometries, the array of things 3D printers can make is constantly expanding.
This guide will provide you with a comprehensive overview of the prototyping process, and how to use 3D printing to create a custom design. We’ll take you through the process of how we produced a real model from scratch and shed light on how you might do the same.
Step 1: Define the Problem
The only reason you should be prototyping something in the first place is to find a solution to a set of problems that haven’t already been resolved. There’s no need to reinvent the wheel, so if a solution to your problem is already available, just use that. Because the prototyping process functions best when there’s a clear problem to improve on at every step of the way. Make sure you first have a legitimate, unsolved problem before you start prototyping.
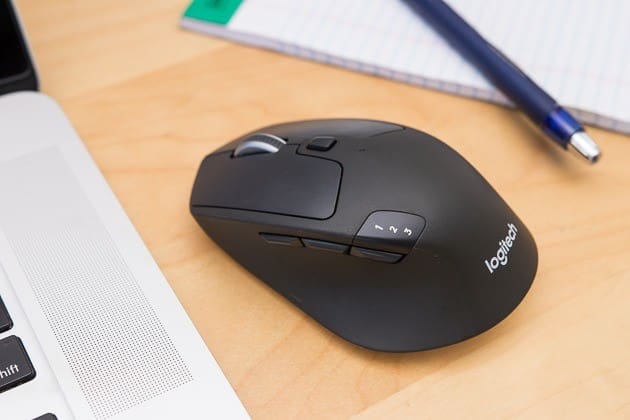
In this guide, we’ll be using the example of a computer mouse case. Wireless mice are ubiquitous, and oftentimes they need to be with us everywhere we take our computers. The problem is, very few mice are built to be tossed into a bag and shaken around all day. These recurring bumps and scrapes against our computer mice – on their buttons in particular – are concerning.
Not only is it annoying to hear them click and clank with every step down the stairs, the wear and tear over time also reduces their lifespan. So, we wanted to make something to protect our mice in transit: a mouse case. This is the example we’ll be using in this guide.
Step 2: Propose a Solution with Constraints
Now that you have identified a problem, it’s time to think of a solution. Your solution should, at least partially, solve the problem, which means it has some constraints. It’s easier to prototype when you think of your model this way: a design that respects a list of certain constraints.
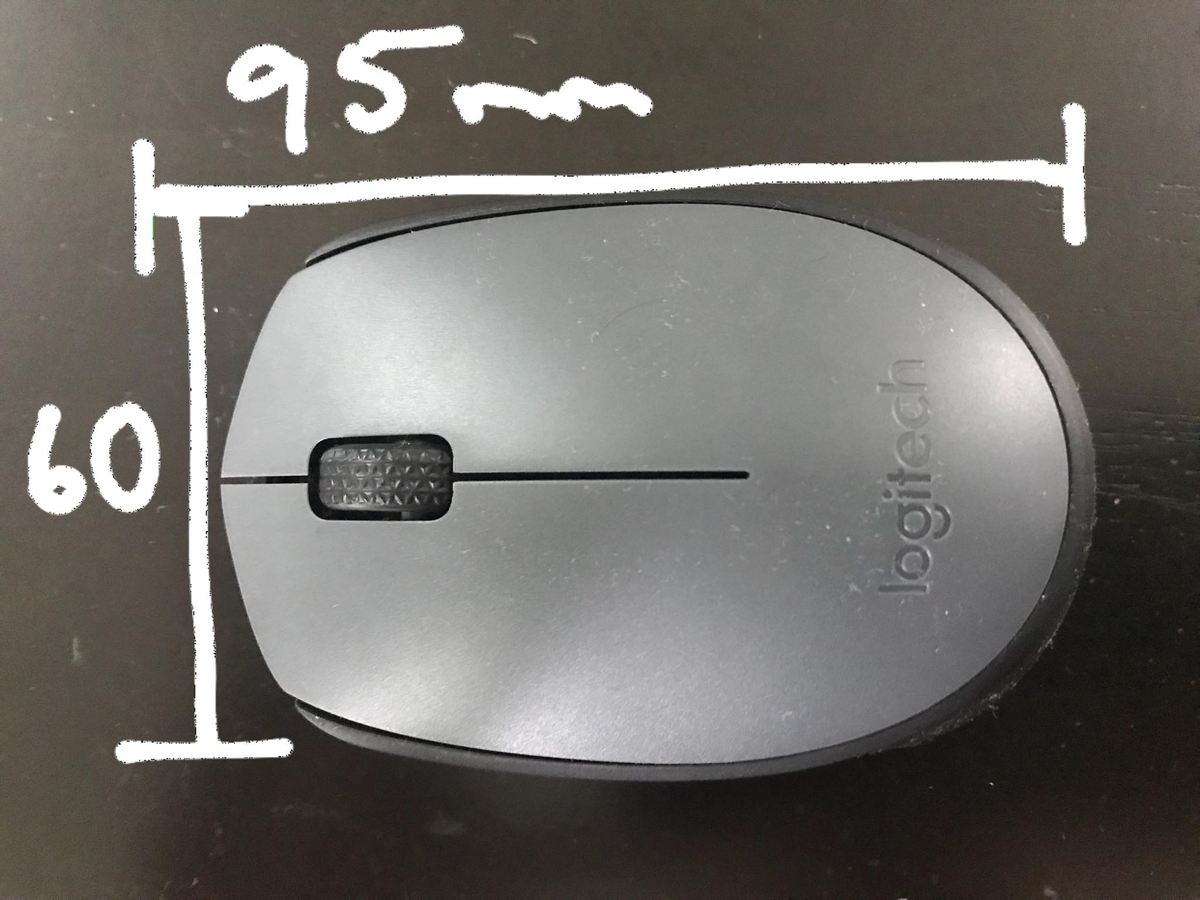
In our mouse case example, the most obvious constraint is the dimensions of the mouse that we’re trying to encase. The fit of the mouse inside our case needs to be right in order to protect it. Another constraint is size since the case shouldn’t be too volumetrically disruptive so as to not jeopardize the carrying capacity of the bag it’s in. In other words, it can’t provide protection at the expense of portability.
Furthermore, we also need to factor in the convenience of the case since the mice are meant to be taken out and used quickly and often.
If you intend to create a product as part of a business, the cost would be another major constraint. (You know because you’ll have a hard time selling a palm-sized low-poly planter for $400.)
Once you know your constraints, you can move on to creating a viable solution. And you don’t have to do extensive research to determine a solution. It’s just your best guess. Once you have a solution in mind, it’s time for the exciting part of the prototyping process: designing.
Step 3: Design Your Solution (and Test It)
Designing starts differently for different people and applications. Some people like to sketch their solution on paper to visualize it before they flesh it out in CAD software. Some people jump right into CAD software. Either way, the software you choose is an important component at this stage.
For something like our mouse case, which has specific dimensional constraints, we recommend Autodesk Fusion 360. It’s an extremely capable piece of software that can be accessed for free. For organic models like flower pots, vases, or RC airplane bodies, we would go with Blender, which we’ve also discussed extensively.
If you’re making something more specific, you should search for the software the community in your niche uses. For instance, if you’re planning on prototyping a mechanical watch mechanism, you might need software (and a computer, for that matter) that can handle a lot more complexity than common CAD software.
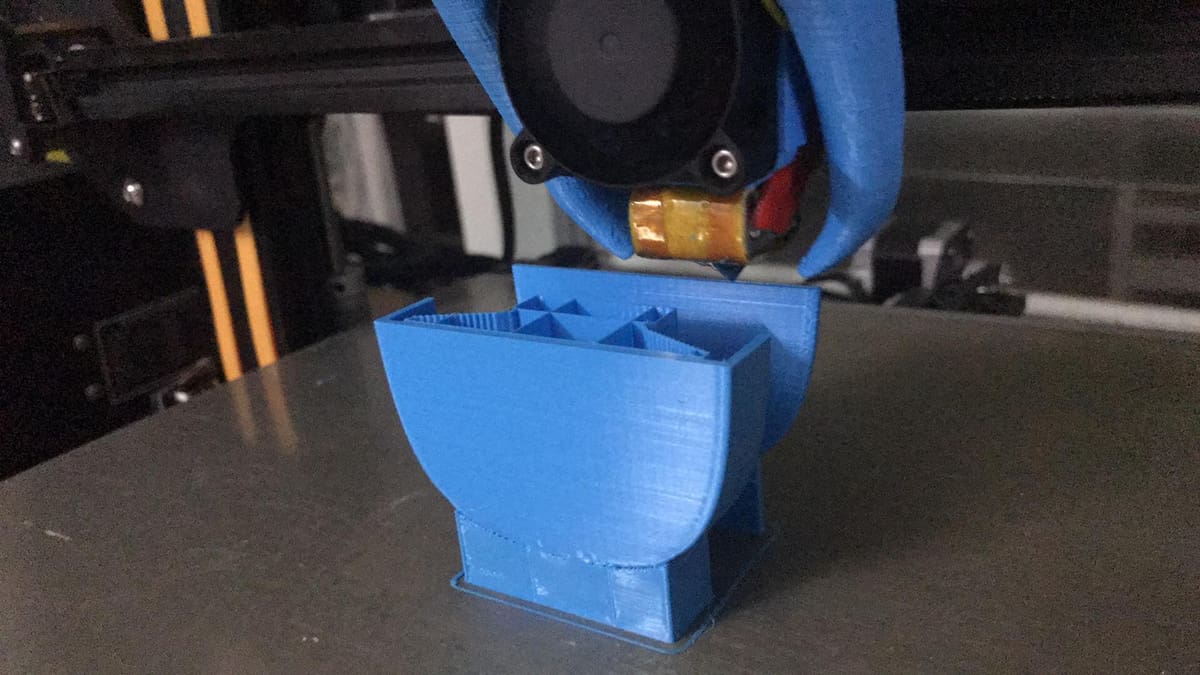
Once you’ve got your software of choice ready to go, start using it to create your solution. The key in this part of the process is to 3D print and test your design as early and often as possible. Testing your design early and often allows you to tweak it bit by bit as you make it exactly how you want it to be. This is a more organized and streamlined troubleshooting process compared to having to test everything at the end once you think it’s done.
For instance, for our mouse case, we first developed a shape that fit the mouse the way we wanted only in one direction. Then we focused on another direction. That way, we were easily able to create a shape that fit the mouse reasonably well all around. If we had just made the full shape according to what we thought would fit, it would have been much harder to diagnose problems and fix them.
In essence, this stage involves making something in CAD software, printing it, testing it, and then repeating the process with what you learn. This is the heart of prototyping: making incremental changes to improve a design based on the results of little experiments. We put these two steps together because designing and testing is a loop that will be repeated any number of times until you finally reach a satisfactory solution.
An Example Design-Test Loop
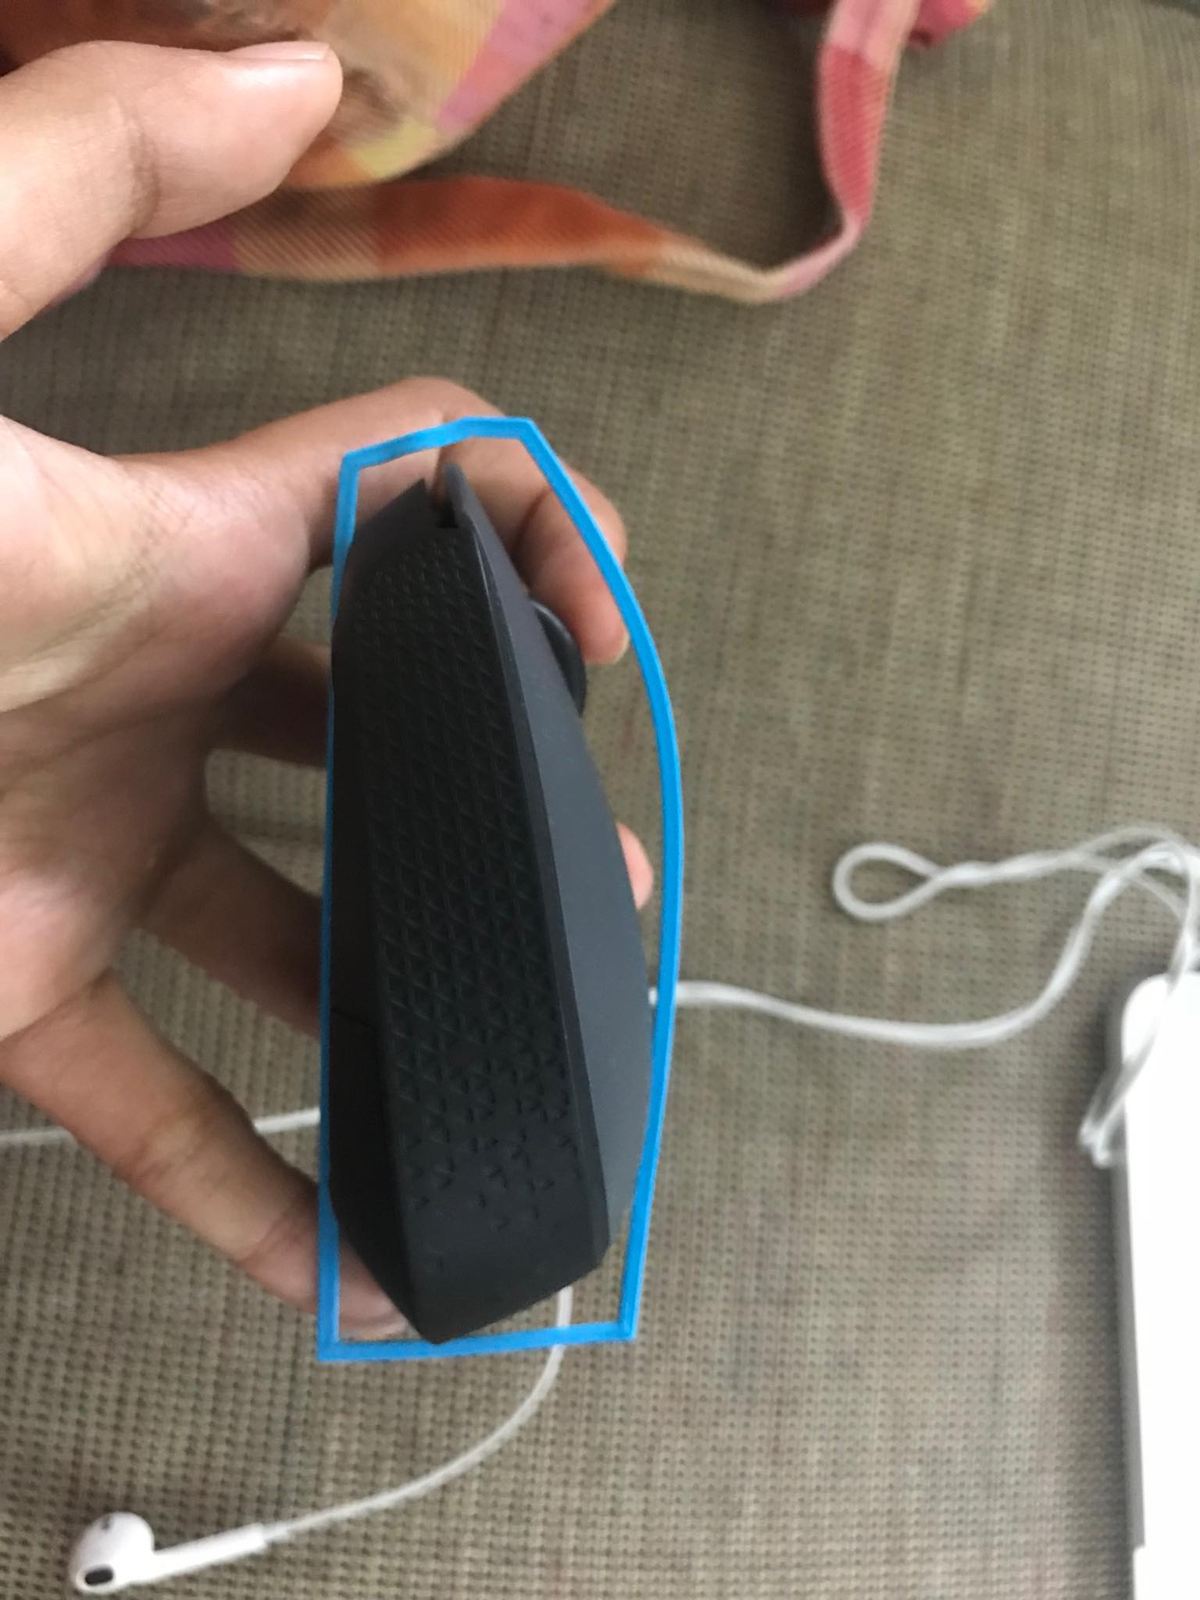
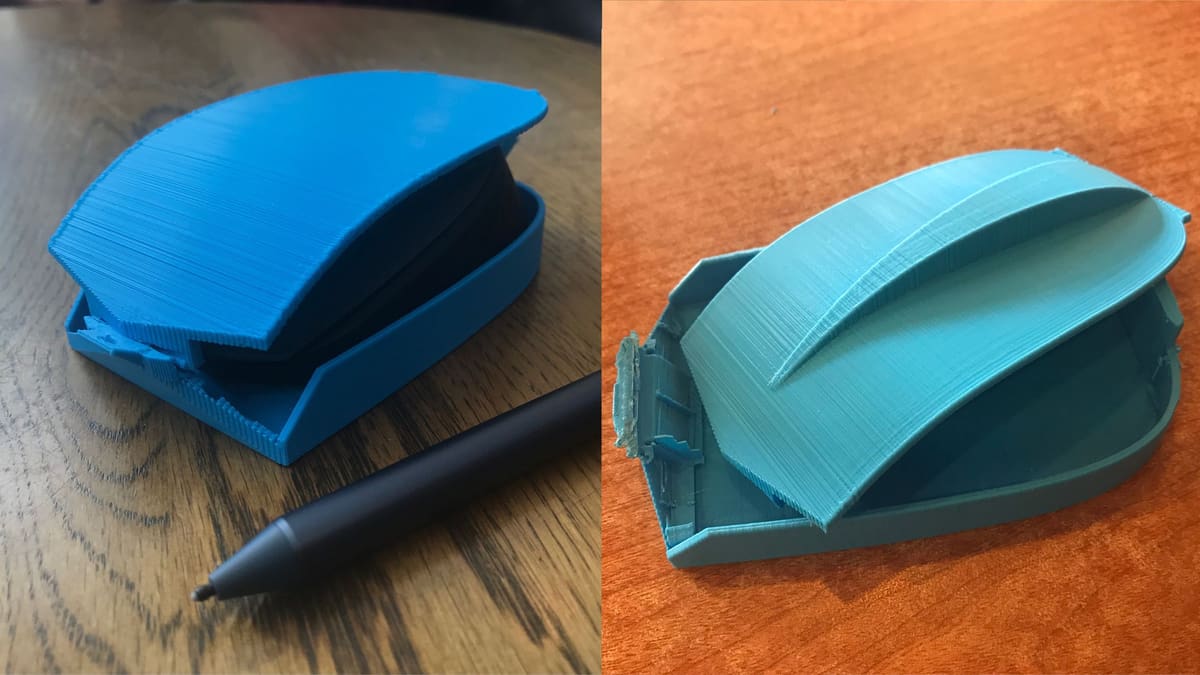
For our mouse case example, we first made a rough outline of the side profile of the mouse based on a picture we snapped with a camera. We printed that out to see how well it fit the contours of the mouse, and then did the same with the front profile. At that point, we had the overall shape of the mouse down pat, and everything else was modeled around it.
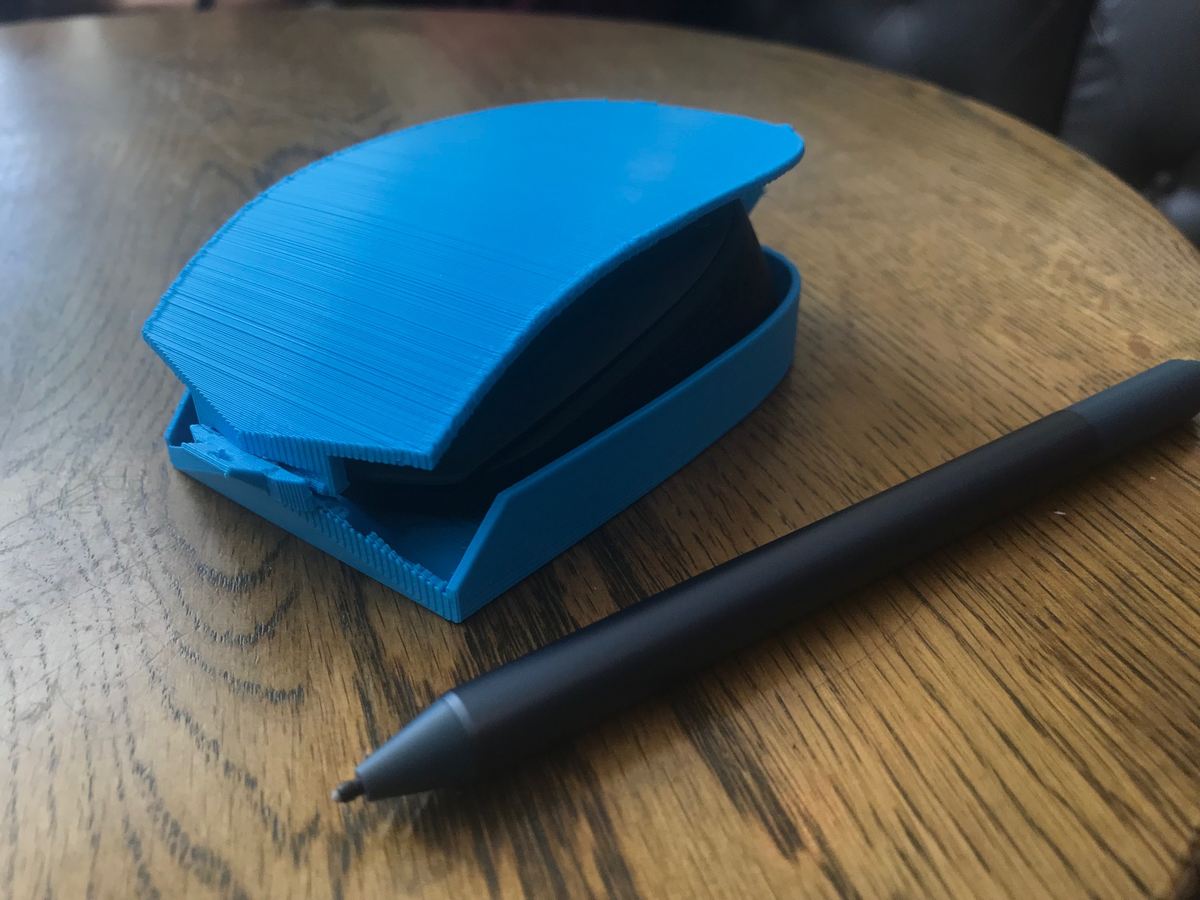
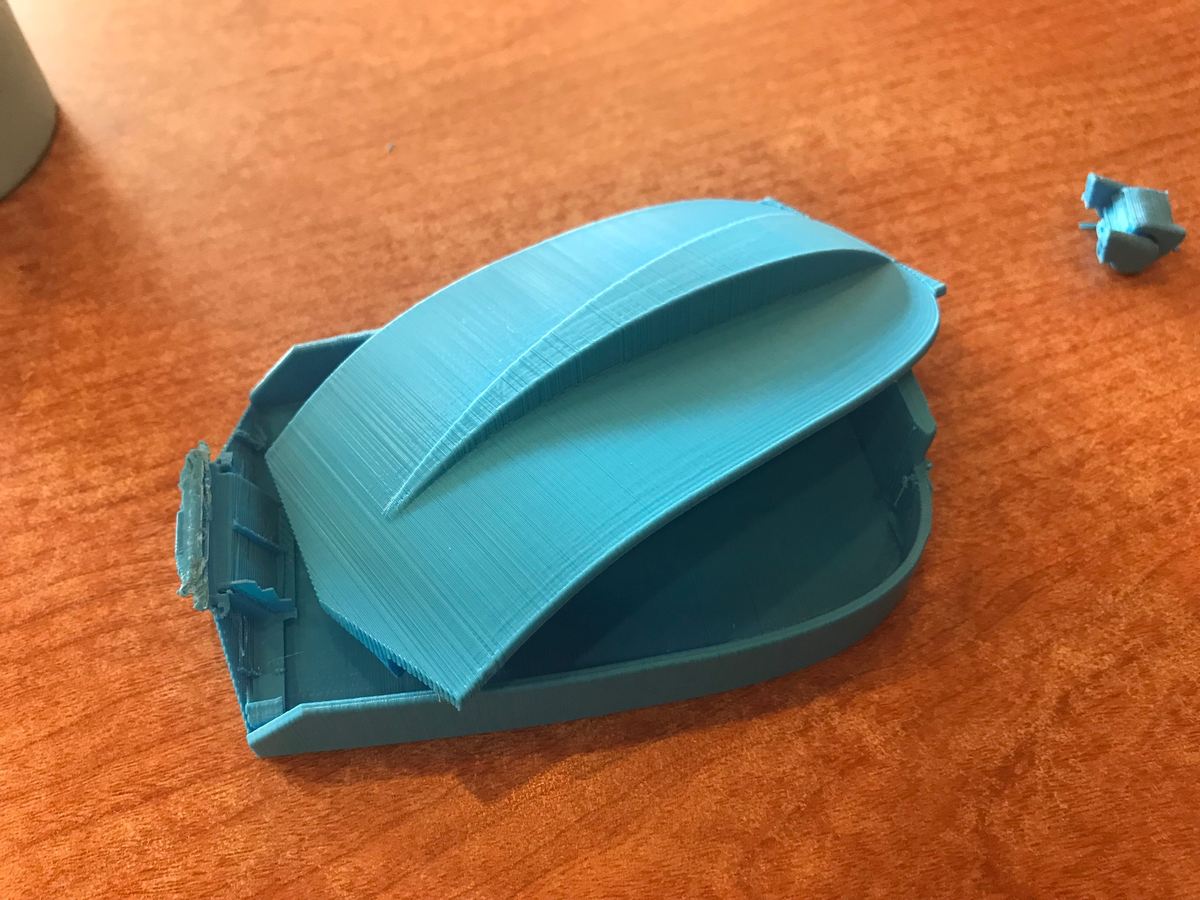
The first time we printed a full case, it had a living hinge, snap fit lock, and a carrying ring. Based on the way it printed and the way it held the mouse, we thickened some parts internally to hold the mouse better, improved the strength of the hinge (which actually snapped in the first prototype), modified clearances, and made some other small adjustments.
The next prototypes were much easier to print and also looked better. But past a certain point, you need to focus on putting your design to the real-world test in order to make improvements to functionality. So one lucky computer mouse of ours spent a week traveling in one of the final prototypes. So far, there were no false clicks in transit and no scratches or markings on the mouse, even after being in the same bag as a metal computer and water bottle.
Narrowing It Down

At first a rough shape is fine, but eventually, you’ll need to tighten tolerances, make things fit better, and (most importantly) express your unique voice as a designer. Your design, whether it be a humble kitchen towel holder or a full laptop case, needs to showcase your style alongside functionality. Strictly speaking, aesthetics aren’t always essential to the function of a model, but it sure does brighten your day when you catch a glimpse of a balanced, elegant design for a fleeting moment.
Ironing out Errors
There will undoubtedly be problems with your design, and that’s okay! The goal of each prototyping loop is to locate those problems and exterminate them.
Of course, it doesn’t take much to spot some errors, like the faulty hinge on our mouse case prototypes. Because of the printing orientation of our model, we had to add supports everywhere in Cura, which added unnecessary material inside the hinge, making it impossible to move without breaking something.
Sure, some slicers would provide more control over this setting, but since so many people would use Cura to print this design and run into the same problem, we’d rather optimize the model to work around this rather than require a specific slicer.
We’re fixing this as this article is being published, so if you’re interested, we’ll release the file for you to try as soon as possible.
Remember: Design Never Ends
Your model will never be perfect, but at some point it will be good enough to transform from prototype to product. It’s up to you to decide that enough is enough and that your design is finally ready for production. The goal of prototyping is to produce something that has a function, not to keep adjusting a model with no end.
That being said, the iterative prototyping process is certainly satisfying, as you can see what was once an idea evolve into something you can physically hold.