3D Printing & Safety: All You Need to Know to Print Safely

3D printing safety is no minor topic, and there's plenty of ground to cover. Read about how to prevent the worst and protect yourself.
The topic of 3D printer safety can be polarizing. Some users report no issues whatsoever even after years of use. Others mention failures on the first power on or simply out of the blue after an extended period of operation. It can be daunting for someone entering the hobby to decide which voice to listen to. Everybody on high alert, or leave it be?
It’s a widespread belief that, given the very low inference of catastrophic failures, most safety precautions are the result of overreaction. Therefore, it’s considered okay to skim over a few of them; they’re not that important. The fallacy here resides in the fact that the number of accidents is generally reduced thanks to the very same precautions. Ignoring them can lead to a regression in terms of safety.
In this article, we’ll provide safety tips and instructions to tackle both FDM and resin printing. This list should be used as a path to understanding the key aspects of a printer’s safe operation. Some will be more generic recommendations, but don’t skip them just because you already know them: Start from the easy ones and work your way up.
But before we go into details, what are the real risks here?

Safety Risks
Generally speaking, one can categorize 3D printer safety risks into four areas:
- Fire hazards: These apply mainly to FDM printers, and can be caused by an electrical fault or a heating-related failure.
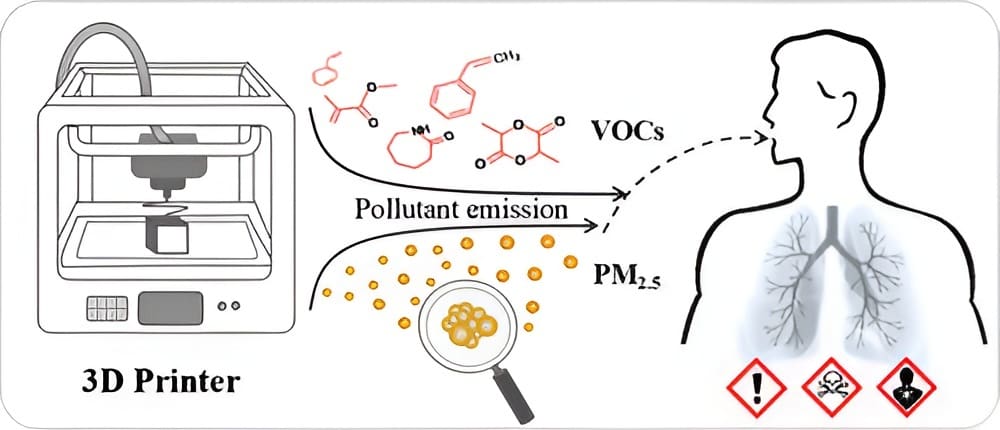
- Airborne particulates: Including volatile organic compounds (VOCs), these are released during printing both by FDM and resin printing. Anyone exposed (including children or pets) can suffer from long-term health problems.
- Mechanical risks: These include, for example, cutting yourself when removing supports or getting your finger pinched or burned by the nozzle.
- Electrical risks: These may result in electrocution and overheating.
As you can already begin to see, some of these factors can be majorly mitigated, while others are intrinsic to the printer’s operation and require a different approach.
Before we dive into problems and solutions specific to FDM and resin printing, let’s take an overview of what applies to both.
General Precautions
Here are some general steps that can be taken regardless of the technology used:
- Appropriate room: Place your printer in a well-ventilated room that isn’t used regularly to eat, sleep, or work in (e.g. a garage or a spare room). VOCs can stick to walls and ceilings and later be released, which theoretically makes the entire room unsuitable for living.
- Appropriate surface: Place your printer on a stable, non-slippery surface, out of the reach of children, pets, or your usual working area.
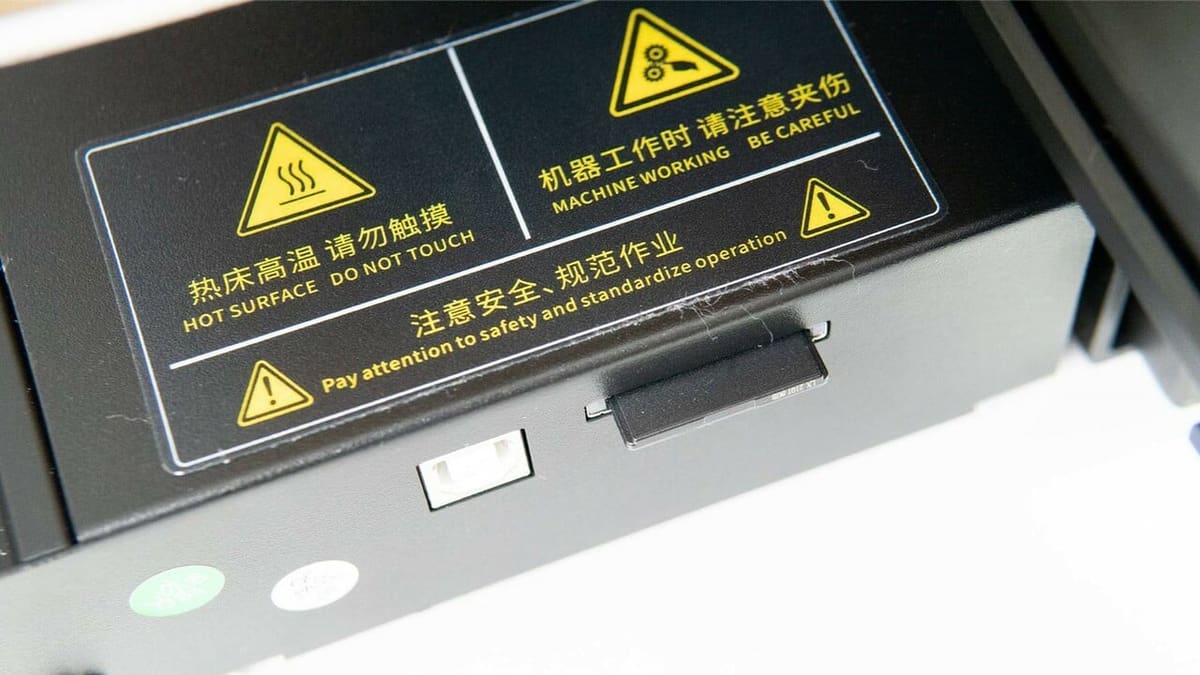
- Ample space: Place your printer away from flammable apparel (e.g. curtains, rugs, wood cabinets, or couches). Do not set it up close to walls or corners, or heat sources. Avoid placing it inside a small closet or wardrobe.
- Plan for fire: Even with the above, be mindful of what could happen in the case of thermal runaway: remove pressurized canisters, flammable liquids, and batteries from the surroundings.
- Cleanliness: Keep the machine and the room clean, free of dust and lint. Not only can deposited dust obstruct bed adhesion, but on the long term can be become harder to remove.
Electrical Precautions

While nowadays it’s pretty common knowledge, it’s still essential to repeat some basic power precautions to take when working on electrical apparatuses.
Power
These are especially important to remember any time you want to start tinkering:
- Before performing any task around the electrical part of the machine, power off the printer and unplug the power supply. If your printer has components running at the main’s voltage (e.g. 110/220-V SSR relays for silicone pad heaters), unplug them from the wall.
- Always check that the voltage switch on the power supply side is set to the correct value for your region and that the fan has plenty of room to breathe.
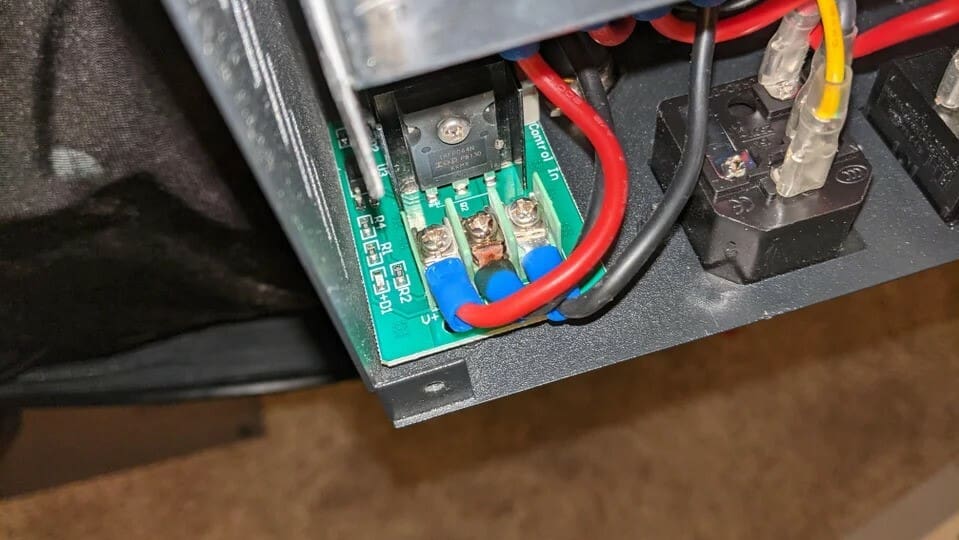
- Do not open the power supply unit (PSU) unless you know where to put (and especially not to put) your hands. Most switching power supplies have capacitors capable of stopping a person’s heart.
- Use a grounded cable for the PSU, if possible. (And make sure that the outlet you’re plugging into is actually grounded.)
Electronics
Thanks to an inexpensive design and poor quality control, some printers tend to incorporate defects. Many of those require a significant amount of experience to catch and fix, while others need a rapid workaround.
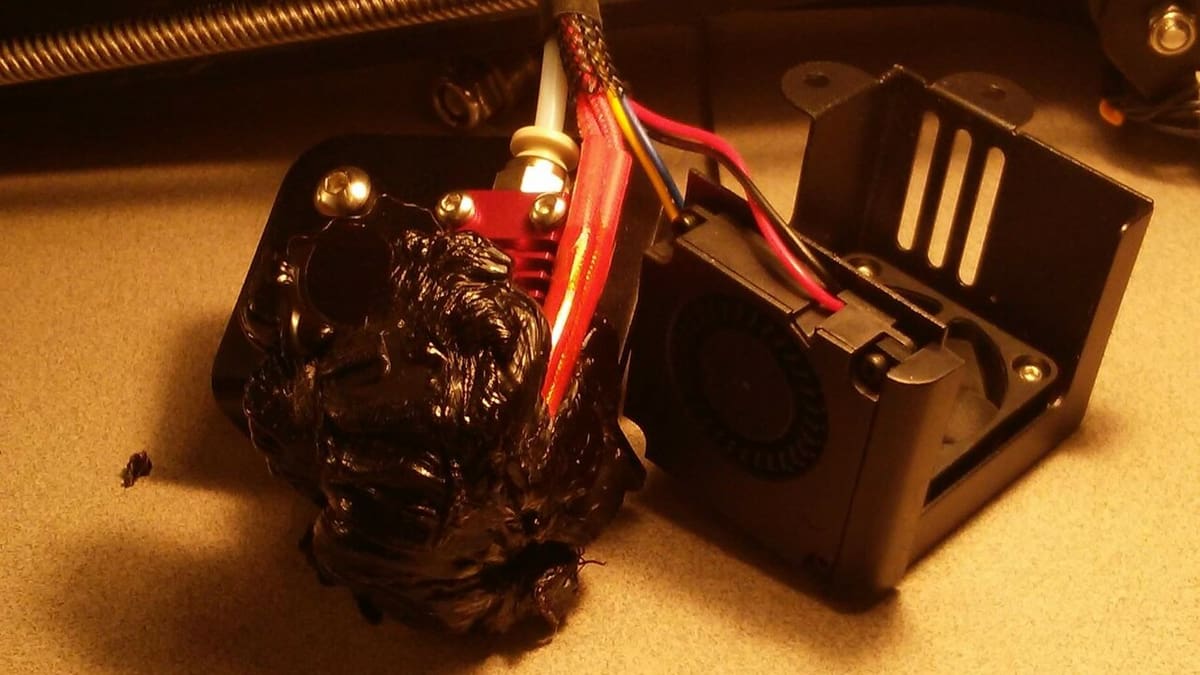
On the electronics side, for example, relays and MOSFETs can fail in their open state, which means that a printer, even in the thermal runaway status, can’t cut the current flow to the heater. Besides investing in high-quality MOSFETs and bypassing the one of possibly dubious quality on the mainboard, the real solution should be to add a controlled relay module to the power supply output. This allows the printer to essentially shut itself down automatically and prevent any further damage.
Wiring

Cables are essentially the blood vessels of a printer, carrying power and signals to all of the components. Stressing them, especially at connections, can result in loss of contact, increased resistance, and heat buildup. To avoid all of this, keep the following in mind:
- Ensure that all connectors are plugged in and not hanging loosely into their housing.
- Crimp tinned wires. Wire tinning is a widespread practice among 3D printer manufacturers, involving the tip of a wire being stripped and tinned to hold single strands together and cheap out on crimped connectors. Problems arise when these wires are clamped in screw terminals. The wires will go over thermal stress cycles as current flows through them, which will loosen the tin, ultimately leading to partial contact, heat accumulation, and connector failure. (Fires are also possibilities.) To solve this, a proper crimping connector should be applied to the non-tinned part of the wire. If you’re not able to crimp the terminal, at least make sure to cut away the tinned section.
- Include proper strain relief in your wiring harness. Don’t bend cables right out of the connector, and don’t let the wires hang or be pushed or pulled during operation. Instead, fix the cables to the right length and use cable sleeves or chains.
FDM Printing
This is just a category section. In other words, this section you could have skipped.
Print Preparation
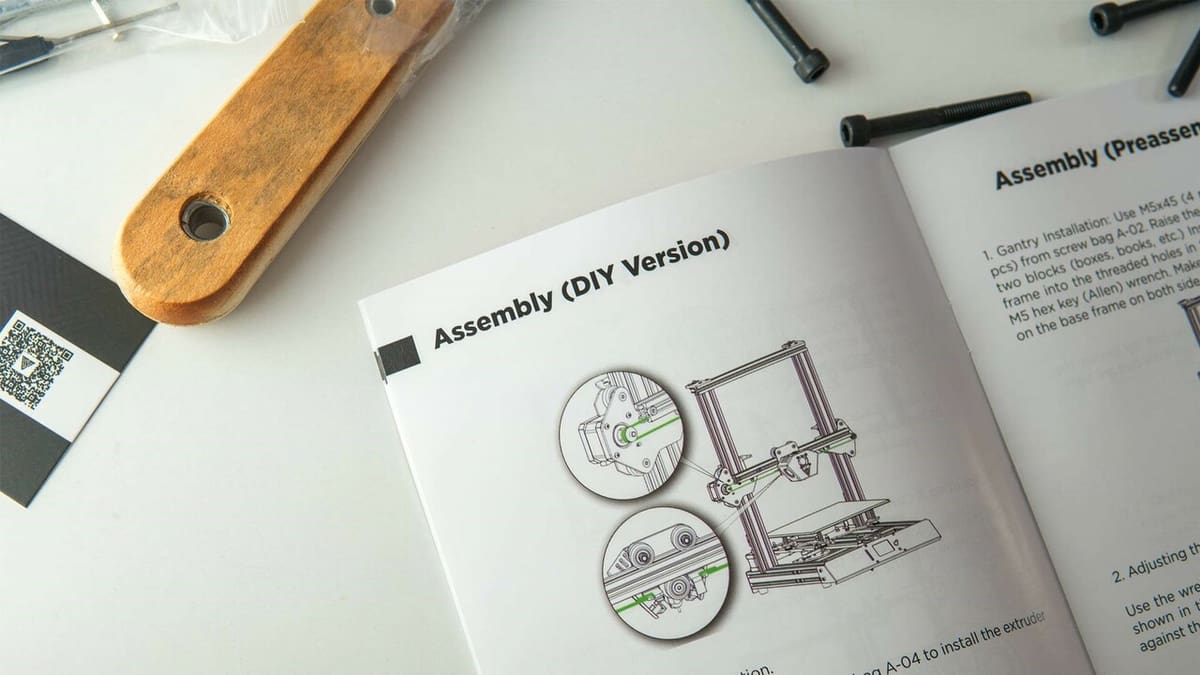
Preparing a print can be either a very fast or a very tedious process. As a reminder, if you haven’t done so already, you should do the following:
- PID constants: Calibrate the PID constants for the hot end and bed, in order to avoid triggering false-positive thermal runaway shutdown.
- Set the Vref values: You should set the drivers’ Vrefs to the correct values for your motors to avoid overheating them.
- Prepare the bed: Level the bed and ensure proper adhesion for the first layer. In case it detaches and the print continues, the molten plastic could engulf the hot end and result in a fire hazard. (Some polymers are more prone than others.)
- Avoid unreliable code: Don’t run G-code that has uncertain origins or that wasn’t made for your printer or material.
- Print with the right material: Parts that get into contact with food or body parts will require a food-safe or biocompatible material.
Heat
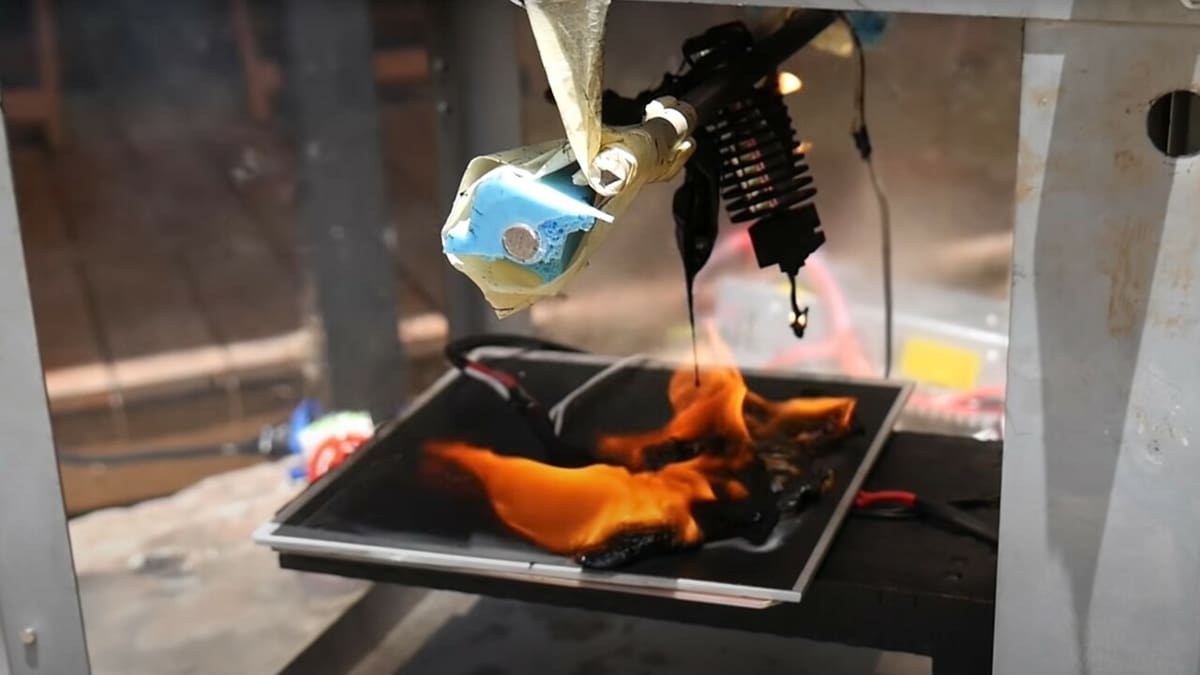
For FDM printers, heat management is crucial to a safe and successful print. When it comes to risks and hazards, heating elements are one of the most common causes of accidents.
Heaters
Usually, a printer has two main heating elements, one for the hot end and one for the bed. Both have a sensor that relays the heater’s temperature in real-time, which is adjusted for using PID control. (Although other methods do exist, this is by far the most widespread.) In order to avoid temperature swings, long heating times, and thermal runaway false positives, one can calibrate the PID constants.
To clarify the last statement: Thermal runaway is the error condition where the firmware loses control of the heating elements. This might be caused by a disconnected thermistor or heating cartridge, a MOSFET failure, improper wiring, or a firmware fault. Regardless, thermal runaway has the chance of leading to a fire. To avoid this, you can set firmware protections to halt the heating in case of issues, add a PSU relay, and check that you meet the other related items in this article.

PTFE (Hot Ends)
If you’re using a PTFE-lined heat break in your hot end, you’ll have to limit the maximum temperature it can reach. This will prevent the PTFE (commonly known as Teflon) from decaying, but even more importantly, it will avoid the formation of formaldehyde gas, which has ill effects on humans and other animals, especially birds. If you have a bird or other pet living in the same room, the maximum temperature the lining should reach is around 200 °C. And generally speaking, most PTFE tubes shouldn’t be pushed over the 250-°C mark. Certain high-temperature blends can sustain higher temperatures, but they’ll still release harmful gasses during the print.
There’s no one-size-fits-all when it comes to limiting temperatures. Thermal limits are dictated by a number of variables, including the maximum range for the temperature sensor, the materials used for the hot end, whether it uses silicon socks or not, and the capabilities of the board’s MOSFET to supply sufficient current. Before increasing the maximum value, verify that each component can actually endure it. A great way to do so is to read the manufacturer’s specifications.
Consider getting silicon socks, as they help save energy by insulating the heat block and protecting it from failed prints that might stick. They make a great addition to any setup.
Filament
Filament is also greatly variable. Each material has its own print temperature range. Furthermore, spools from different manufacturers will have distinct printing temperatures. Make sure to calibrate it with a temperature tower.
Stepper Motors
Last but not least, stepper motors can get pretty hot during operation. Setting the driver’s Vref can improve its thermal behavior, but adding a small heatsink (or letting them dissipate through the metal frame) helps too. If you’re experiencing skipped steps or pronounced artifacts, that’s one of the possible causes.
Dust & Debris
Keeping the work surface and the printer clean is key to successful prints:
- Build plate: Don’t touch the build plate with your bare hands. Skin oils can form a layer that will prevent adhesion.
- Electronics: Don’t let dust accumulate anywhere, especially in the electronics compartment. Not only does dust pose a conduction risk, but it also tampers with the cooling of the MCU and various ICs on the mainboard.
- Motion systems: Remove any failed prints, or debris, and purge lines from the roller’s path or any other mechanical component. Clean any remains of ground filament from the extruder’s assembly.
- Filament path: Keep the filament path clean and unclogged. A clean nozzle and heat break will lower the chances of a clog interrupting the print. This is crucial, as certain polymers (e.g. PETG and PVA) shouldn’t be kept near glass-transition temperatures for too long, as they tend to carbonize.
- Maintenance: Use appropriate cleaning agents when maintaining your printer. Avoid excessively aggressive chemicals like acetone or bleach, opting instead for isopropyl alcohol, ammonia-free glass cleaner (for bare glass surfaces), or generic soap and water.
Toxins & Bacteria
The topic of consumer printer safety is quite young, and the research on the matter has been scattered and varying. While we do know of some of the health hazards, there hasn’t been a strong move to regulate and control 3D printers’ emissions. Nevertheless, the information we have now is sufficient to formulate some guidelines for a safer operation that minimizes exposure to toxins and other risk factors.
The Risks
When heated and extruded, all filaments release a set of compounds into the air. Some are harmless, but others pose a risk to the health and safety of those interacting with them. The emissions can be divided into three areas: volatile organic compounds (VOCs), fine particles, and ultra-fine particles (UFPs). Some VOCs and UFPs have the potential to be carcinogenic if the lungs and skin remain exposed to them for extended periods of time.
Not all materials release VOCs and particles at the same rate, in the same intensity, or with the same diameter. The overall off-gassing will be determined by the base polymer, the manufacturer, the additives, and many other factors, including nozzle size, temperature, flow rate, and print duration.
Emission rate and intensity are insufficient to quantify the risk correlated to exposure. In reality, the highest level of VOCs in the air is reached within the first five minutes of print time. After that, the VOCs tend to naturally bind to the particulate, driving the emission significantly lower.
Among the most common materials, ABS is considered to be a high-emission material due to the initial emission burst and the constant release throughout the entire print phase. PLA, on the other hand, has higher baseline toxicity during the initial burst phase, compared to ABS. However, as the print progresses further, ABS regains terrain and comes on top for total emissions.
So how do we protect ourselves from all of this?
Safety Measures
When it comes to emissions, there’s not much information regarding 3D printing and personal safety. To minimize them you can do the following:
- Reduce printing temperature.
- Use a smaller diameter nozzle, with 0.4-mm producing the least amount of particulate matter.
And here’s how you can keep the air as free as possible of VOCs and UFPs:
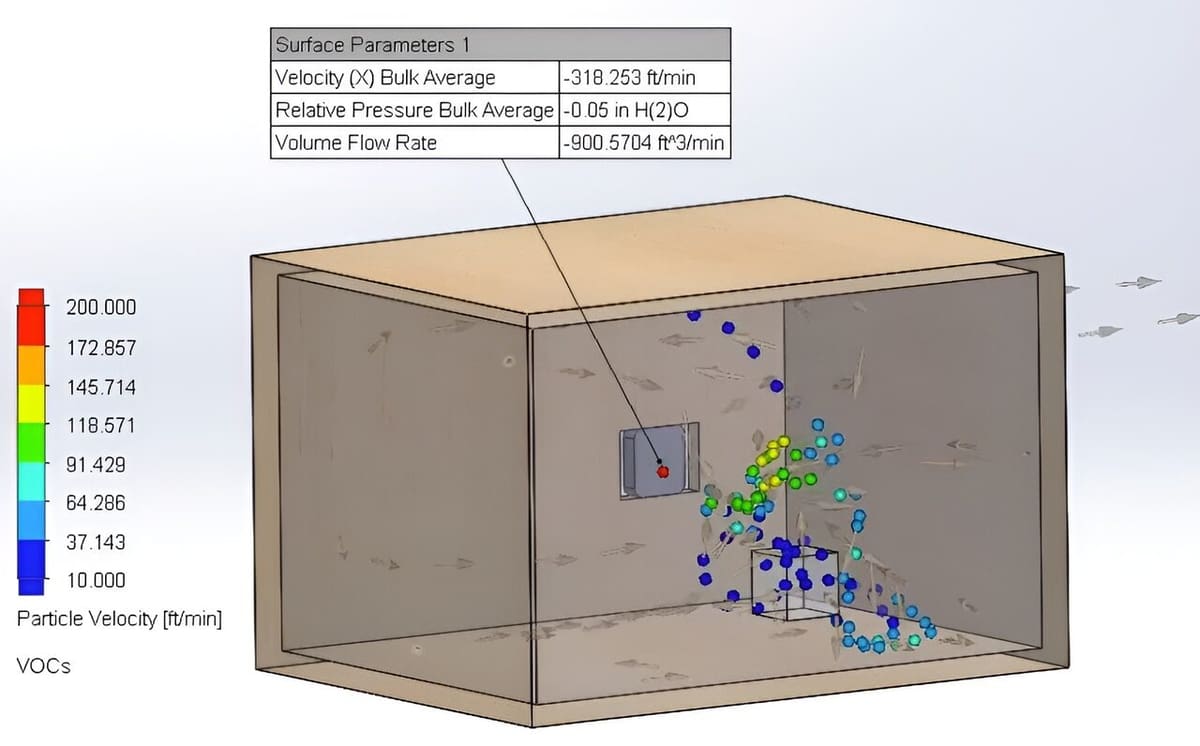
- Place the 3D printer in a well-ventilated location. Don’t count on the sole volume of the room to mitigate the effect. VOCs are heavier than air but can be moved around when carried by particulate and natural convection.
- Use a 3D printer enclosure with a HEPA or activated carbon filter for FDM and resin printers, and provide proper exhaust for the fumes.
- Use materials from reputable manufacturers. Low-cost blends tend to have higher concentrations of aerosols.
- Regularly monitor air quality in the printing area.
- Use PPE or other preventive measures suited to your use case.
Other Considerations

While VOCs and UFPs pose the highest risk, they aren’t the sole factors to keep in mind.
Food- and bio-compatible materials can still harbor bacteria in crevices between layer lines. Therefore, always make sure that your material of choice and printing process is tailored to your application, with a clean and sterile filament path, build plate, and hard nozzle tip to resist abrasion.
Formaldehyde, as previously discussed, poses a high risk to pets and humans alike. Make sure to monitor temperatures closely, and consider upgrading to an all-metal hot end.
If you feel dizziness, headache, nausea, or vertigo, remove yourself from the room and ventilate it abundantly. If the symptoms persist, contact a medic.
Moving Parts
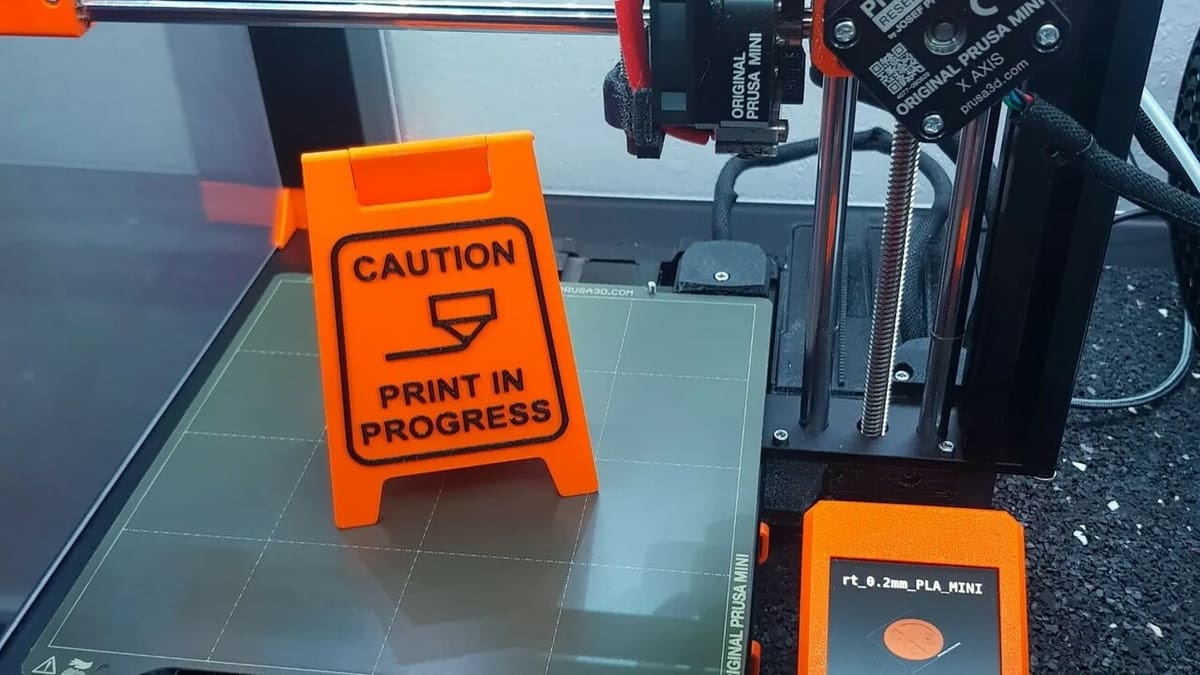
While a desktop 3D printer isn’t as big as an industrial lathe, the mechanical assembly shouldn’t be overlooked. If you need to operate the printer while it’s on, turn off the stepper motors. Avoid any last-minute intervention while the printer is about to start a job. It’s better to pause the print and resume after you’re done.
Nema17 are small yet powerful motors and have the potential to hurt your hand if it’s between the rail and the carriage, for example. Don’t count on the low torque and step-skipping as a safety measure.
Don’t connect or disconnect the motors when powered on, as you might damage the drivers. Don’t move the motors back and forth; the reverse current might damage unprotected components on the board.
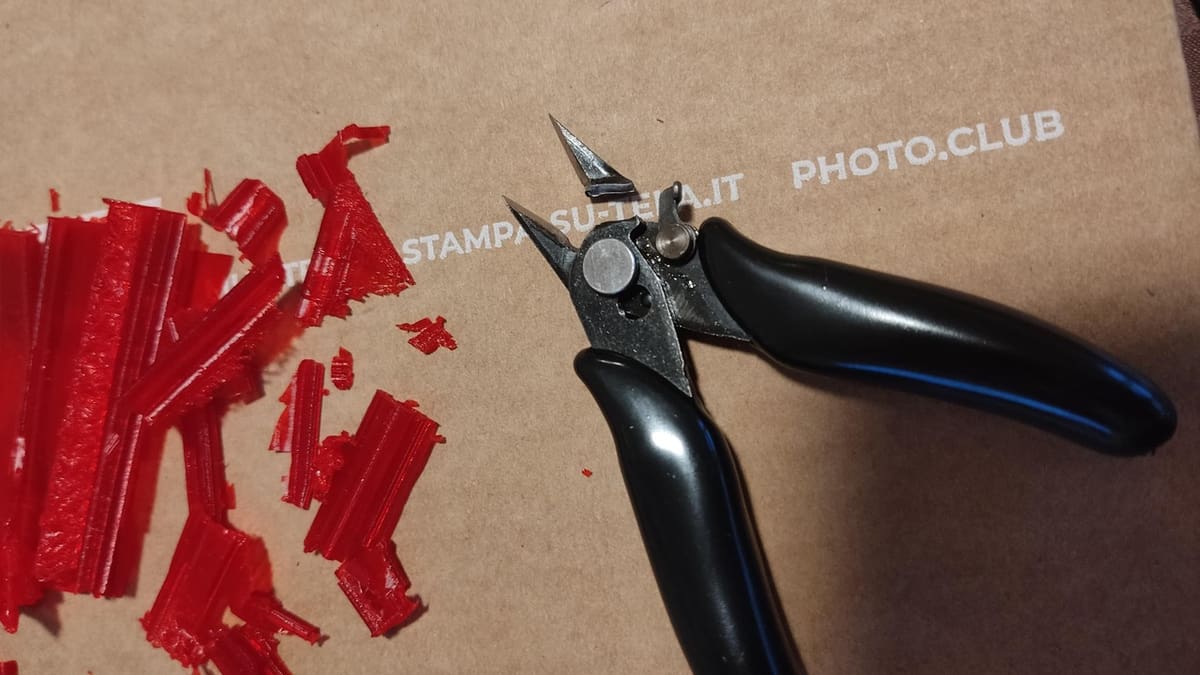
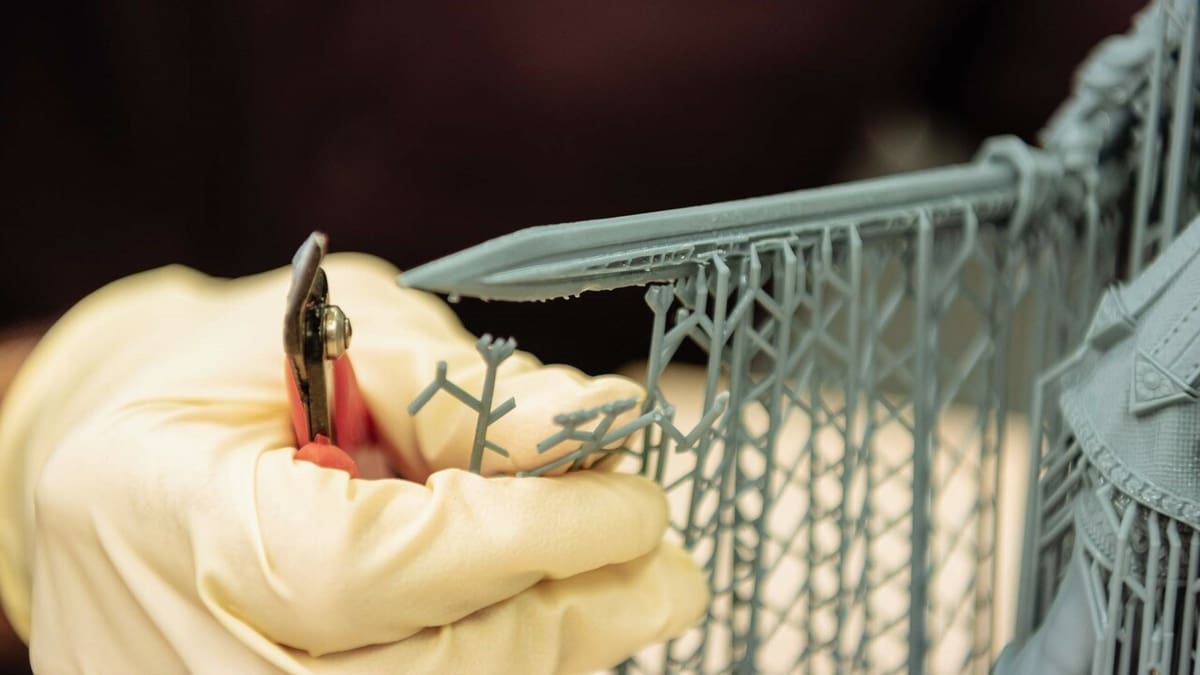
Part Removal

Once a print’s finished, we can all get a bit carried away and start ripping away supports with our bare hands. But remember, when removing supports, always use eye (and possibly face) protection to avoid flying shards. And use the appropriate tool for the job. Precision knives are great at removing knobs and small features, but shouldn’t be pressured, or you risk snapping the blade. Don’t remove small bits of plastic with your fingernails, either. Splinters can get under them and make for a very unpleasant experience.
If the part’s stuck to the build plate, don’t try to force it off. Let it cool down, and try to dissolve any bonding agent (like glue, hairspray, polymer adhesives) with soap and water. Then, slowly and with patience, you can attempt to lift it up. Sometimes heating up the baseplate again can help with separation.
Remember that glass beds can shatter, so be mindful of how you handle them, and how much pulling force you’re applying when removing a print.
Post-Processing
In case you want to post-process your prints, remember to wear a mask when sanding or painting to avoid inhaling dust and aerosols.
Consider additionally wearing gloves and eye protection if the situation requires it (e.g. when spray painting or cutting with a Dremel tool). Avoid using acetone or vapor smoothing in a closed room. It’s best to do it outside or on a balcony.
Lastly, keep in mind that different materials may have different options when it comes to post-processing, especially depending on the intended use.
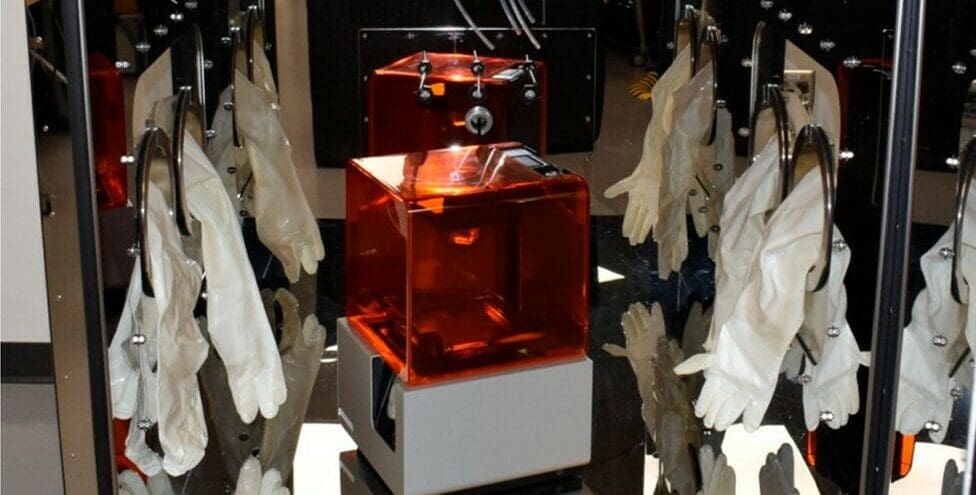
Resin Printing
You’re reading another category section, which means you’re being thorough. Well done!
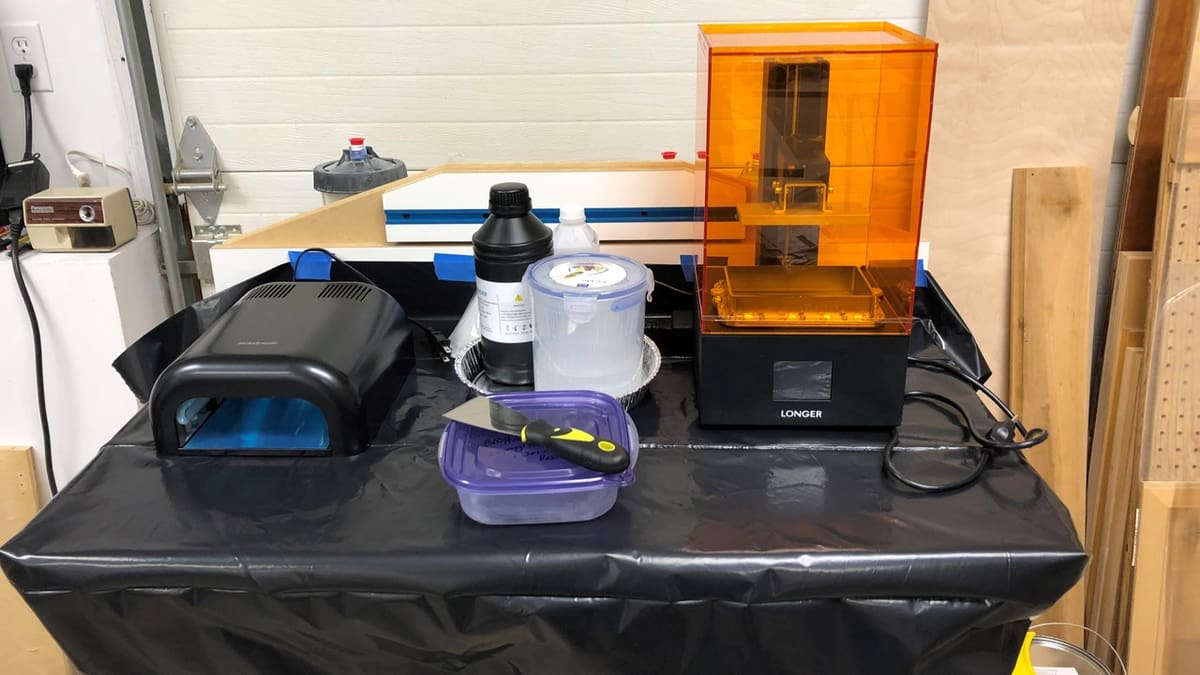
Resin Printer Preparation
As with an FDM printer, keep your resin printer separated from the living quarters of the house, possibly in the garage or another well-ventilated area. Don’t use a resin printer in the presence of pets, infants, or pregnant women.
Before starting a job, remember to level and clean the plate, ensuring that the minimum Z value is set properly.
Make sure that the file has been correctly sliced, that supports are sufficient, that the part orientation minimizes peeling forces on the FEP sheet, and that you’re using the appropriate settings for your resin. And while you’re at it, check the FEP sheet for any bumps or dents that might affect the release of the part. Consider changing the FEP sheet if it’s cloudy or otherwise not transparent.
Resin Preparation
Right off the bat, check the expiration date of the resin. Shelf life is usually a year or less.
Then, get ready to handle a liquid. Put on all your PPE, and use several layers of inert materials (e.g. silicone mats, stainless steel pans, or glass) to protect your work surface. Have a bottle of water and some paper towels ready to clean spills.
Resin Printer Heat
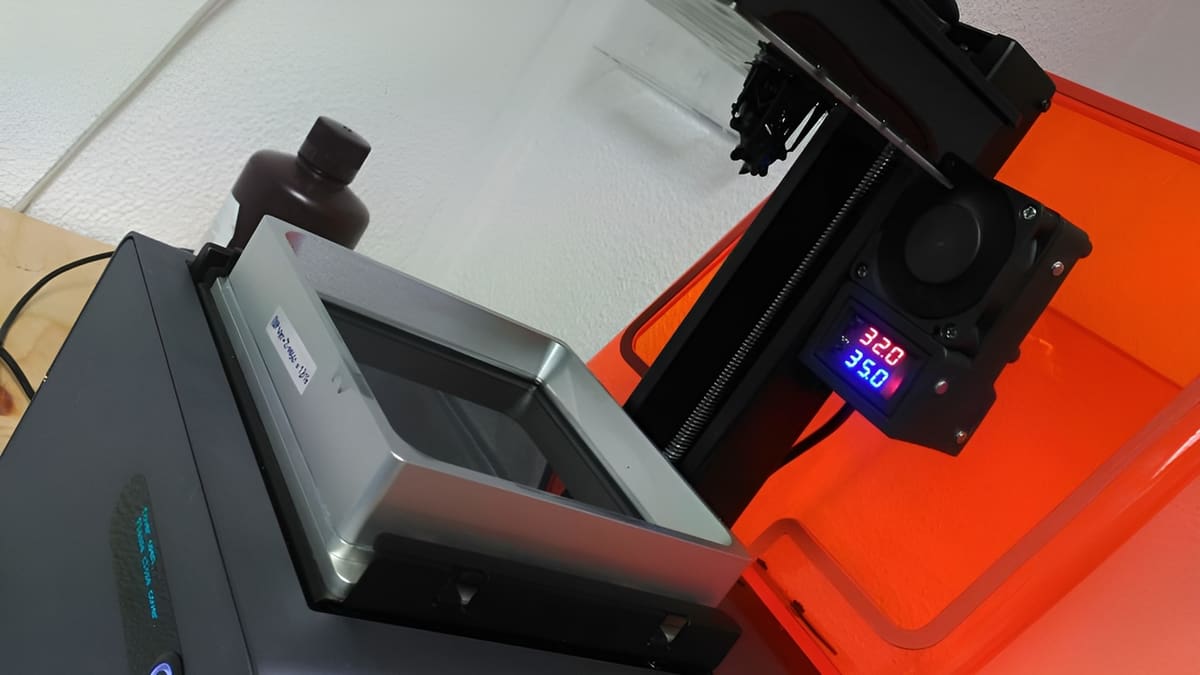
While an LCD, DLP, or SLA printer doesn’t use heat to melt the material, it doesn’t necessarily mean that it doesn’t generate any. Indeed, LED arrays and DLP projectors produce a lot of heat during operation. And while they don’t constitute an immediate fire hazard, the heat can build up to dangerous levels if not dissipated properly (e.g. with a built-in fan).
The ambient temperature has an effect on how resin cures. A warmer, 26-30 °C temperature allows for more uniform curing, while colder temperatures (20 °C and below) have ill effects and might result in a failed print.
Resin Dust & Debris
Keeping the work area clean of dust and debris is crucial to resin printing. You’re handling a liquid that tends to incorporate every spec it encounters. To avoid excessive contamination, filter any resin remaining after a print job to catch any broken supports or shards of cured material.
While resin printing poses fewer risks in terms of fire and electrical hazards, it’s still recommended to babysit the printer until the first few layers are done. In case anything detaches, stop the print and clean the vat and plate before starting again. Additionally, while the printer is enclosed and captures most of the spills and debris, still make sure the seals are holding up.
Resin Chemicals & Bacteria
VOCs and UFPs apply to resin printing just like FDM printing. But here, there are a few specific things to be aware of.
Toxicity
UV-curable resin is toxic to the environment and has an awful effect on marine life. While we’re still not sure what the effects are on humans, most of the components present in SLA resins are considered irritants for the skin, eyes, and lungs. Prolonged exposure might result in severe irritation, organ damage, and fertility issues.

Volatility
Resin is also highly volatile, meaning that it will release VOCs as long as it’s exposed to the air. This makes using PPE a requirement.
To avoid any contact with the skin, wear long sleeves and nitrile gloves (lattice ones are broken down by the resin) and a respirator. FFP2 or N95 face masks aren’t always sufficient for this application. A semi- or full-face respirator (like the 3M 6502QL) with activated carbon and P100 particulate filters (like the 3M 60921) offers a more comprehensive layer of protection. A good rule of thumb is, “If you can smell it through the mask, it’s not being filtered.” (On the other hand, the lack of odor doesn’t guarantee good filtration.)
In case you spill resin on your clothes or skin, immediately wash the affected areas with water, but don’t use any isopropyl alcohol or any other resin-specific solvent.
Additional Considerations
Keep the printer’s lid closed during operation, and consider adding an activated charcoal filter inside the resin enclosure.
No resin is considered to be food-safe or biocompatible. Some resins are safe for skin contact for a specific amount of time but need to be properly discarded afterward.
For more information on this topic, check out 4D Filtration’s resin 3D printing Safety FAQ.
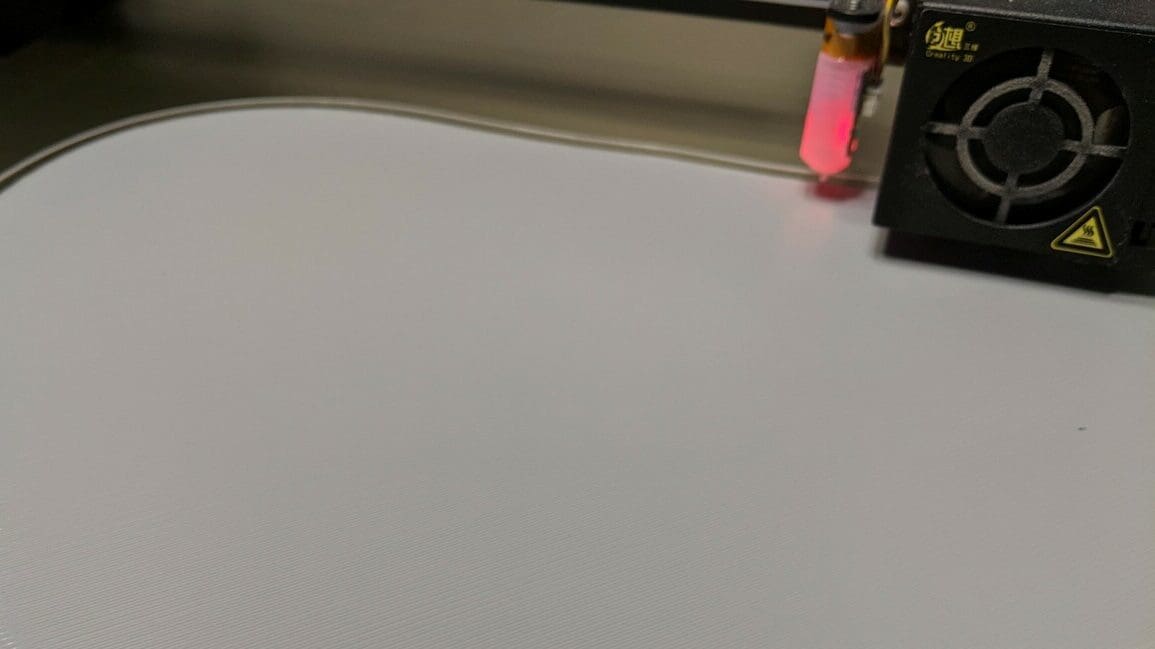
UV Light Sources
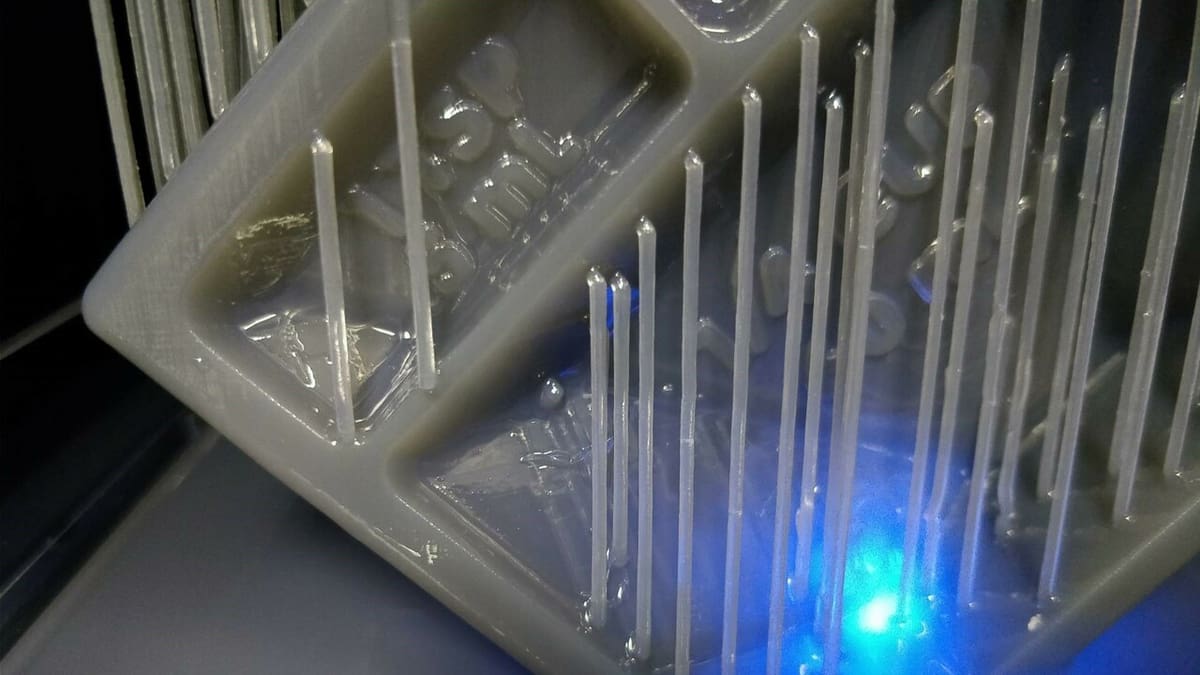
Resin printers cure and harden the liquid thanks to UV light, be it from an LED or a laser. When operating around either, remember to wear appropriate eye protection and keep the lead close while the light source is on. Never stare into the UV source directly.
If your printer uses a laser, don’t touch it, the mirror, or the glass assembly. Galvanometers and precision mechanics are pretty sensitive to external disturbance.
Resin Printer Moving Parts
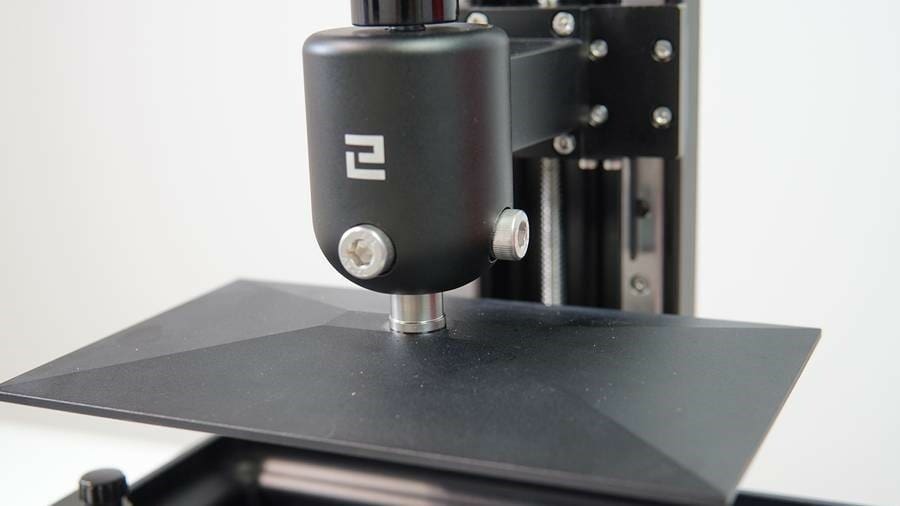
A consumer resin printer usually only has a single axis (in the vertical or Z direction) and very few other mechanical features.
Probably the most important one is the build plate fixing mechanism. Securing the build plate in place is key to a successful print. Tighten the leveling screws and the main knob to the arm.
In case you have a magnetic metal plate mounted, make sure that it adheres properly to avoid any movement during printing.
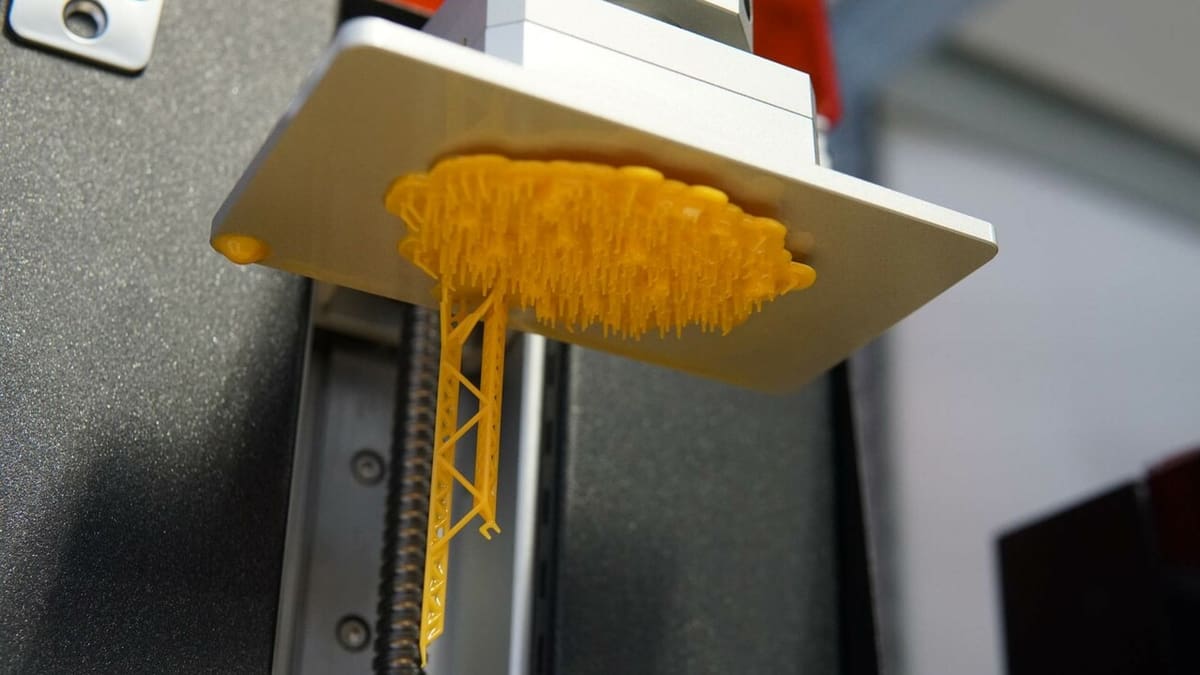
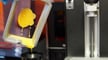
Resin Part Removal
Removing resin prints from the build plate can be challenging. While most of the tips we provided for FDM still apply here, there are a few other things to consider.
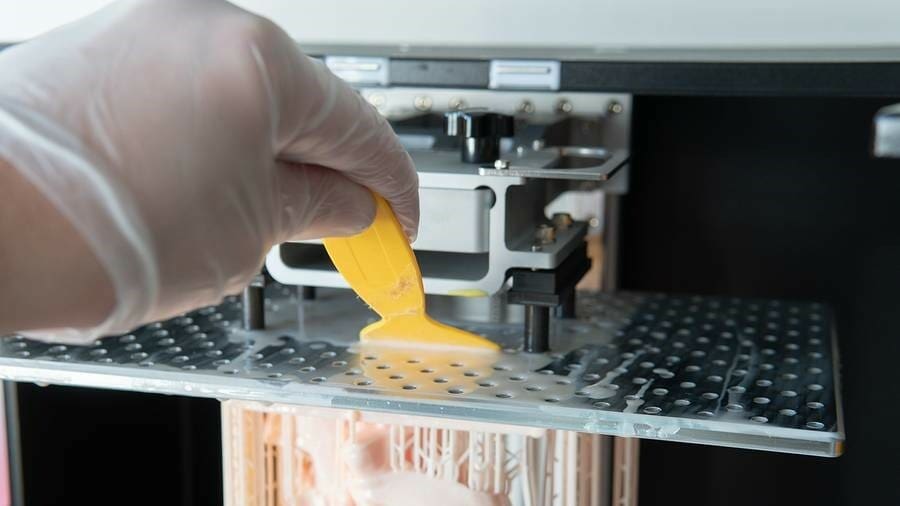
While slicing, add a raft with a 45° notch to be able to remove the supports easily and without damaging the build plate. On that note, remove the build plate with calmly and slowly, and let the leftover resin drip into the vat. Don’t use your fingernails under the glove to remove small bits; there’s a risk of piercing the glove and getting a splinter under the nail. In case you need to use small cutters, keep them away from your eyes.
Always filter the leftover resin from the vat to avoid storing away broken supports from other cured resin chunks. Don’t mix solvents and fresh resin together, as you might spoil the latter. If your resin can be washed with water, don’t spill the leftovers into the sink.
Washing & Curing
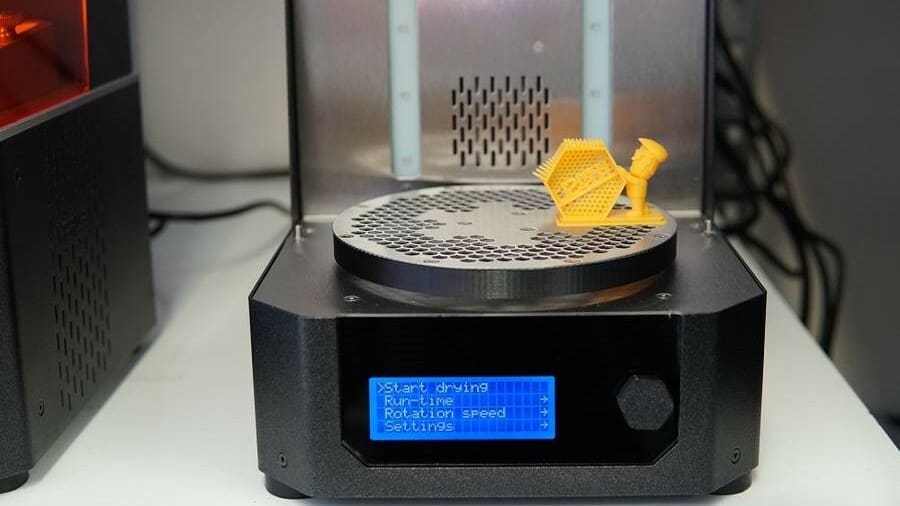
The last step of the resin printing process can either finalize a success or send you back to the slicing stage. Other than following the guidelines for curing a resin print, you should also remember how to dispose of the leftover resin.
When cleaning the vat and plate, make sure that residue from water or any other solvents has evaporated before pouring the resin back in. Don’t pour the uncured resin into the sink, but solidify it with a UV lamp and refer to your local guidelines for the disposal of toxic waste.
To dispose of half-cured supports, finish the curing process under a UV light and again dispose of them according to your local guidelines. Resin prints keep releasing VOCs up until they’re cured (and in some cases, they emit small quantities for a few days even after that). Keep your protections on while you wash and cure your prints, and ventilate the room.
Remember that IPA is flammable. Don’t use it in an ultrasonic cleaner and keep it away from any heat source.
License: The text of "3D Printing & Safety: All You Need to Know to Print Safely" by All3DP is licensed under a Creative Commons Attribution 4.0 International License.