3D Printing with TPU: All You Need to Know

Looking for some flexible prints but don't know where to start? Read on to learn all you need to know about 3D printing TPU!
These days, 3D printing is more accesssible than ever. Chances are that, if you’re reading this article, you’ve been using a 3D printer for a while and might be wondering what else you can print.
Besides the practically infinite number of 3D models you could print, there’s another dimension that can broaden your 3D printing experience: printing materials – from simple, more printing-friendly materials like PETG and modified versions of PLA, such as PLA+ and Tough PLA, all the way up to stronger, trickier-to-print filaments like carbon fiber-reinforced nylon. Having so many options, you may wonder which should be part of your next adventure.
In this article, we’ll tell you about a particular category of 3D printing materials: flexible filaments, specifically thermoplastic polyurethane – better known as TPU. Read on to discover this material’s properties, its main applications, the pros and cons of TPU-printed parts, as well as ideal 3D models to print with it.
We’ll also cover the main problems you may face when printing with TPU and how to solve them. Although TPU can be printed using different technologies (like SLS), this article will focus on printing TPU using fused deposition modeling (FDM) printers.
What Is TPU?
TPU is one of the most common 3D printing materials for FDM printers. As a flexible material, it’s known for being elastic, shock-absorbing, and resistant to heat and chemicals. Additionally, it’s one of the most durable materials and offers greater layer adhesion than rigid materials like PLA and PETG. These unique properties make it a perfect fit for a wide spectrum of applications.
TPU and other flexible filaments are typically defined by a measure of their resistance to deformation – in other words, their Shore hardness. The Shore hardness scale ranges from 0 to 100. The greater the number, the harder the material and, hence, the less flexible.
TPU usually scores between 85A and 95A, being one of the most rigid of the flexible filaments. The letter next to the number refers to the type of plastic. The Shore A scale is used for soft rubber, elastomers, and natural rubber.
Many companies have expanded their filament assortment by including TPU and other flexible filaments. Some popular brands like NinjaTek and Overture are known for providing good quality TPU filaments, but there are many more options.
Another aspect to keep in mind when dealing with TPU is its hygroscopic nature, which means it absorbs a lot of moisture from the environment. To overcome this problem, you can use a dry box, which heats up the filament to dehumidify it and get it ready for printing.
Applications

As you can expect, TPU-printed parts tend to be elastic, flexible, and resilient. Depending on the application, these characteristics can become an advantage or a drawback. The parts most appropriate for TPU are those that should withstand rough environments or that are expected to be exposed to constant pressing or stretching conditions.
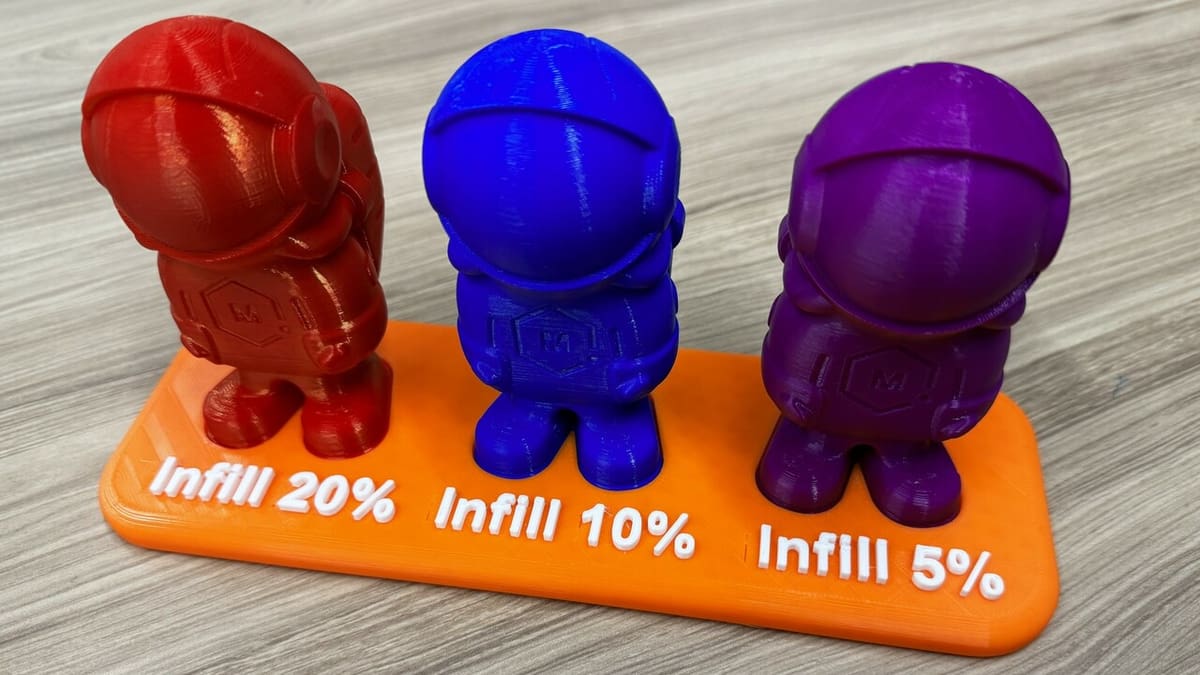
For example, a TPU-printed gauge – a positioning tool that helps while performing a manufacturing task – can benefit from the elasticity of TPU. By modifying the infill density, you can vary the stiffness of the piece, becoming a sort of dynamic tool. Nissan took advantage of this attribute and implemented a windshield centering gauge fixture that they use to ensure the correct distance between one of the pillars of the car and the windshield.
However, TPU’s elasticity is not desirable for all use cases. For example, Nissan also uses a lower drill positioning tool during the manufacturing process, and it indicates the drill placement to the operator. This tool requires a rigid material to avoid misplacement due to flexion or torsion of the printed part.
The Trouble with TPU
Printing with TPU is definitely trickier than printing with PLA. While warping isn’t a typical issue related to TPU, there are other complications that may (and will) arise when you start printing with this material, including clogging, stringing, and under-extrusion, among others (we’ll cover these in more detail below). Some of these issues are related to the printer physical configuration, with the extruder and hot end being the main components responsible for these problems.
Additionally, the print settings for TPU are quite particular, and these must be modified in the slicing software in order to successfully print with this material. Some of these settings are more obvious than others, like Printing Temperature and Print Speed, while others are less common, like Retraction Distance and Retraction Speed. In fact, this might be the first time you hear about them.
Hardware Recommendations
Most of the problems you’ll face when working with TPU are related to the extrusion system. While most of the new FDM printers come with a direct extruder, it’s still possible to find some printers with Bowden extruders. In the latter case, due to the long distance between the feeder and the hot end, as well as the stretching property of the TPU, the extruder struggles to deliver the filament to the hot end efficiently.
Ideally, you should be able to solve this problem by simply modifying some values of the print settings in the slicer. However, it’s highly probable that you may have to make some upgrades as well. The simplest upgrade would be the Bowden tube. A better-quality Bowden tube, like the Capricorn Bowden tube, should do the job.
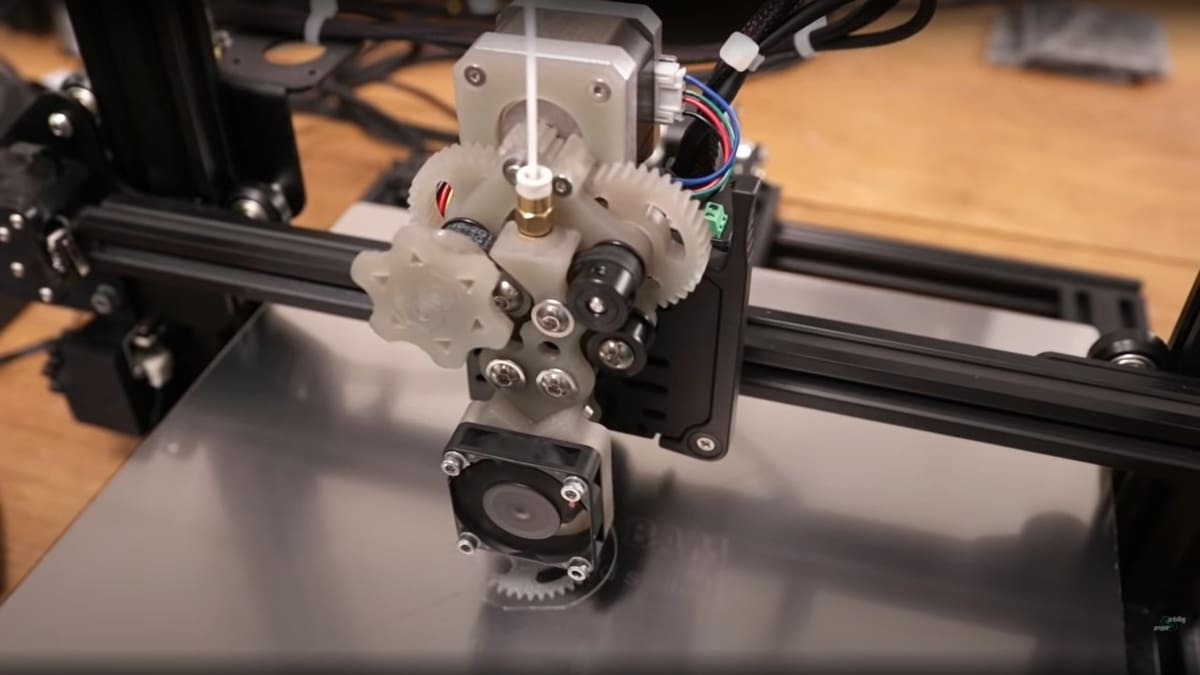
But if you really want to take your printer to the next level, we recommend upgrading to a direct extruder. By doing so, the distance between the feeder and the hot end will be drastically reduced, improving the filament feeding process and, hence, the printing quality. Or you might want to get even more creative and check out projects like Proper Printing’s, pictured above.
Another part of your printer you may think of is the nozzle. Gentle filaments like PLA and PETG won’t wear the nozzle as much as abrasive filaments like those reinforced with carbon or glass fibers. In the case of TPU, it lies more on the non-abrasive filaments side, along with PLA and PETG. However, you might expect a little bit more wear than when using PLA. So, if you ask yourself which type of nozzle you should use, the short answer is that brass nozzles are more than enough to work with TPU, but using a stainless steel or a hardened steel nozzle won’t do any harm.
Build Plate
The final hardware item we want to discuss is the build plate. TPU is a more, let’s say, melty material than PLA and PETG. So, you shouldn’t face any warping problems – unless you print big contact areas in the first layer. If the bed is properly leveled, the TPU should adhere to the build plate without trouble.
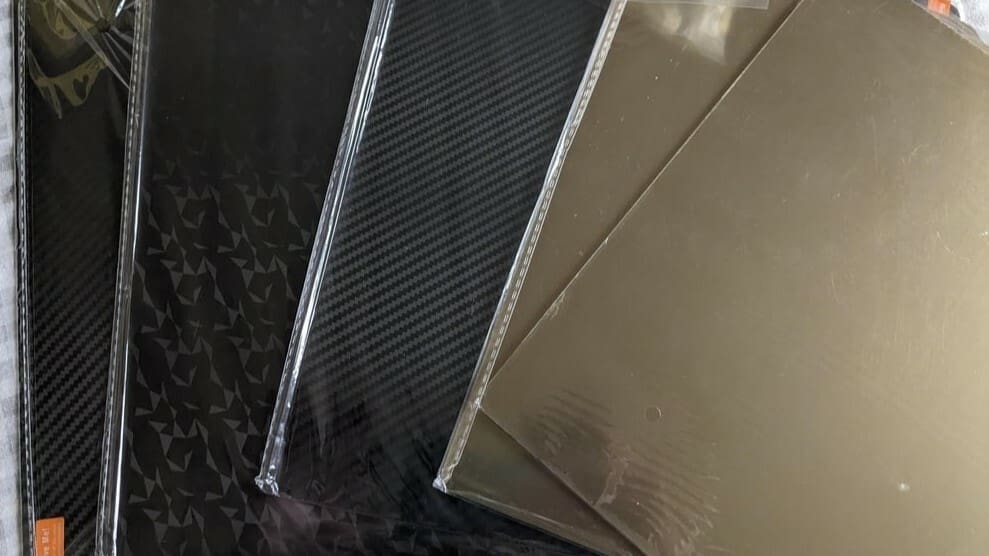
On the other hand, removing a TPU printed part can represent a real challenge. If you’re using a rigid glass plate, a scraper is mandatory to help remove the printed part. Depending on the stiffness or flexibility of your printed part, a flexible PEI sheet could be another option. If you opt for this alternative, we recommend using a smooth one, since a textured flexible sheet may cause extreme adhesion of the part to the build plate. Of course, there are quite a few options to look into.
Another important observation is that – ironically – when working with TPU, it’s not common to use glue stick or blue (painter’s) tape to ensure bed adhesion. Part removal goes much easier by taking steps to avoid strong adhesion between the part and the build plate.
Software Recommendations
Now that you have modified the physical aspect of your printer to make it TPU friendly, let’s talk about how to tune the print settings. We highly recommend that you create a new print profile for TPU filament. This way, you can save whatever changes you make without overriding your previously fine-tuned print settings for PLA.
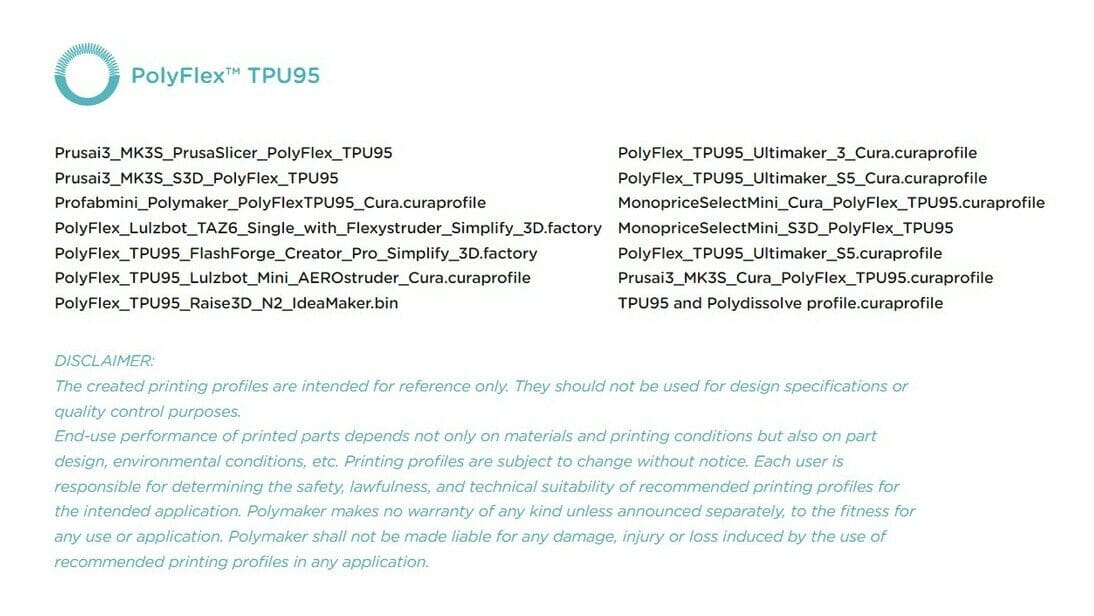
Some slicers offer a print profile for TPU filaments of specific brands. Also, some brands have taken it upon themselves to include these profiles as resources in the Download section on their websites. However, with the filament market growing exponentially, it’s highly probable that you won’t find the print profile for the filament you’re using. So, you’ll have to manually tweak the settings. But don’t worry, because we’ll explain which settings to tweak as well as their optimal values for TPU.
We’ll use UltiMaker’s Cura to explain the print settings. It shouldn’t pose a problem if you plan to use another slicer. The slicing process is universal, and all the slicers out there should have the same settings. You may find slight differences on the exact name for each parameter, but they’re essentially the same.
The key settings you want to focus on and modify are the following:
- Printing temperature: The temperature range varies from manufacturer to manufacturer but usually stays between 200 °C and 240 °C.
- Build plate temperature: Any value below 60 °C is recommended. Another option is to assign a value of 0 °C for no bed heating at all.
- Print speed: You’ll need to drastically reduce the print speed. A value between 5 and 30 mm/s will work well.
- Retraction: While some people recommend disabling retraction, we recommend enabling it to avoid stringing. Set the Retraction Distance to around 1 mm and Retraction Speed to around 60 mm/s.
- Part cooling: After the first few layers, turn on the cooling fan but not too much, otherwise you’ll run into layer bonding problems.
- Rafts and brims: Since TPU naturally adheres well to the build plate, you shouldn’t need any build plate adhesion help like rafts and brims. If for some reason you decide to use them, keep in mind that they’re hard to remove from the printed part.

Common Printing Issues
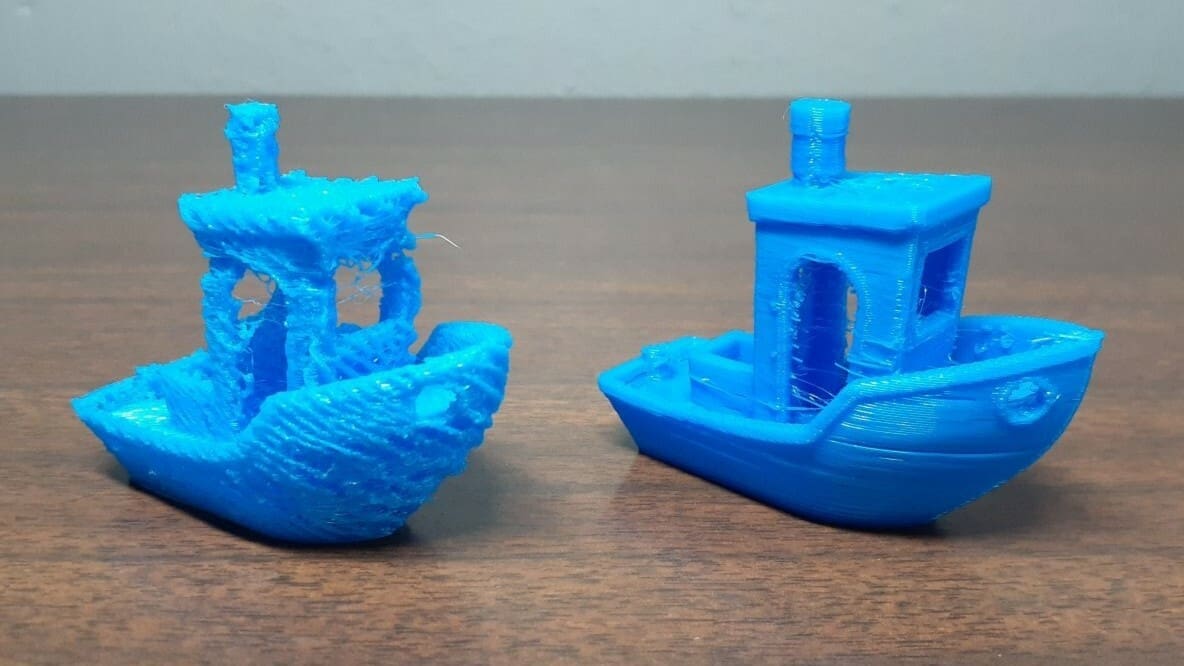
Once you have modified the settings in the slicer for your TPU profile, you still have to test them. While doing so, pay attention to the print quality. Some issues may occur during printing. We have summarized the most common problems and will give you some tips to overcome them.
Stringing
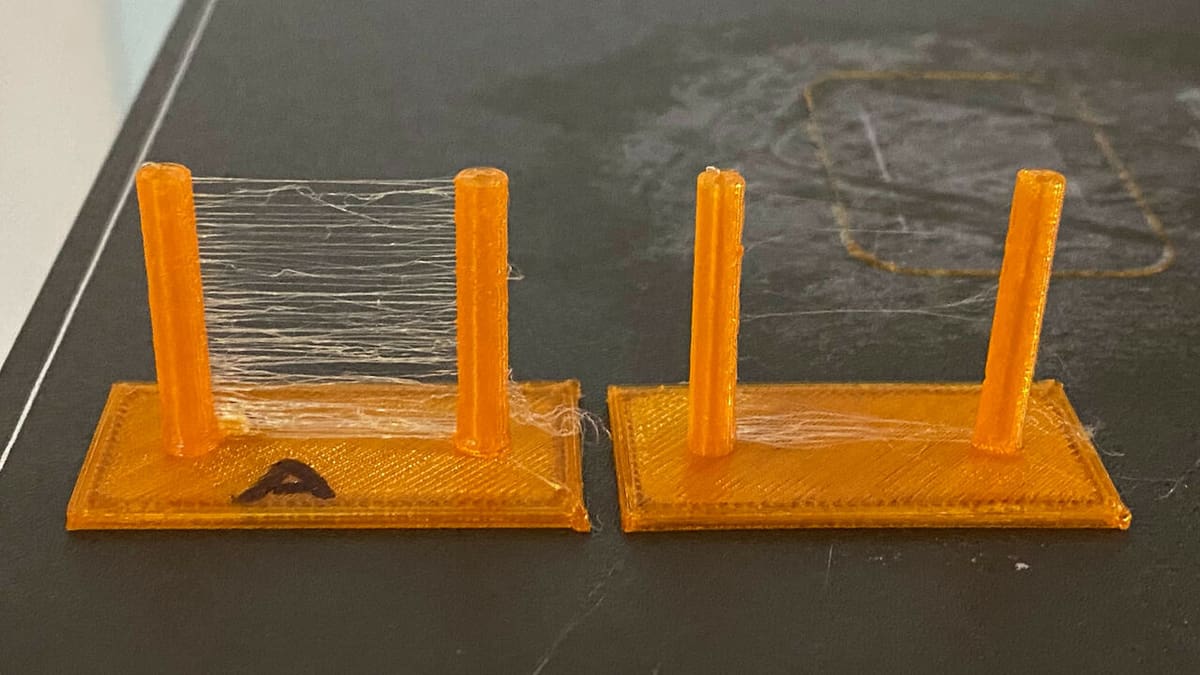
Stringing happens when there’s molten material in the nozzle during non-printing moments when the printhead travels to the next printing location. It consists of tiny strings left on the print that can be hard to remove once the print is done.
The main reason for this problem is not enough retraction of the filament in the extruder before moving to the next printing location. A simple adjustment of both Retraction Speed and Distance should solve the problem. However, this can be harder to achieve if you’re using a printer with a Bowden extruder instead of one with a direct extruder.
Clogging
Since TPU is a more delicate material to work with compared to, say, PLA or PETG, it’s easier to experience clogs. Regardless of whether they’re partial or full, clogs affect print quality. They happen because of material getting stuck in the nozzle or hot end, and this can happen for a variety of reasons. A simple solution is the so-called “Cold pull“. If more severe, harder-to-remove clogs happen, you may want to opt for changing the nozzle for a new one.
Under-extrusion
Under-extrusion is one of the most common problems when printing with TPU. It’s characterized by gaps along the print layers. While the simplest evidence can be spotted in later stages of the printing, you don’t have to wait until the print is done or substantially advanced to detect this problem: A clicking noise in the nozzle is a giveaway.
While there are several reasons under-extrusion can happen, you’ll want to be especially mindful of hygroscopy when it comes to TPU. As we mentioned above, hygroscopic materials are those that tend to absorb humidity from the environment. This translates to tiny water bubbles in the filament that evaporate when passing through the nozzle, leaving a gap in the print. To overcome this problem, make sure you dry the filament before using it and store it in a vacuum-sealed bag afterwards.
Blobs & Zits
These are consequences of having excess of material going through the nozzle while printing, also known as over-extrusion. The main reason for this happening is too high of a hot end temperature. If you’re experiencing this issue, try lowering the temperature in decrements of 5 °C.
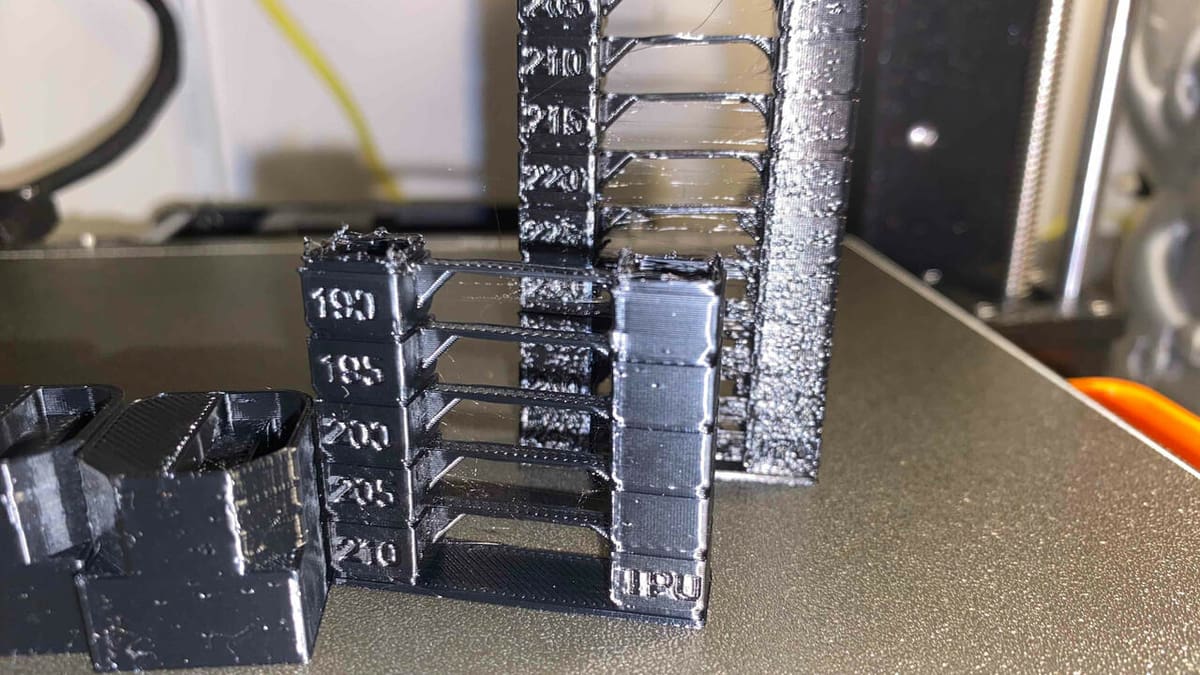
Printing a temperature tower can help you find the right temperature for the filament you’re using. This test print will also help you tweak your print settings to avoid stringing.
Print Removal & Post-Processing
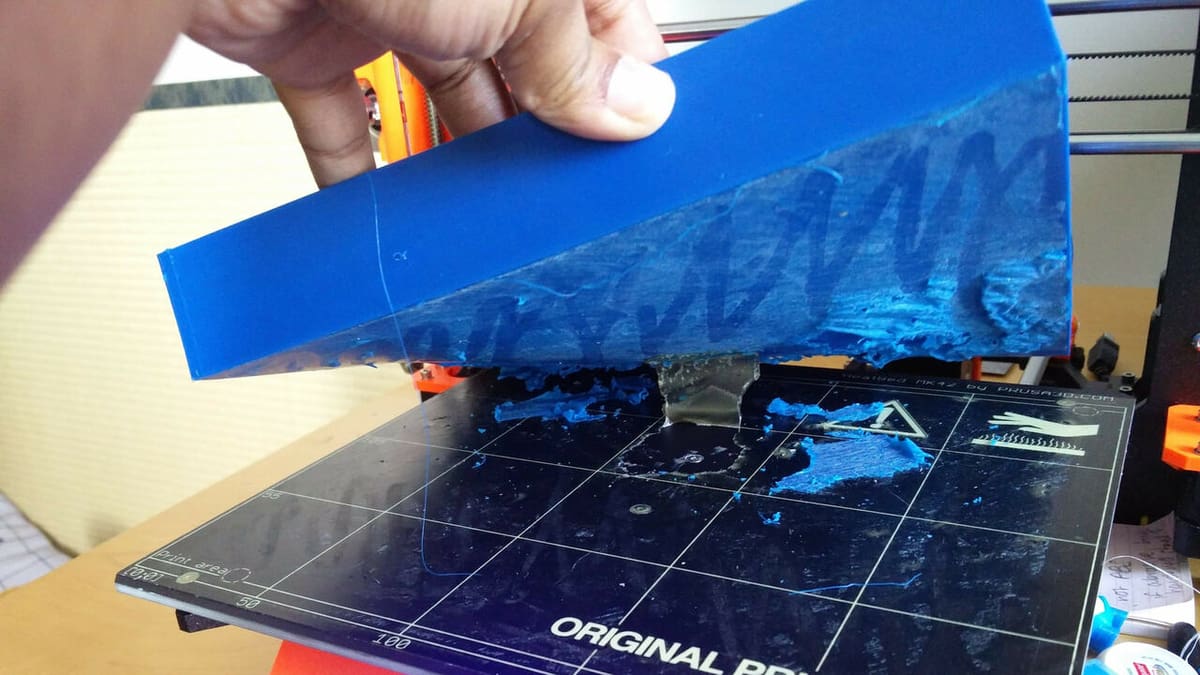
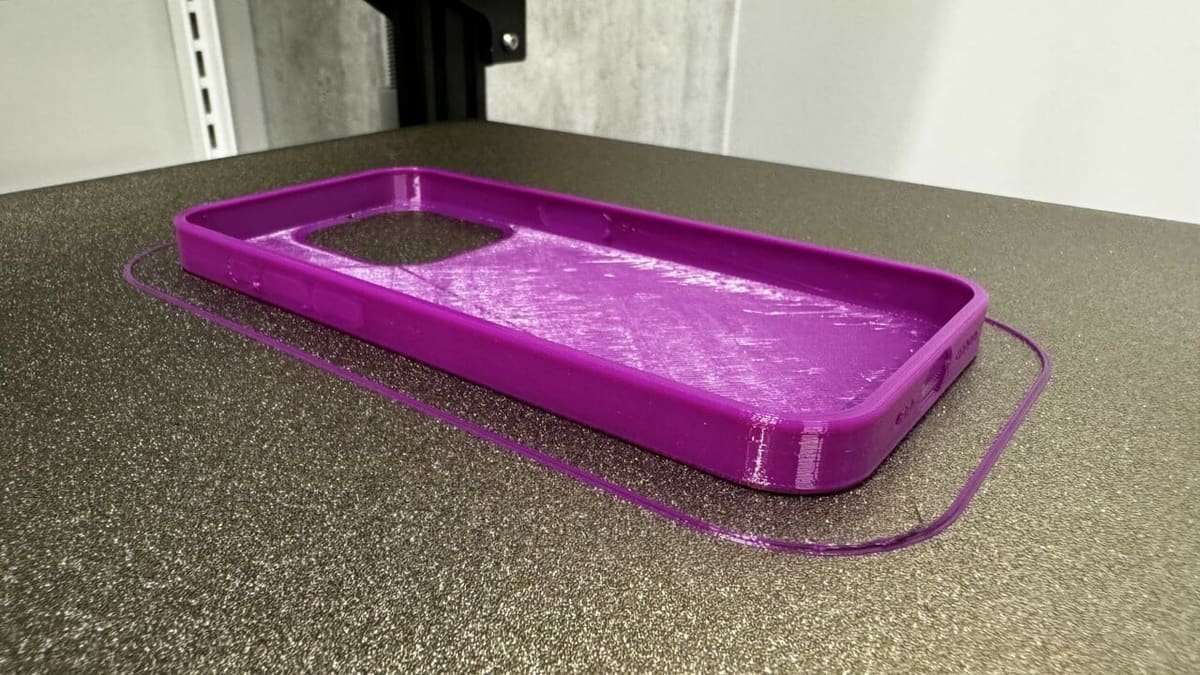
As we said before, achieving a good first layer with TPU is not as hard as separating it from the plate once the print is done. Flexible sheets may be used, but it depends on the stiffness of the final part. Thin parts (like a smartphone case) are more flexible and can be easily removed from a rigid plate.
On the other hand, stiffer parts behave more like rigid parts, and it’ll be harder to remove them from a rigid plate. Being able to bend the plate can help to start removing the part, but you’ll likely need a scraper to successfully remove a TPU printed part.
With regard to post-processing, TPU is a material that doesn’t require any additional treatment. Filaments like PLA and ABS can be smoothed using different techniques, but TPU isn’t that versatile. However, you can paint TPU prints, but you must be careful and use the right type of paint – one specifically designed for flexible materials. This specific type of paint should flex as the piece flexes and not crack. Cerakote C-series has been reported to work well with TPU prints.
Another post-processing step consists of using a heat gun to easily remove the strings from the final print. You may be tempted to use a hair dryer as an alternative to a heat gun. However, hair dryers are not intended to melt plastic, so you may have to make multiple passes and, even then, you may not reach the right temperature to remove all of the strings.
Printing Services
For those of you who want to avoid the headache of printing TPU, you could always get TPU parts printed with a 3D printing service. This way, you don’t have to worry about getting the right configuration for your printer! Plus you’ll receive a high-quality, hassle-free 3D printed part within a few days.
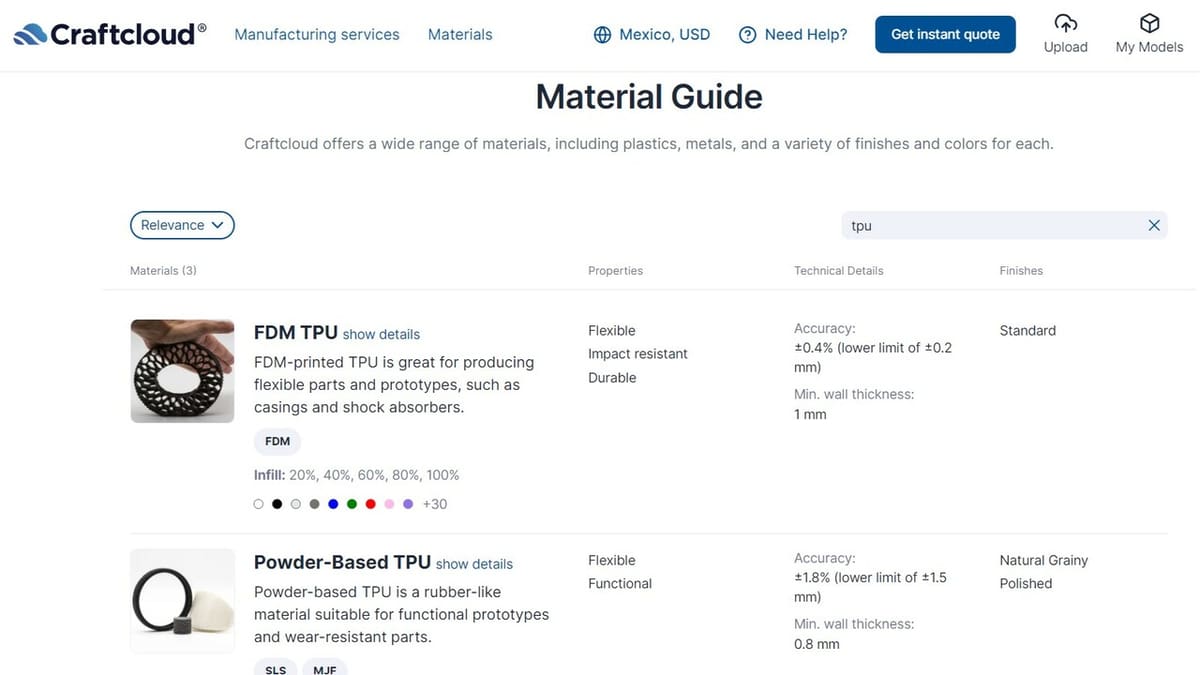
If you’re new to printing services, we recommend Craftcloud. After you upload your model, you can select the material, color, and finishing (if available), and then compare offers from top services worldwide, with the flexible print delivered to your doorstep.
License: The text of "3D Printing with TPU: All You Need to Know" by All3DP is licensed under a Creative Commons Attribution 4.0 International License.