The Best 3D Printer Settings for Perfect Prints

3D slicer settings are the defining factor for successful 3D prints. Learn about the 10 most important 3D printer settings.
If you’ve ever worked with a 3D printer, you’re probably familiar with slicers. But in case you aren’t, a slicer is a program that turns a 3D model file (STL, OBJ, 3MF, etc.) into a G-code script, which can be interpreted by your machine’s firmware.
Without a slicer, your printer wouldn’t know how to function. With it, you can specify settings that dictate how your model will be printed. If you don’t already have one, some super powerful and popular slicers include Cura, PrusaSlicer, and Simplify3D.
Slicer settings are important because every 3D printer is different, every material is different, and every 3D model is different. Printers and materials will therefore always require different settings to achieve a good print quality.
Slicer settings cover all aspects of printing, from the temperature of the heated elements to the thickness of each wall and layer. If you want the highest quality prints or just to print something as quickly as possible, you have to know the primary settings to change on your slicer.
Of course, changing the settings isn’t all there is to it. It goes without saying that your filament should be dry, the printer should to be well calibrated, and, as mentioned, you should use the proper settings depending on the type of filament you’re using. Getting the best results becomes far easier when you’re not bogged down by existing issues from the printer or filament, so ensure your hardware is up to task before you start working on the settings.
In this article, we’ll go over 10 slicer settings that are fundamental to 3D printing. For each setting, we’ll discuss what it is and what it affects so that you can decide how you want to use it.

Temperature
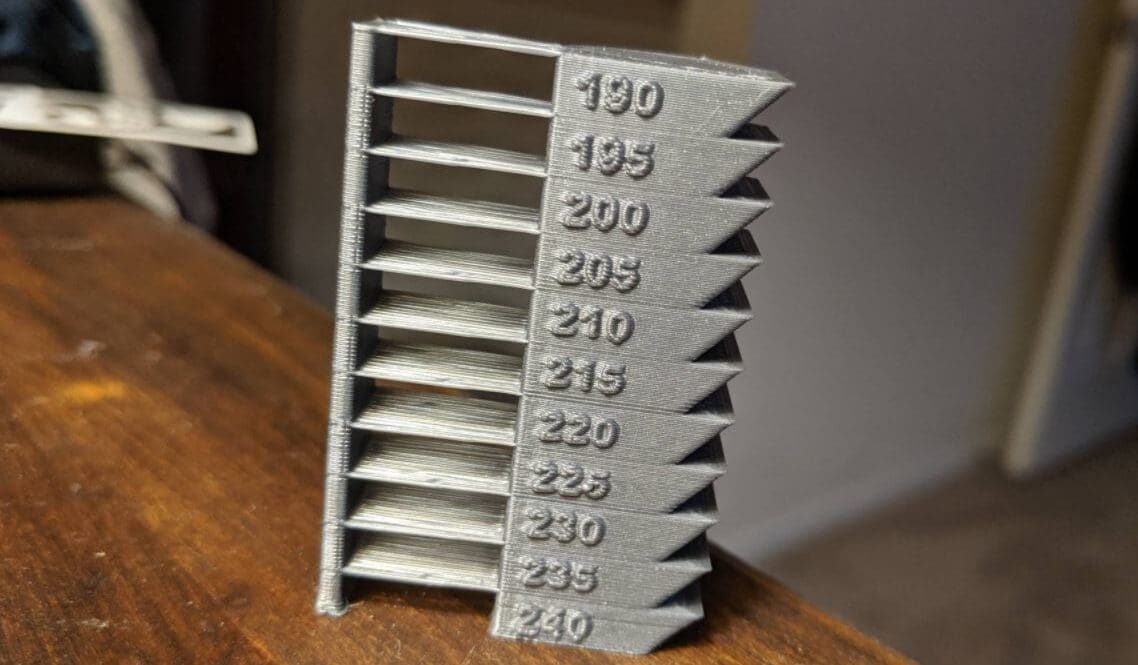
First up is temperature. The temperature of the nozzle is the single most important setting in your slicer because, without a Goldilocks level of heat (not too cool, not too hot), no print will work. Nozzle temperature should be the first setting you tune on your slicer whenever you begin printing with a new filament, and you can do this by printing a temperature tower to see which values work best.
Too high a nozzle temperature will cause over-extrusion with blobs and zits all over your print. At the other end of the spectrum, too low of a temperature will cause under-extrusion, where not all the layers are fully printed.
That’s just for the nozzle temperature, though; bed temperature is a whole other player in 3D printing if your machine has a heated bed, primarily affecting your print’s bed adhesion. Generally speaking, a hotter bed will provide better adhesion, while a cooler one could lead to warping. Just don’t raise the temperature too high, or else a part could deform on the bed.
And while some materials might simply benefit from a heated bed, others, like ABS, need it.
Typically, filament manufacturers include suggested printing temperatures on their spools, which may be a good starting point. Here are the temperature ranges for a few common filaments, although keep in mind that there might be variations if, for example, you’re dealing with composites or special types:
- PLA: Bed temperature: 40-60 °C; hot end: 180-220 °C
- ABS: Bed temperature: 80-110 °C; hot end: 220-260 °C
- PETG: Bed temperature: 70-90 °C; hot end: 220-250 °C
- TPU: Bed temperature: 40-60 °C; hot end: 210-230 °C
- Nylon: Bed temperature: 70-100 °C; hot end: 240-270 °C

Layer Height

Layer height is another influential factor for printing and refers to the height of each layer of your print. The smaller the layer height, the more layers will be required in the overall print. This means your printer will have more room to generate finite detail on parts like miniatures. On the flip side, more layers also mean longer print times and weaker parts.
When setting layer height, you want to find a suitable balance between printing time, detail, and part strength. Some makers subscribe to the “magic number” theory, where you set your layer height as a multiple of your stepper motor’s defined step distance. On many common printers, such as the Ender 3, the step distance is 0.04 mm, so heights of 0.16, 0.2, and 0.24 mm work as good detailed, balanced, and quick values.
A lower layer height means aesthetically more pleasing prints as the layer lines are less visible. However, it comes at the cost of taking longer to print – and the layer lines can still be seen if viewed from up close. If you want to get rid of layer lines completely or want to print with a higher layer height, post-processing techniques can come in handy.

Speed & Acceleration
Speed is our third powerful slicer setting. As the name indicates, we’re referring to the speed at which your printhead moves. When spoken of generally, “speed” encompasses many different settings, not just the default movement speed. For example, it can be useful to adjust specific speeds derived from the default value, such as the infill speed, wall speed, and so on.
Usually, it’s good to leave specific speed settings alone and only adjust the default speed. In most slicers, a particular speed will be chosen based on your chosen layer height and material, but if you’re feeling adventurous and you think your printer is up to it, you can experiment with such settings as increasing print speed to reduce print times.
On the other hand, sometimes it’s a good idea to reduce speed when you run into print quality issues. Slow speeds make it much easier to identify which setting is causing problems (if it’s something other than speed).
Travel speed is a different story, and you shouldn’t need to adjust it very often, if ever. Try to keep it close to its slicer default (probably around 150 mm/s) because too fast may cause nozzle run-ins where the printhead could knock over small structures while printing.
Another thing to keep on mind is acceleration, which impacts how quickly the printhead changes speed that affects both print time and quality. While speed sets how fast the printhead moves, acceleration controls how smoothly it reaches that speed (or how quickly it stops at a tight corner). It’s also crucial to find the right ratio between speed and flow rate, as the extruder might not be able to keep up with too high speeds.
PLA can handle higher speeds, while more viscous ones like TPU or ABS may require slower ones. If you’re printing fast with high acceleration, your print quality will likely suffer due to the quick movements and vibrations. Luckily, there are plenty of ways to mitigate artifacts caused by speed, such as input shaping (to prevent ghosting or ringing) and pressure advance (also known as linear advance).
Marlin users can follow specific steps for input shaping and for linear advance. And for those running Klipper, setting up input shaping and pressure advance is even easier!

Retraction

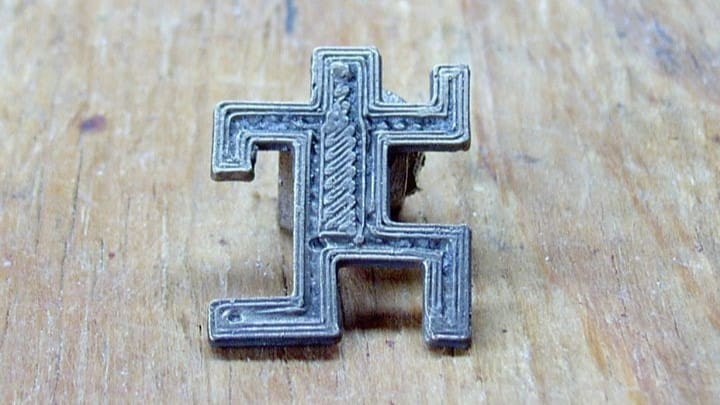
Retraction determines how much and how fast filament is pulled back into the nozzle to prevent material from oozing out when it’s not being extruded. Retraction is controlled by a few specific settings, two major ones being retraction distance and retraction speed.
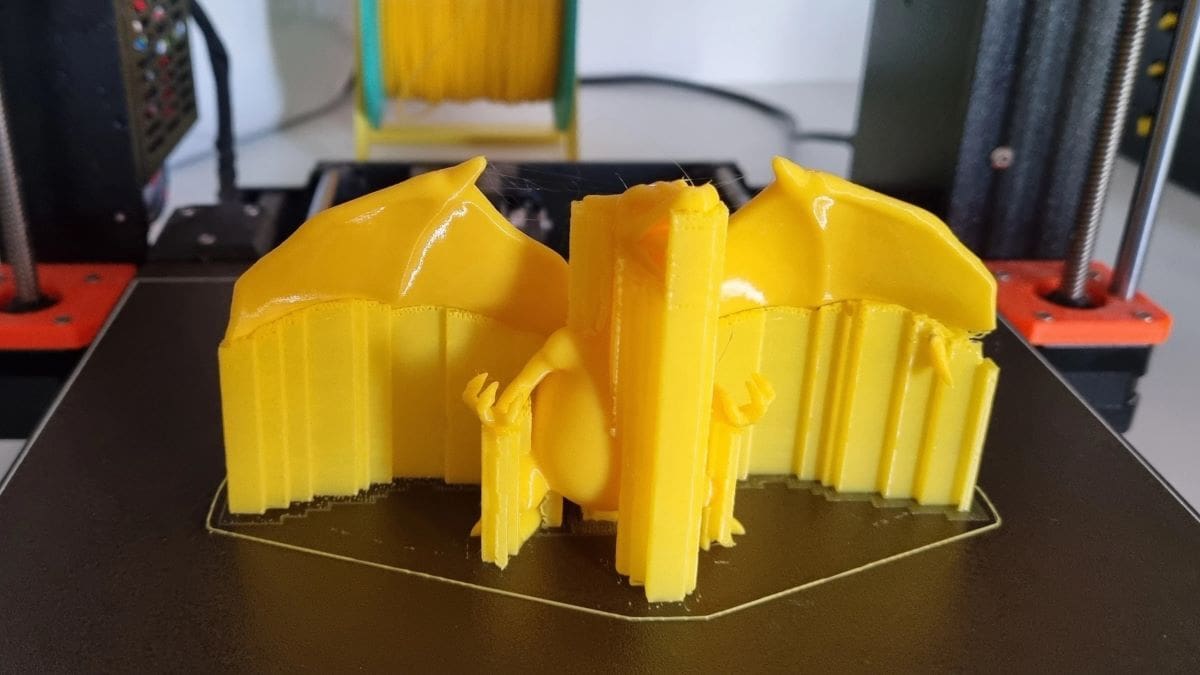
If your retraction isn’t tuned properly, the side effects can look like strings, hairs, or whisps on the print. Fortunately, it’s fairly easy to tune retraction by printing a retraction tower and choosing the best value depending on the results.
Generally speaking, you should look into retraction when you see stringing. But be mindful that retraction isn’t the only solution to this problem and that nozzle temperature also plays a role. You should change your retraction settings in small intervals while keeping the same temperature and dontt make any significant increases as aggressive retraction settings can cause nozzle jams.
If you’re not sure about the printing temperature, try printing a temperature tower as well.
Different materials will need different amounts of retraction. For example, TPU shouldn’t have a particularly lengthy retraction, but PETG will need plenty of it to avoid stringing.
Almost all modern slicers such as Cura, PrusaSlicer, and Orca Slicer will let you tune retraction easily. If you face issues with light stringing even after tuning retraction, Cura has a nifty combing mode that makes it possible to hide strings inside the object.
As a sidenote, wet filament also produces stringing sometimes. Make sure to dry your filament before you tune the retraction.

Flow
Flow, sometimes known as the extrusion multiplier, determines the rate at which filament is extruded. For example, with a 100% flow rating, your printer might use 10 cm of filament for a particular part feature, but if you change the flow to 90%, the same feature would only require 9 cm. In the end, adjusting flow affects how many steps the extruder’s motor turns per millimeter of material deposited.
Flow can be used to account for over or under-extrusion on your printer without adjusting a printer’s E-step parameter, a value stored in firmware. While technically, flow and E-steps can both be used to solve the same problems, it’s best to tune the E-step value during printer calibration and adjust the flow as required by particular print jobs.
Additionally, the extruder temperature has a big impact on flow rate, as higher temperatures make the filament more fluid and easier to extrude (or even ooze out if it’s too high). Once you’ve tuned the flow rate for a specific temperature, make sure to stick to that temperature for consistent results.
Adhesion Assistants
An adhesion assistant is an auto-generated physical feature that, when added to a print, should improve bed adhesion. Bed adhesion is how well a part sticks to the build surface, and it’s typically most important for the first layer.
However, if your print doesn’t stick, make sure you have a clean bed first, as that’s often the main cause of poor bed adhesion.
There are three main types of adhesion assistant:
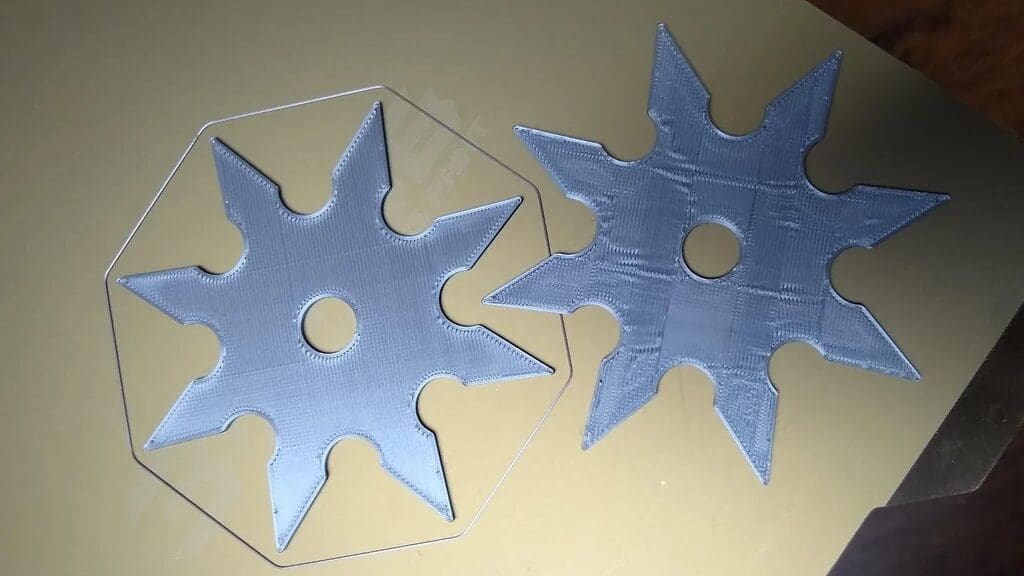
- A skirt is a distant and detached perimeter that outlines a print. Skirts don’t provide direct adhesion assistance for a model, but they can get material flowing through the nozzle smoothly before starting the critical first layer. They can also be useful for making last-minute manual adjustments for bed leveling. By default, many slicers will automatically generate a skirt for every print.
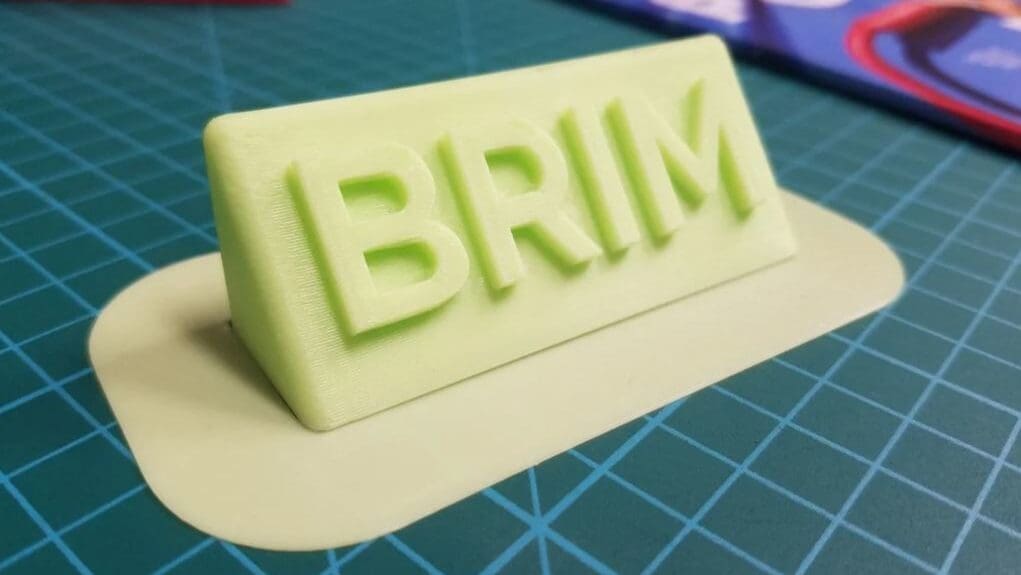
- A brim is extra filament, extruded as a set of concentric rings that emanate from a print’s first layer. If your print were a cylinder, the brim would literally look like the brim of a top hat. As far as adhesion assistants go, this is the first step to take if a model is having bed adhesion issues. A brim might help with a print that has a small “footprint”, that is, low surface area contact to the bed, which can greatly reduce adhesion.
- A raft is like an entire part on its own, upon which your model is built. When printing rafts, slicers generally attempt to save material by putting space between adjacent lines. This is the no-holds-barred approach to bed adhesion because the bottom surface area is printed and extended, and your print is actually printed on top of this material. This means that your print never has to touch the surface. Rafts can be useful if warping is an issue.
As you might expect, a skirt takes up the least amount of material and print time, followed by the brim, and then the raft.
If there are still challenges, alternatives include using glue sticks and hairspray. These can be quick solutions but should also be followed by cleaning the bed to avoid residue being left behind.
Supports
Supports are another significant slicer setting and, like adhesion assistants, are slicer-generated. Supports are structures that hold up overhanging features on models if they meet certain requirements, which can be set in your slicer.
These requirements include the overhang angle and the minimum support area. The former determines the minimum angle an overhang has to be before the slicer creates a support to hold it up. The latter governs the minimum area (in mm2) that a support structure has to have to be included in a print.
Other support settings and options are also very important. For example, part orientation plays a key role in how support structures are generated. Other support settings include print speed, support infill density, and more. You shouldn’t change these settings at all if your model doesn’t require supports in the first place, but when necessary, you can tweak them to find a balance between sufficient support and minimum material consumed.
In the last few years, slicers have been introducing different types of supports – each offering their own sets of pros and cons. If you’re not satisfied with the default auto-generated support, it’s well worth taking some time to explore all the options and the different settings. For example, setting the Support Z Distance can be a gamechanger as it allows you to adjust how “sticky” the support is to the material and make it easier to remove.

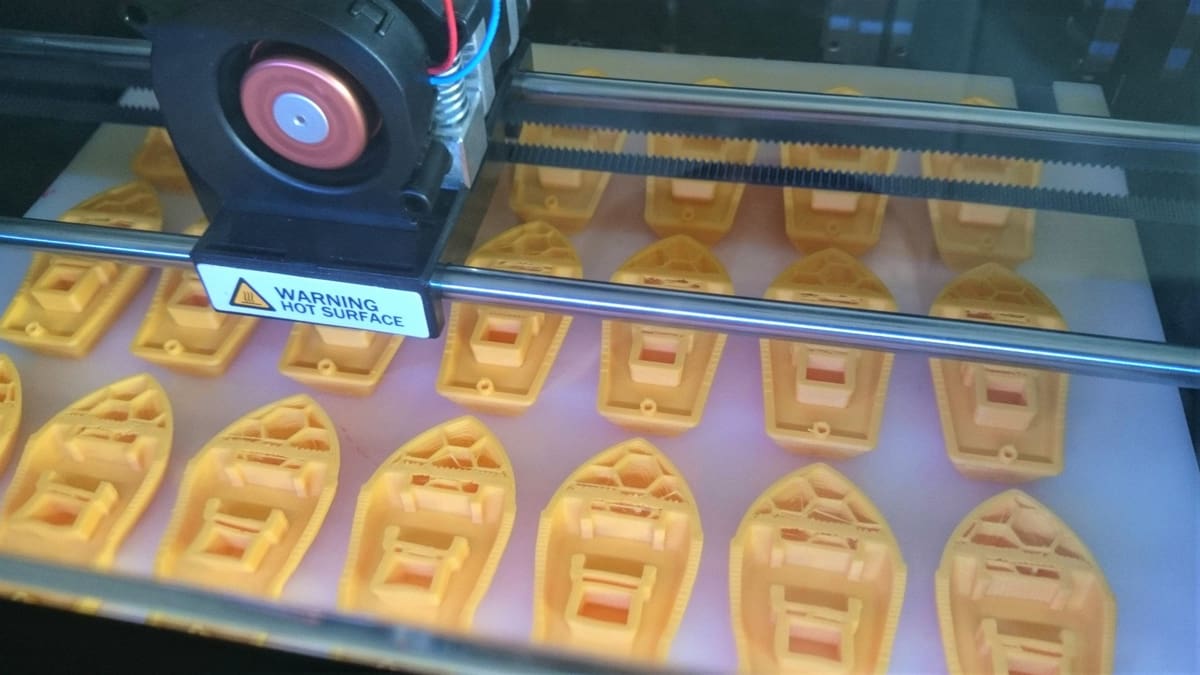
Cooling
Next up is cooling, which determines the speed of the fans on your printer. While a printer may have numerous fans, such as around your printer’s mainboard, power supply unit, and hot end, “cooling” in this context usually just refers to the speed of your part-cooling fan. Fan speed can typically be set and adjusted as a percentage of total power.
When adjusting the speed of your part-cooling fan, consider the material you’re currently printing with. For example, PLA requires moderate cooling from the part-cooling fan, but ABS shouldn’t have any (because cooling can lead to cracking). If your model has overhangs and you don’t want to use supports, you can try increasing cooling to more rapidly solidify printed overhangs.
When adjusting the speed of your part-cooling fan, consider the material you’re currently printing with. For example, PLA requires moderate cooling from the part-cooling fan, but ABS shouldn’t have any (because cooling can lead to cracking). If your model has overhangs and you don’t want to use supports, you can try increasing cooling to more rapidly solidify printed overhangs.
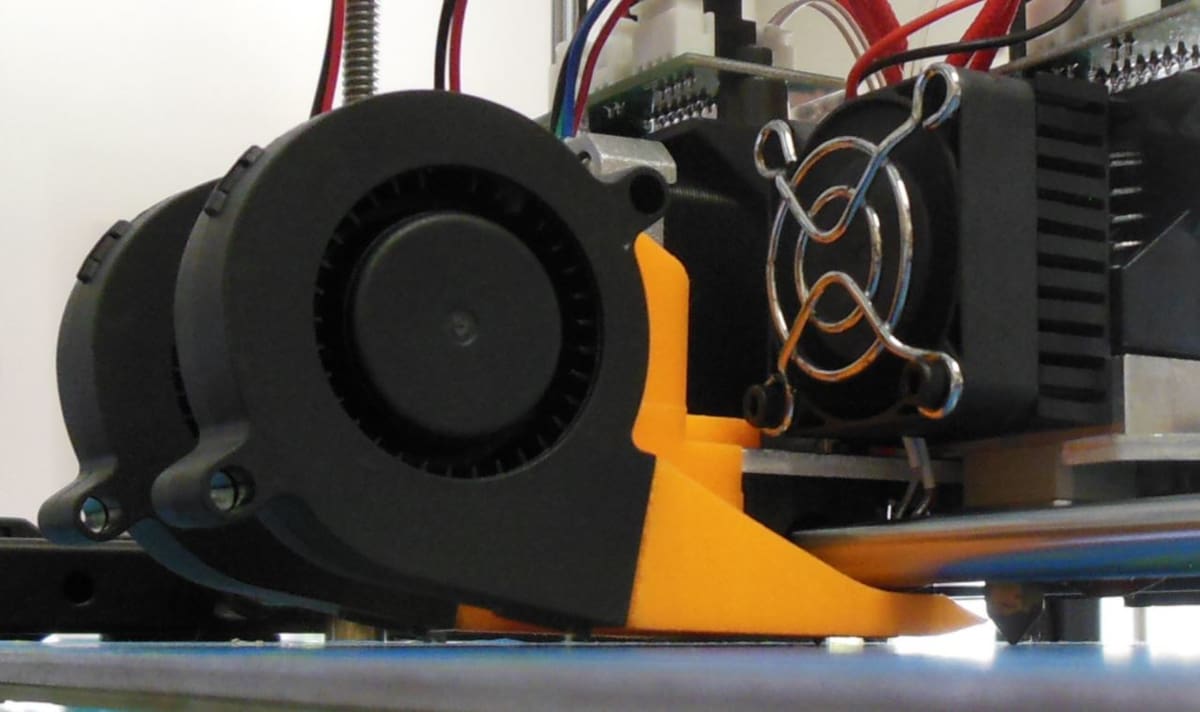
Some printers often come from factory with poorly designed cooling ducts. If that’s the case with your printer, print some better ducts or upgrade the fan while you’re at it. Doing this will improve your overhangs and bridging a lot.
Lastly, make sure that the model is properly oriented. Your cooling duct will probably be blowing air onto the model from one, two, or three sides depending on the design, but not all four sides. So the model should be oriented accordingly in the slicer to face one of the cooling ducts, otherwise the surface underneath the overhang will be rough due to inadequate cooling.
Infill

In general, it’s impractical to print solid pieces. Solid pieces use a lot of material and can take a long time, and usually the benefit of added strength just isn’t worth it. As opposed to other manufacturing methods, 3D printing is able to benefit from infill, which is the internal filling in 3D printed parts.
Infill gives you more control over the strength, weight, material consumption, and internal structure of a part without having to adjust its appearance or external features. In a slicer, infill can be controlled by defining an infill density, set as a percentage, and infill pattern, which is the infill’s structure or form.
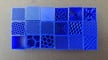
More robust infill patterns and larger infill densities will increase printing times and consume more material, but also increase a part’s strength and weight. There are many infill patterns to choose from, all with their own design and characteristics, such as concentric (for flexible parts), cubic (to add strength), and lines (for the fastest print time). You can set your infill density with a specific pattern to achieve your desired mix of printing strength, material consumption, and printing time.
As for infill density, if you’re printing aesthetic models that don’t need to be strong, 10-20% is good enough. This offers a good balance between strength and material efficiency. For sturdier parts, the density can be anything between 30%-100%, although it increases print time and material use significantly. If you want to make your parts stronger, increasing shell thickness can sometimes achieve better results than denser infill.
Shell Thickness
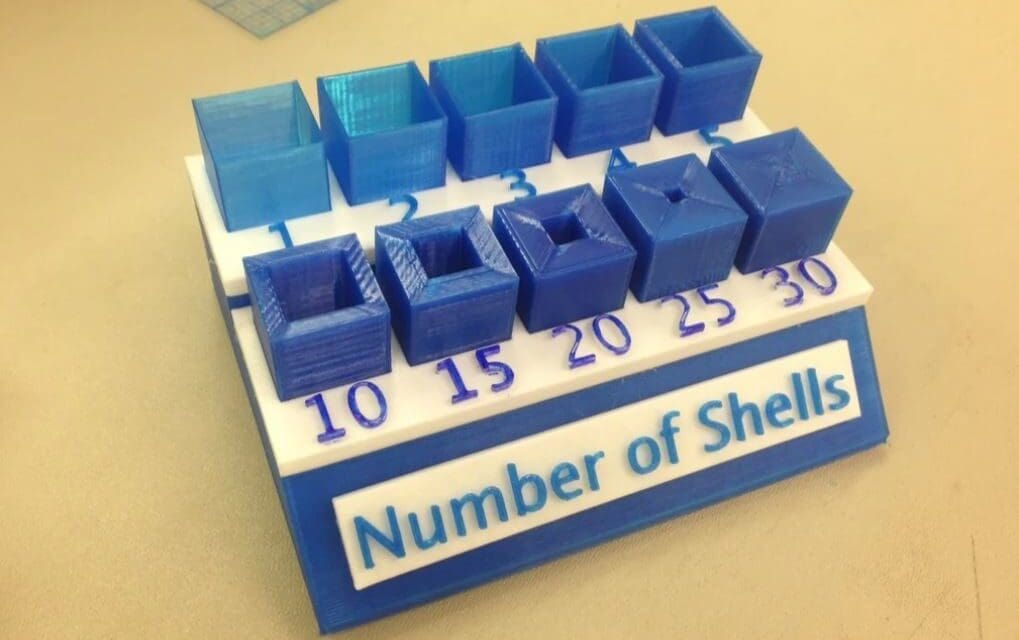
Shell (or perimeter) thickness represents the number of lines in the walls of your prints, whether they’re at the sides, on the top, or on the bottom. If infill is the “inside” of a print, shells are the “outside”, which means they are completely solid and printed concentrically. Shell thickness is usually set as a value in millimeters or as a number of layers for the walls and the top and bottom layers.
Shell thickness is an important setting to tune because it can significantly impact the strength of your model. The higher the shell thickness, the stronger parts will be and the longer they will take to print. That’s because the more shells you have, the more completely solid layers or walls your machine has to print.
Other Settings & Options
While the 10 settings we discussed above are among the most important, there are also some honorable mentions. Below, we’ve listed and briefly discussed a few other settings that aren’t in the top ten, but are still important for getting a primo part:
- Z Hop When Retracted: This is a useful but often overlooked feature in Cura. When activated, the printhead will temporarily move up each time a retraction occurs. This feature helps your printer avoid colliding with the already-printed sections of a model when traveling. It’s highly recommended to turn this setting on, especially if you’re printing with supports activated.
- Skin Overlap Percentage: The skin overlap percentage controls how much the walls are overlapped with the inside filling (“skin centerlines” in Cura). The higher this percentage, the more attached the infill will be to the exterior skin of the print and, thus, the less brittle the model. We suggest leaving the value at 10% and only increasing it to between 15-30% if you’re experiencing layer separations.
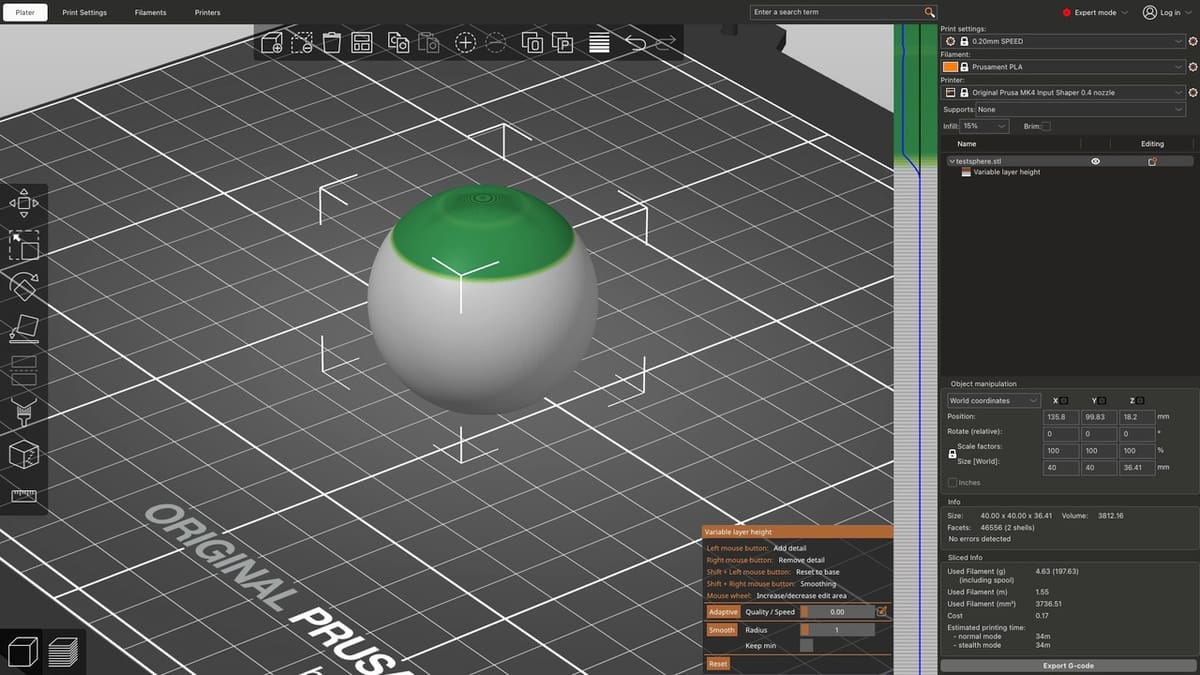
- Adaptive Layers: Lastly, adaptive layers is a special slicing feature that calculates different layer heights to be used at different stages within the same print. You can read more about this feature in our article on adaptive layers, but basically, it ensures that the right size layer height will be used when most convenient, maximizing detail and strength. For example, a smaller layer height will be used for smaller features on a print, and a larger layer height will be used on less detailed areas of the model. We suggest activating this feature for most prints!

License: The text of "The Best 3D Printer Settings for Perfect Prints" by All3DP is licensed under a Creative Commons Attribution 4.0 International License.