Raspberry Pi & Android TV: How to Make Them Work

If you're looking to set up Android TV, Raspberry Pi 4 is an affordable way to make it a reality. Read on to learn how it's done!
A Clever Pi
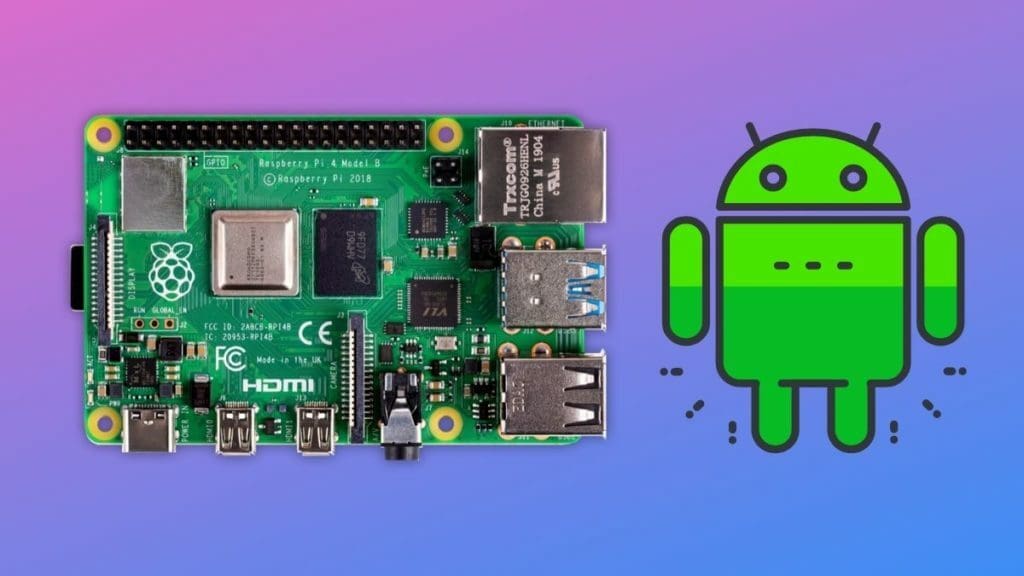
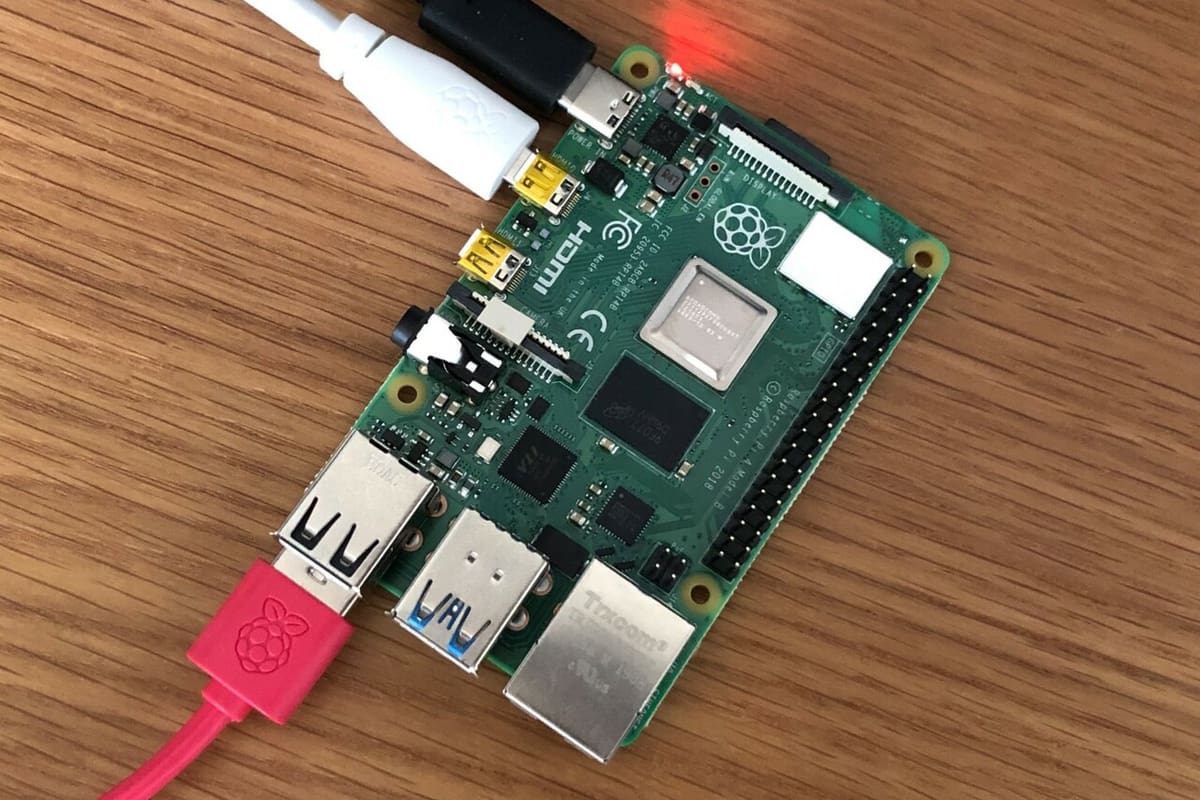
The Raspberry Pi 4 is the most power-packed single-board computer (SBC) from the Raspberry Pi Foundation yet. It has improved specifications, a variety of options to choose from, and a strong developer community to support it. New doors have been opened to developers and tinkerers as the scope of implementation of a Raspberry Pi has increased with each new release.
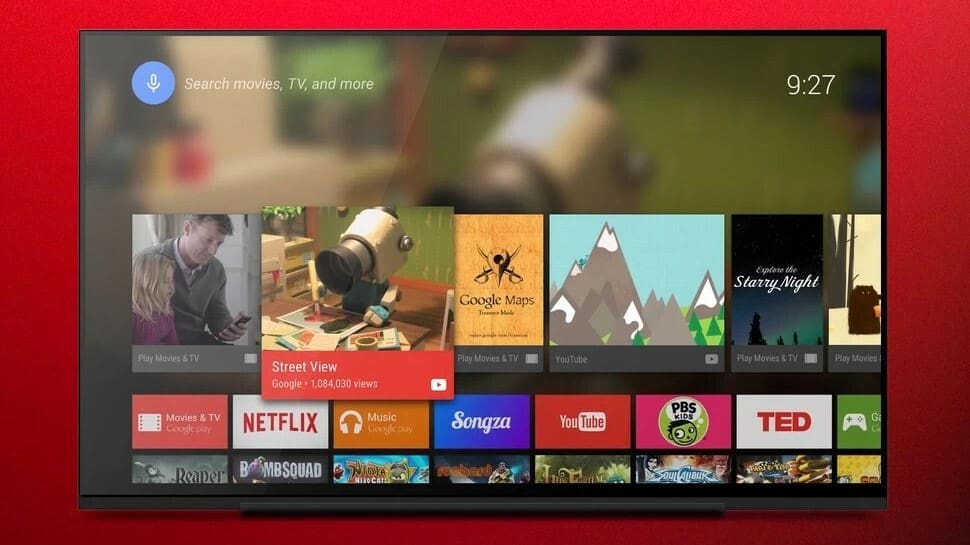
The open-source nature and the number of apps available have made Android one of users’ top choices in mobile operating systems worldwide. Beyond smartphones, there are other Android devices like smartwatches, and our hero today: the Android TV OS. Just as Android turned regular phones into smartphones, Android TV has turned the giant screens in our houses into smart, internet-connected devices.
Let’s begin with why you’d want to do it, then look at how you can get Android TV up and running on a Raspberry Pi 4.
Why the Pi?
For those who’ve previously tinkered with a Raspberry Pi, it won’t come as a surprise that they’re great boards to turn into an Android TV box. Since their invention in 2012, people have used Raspberry Pis for numerous projects and countless practical applications, and the Raspberry Pi 4 improves in a lot of aspects over its predecessors. Hardware improvements, connectivity improvements, and overall upgrades bring it up to date with 2021 tech standards.
But before converting the Raspberry Pi 4 into an Android TV box, let’s first understand why you would want to do so.
- Hardware compatibility: The Raspberry Pi 4 is available in many configurations and even the baseline build is far ahead of the Raspberry Pi 3s. If you wanted to run Android TV on an earlier model of Raspberry Pi, the hardware wasn’t quite adequate and hence the user experience was not good.
- Range of apps: With Android TV you get access to the Google Play Store. The Play Store provides you with thousands of apps built specifically for use on Android TV. You can install mainstream apps like Netflix, Hulu, Spotify, YouTube, and so on, and run games like PUBG, Fortnite, and Asphalt 8 on your TV.
- Affordability: The Raspberry Pi 4 is the best value-for-money option when compared with other Android TV boxes. With a basic Pi 4 starting at $35, you’re getting the best value for your money.
- Convenience: If you’re into DIY computing, you might just have an extra Raspberry Pi 4 that you never got around to using. This would be a perfect project for you to put it to good use, as there are minimal additional hardware requirements and it’s quick to set up!
Android TV on Pi 4
The open-source nature of both the Android OS and the Raspberry Pi allows the developer community to continuously find new applications and combinations, and there are always some prominent developers who pioneer the work and selflessly put in the hours so that others can benefit. For Android TV on Raspberry Pi, we have KonstaKang to thank. The developer provides a build of Lineage OS (a distro of Android) that’s specifically tuned for the Raspberry Pi.
KonstaKang has done a great job of providing the user with an Android 10.0 build. The process has been streamlined to the point of near perfection. Users have posted very promising reviews about the build, which is maintained and regularly updated to make further improvements and iron out the bugs. We’ll take a brief look at the entire process and how to execute it, so you can decide whether or not this is something you’d like to try.
What You'll Need
To install Android TV OS on the Raspberry Pi 4 you’ll need the following things:
- A stable internet connection
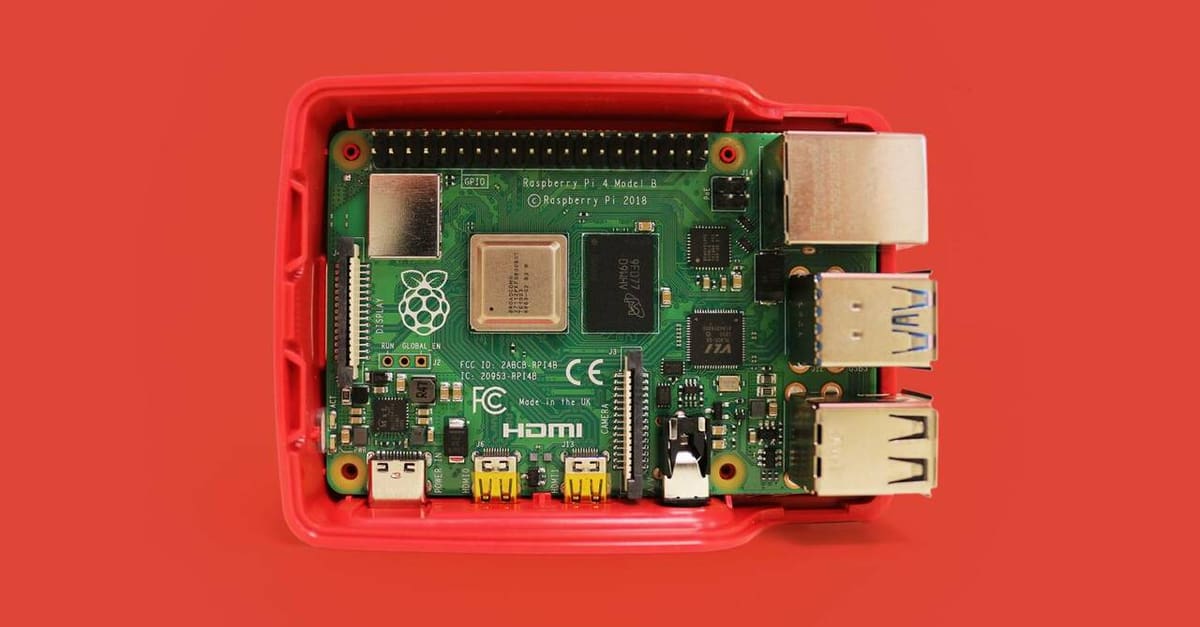
- A Raspberry Pi 4
- A microSD card (at least 16 GB) and a USB flash drive
- A computer with an SD card reader
- A keyboard and a mouse for the Raspberry Pi
- A display and a Micro-HDMI to HDMI cable to connect it to the Raspberry Pi
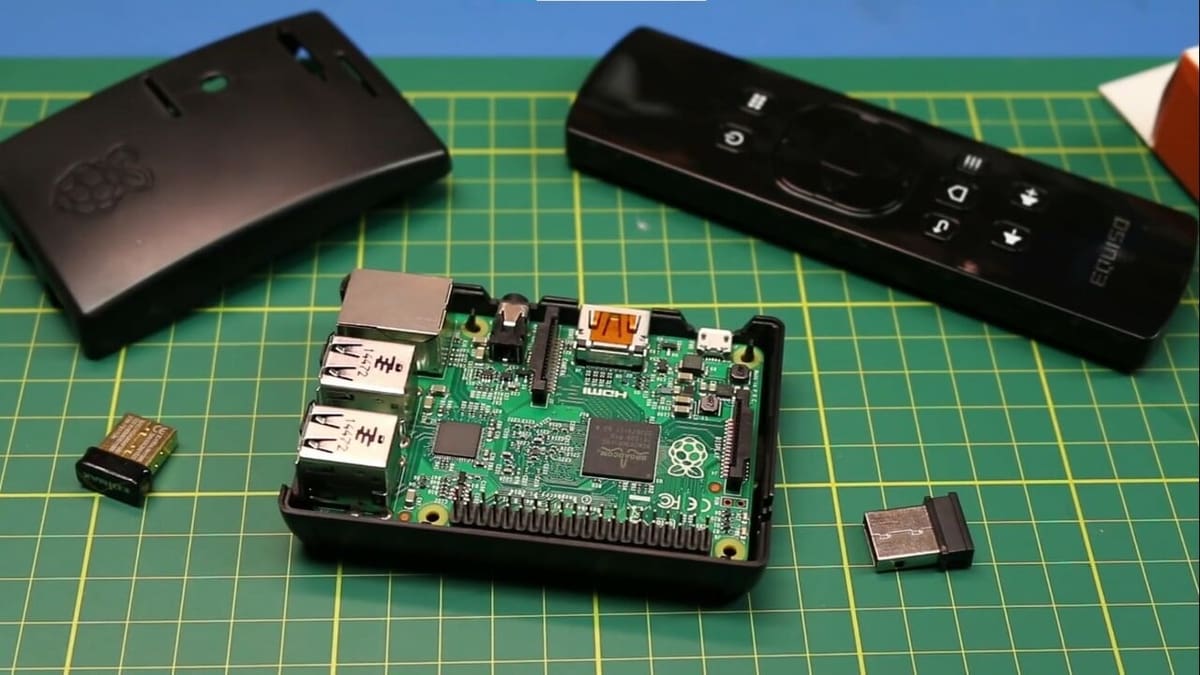
- An air mouse to interact with Android TV (optional)
The air mouse is an accessory that makes it easy to interact with your TV and will improve your overall Android TV experience. If you don’t want to buy one, you can just use the keyboard and mouse connected to the Raspberry Pi. Even better, you could use a Raspberry Pi 400 and skip the need for a keyboard at all!
Once you have all these, you can get started installing Android TV on your Raspberry Pi 4.
The Steps

The process of installing Android TV on the Pi 4 is straightforward. If everything goes according to plan, you can have your Android TV up and running in under an hour. That being said, let’s overview the steps involved:
- Make sure that your internet connection is stable with good bandwidth.
- Download the build of Lineage OS for Android TV from KonstaKang’s website to your computer.
- Download the build of Gapps for Android TV and copy it to a USB flash drive.
- Download and install Balena Etcher on your computer.
- Flash the Lineage OS zip file to the microSD card from your computer using the Balena etcher software.
- Insert the microSD card into the Pi 4 and boot up the Pi. You can skip the initial Android setup for now.
- Switch to recovery mode, insert the flash drive into the Pi and install the Gapps build.
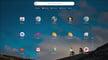
- Once it is finished installing, reboot the Pi 4 and set up your Android TV.
That’s it! In under 10 steps, you’re up and running with the latest Android TV on a Raspberry Pi 4.
You can refer to KonstaKang’s detailed guide for more information on the process. It answers all the FAQs and addresses any issues if that you may face while installing this build. YouTuber Roberto Gorge has also provided a very good tutorial of the same steps on his channel.
Alternatives
The Raspberry Pi 4 is an affordable and very capable SBC that’s powerful enough to run Android TV. However, Android TV on the Raspberry Pi 4 is not officially supported, so updates will be dependent on the developers to keep up with new versions of Android.
There are also many other SBCs out there that could be used to run Android TV, and there may even be reasons to choose a different board, for example, a superior GPU if you intend to use it for gaming. However, downloading the files from various sources and installing everything on your SBC can be a hassle, and there’s no official support if things go wrong.
For these reasons, some people might just want a simple plug-and-play system. So, we’ll be looking at some major Android TV boxes that are available to purchase directly.
All these options provide good functionalities but also come at a price. Also, unlike a Pi, they don’t have much use if you decide that you don’t enjoy the Android TV experience and want to repurpose them!
Xiaomi Mi Box S
The Xiaomi Mi Box S is a great budget-friendly alternative to many Android TV boxes out there. It supports resolutions of up to 4K and comes in a very sleek and small form factor. It also comes with its own remote and voice control support built-in.
The value proposition on the Mi Box is unmatched and for a plug-and-play option, this works great. However, the availability of Mi Box is something that you would first need to check in your region, as the Chinese giant doesn’t sell in all international markets. Prices online start from around $60.
Beelink GT King
The Beelink GT King is another box that’s been tested and used by many people. It has a very good performance, thanks to the Octa-core processor and 4 GB of RAM. Like the Mi Box, it supports 4K functionality but with the notable exception of Netflix in 4K. The Beelink is a bit pricier than the Mi Box at around $150, but it’s still a good option to upgrade to Android TV.
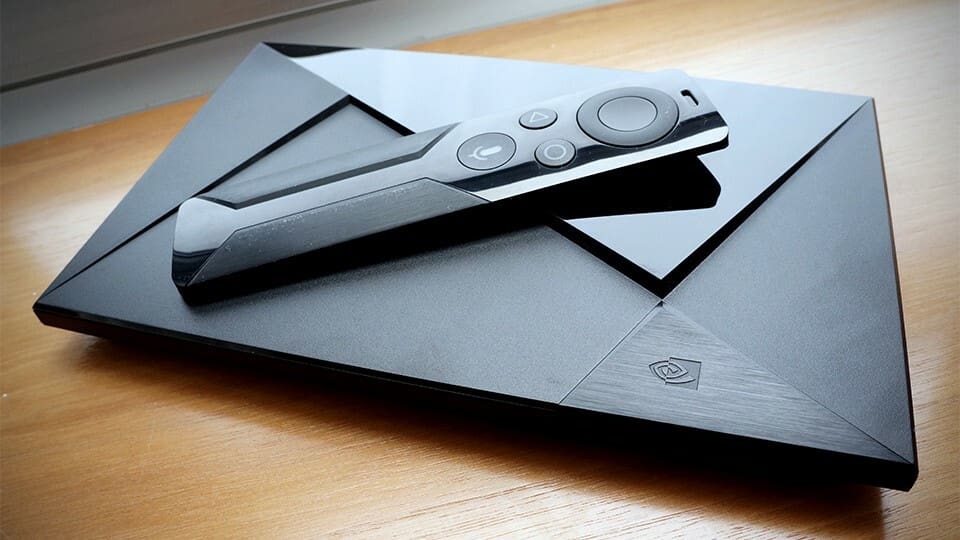
Nvidia Shield TV
The Nvidia Shield TV is the flagship Android TV box. You get support for up to 4K resolution, Dolby Vision, and Dolby Audio for an enhanced experience. But the reason it’s flagship-level is that it has a GPU that allows you to play any game you want! There’s also an Nvidia gaming controller built specifically for this box. It all sounds impressive, but it doesn’t come cheaply. Prices range from around $150 up to $350, depending on which one you choose.
Final Thoughts
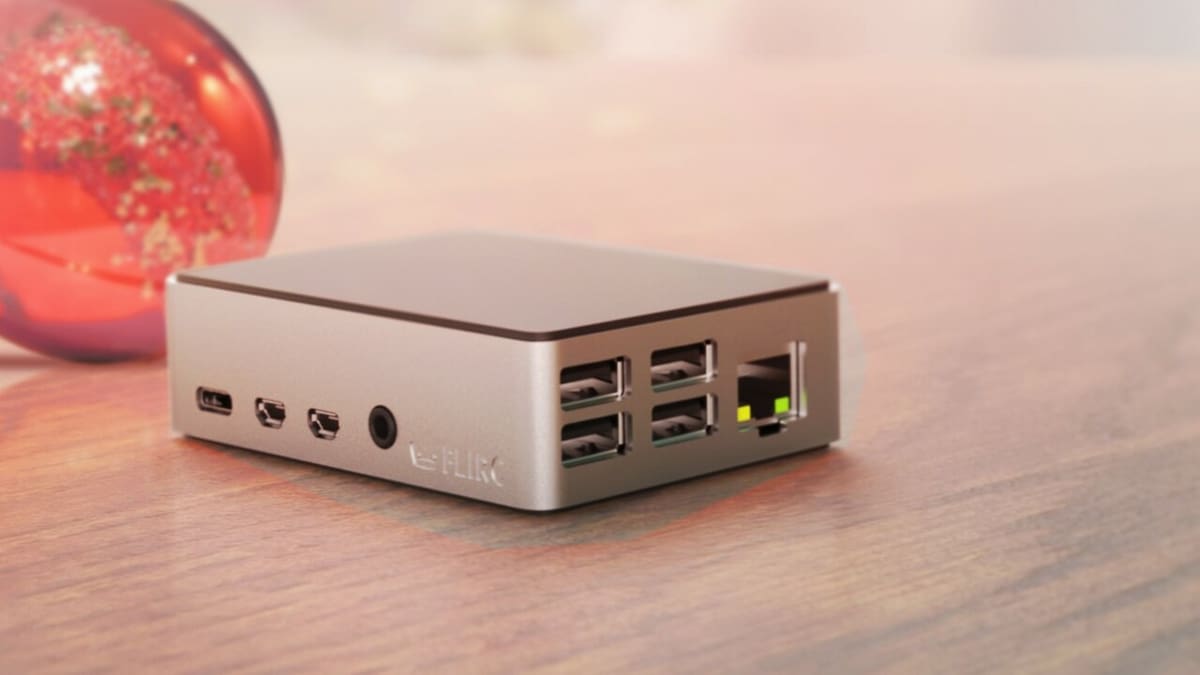
So, now you finally know all there is to know about getting started with Android TV on a Raspberry Pi 4. Once it’s up and running, you might need to provide your Pi 4 with some cooling, and some game controllers would really enhance the experience if you want to go down that road.
Additionally, it’s worth spending some time searching the Google Play store to add more apps and get added functionality out of your Pi. If you have an Android smartphone, you can also set it up as a remote controller for the Android TV. What was earlier just an idiot box is now very smart!
Lead image source: MKme Lab via YouTube
License: The text of "Raspberry Pi & Android TV: How to Make Them Work" by All3DP is licensed under a Creative Commons Attribution 4.0 International License.