Anycubic Photon FEP Film: How to Buy & Replace It

Accidentally cure resin to your Anycubic Photon's FEP film? Find out where to get a replacement and how to install it!
Resin Printing & FEP Film
Resin 3D printers are fascinating machines that work quite differently from FDM printers. There are several kinds of resin 3D printing, but a popular subcategory is digital light processing, under which falls Anycubic’s popular Photon series of printers.
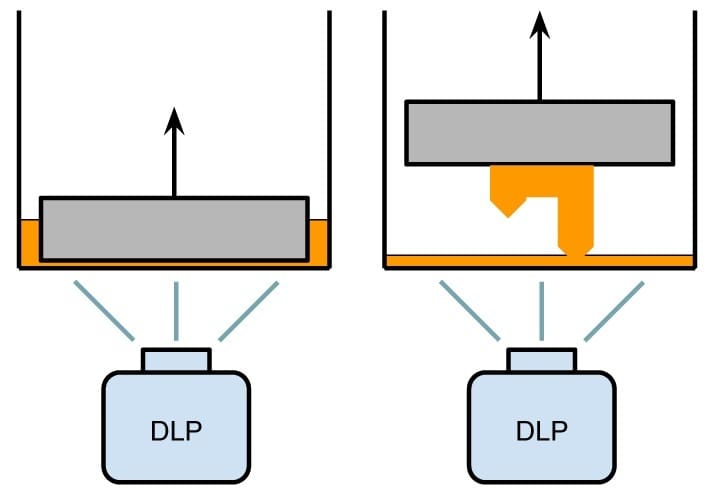
As with other resin technologies, digital light processing (DLP) printers make use of light-sensitive resin, selectively solidifying the liquid to form a particular shape. This resin sits in a vat, at the bottom of which is a transparent screen with an FEP film. The FEP film interfaces with an LCD screen, which sits in front of and masks a UV light source (usually UV LEDs). When the printer’s build platform is lowered into the vat of resin, the LCD draws the negative of a single layer of your print and the UV source is turned on for a period of time to cure that layer.
As each layer goes through the cycle, the build platform is raised after the cure time has elapsed. This causes an audible pop sound that occurs when the in-progress part separates from the FEP film. Due to this action occurring hundreds of times per print, the FEP film will eventually wear out from mechanical stress.
In this article, we’ll discuss how to replace the FEP film on any of the Anycubic Photons. We’ll also cover general FEP film maintenance and present a few free parts that you can print to make working with a resin printer easier.
Purchasing
Replacement of the FEP film across the Anycubic Photon series is mostly the same process, with the main differences occurring with the smaller Photon Zero due to a slightly different vat design.
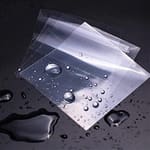
The FEP film required for the Anycubic Photon series is 0.15 mm thick. Anycubic sells replacement parts directly for all printers except the Photon Zero. However, it’s generally cheaper to buy from third-party retailers.
Required Tools
To replace the FEP film, you’ll need a few items:
- Gloves
- Paper towel
- Isopropyl alcohol
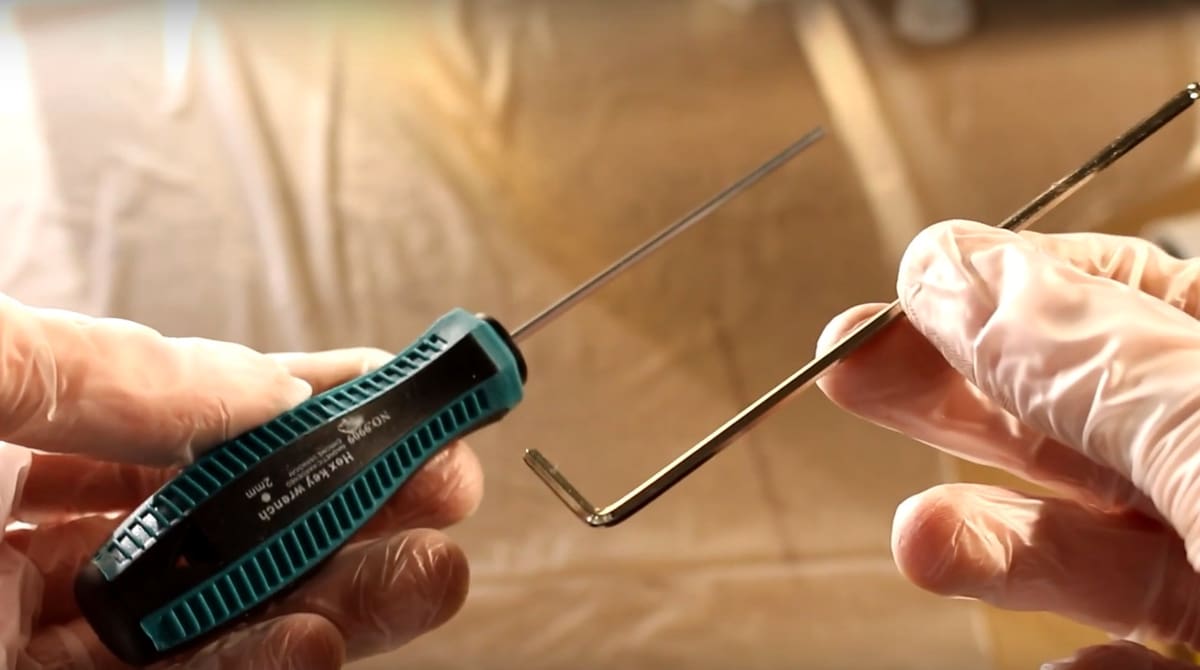
- Set of hex keys (AKA Allen keys)
- Needle-nose tweezers
- Knife/scalpel
If you’re working with a Photon or a Mono, Anycubic recommends having a 13-mm-high bottle cap to correctly set tension on the new FEP film during installation. An alternative is this printable 13-mm spacer, as many people have had trouble finding bottle caps with the right height.
Preparation

Make sure to put on gloves before handling the vat, as the uncured resin is toxic.
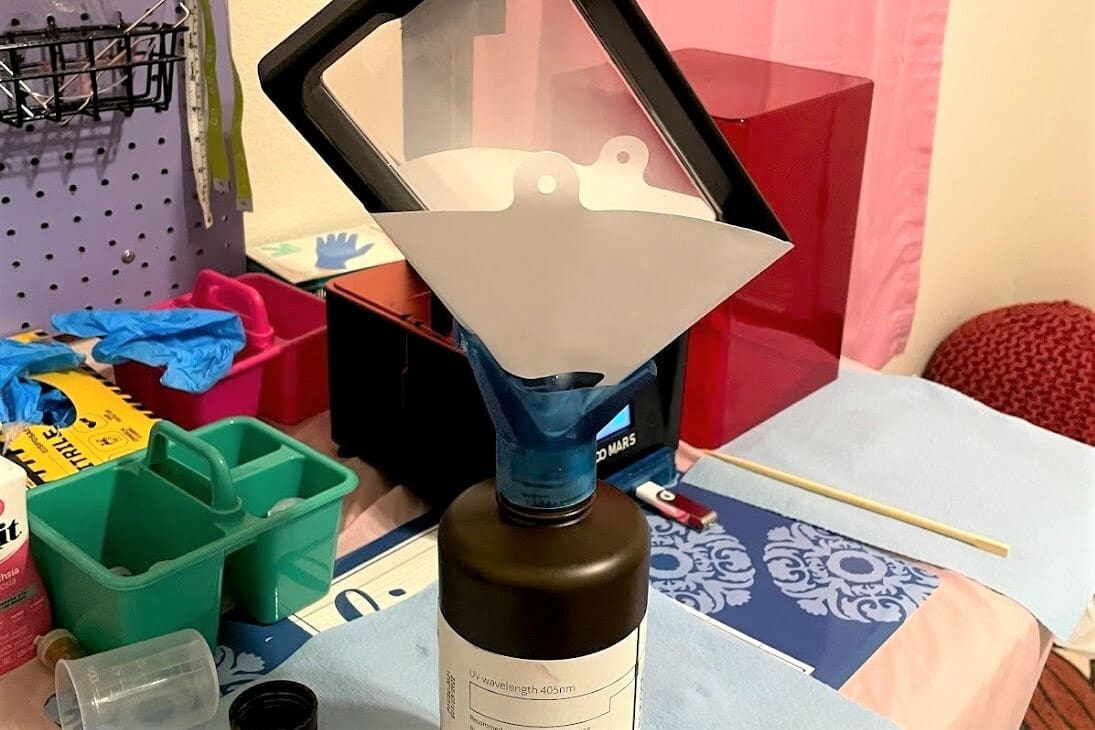
We can then begin removing the vat by loosening the two thumb screws that hold it to the printer. Now is a good time to pour any leftover resin back into the bottle it came from and clean up any residue with disposable paper tower and isopropyl alcohol. It’s important to clean both sides of the vat because we’ll be turning it upside down to access the FEP frame, which secures the FEP film.
Disassembly
Once the vat is clean, turn it over so that the FEP frame is visible and begin unscrewing it using a hex key. This will be 8 screws for the Photon, 14 for the Mono, and 10 for the Zero.
The FEP frame should now be free from the vat, allowing us to proceed with dissembling it.
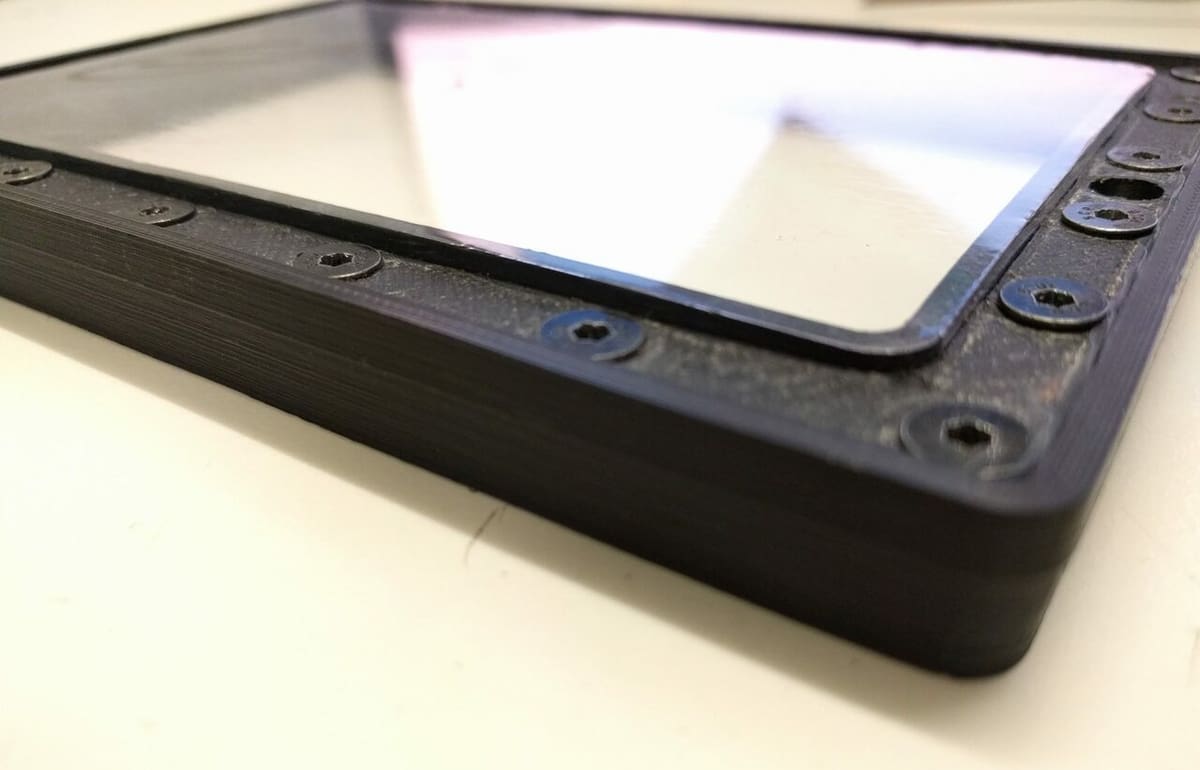
The Frame
On the underside of the FEP frame is another set of screws holding the two halves of the frame together. Once these screws are removed, the frame should come apart and the FEP film will be free! If your FEP frame has some cured resin holding it together, carefully use a plastic spudger or spudger-like device to separate it.
Once everything is free, it’s worthwhile to give all sides of the FEP frame and the recessed part of the vat (where the frame would sit) a wipe-down with isopropyl alcohol. If there’s any cured resin on these parts, which could cause the vat to leak, it should carefully be scraped off.
Replacing the Film
The next steps depend on which printer you have.
Photon & Photon Mono
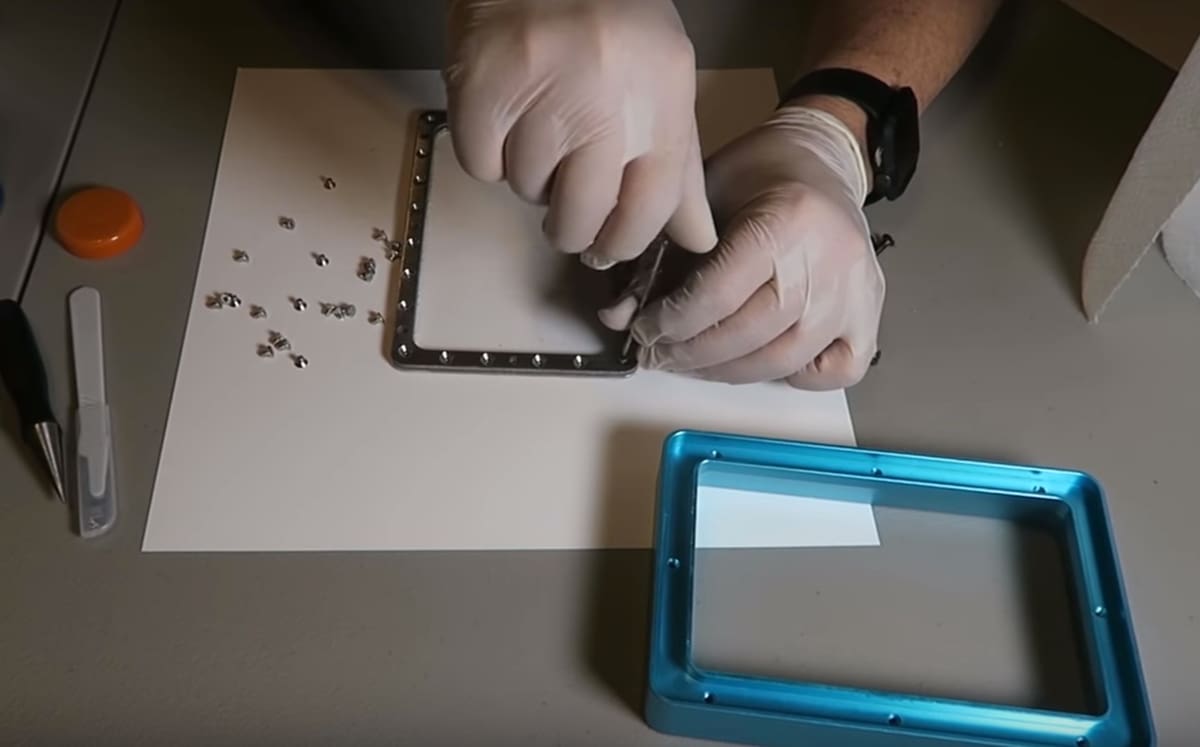
Sandwich the new FEP film between the two halves of the frame, taking care to have the side with the internal screws facing upwards, as these need to be tightened first.
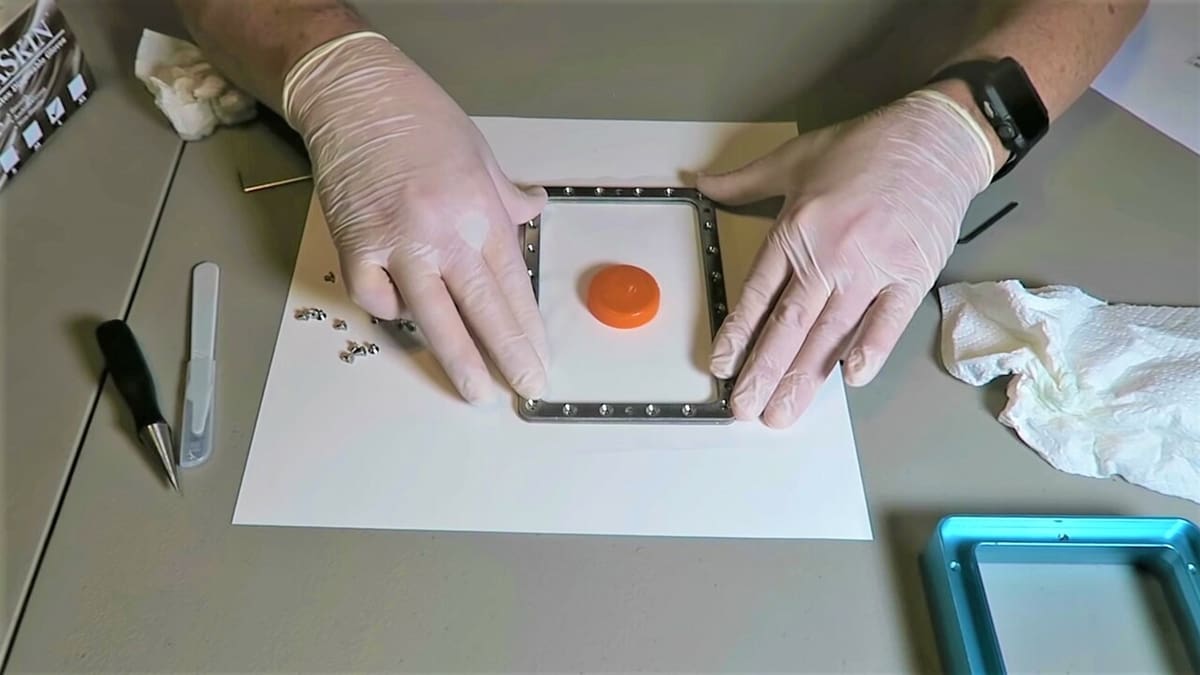
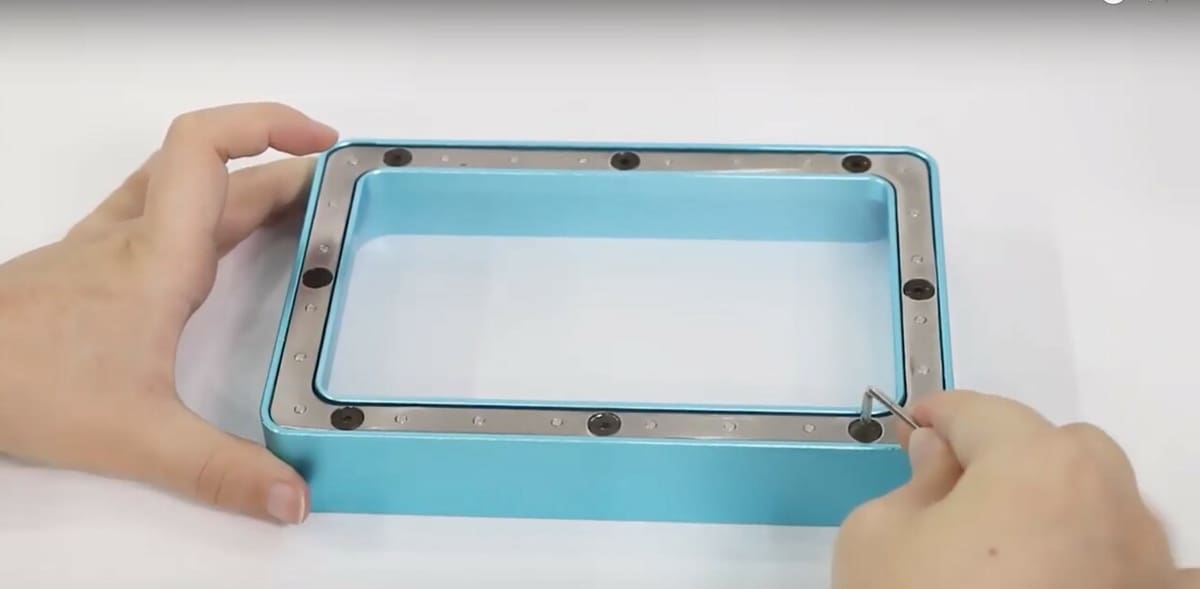
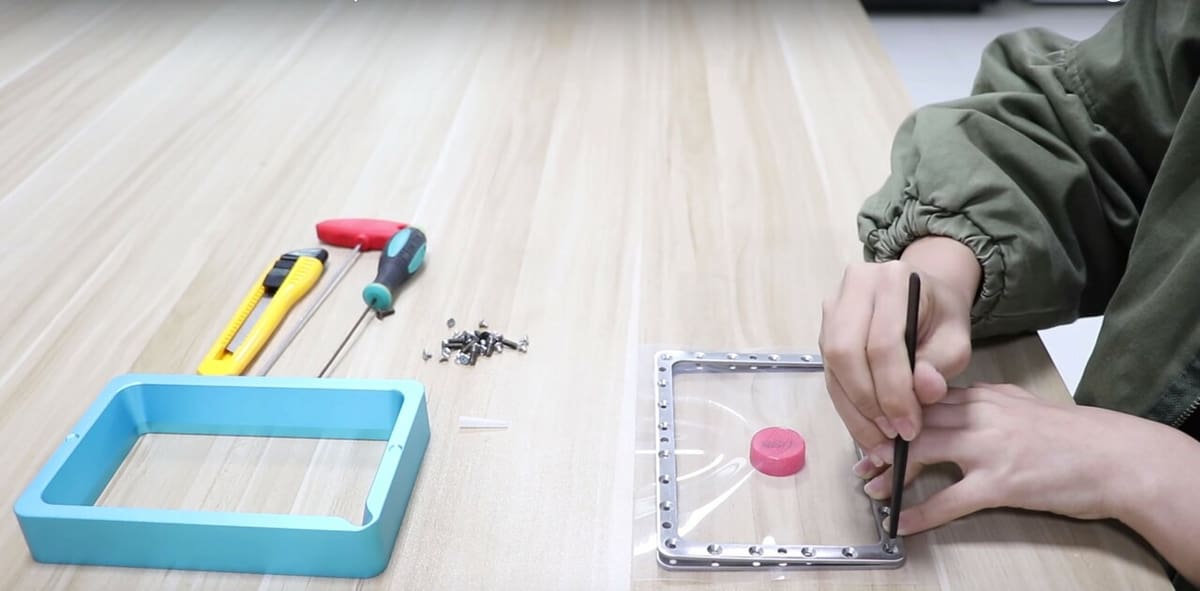
Carefully lift the FEP frame – with the film – and place it on top of the 13-mm bottle cap or circular spacer while pushing the frame down. Using needle nose tweezers, create a hole in the film in the bottom left and install a screw to secure the frame. Repeat the procedure in the other three corners.
The frame and film assembly can now be installed back into the vat using the remaining screws. Afterwards, the excess FEP film can be trimmed along the outer edge of the vat recess.
Photon Zero
Sandwich the new FEP film between the two halves of the FEP frame, taking care to have the side with the screw holes facing downwards, as these will eventually be screwed into the vat.
The film should be held tight in the frame and the frame placed back into the vat (ignoring the small tabs in the frame). Using needle nose tweezers, create a hole in the FEP film in the bottom left and install a screw to secure the frame to the vat. Repeat the procedure in the other three corners.
Maintenance
As with any resin printer, it’s important to properly maintain your Anycubic Photon.
In particular, cleaning your new FEP film is best done with soapy water. The reason for this is not immediately obvious, as many people might choose isopropyl alcohol, which would actually clean the FEP film too well.
As mentioned previously, each layer of the part pops off the FEP film once cured, so having a slippery residue left over from dish soap will actually help your part separate during printing.
Useful Parts
If you’re not already using them, there are several very useful 3D printable upgrades. For starters, vat drainers make emptying leftover resin less messy. A vat cover (for the Photon, the Mono, or the Zero) is also helpful, preventing accidental sunlight exposure from curing resin in the vat. And, of course, plastic scrapers are a necessity to prevent damage to the FEP film.
Lead image source: 3DPrintFarm via YouTube
License: The text of "Anycubic Photon FEP Film: How to Buy & Replace It" by All3DP is licensed under a Creative Commons Attribution 4.0 International License.
CERTAIN CONTENT THAT APPEARS ON THIS SITE COMES FROM AMAZON. THIS CONTENT IS PROVIDED ‘AS IS’ AND IS SUBJECT TO CHANGE OR REMOVAL AT ANY TIME.