Anycubic Vyper vs Ender 3 V2: The Differences

The Anycubic Vyper and Creality Ender 3 V2 are two of the best-selling printers on the market. Let's take a look at how they compare!
In the world of FDM (fusion deposition modeling) printers, there are many heavyweight contenders to the crown, including Creality and Anycubic. These best-selling printers have helped lead the way in developing high-quality yet affordable printers and bringing 3D printing into homes across the globe.
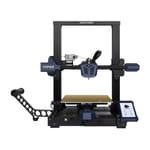
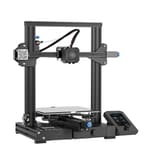
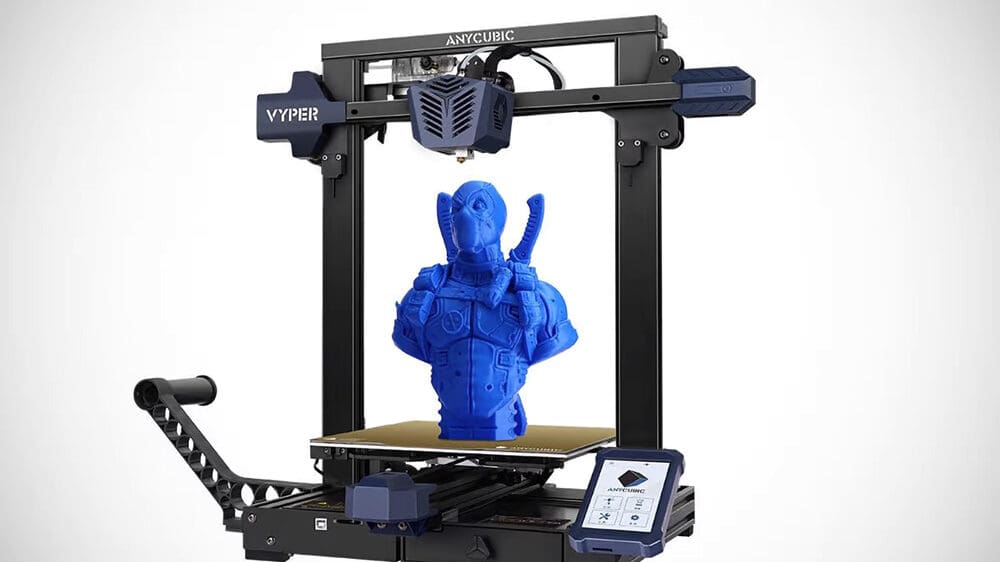
The Vyper is a recent addition to the Anycubic stable, and the Ender 3 V2 is an updated version of the best-selling Ender 3. Both printers perform the same basic task of printing 3D items, but a few features set them apart. This brings us to the question: How do you choose the best one for you? Is it the Vyper’s larger build volume or the V2’s glass build plate? The V2’s all-metal extruder or the Vyper’s auto-bed leveling?
Let’s explore these questions and more as we take a closer look at the differences between the Anycubic Vyper and the Ender 3 V2.
At a Glance
Features
We’ve listed all the technical specs and can now get an idea of how each printer operates. However, this doesn’t paint the whole picture of how each machine performs when actually in use.
Let’s look at each of the main features to get a clearer idea of how these printers stack up against each other.
Background & Basics
In 2009, various patents filed in the 1980s fell into the public domain, altering the history of 3D printing and opening the door for innovation. As the technology became more available to new companies and competition, prices began to decrease, and 3D printing became increasingly accessible.
This is where companies such as Anycubic and Creality stepped into the game and thrived. Both researched and developed many different FDM printer models over the years.
Creality’s Ender range of printers is probably the best-selling and widely used among 3D printing enthusiasts. The Ender 3 is the most prevalent in the line, evolving from the basic to the Pro and now to the V2. Anycubic’s range of FDM printers is just as impressive and boasts names such as Kobra, Chiron, and Predator.
The Anycubic Vyper and the Creality Ender 3 V2 both belong to the company’s mid-range printers and rival each other in the home 3D printing market.

Design
The design and overall look of any machine is typically what first draws you to it. Therefore it’s good to see that both Anycubic and Creality have taken care to produce both functional and aesthetically appealing products with the Vyper and V2.
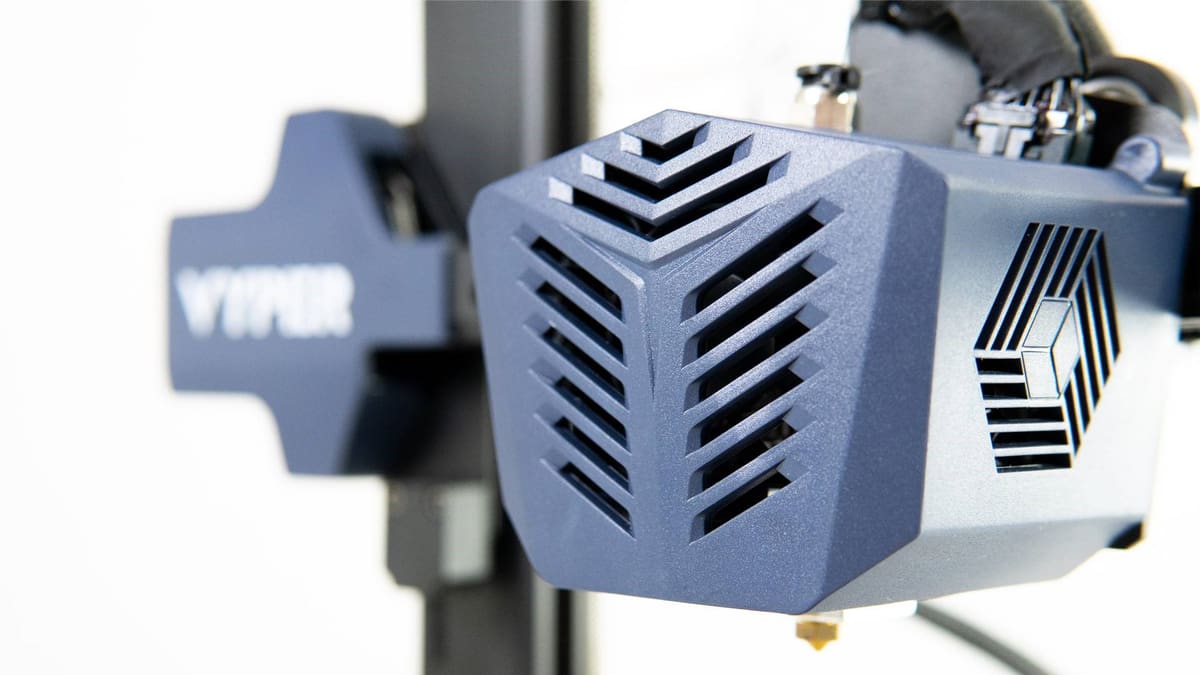
As FDM printers, both machines have the “standard” gantry setup with X-, Y-, and Z-axis operation. The main difference is that the Vyper has dual Z-axis motors as opposed to the V2’s single motor. Dual Z-axis control can have its good and bad points, though. In one respect, it provides more stability for the X-axis carriage and more print accuracy. However, on the other hand, it can cause misalignment issues if both motors and rods aren’t correctly synchronized. Therefore, it may be worth considering the benefits before choosing.
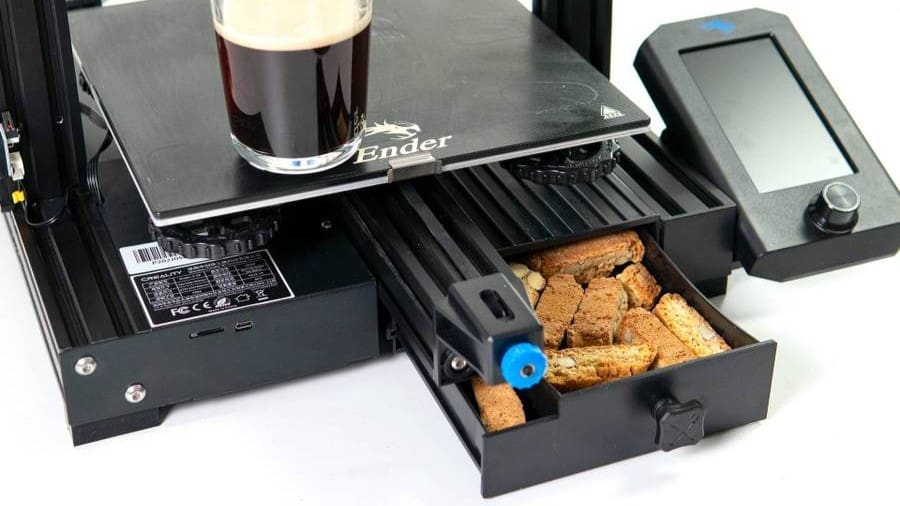
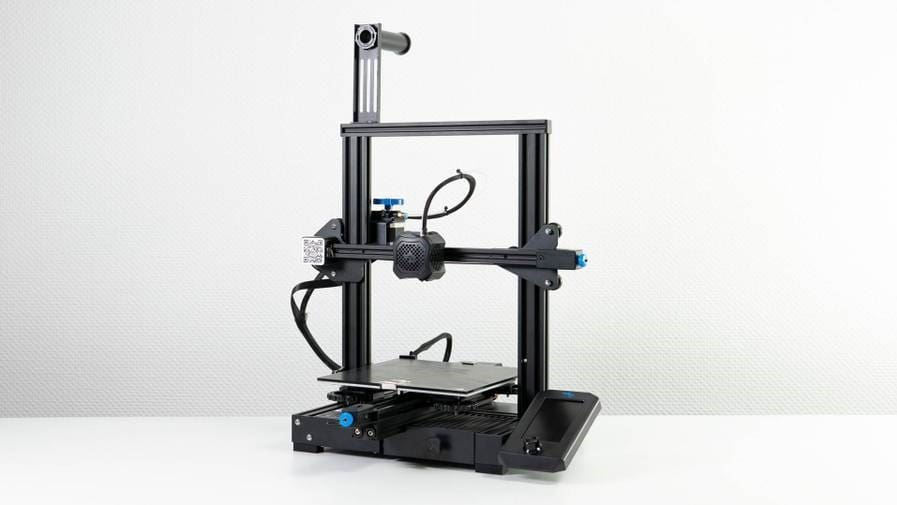
Creality upgraded its design from the previous Ender 3 Pro model to include an integrated power supply, a built-in tool drawer, and an X-axis belt tensioner. The hot end fan setup has been improved by the addition of a more aerodynamic cover for better airflow. The SD card slot and Creality Wi-Fi Box port remain on the front panel.
The most striking change is to the UI, which upgraded to a larger (4.3″) color LCD screen with a control knob. The Vyper, on the other hand, has a 4.3″ touchscreen which makes for quicker and easier control of the printer.
The Vyper has a very compact design in relation to its larger build volume and can integrate its power supply and tool drawer. As Anycubic doesn’t have its own version of the Wi-Fi box, there’s just the SD card slot on the front panel.
There’s also the benefit of dual cooling fans for the hot end of the Vyper and the V2, which aren’t necessarily new features, but still useful and notable. Both machines have simple spool holders; V2 on top and Vyper to the side.
Build Volume
The Vyper features a build volume of 245 x 245 x 260 mm, whereas the V2’s measures 220 x 220 x 250 mm.
As you can see from these figures, the Vyper has the larger build volume. More volume can allow for a larger scope of printable models, but in reality, it’s unlikely that you’ll be able to fill either build volume to the max. Both printers provide adequate build space for the average user’s needs, so a few millimeters won’t make much difference.
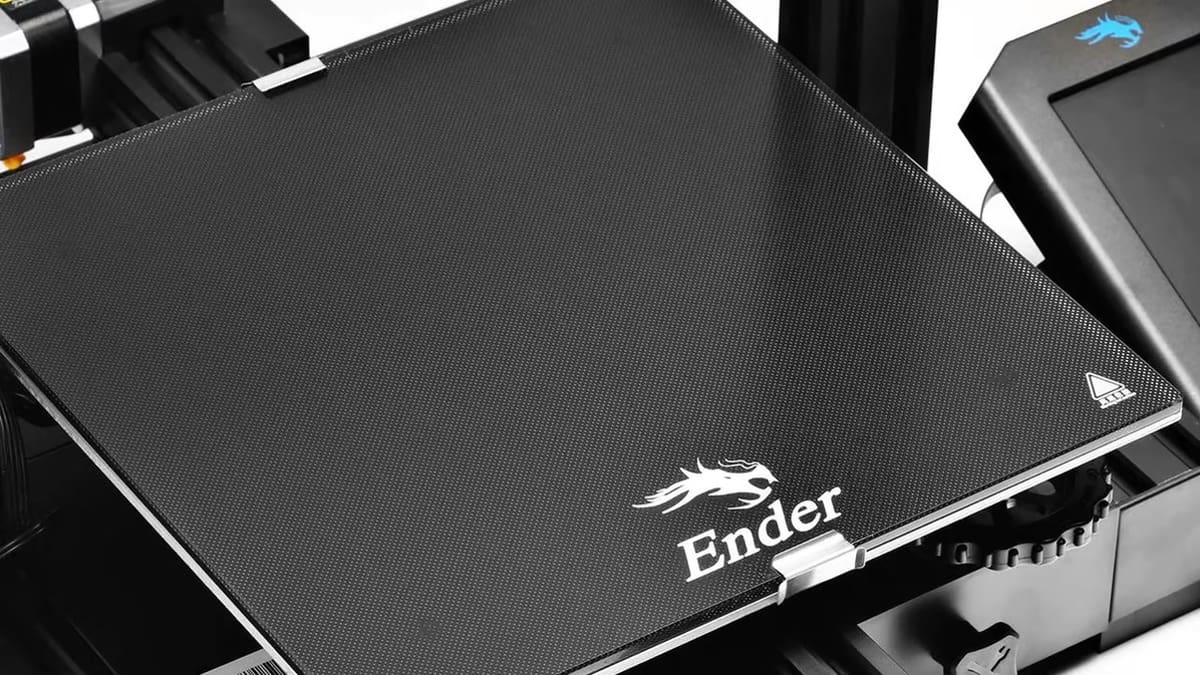
Build Plate

Good adhesion, easy removal, and a smooth surface are what you should be looking for in a good build plate. The Vyper and the V2 deliver in all aspects, but how do they compare?
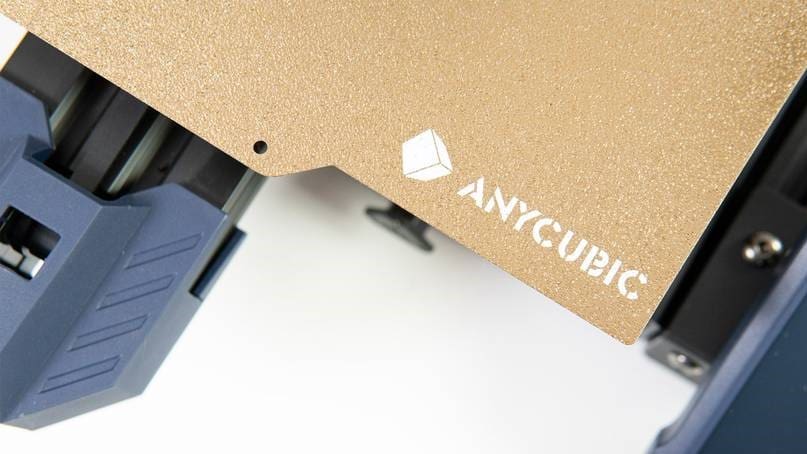
The Vyper has a PEI-coated, magnetic spring steel plate to which your prints will stick very well. The flexible nature of the steel also means that removal of your finished print is easier and negates the need for a scraper or similar tool. The downside is surface wear and tear, especially if the nozzle height is wrong on the first layer.
With the V2, you get a carborundum glass plate with both a smooth and a rough side. Both sides offer solid adhesion, so the choice depends on how smooth you want the base of your print to be. The glass is also a good distributor of heat, but there are some downsides. The lack of flexibility means you may have to employ additional force to remove a particularly stubborn print. Wear and tear is again a factor if you use a scraper, for instance, and the nozzle can cause serious damage if not leveled correctly.
Bed Leveling
Since we’ve just mentioned bed leveling, we should explore how each machine facilitates this setting. Without a level print bed, you can forget about starting a decent print, let alone producing a finished item.
The V2 offers manual bed leveling with four wheels at each corner of the build plate. Users of the Ender 3 series will be familiar with this method and gauging the correct setting with a piece of paper. While this does work, it’s definitely not an exact science, and it’s a shame that Creality didn’t opt for an auto-bed leveling (ABL) sensor in this upgrade. Of course, you can purchase and add your own BLTouch or CR Touch, but with additional cost and effort. All of that said, the manual system does allow the user to have a more “hands-on” feel, which some people prefer.
The Vyper does come with a 16-point ABL system, which makes the task much easier. Of course, there is some initial setup, but it reduces the need for constant leveling. It also eliminates the likelihood for manual errors, and the sensor can adjust for minor imperfections in the build plate itself. This is useful due to the potential for wear and tear we mentioned in the previous section.
UI
Both printers have a color, 4.3″ screen, with the Vyper offering a touchscreen while the V2 features a knob-controlled system.
The Vyper’s UI is clear and easy to use, with four basic menu options opening up into the main settings. The touchscreen makes moving around the menu a quick process without the need to scroll through the options.
Despite its knob control, the V2’s UI is also simple and easy to use. The only downside is that you have to scroll and click rather than touch.
The similarities between both UIs are clear, which is to be expected since their functionality is basically the same.
Software
We’ve looked at the mechanical side of the machines, but now we need to see what software you can use to actually print a model.
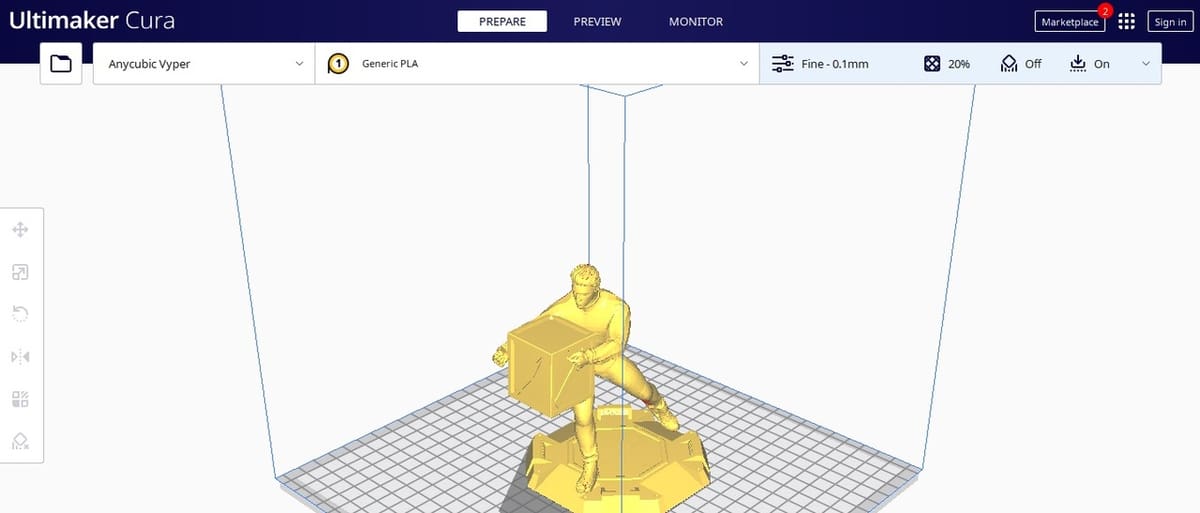
As is typical for FDM printers, Vyper and the V2 rely on G-Code to print models. Probably the most popular and widely used program to prepare such files is Ultimaker’s Cura. Using Cura with either printer will work great, but Creality has its own Creality Slicer and Creality Print software. However, it’s worth noting that they are both based on the Cura model.
Creality does offer the Creality Cloud app, which is unique in the 3D printing world. Users can download and slice their own or third-party designs and send them directly to the printer. You can do this on the desktop version or, more commonly, on IOS or Android mobiles.
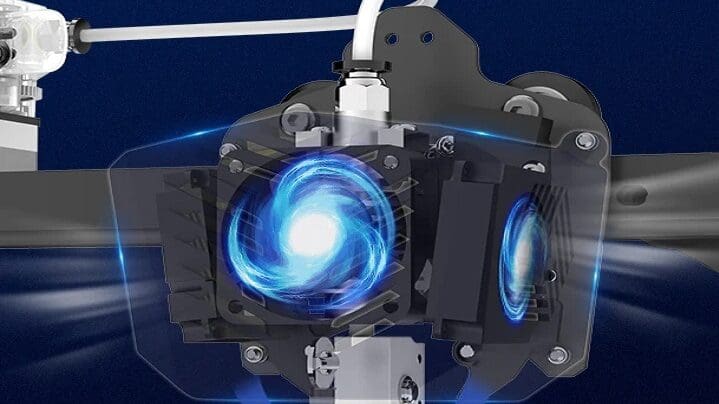
Extrusion
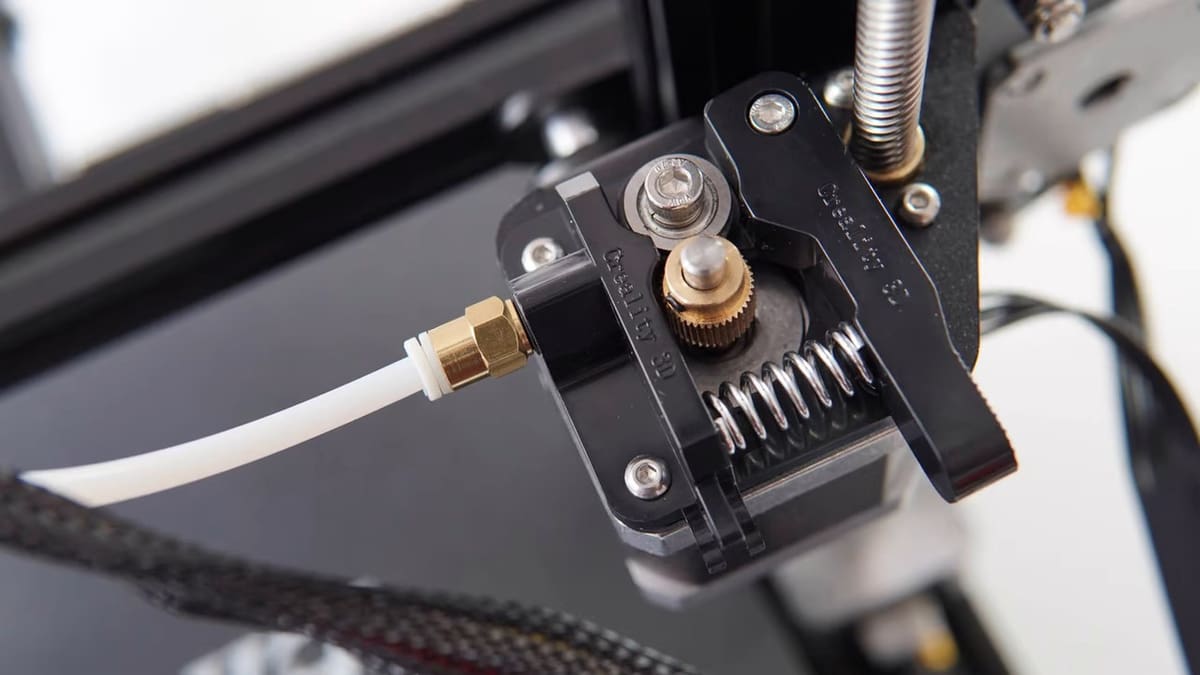
The Vyper and V2 are FDM machines using 1.75-mm diameter filament with single extruders. Both use a Bowden tube setup, but the Vyper has a dual-gear system in contrast to the single gear of the V2. Neither printer has a direct extrusion system, which most experienced users prefer. The recognized standard nozzle diameter for FDM printing is 0.4 mm, but users can change this depending on their printing needs.
The hot ends of each printer have a decent maximum temperature, expanding the range of available filament types: 260 °C for the Vyper and 255 °C for the V2.
The Vyper’s dual-gear system would seem to be the winner in this case over the V2’s single-gear. However, all the internal gears of the Vyper’s drive are plastic, so wear and tear is a consideration. In contrast, the V2’s extruder gears are metal, but the frame and lever are plastic. This can cause cracks in the lever, so many users upgrade to an all-metal extruder at some point.
Mainboard
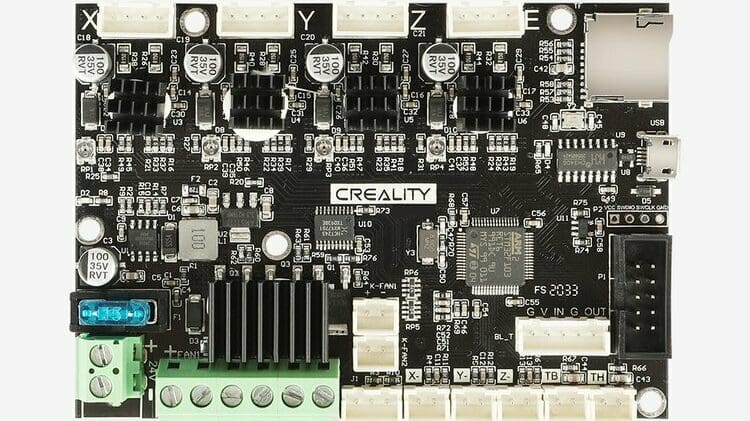
The mainboard on each machine is upgraded from previous versions. The V2 now has the 4.2.7 version of the Ender 3, 32-bit mainboard. It uses TMC2225 stepper drivers, which produce far less noise than their predecessors leading to the declaration that the board is “silent”. If you’ve used an original Ender 3, you’ll know exactly what we mean!
Check out Kaki DIY’s video on YouTube, which tests the sound difference between the 8-bit and 32-bit boards.
The Vyper also updated with M3 Cor-Tex technology to produce a 32-bit mainboard. The stepper drivers are TMC2209 and have precise voltage output control resulting in more accurate prints and a silent board.
Both boards have input slots but in different configurations. The Vyper has a full-sized SD card slot and USB port, whereas the V2 has a mini-TF card slot and port for its own Wi-Fi Box.
Creality printers are possibly the most widely upgradable machines available, and there are a number of third-party options for alternative mainboards. For more information, check out our article on different replacement boards.
Price

For many, price is the first thing to consider when buying a product. The next thing might be the overall value. The price difference between the Vyper and the V2 will likely have you asking about the relative value of each model.
The Vyper is the more expensive of the two, selling for around $360 on Anycubic’s website. Yet, we’ve seen it available at lower prices from third-party sellers. The printer offers the same functionality as the V2, but for the extra $80, you get ABL, dual Z-axes, and a touchscreen controller.
The V2 has an RRP of around $280 directly from Creality, but there are always offers from third-party sellers. The price tag still makes the V2 an affordable first printer for anyone starting their 3D printing journey. Of course, there’s the option to buy an ABL sensor, but this would increase the overall cost.
Verdict
So, how do the Vyper and V2 ultimately add up, and which printer offers the best value for your money?
There are many similarities between the two, which doesn’t sway the verdict either way. However, differences such as build volume, UI, bed leveling, and price should be compared and used to make an informed decision.
In terms of overall value, the Vyper seems to be worth the investment. However, you can upgrade the V2 to include all of the Vyper’s additional features if that’s the route you want to go. This would mean additional cost, time, and effort, but if you’re a fan of tinkering, then it’s worth considering.
License: The text of "Anycubic Vyper vs Ender 3 V2: The Differences" by All3DP is licensed under a Creative Commons Attribution 4.0 International License.
CERTAIN CONTENT THAT APPEARS ON THIS SITE COMES FROM AMAZON. THIS CONTENT IS PROVIDED ‘AS IS’ AND IS SUBJECT TO CHANGE OR REMOVAL AT ANY TIME.