In 1971, the first single-chip CPU, the Intel 4004 chip, was created and used for a calculator. It was then followed by the TMS-1000, which included enough memory for a program ROM as well as input/output support. This gave it wider applications, and it was soon found in the Speak & Spell educational toy as well as in the electronic game Simon (which we’ll come back to later in this list).
When semiconductors began to increase in capacity and speed, RISC (reduced instruction set computing) designs emerged, which simplified instructions to provide higher performance via fast instruction execution. In the 1990s, simple games such as Snake became hugely popular on handheld electronic devices like phones and calculators.
In 1996, Atmel released the 8-bit AVR microcontroller, designed using RISC principles. Nowadays, you can find plenty of development boards based on an AVR chip, including Arduino development boards. The simplicity and beginner-friendly nature of these boards mean makers can create their own computing projects at home with minimal setup.
Here, we’ve found some impressive game projects based on Arduino boards, ranging from retro games played on a tiny screen to some more involved projects that will take some assembly. So start your engines and let’s get to the list!

Buzz Wire

This is a classic game for electronics enthusiasts, and now you can give it an Arduino twist by adding a precise counter, instead of a simple light to indicate contact. In addition to the count, the game triggers a sound and light signal when reaching 10 contacts to indicate the end of the game. You can also adjust a “grace period” in the code to give the player a longer pause between contacts with the wire.
Go ahead and pick a nice copper wire like the one in the image above and create a challenging and exciting path to place on a wooden base. Some useful tips from the designer are that if you think the LEDs are too bright, it is important to consider stronger resistors, and as for the ring, using a keychain tip with a hook will make it easier to restart the path without needing to go back the whole way.
- Difficulty: Easy
- Designer: behrooz66
- Project pages: Arduino Project Hub, Hackster
- Core components: Arduino Nano R3, buzzer, LEDs, 7 segment LED display, resistors, 9-V battery with conector
Snake
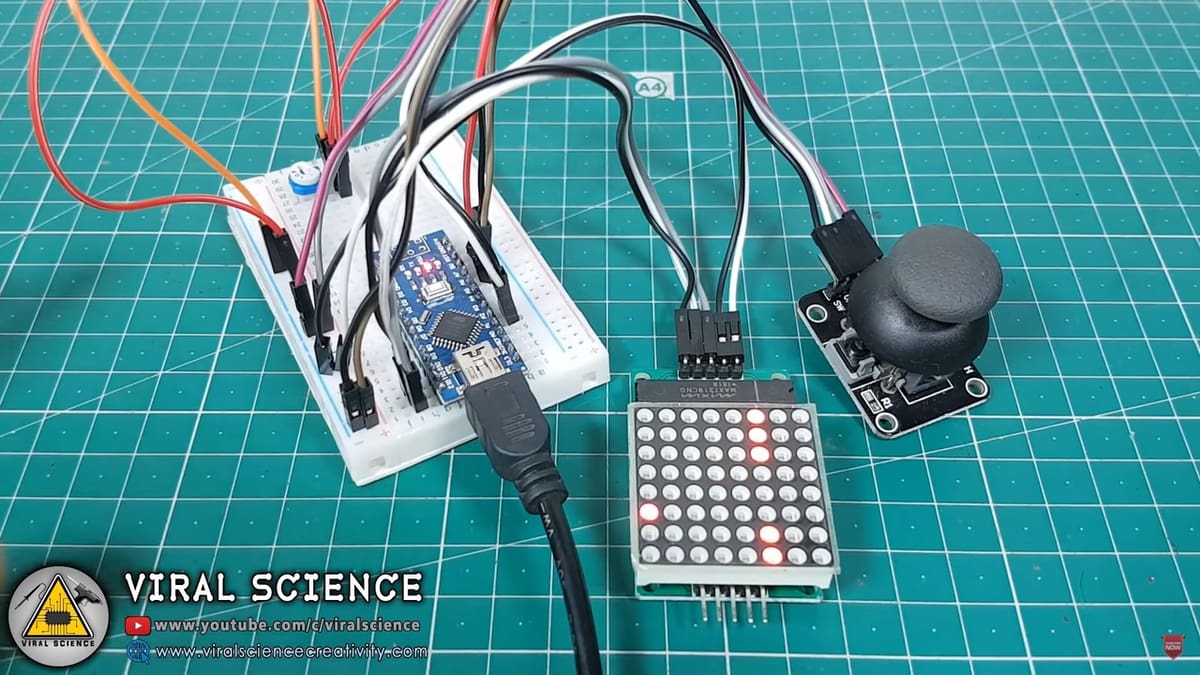
Snake is a classic game that many people will remember playing on early mobile phones. The premise is simple: Players use four buttons to move a line that represents a snake. The more you “eat”, the more your snake grows in length, until your own tail becomes an obstacle to avoid in the game.
This nostalgic and surprisingly challenging game can be resurrected with an Arduino Nano. While there are many ways to recreate the game, many builds run on JavaScript in a web browser. This project focuses on a hardware-based version of Snake instead. There’s a helpful video that shows the whole process, and the code for the game is available from Viral Science.
- Difficulty: Easy
- Designer: evgeniy-lebedev
- Project page: Hackernoon
- Core components: Arduino Nano, breadboard, LED matrix, joystick, rotary potentiometer
Tug of War
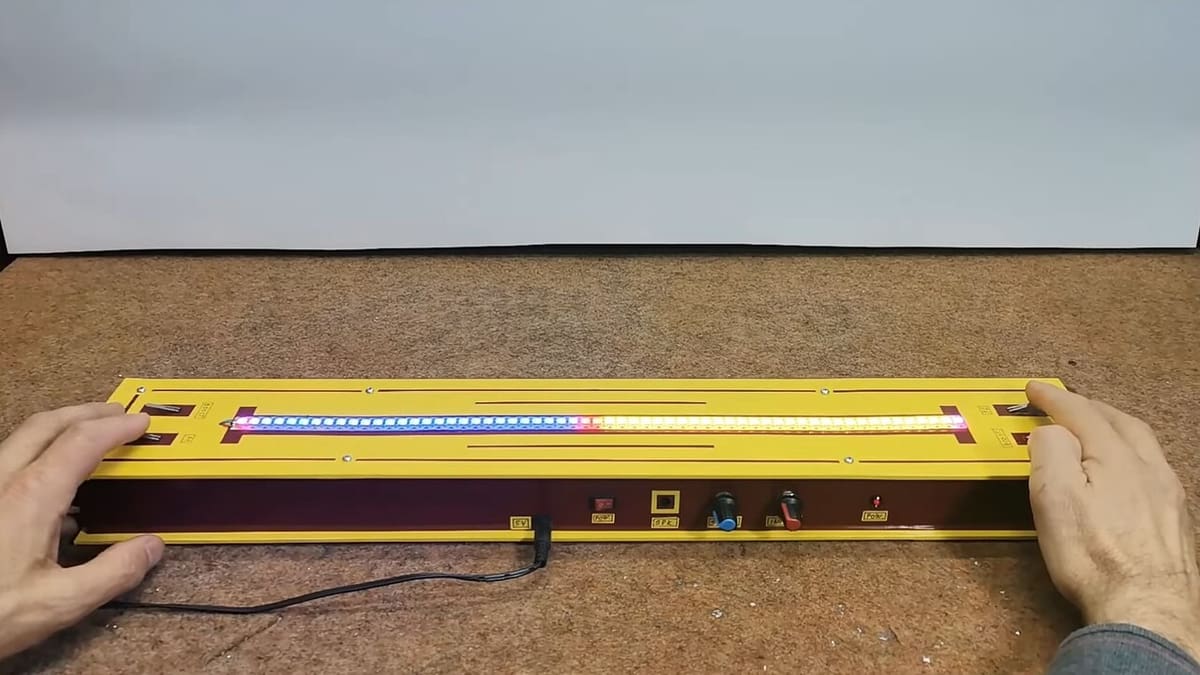
With so many modern graphic games, it’s hard to come up with a creative idea that stands out, but Mirko Pavleski has done a great job with Tug of War. Here you won’t need several players to form each team; one to represent each will do the trick.
There are two main control buttons: The first controls the strength of the pull according to the speed at which it is repeatedly pressed, and the second can be used only once for a pull with double the strength. It’s also possible to adjust the speed of the pull and the intensity of the light with the potentiometers on the side. The different colors indicate player positions, boundaries, and rope position, and there are sounds to make everything more interesting.
It’s an entertaining project that can be done in less than a day, according to the designer.
With everything in place and a well-adjusted programming, the game becomes a true visual spectacle, guaranteeing good laughs and an educational and fun experience for electronics enthusiasts. Check out the demo video to see it in action.
- Difficulty: Easy
- Designer: Mirko Pavleski
- Project pages: Hackster, Instructables
- Core components: Arduino Nano R3, WS2812 addressable LED strip, transistor NPN, rotary potentiometers, a buzzer
Hunter LED
For those who boast about having the most agile fingers around, this could be the perfect game for a challenge!
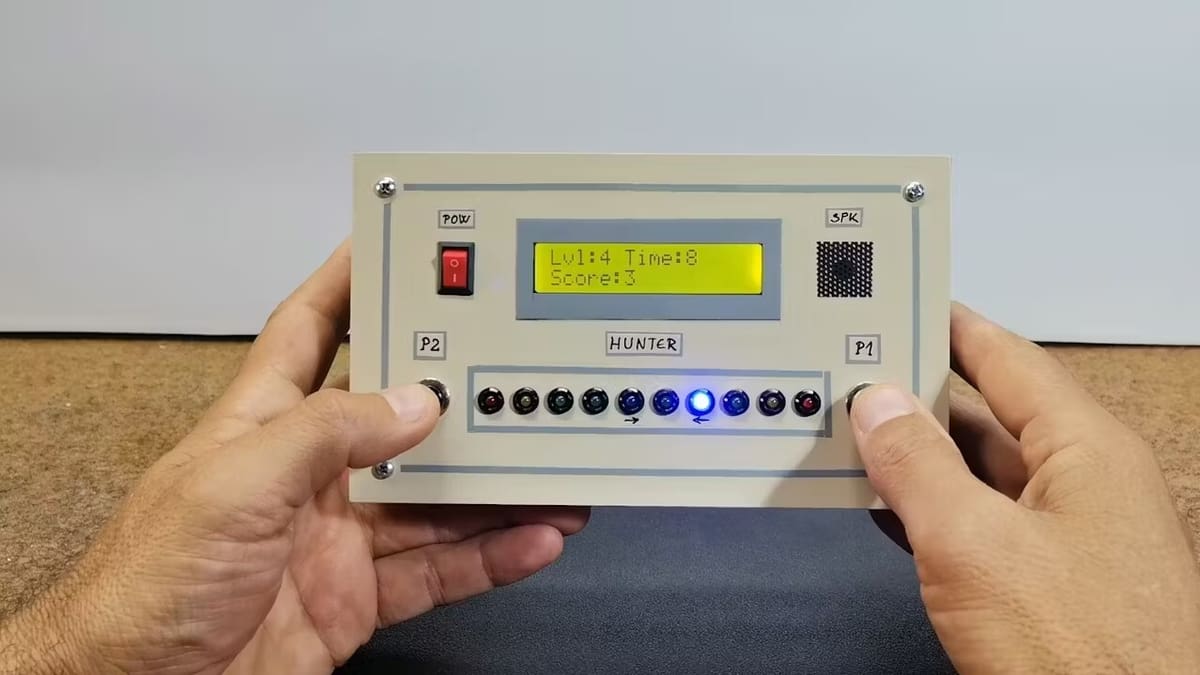
Basically, each time you hit the LED when it reaches the target, the game will test your reflexes by moving it faster and faster. To make things more fun, the game also incorporates sounds through a buzzer and you have a time limit of 10 seconds to hit the target.
One tip the author gives is that you can use just one resistor for all the LEDs since only one of them is lit at a time, but you’ll want to pay attention to the diagram included in the instructions. Using LEDs of different colors is also worth considering to make this more playable and intuitive.
The LCD screen shows the final score achieved and makes it clear who has the lightest fingers around!
- Difficulty: Easy
- Designer: Mirko Pavleski
- Project pages: Arduino Project Hub, Hackster, Instructables
- Core components: Arduino Nano R3, 16X2 LCD display module, LEDs, buzzer, pushbuttons
Simon Says
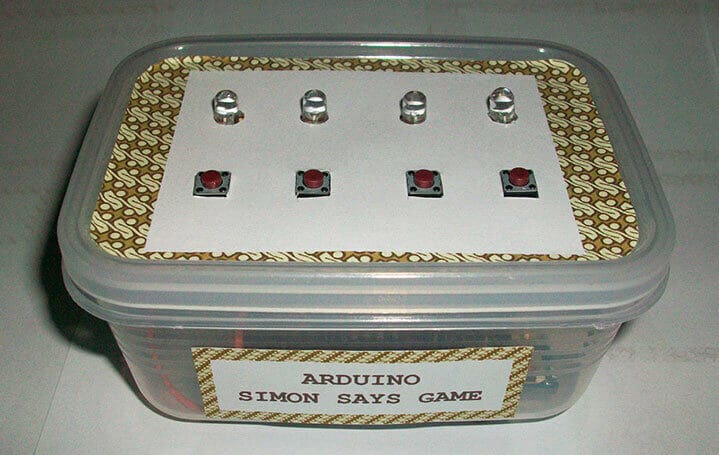
Simon Says is an electronic memory game where players have to follow instructions correctly. In this build, the LEDs will light up in a certain sequence and the player needs to press the corresponding buttons in the right order.
It’s a simple build that requires an Arduino Uno, LEDs of various colors, pushbuttons, a perfboard, a speaker, and a few other components. You’ll also need something to contain it all. The plastic tub pictured above works well, but we think a custom 3D printed enclosure could take this to the next level!
- Difficulty: Easy
- Designer: faziefazie
- Project page: Instructables
- Core components: Arduino Uno, LEDs, perfboard, 8-Ω speaker, resistors, battery, battery box with on/off switch, project enclosure
Pong
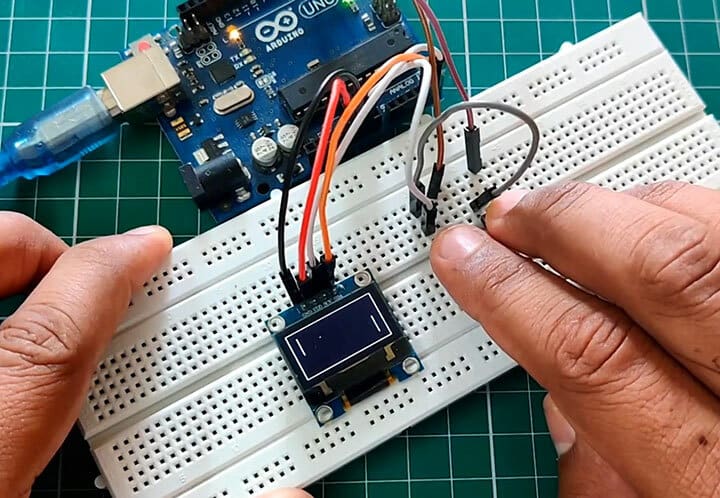
Another classic game is Pong, an arcade game inspired by table tennis. It’s a two-dimensional version of a table tennis game where players are in control of the paddles.
This build is super simple and only requires the use of an Arduino Uno, an OLED display, pushbuttons, jumper wires, and a breadboard, making it an ideal beginner’s project. The maker has also provided the full code for Pong on GitHub.
- Difficulty: Easy
- Designer: Utsource
- Project page: Instructables
- Core components: Arduino Uno, 0.96-inch OLED screen, breadboard
Balancing Game
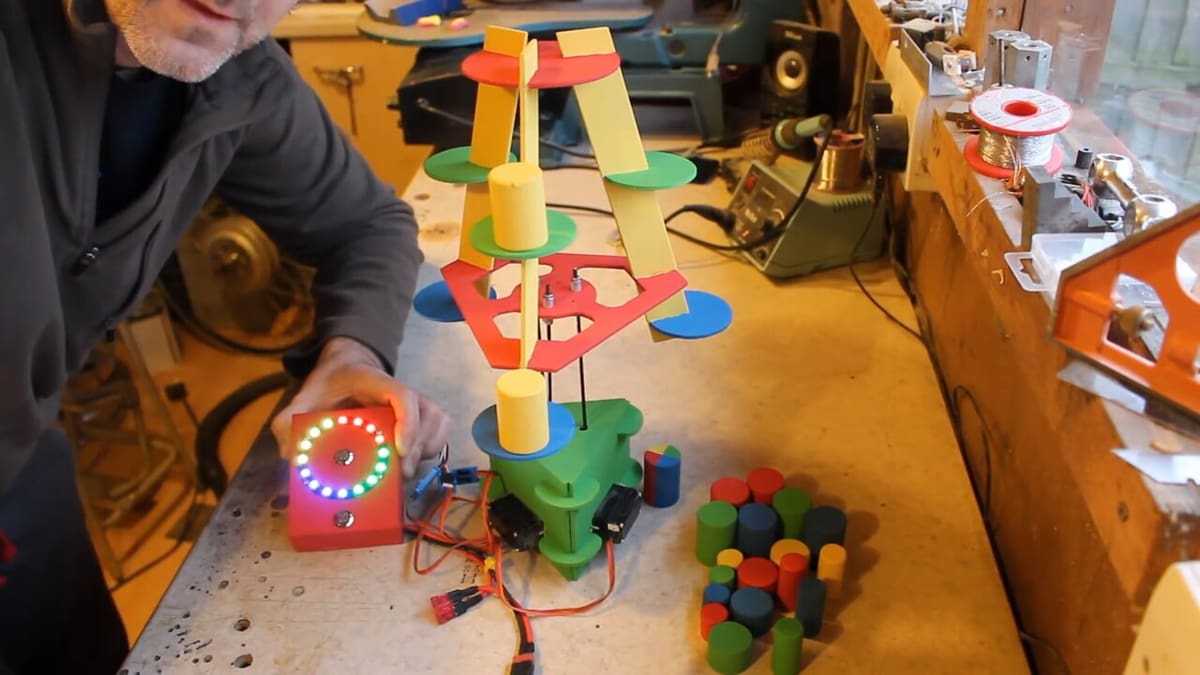
When it comes to fun, it’s not all about looking at a bright screen, and this could be a great project to carry out with the little ones. This is especially the case because the parts need to be painted beforehand (unless you want to opt for 3D printed ones, of course, although you’ll then have to design them yourself).
Each player has cylinders of different sizes and colors. The controller randomly assigns a player a color and the piece has to be set on the platform. Next, the controller sets a level of rotation for the platform. If the pieces fall off, the player has to collect them. Whoever gets rid of all their pieces first wins!
An important tip from the project’s author is to use a separate power supply for the servos, as they can consume a lot of power. The code is relatively simple, but small adjustments may be necessary to calibrate the servos’ response, ensuring smooth and precise movements.
With patience and testing, the game becomes a challenging machine that holds your attention and improves your skills in both electronics and programming.
- Difficulty: Intermediate
- Designer: mr_fid
- Project pages: Arduino Project Hub, Instructables
- Core components: Arduino Nano R3, WS2812 LED ring, servo motors, pushbuttons, resistors, 5-V power supply
Poké Ball
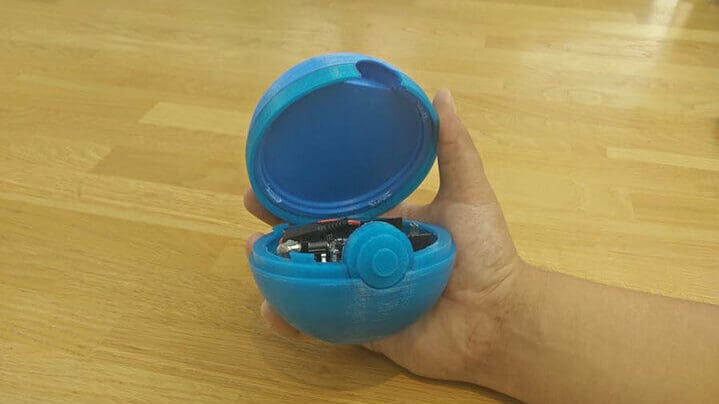
This is a Poké Ball that you can throw in real life to catch ’em all in the mobile game Pokémon Go! What it essentially does is monitor for motion with an accelerometer, then simulates the perfect swipe on your mobile phone.
Specifically, the accelerometer in the Arduino senses when it’s been thrown, and information is sent via Bluetooth to your phone via the Tasker app, which then simulates the swipe motion in the Pokémon Go app.
Unfortunately, the Arduino 101 – the microcontroller used by the maker – has been discontinued, but if you’ve got one lying around, this is a cool project to try! Otherwise, you might need a shield and a bit of experimentation to get this going with a different board.
- Difficulty: Intermediate
- Designer: MarJoh
- Project page: Arduino Project Hub
- Core components: Arduino 101, 9-V battery, 9-V to barrel jack connector, rooted Android device, 3D printed casing
Flappybird
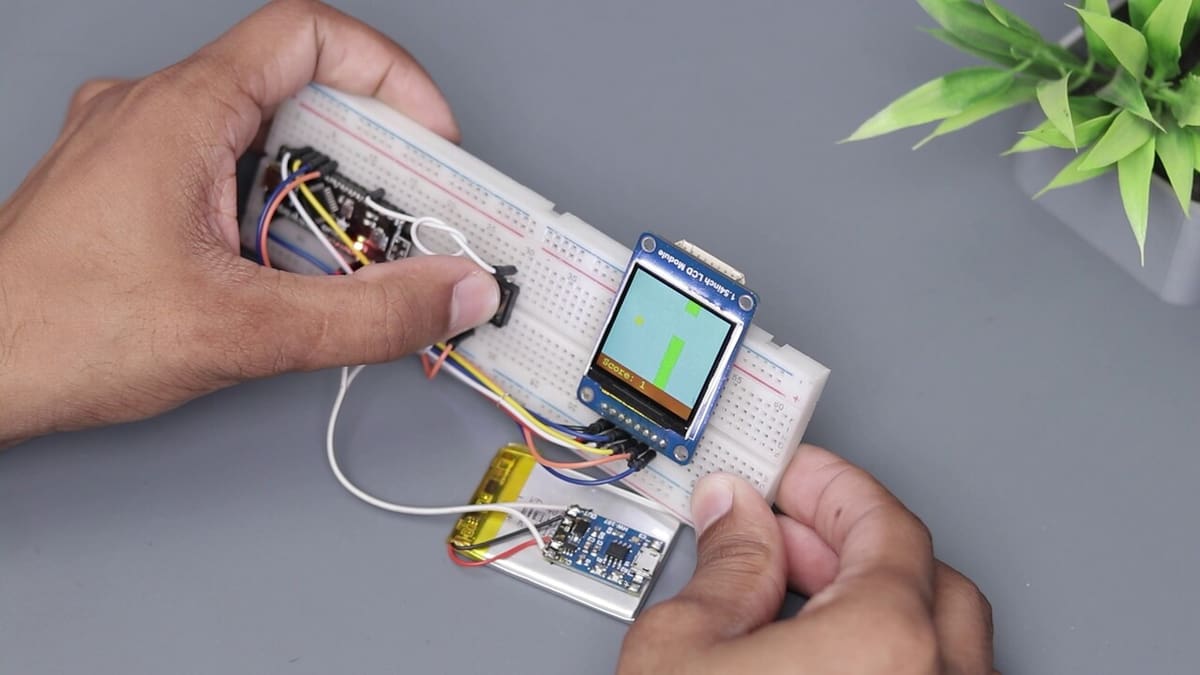
You don’t need to create something extremely complex to have fun anywhere, and this compact game is proof of that. It’s a remake of the classic Flappybird released for mobile devices, and although in the image above it’s running on a protoboard, it can also be turned into a beautiful keychain. To this end, the designer included the full bill of materials and STL files for you to create a case made of acrylic and 3D printed parts.
Of course, if you simply want to have fun assembling and learning, you can use some wires and the protoboard. But if you’re up for the challenge to make the keychain, you’ll need a custom PCB board and some tools, like a heat gun. The designer provides the Gerber file of the custom board, and you’ll also need a stencil to apply the solder, as well as some patience to solder the components.
Keep in mind that you may need to adapt the Gerber file or solder some wires to work around the problem for the display solder pads, as pointed out by the designer.
- Difficulty: Intermediate
- Designer: The Wrench
- Project pages: Instructables, GitHub
- Core components: Arduino Nano R3, micro switch, 1.54 inch LCD display module
VR Headset
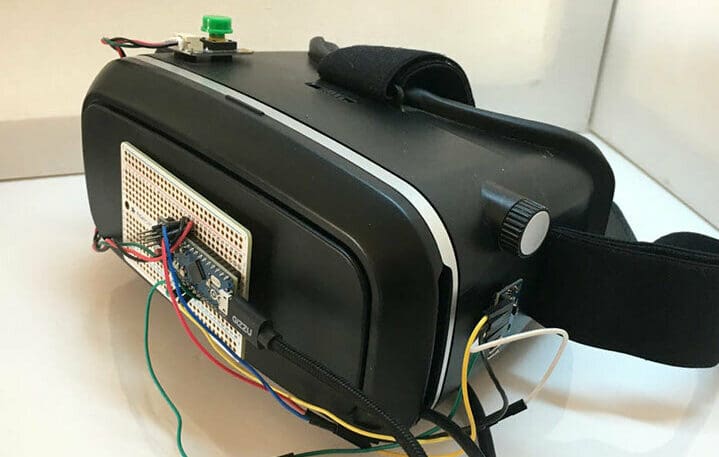
I mean, do we really need to explain a VR headset in this day and age? Sure, you could just buy one, but this one’ll give you massive bragging rights.
This project utilizes an Arduino Micro to build a virtual reality headset for under $100. It includes a 3-axis gyroscope and accelerometer, specifically the MPU6050. Also in the build is a 5-inch LCD screen (the Raspberry Pi models work well), pushbuttons, a toggle flick switch, and some LEDs. You’ll also need a headset to assemble all this inside, but Google cardboard-compatible headsets are easy to come by and not too expensive.
- Difficulty: Intermediate
- Designer: jamesvdberg
- Project page: Instructables
- Core components: Arduino Micro, Google cardboard-compatible VR headset, 3-axis gyroscope and accelerometer, 5-inch LCD screen
Pinball Machine
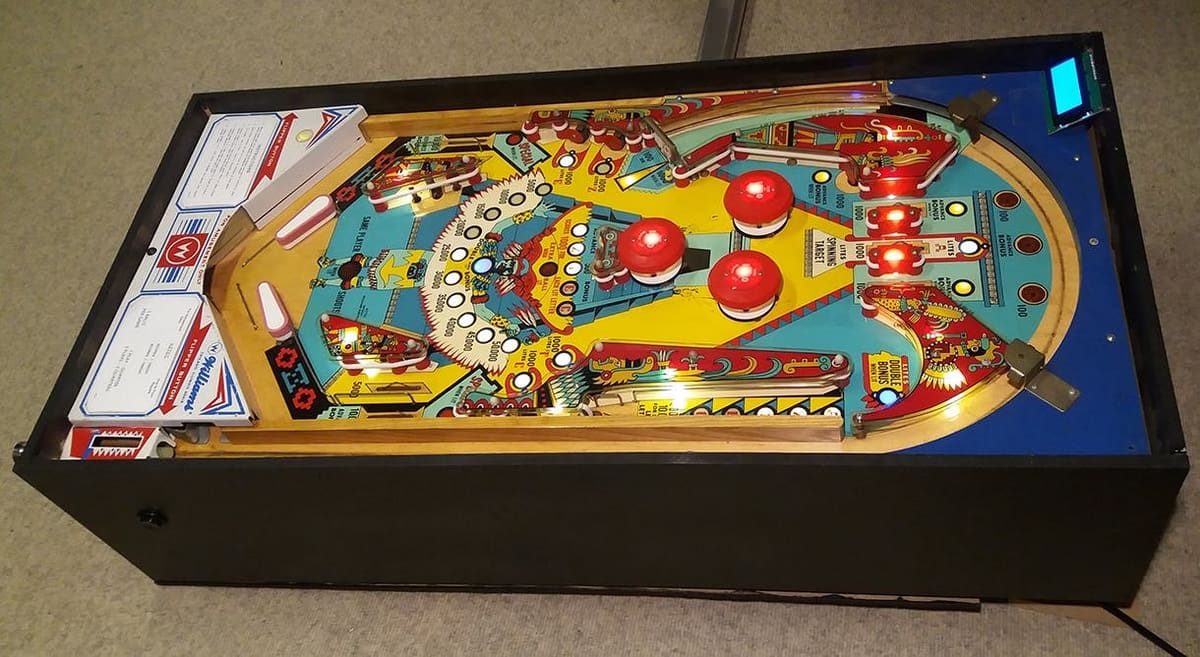
This is a homemade pinball machine controlled with an Arduino Mega. The maker used an old arcade machine for this project, but you could easily build a wooden enclosure to fully design your own!
As part of the build, sensors, LED lights, a display, and a power supply are required. It’s fully equipped with flippers, pop bumpers, and slingshots. The Arduino determines the activation of switches and lights as well as score tracking.
- Difficulty: Intermediate
- Designer: Frogger1108
- Project page: Arduino Project Hub
- Core components: Arduino Mega, MP3 player shield, 1602 LCD module, retired pinball machine or MDF casing and pinball flippers
Claw Machine
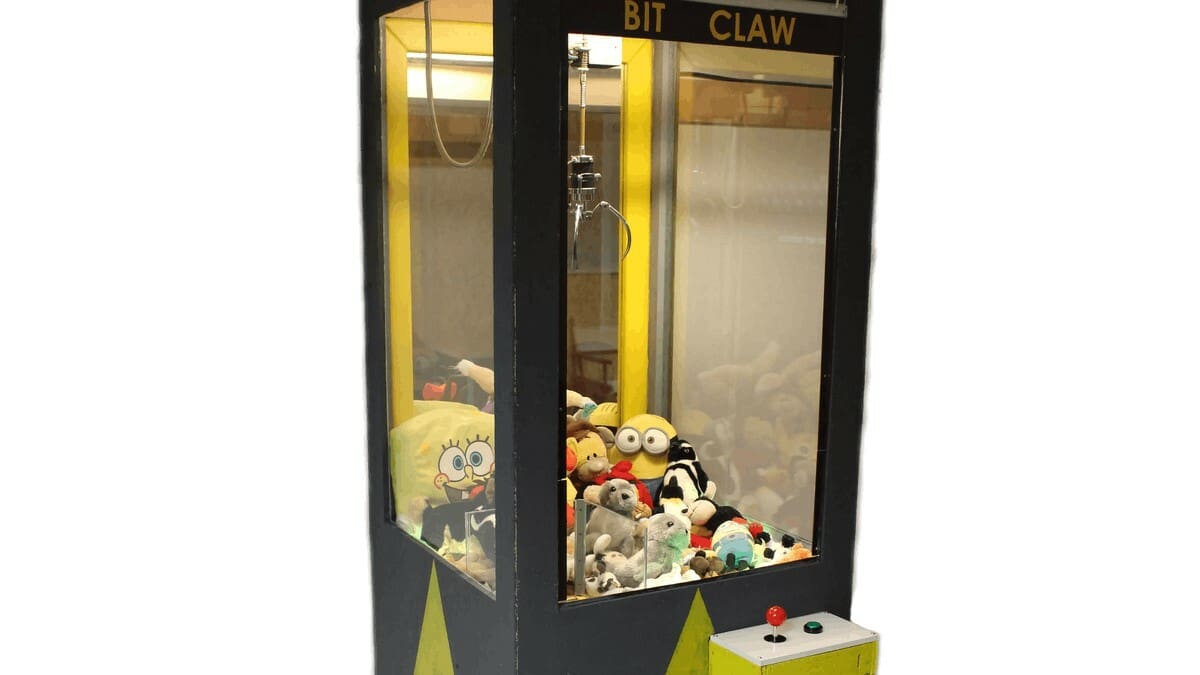
Playing on claw machines at the arcade can be fun, but most of us are pretty terrible and may need a lot of coins to finally grab something! For a fraction of the cost, you could build your very own claw machine.
This homemade claw machine was made with an Arduino Mega, motors, relays, and an MP3 module. The maker notes that the Mega was chosen as it has the required number of inputs/outputs for all the motors in the build.
- Difficulty: Intermediate
- Designer: -MMM-
- Project page: Hackster
- Core components: Arduino Mega, MP3 player module, relay shield, arcade joystick
LED Tetris
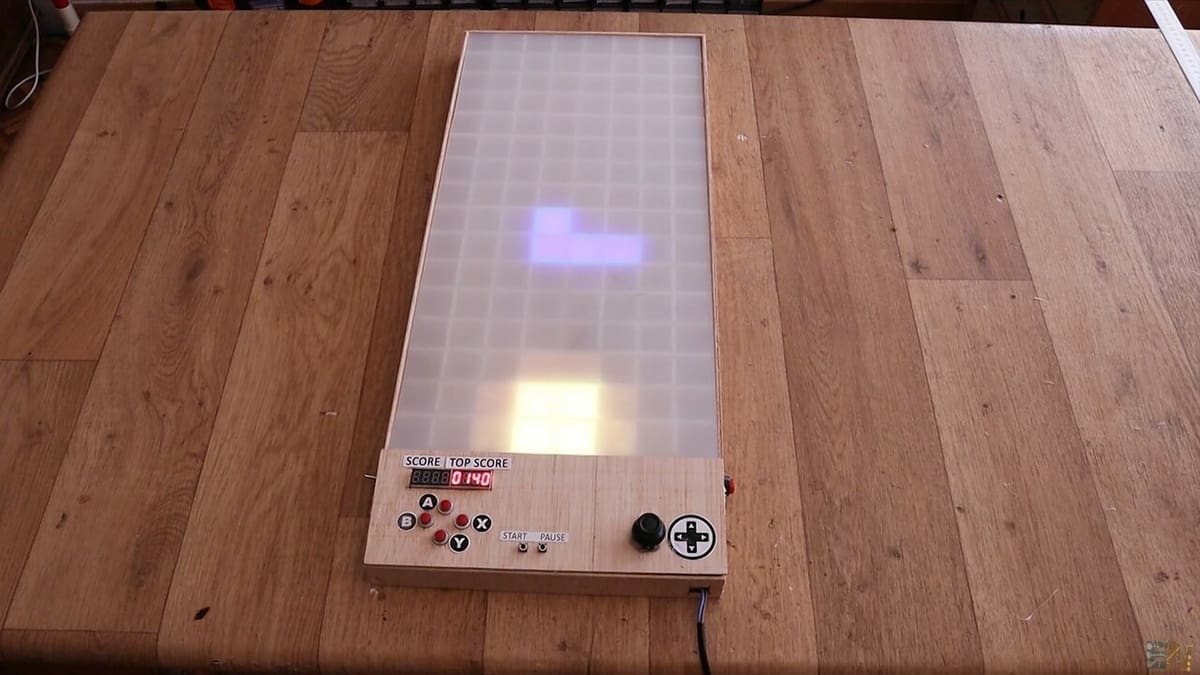
It’s a new take on the classic game of Tetris. This build uses an Arduino and addressable LED strips to recreate the falling tetrominoes. Other electronics include a seven-segment module, pushbuttons, a buzzer and joystick, an MP3 module and speaker, and a power supply.
The source code for this game is taken from a simpler project from Marginally Clever, so if you’re not up to the complex construction of this one, you can build the same game using an LED matrix!
- Difficulty: Hard
- Designer: Electronoobs
- Project page: Electronoobs
- Core components: Arduino Mega, WS2812 LED strips, seven-segment display module, MP3 player module, 8-Ω speaker
Chess
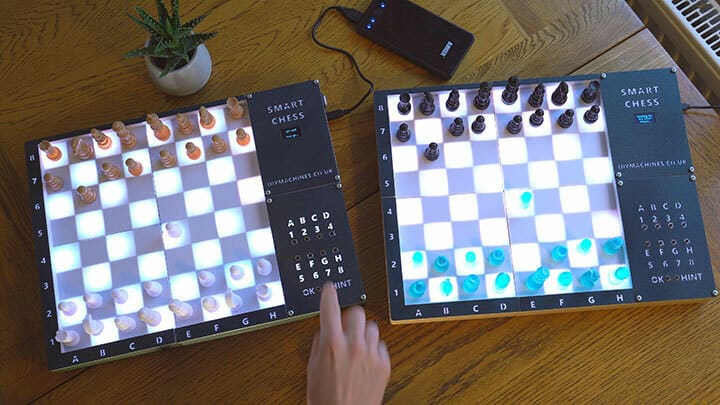
This is a smart chess board built with an Arduino Nano. It lets you play matches with other people both locally and online! The maker notes that if two sets of these chess boards were to be created, then you and your friend could play it with real chess pieces.
The 3D models provided can be printed using either resin or FDM printing. No supports are required although adding some for the knight model may be useful.
There’s also a handy video that takes you through how to build this impressive game.
- Difficulty: Hard
- Designer: DIY Machines
- Project page: Instructables
- Core components: Arduino Nano, Raspberry Pi Zero (or bigger), Neopixel strip, logic level shifter, 0.96-inch OLED screen, 3D printed parts

Spaceship Simulator
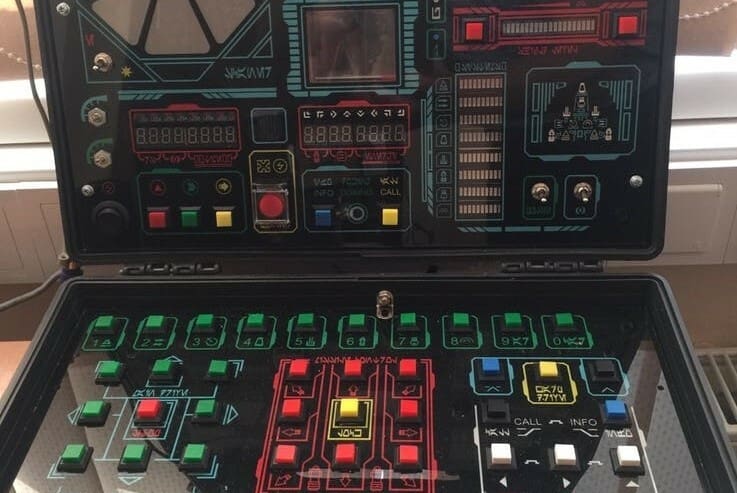
As its name suggests, this is a spaceship simulator game made with an Arduino in the style of Star Trek or Elite. In this game, there are four types of enemies with protective shields as well as missiles systems. There are also four types of droids, spaceship upgrades, the ability to trade and extract ores on asteroids, a range of missions, and four difficulty levels.
The maker notes that an Arduino Uno was used in the prototyping phase, but was then swapped for an Arduino Mega as more memory was needed.
- Difficulty: Hard
- Designer: archy05
- Project page: Arduino Project Hub
- Core components: Arduino Mega, RGB LED pixel matrix, WS2812 ring, 10-segment LED bar, dot matrix module, MP3 player module
License: The text of "The 15 Best Arduino Game Projects" by All3DP is licensed under a Creative Commons Attribution 4.0 International License.