The Best Bambu Lab P1P Upgrades

Unleash the full Bambu potential! Check out these awesome Bambu Lab P1P upgrades to improve your prints and your workflow.
The Bambu Lab P1P is an open 3D printer released as a budget-friendlier, stripped-down counterpart to the Bambu Lab X1 Carbon. Costing around $700, though often discounted, the P1P boasts many features that are similar to the X1C for almost half the price. For example, both have similar build areas, printing speeds, and maximum temperatures.
The most distinguishable difference between these two printers comes down to the X1C being a fully furnished printer, with all the bells and whistles and AI included, while the P1P is designed for customizability.
This naturally has ignited the maker community to deck out the P1P with countless personalization options, both purchasable and printable. Whether it be official hardware upgrades from Bambu Lab itself, third-party sellers, or 3D printable accessories, we have compiled a list of the best upgrades out there so you can get the most from your P1P!

Side Panels
Side panels and enclosures are a popular upgrade for any 3D printer because they trap heat, improving the results when printing with heat-sensitive materials like ABS and also reducing energy use.
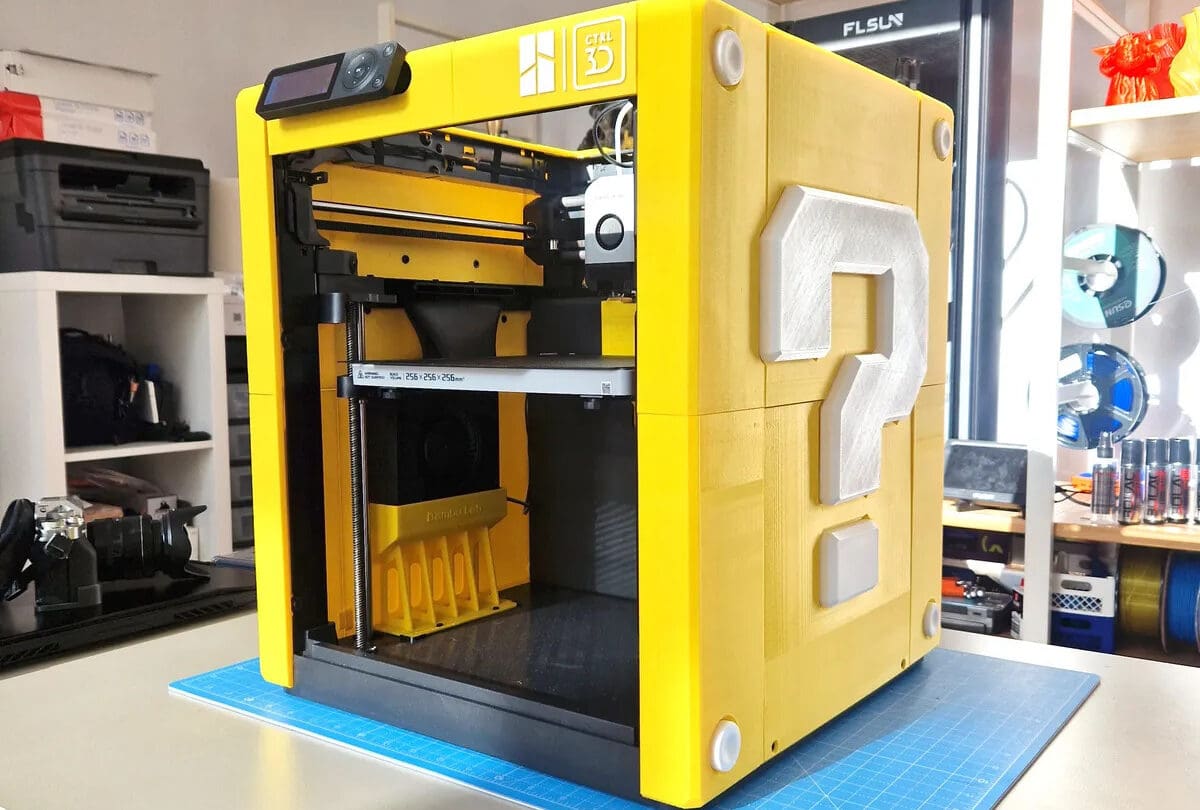
Although the P1P is an open-air design, Bambu Lab released models for fitted side panel designs (called Modplates), which are meant to be 3D printed by the user. There are several different design options for P1P users to unleash their creativity and customize their P1P to their own liking.
Even more user-uploaded Modplate designs can be found on 3D model repositories like Printables. Fun options include a Mario Block by Control3D and a Borg Cube by neil3dprints. You could also go for enclosures that utilize acrylics, allowing you to watch printing in progress, such as the Vision Enclosure by humebean.
- Improvements: Aesthetic, heat insolation, and protection
- Cost: ~$30
- Designer: Bambu Lab and others
- Source: Bambu Lab

Purge Bucket
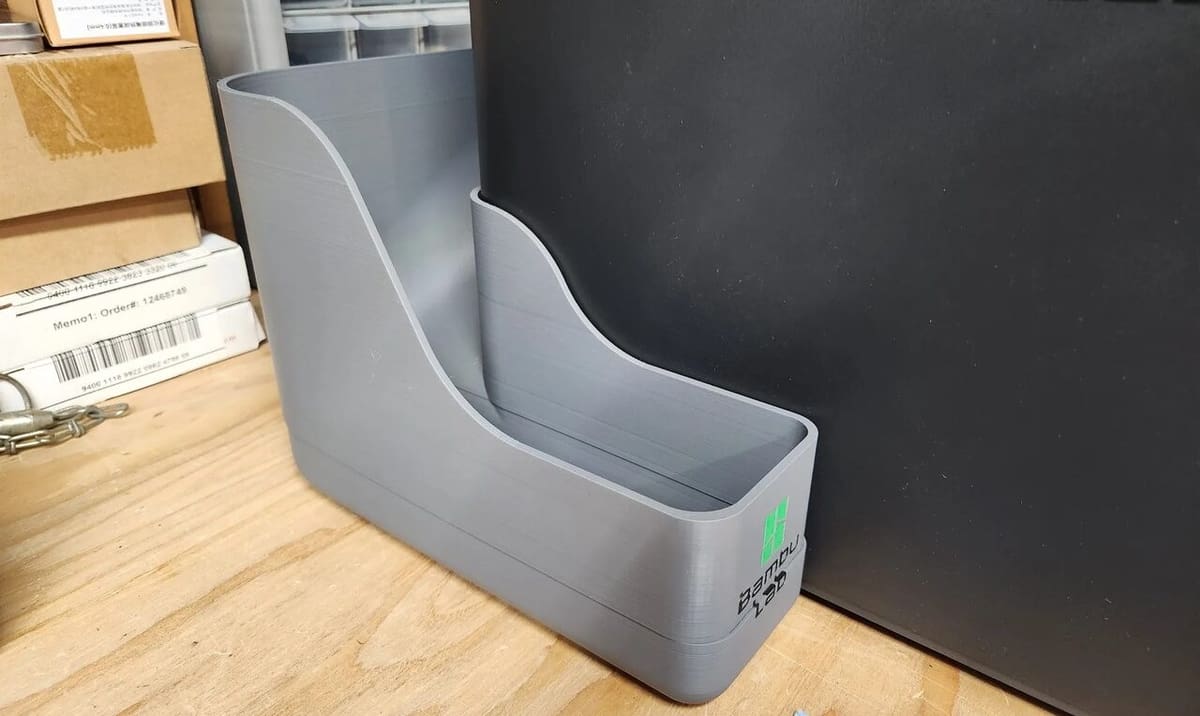
Multicolor printing means nozzle purging is performed to ensure neat color transitions. Bambu Lab machines eject a bit of filament at the beginning of every print and after a color change to clear the nozzle. These extrusion droppings then get deposited into a dedicated chute located at the back of the printer. Unfortunately, this chute can get messy quickly, especially with complex multicolor prints.
It’s not surprising that one of the first prints that Bambu Lab users choose to print is a larger purge bucket, also known as a “poop collector”. Out of the many 3D printable “poop collectors” out there, this design is arguably one of the more popular ones. Its slim form factor doesn’t add much to the footprint of the printer, while a slide transports all of the waste to the side of the device, allowing for easier collection.
- Improvement: Keeps purge waste tidy and easy to access
- Cost: Only filament costs
- Designer: Mikyleee
- Source: Printables
P1P to P1S Upgrade Kit
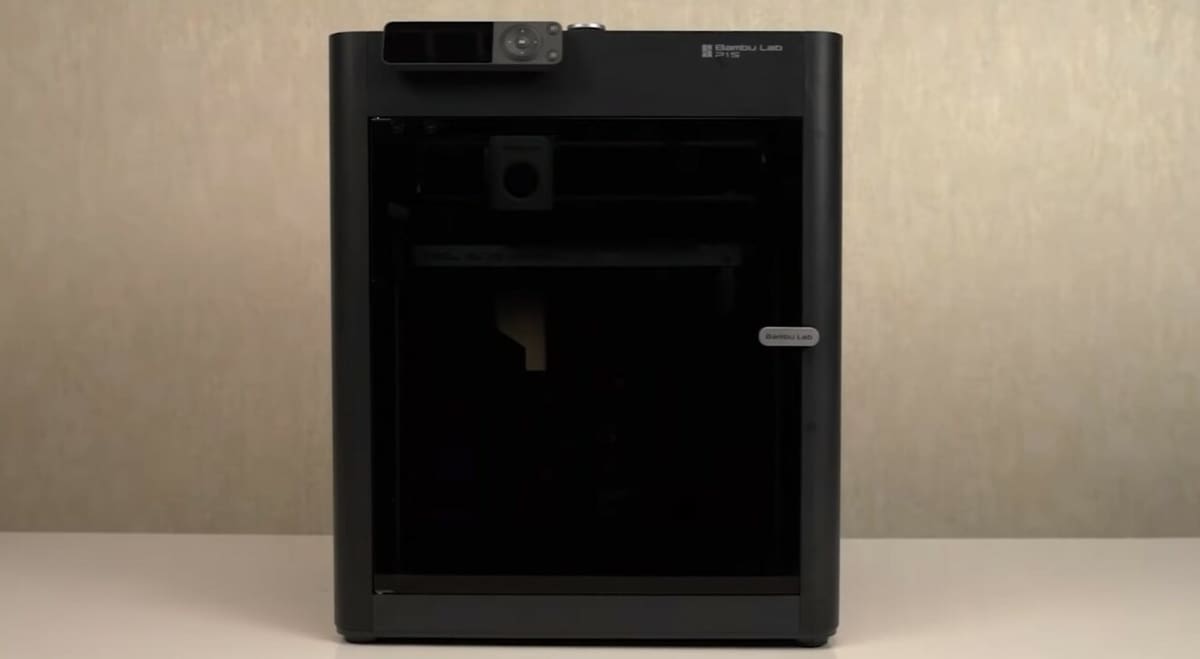
If you’ve already bought a P1P but like the extras that come with a P1S, Bambu Lab provides an upgrade kit so you can make the modifications yourself. Compared to the P1P, the P1S has a built-in enclosure, consisting of two acrylic side panels, a glass door, and a glass top cover. It also comes with an improved fan, tubing, and cables as well as an activated carbon air filter – all of which are included in the upgrade kit.
At the time of writing, it’s more cost-effective to purchase the P1S directly instead of the P1P with an upgrade kit. And that’s without considering the labor that goes into assembly. Given the P1S was released many months after the P1P, this kit is still a great choice for P1P users looking to upgrade their hardware with parts guaranteed to fit seamlessly into their current device.
- Improvements: Several hardware improvements including an enclosure, fans, and an air filter
- Cost: ~$150
- Producer: Bambu Lab
- Where to find it: Bambu Lab
Side Spool Arm
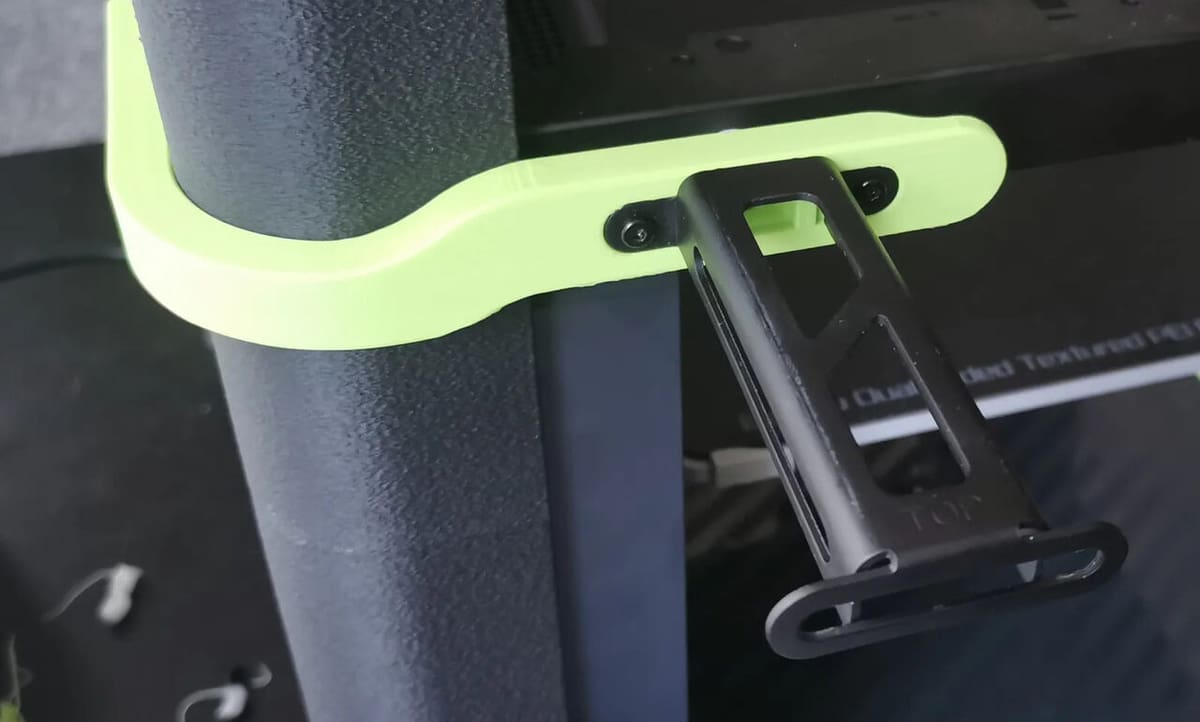
The stock spool holder on the P1P sits at the back of the device, which is not readily accessible. Therefore, changing the spool can become a challenging and straining task, especially for those working in small spaces. A simple print can help make a filament swap much easier.
This spool side arm can be printed and attached to preexisting holes in the P1P frame with a few screws. After this quick setup, you’ll have a convenient filament spool holder secured on the side of the printer rather than the back, allowing for much easier access. For best results, avoid using PLA in favor of a stronger filament, or at least PETG.
- Improvements: Easier filament spool change
- Cost: Only filament costs
- Designer/Producer: suit
- Where to find it: Printables
AMS

A common selling point of Bambu Lab printers is the potential for seamless integration with their AMS (Automatic Material System). The system coordinates with the printer to switch between multiple filaments in a single print, creating impressive multicolor parts.
The AMS allows up to four spools of filament, however, three additional AMS units can be connected using the AMS hub. This means you could combine up to 16 different filaments into a single print!
One consideration to be aware of before you buy is that the unit works best with rigid filaments such as PLA. Soft and flexible filaments, such as TPEs, may encounter issues like jamming and are best saved for single-material prints.
- Improvements: Multicolor and multi-material printing
- Costs: ~$350
- Producer: Bambu Lab
- Where to find it: Bambu Lab

Vibration Dampener

Although Bambu Lab printers come with vibration compensation technology to detect and compensate for the movements of the printer, some users have found extra measures are needed for particularly shaky tables or high-speed printing.
Vibration dampeners added to the feet of a P1P can absorb shaking and prevent printing defects like ghosting and ringing. Print this design using a flexible filament, like TPU, for best results.
- Improvements: Reduces vibration-related printing defects
- Cost: Only filament costs
- Designer: Bonfiggy
- Where to find it: Thingiverse
Hot End Upgrades
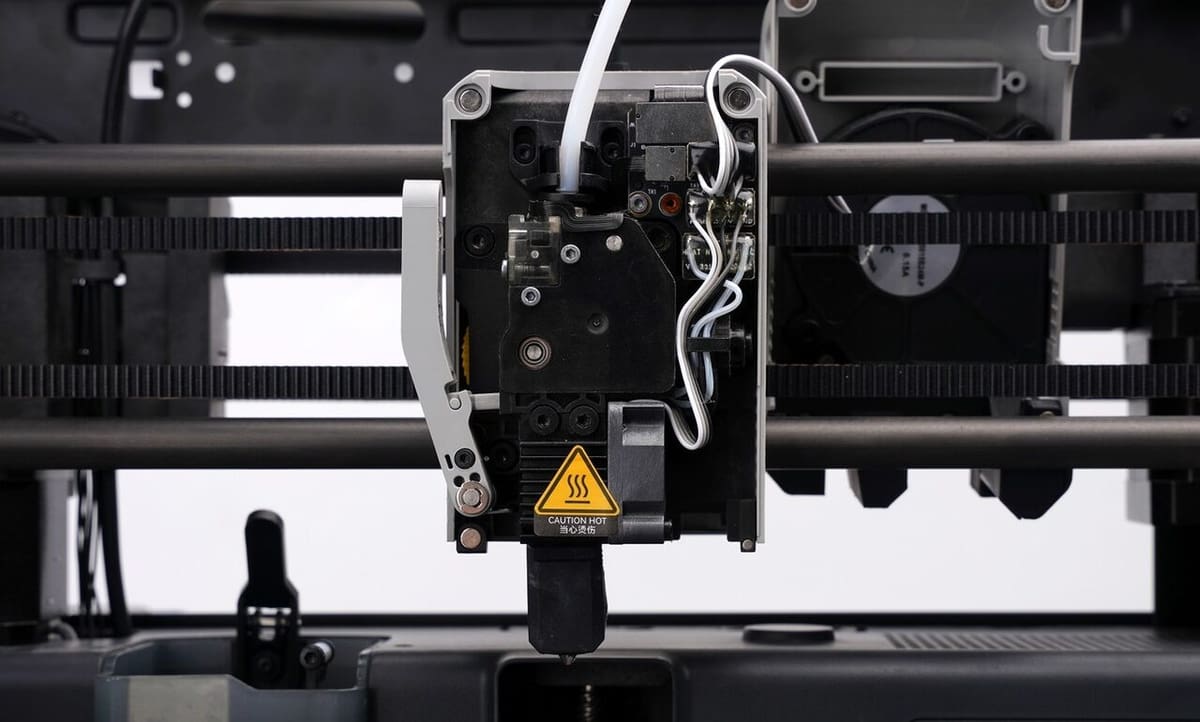
Having a range of nozzle sizes and types can broaden the capabilities of your printer. Larger nozzle diameters allow for more material flow, and thus, shorter printing time while sacrificing print resolution. On the other hand, smaller nozzle diameters are more precise, allowing for increased detail, but will require longer printing times.
Upgrades such as a hardened steel nozzle are ideal for printing with abrasive materials such as carbon fiber, wood, and metal-filled filaments, which can quickly wear away standard nozzles.
The P1P comes stock with a 0.4-mm stainless steel nozzle, which is a great starting point, but also leaves plenty of room to grow. Unlike many other consumer printers, the nozzle and hot end for the P1P come as one piece.
Bambu Lab offers three sizes for hardened steel nozzle + hot ends, 0.4 mm, 0.6 mm, and 0.8 mm, plus a 0.2-mm stainless steel nozzle + hot end for printing fine details. They highly recommend swapping to hardened steel if you plan on printing with carbon fiber.
- Improvements: Wider material range and ability to balance print time with resolution
- Cost: ~$17
- Producer: Bambu Lab
- Where to find it: Bambu Lab
BU Stick
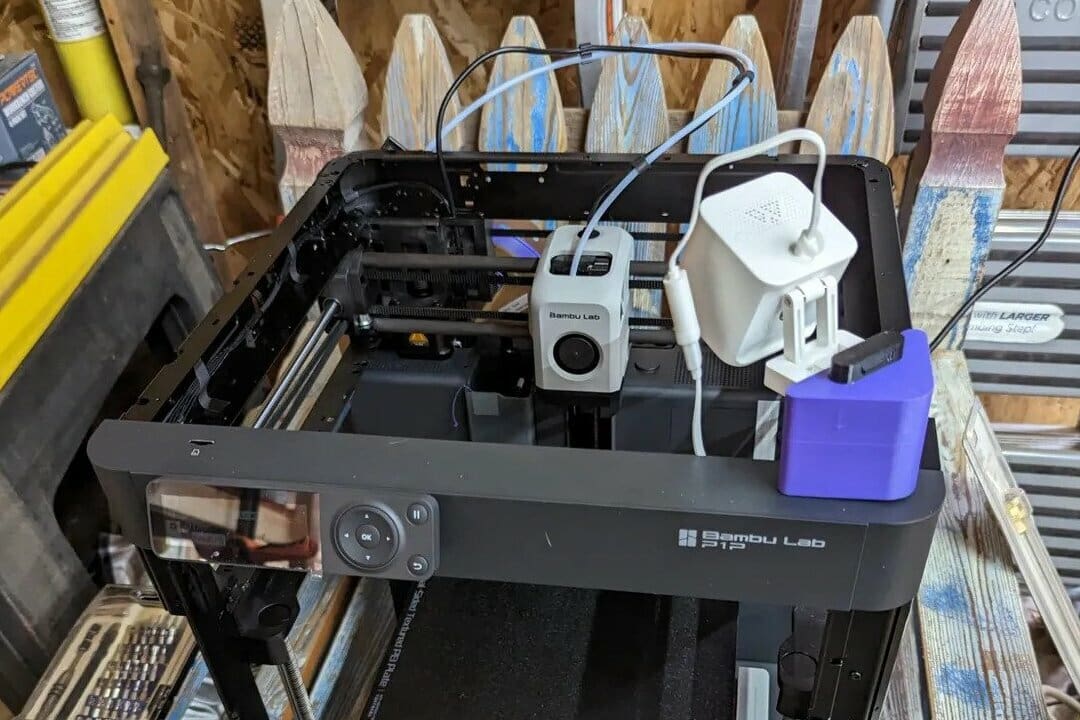
Though the P1P has a built-in camera, its 720p resolution is quite low. This is suitable for monitoring the print but is not ideal for creating high-quality time-lapse videos.
The BU stick is a minimal but versatile design that attaches to an unused slot on the top right of the P1P. This creates a fixture point onto which several different types of mounts can be attached, including ones for smartphones, GoPros, and the Wyze cam. With this modification, you can record the print in progress, in high definition!
If you are not in need of an extra camera, the BU stick can also be used to mount LED lights or a handy container to store the most essential printing tools within reach.
- Improvements: Adds a fixture for several different types of mounts
- Cost: Only filament costs
- Designer: 3DSourcerer
- Where to find it: Printables
Bambu Scraper
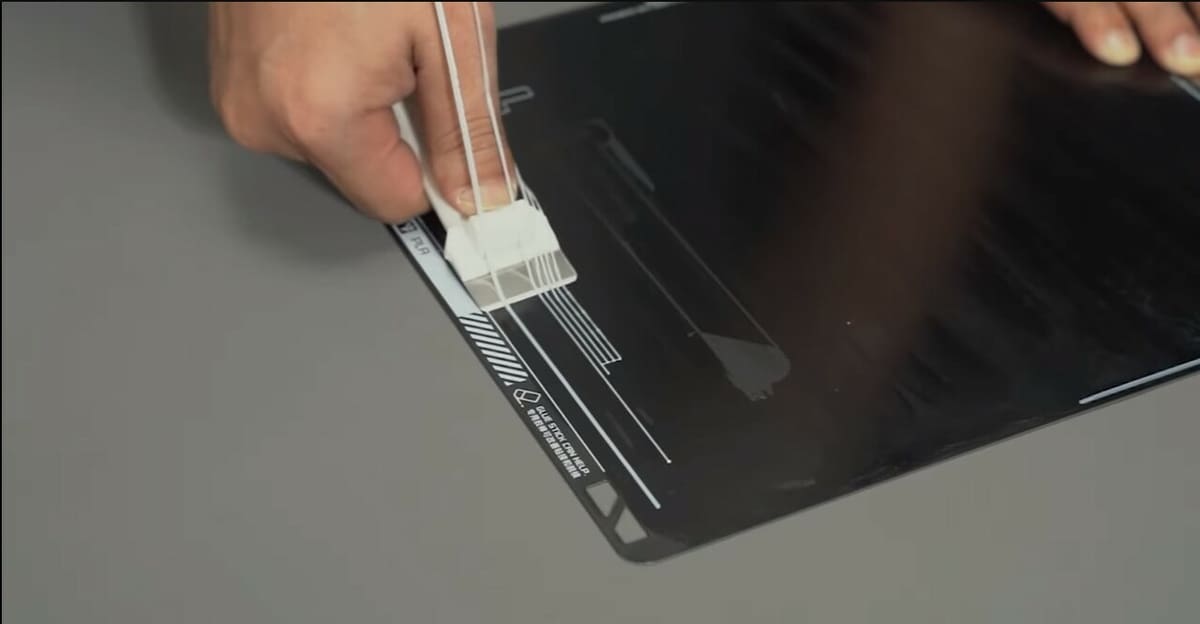
Removing prints from the build plate can be a tedious job. With improper technique and tools, removing prints can result in damage to the build plate, the printed part, or even yourself. Luckily, Bambu Lab has provided a purpose-built tool that you can print and assemble yourself to ensure print removal goes as smoothly as possible.
The Bambu Scraper combines a metal razor blade (purchasable from the Bambu Lab store) with a 3D printed handle to create a tool that can wedge between the build plate and extruded filament to gently lift and remove it from the build plate. The model from the latter is pre-installed in the printer, but can also be found on the Bambu Lab STL model repository.
- Improvements: Safer and easier removal of printed parts
- Costs: ~$4
- Designer: Bambu Lab
- Where to find it: Bambu Lab
Hygrometer Filter Cover
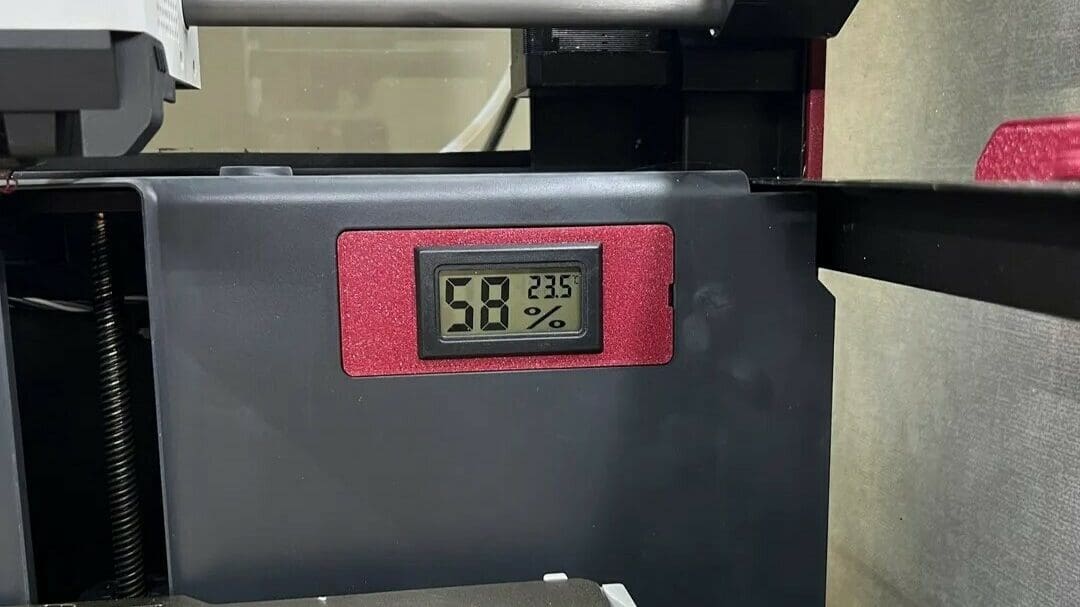
The P1P, as well as the X1 series printers, come with a filter for removing particles that may arise during printing. The cover, which gives access to the filter, can be replaced with a 3D printed case to hold a hygrometer. With this minimal addition, you can easily monitor the current humidity and temperature within the build area.
To complete this upgrade, you’ll need to purchase a small hygrometer to fit inside the cover. Be sure to check that the size of the hygrometer will fit inside the opening of the model before purchasing.
- Improvements: Allows for easy and accurate monitoring of temperature and humidity
- Costs: ~$12
- Designer: Brody
- Where to find it: Printables
License: The text of "The Best Bambu Lab P1P Upgrades" by All3DP is licensed under a Creative Commons Attribution 4.0 International License.