Bambu Studio: Vase Mode – Simply Explained

Bambu Studio's vase mode is the easy path to seamless, artistic 3D prints. Read on to learn how to use it and how to troubleshoot.
Bambu Studio is a feature-rich 3D printing slicer software developed by 3D printer manufacturer, Bambu Lab, makers of popular printers like the P1P and X1 Carbon as well as their own filament line. The software originates as a fork of PrusaSlicer, with Bambu Lab tailoring it to work seamlessly with their line of printers.
Despite being relatively new to the field, Bambu Studio stands out for its project-based approach that facilitates the management and organization of 3D printing projects. It makes for a smooth workflow, even when it comes to complex multicolor prints with its AMS.
The slicer is also praised for its ease of use, despite having a somewhat cluttered user interface that can appear intimidating to beginners. Its comprehensive features are well-appreciated among more experienced users. It comes loaded with many of the specialty features that can be found in other popular slicers, including vase mode.
In this article, we’ll take a close look at vase mode, also called “Spiral Vase” in Bambu Studio. To get started, we need to understand the vase mode approach to printing, and the pros and cons of the method. Then we’ll discuss how to activate it in Bambu Studio and which printing settings should be adjusted to ensure success, in addition to some troubleshooting tips. Let’s get to it!

Understanding Vase Mode
Vase mode, also known as “spiral vase” changes the way objects are printed in three key ways:
Single Wall Construction
In conventional 3D printing, object walls are built with multiple layers with the extruder stopping, retracting, and extruding again at each layer change, which can result in visible seams where each layer starts and ends. Vase mode, on the other hand, prints a single, continuous outer wall without pause, similar to the structure of a slinky. This way, the prints don’t end up with seams. The surface is smooth to the touch and pleasing to the eye.
Continuous Z-axis Movement
The continuous Z-axis movement is a hallmark of vase mode, distinguishing it from standard layer-by-layer printing methods. The printer nozzle moves upwards in a smooth, gradual spiral, laying down filament in a continuous stream. This motion requires sophisticated coordination between the printer’s motors and the slicer software to maintain a consistent extrusion speed and gradual height increase.
No Infill, Supports, or Top Layers
By forgoing infill, supports, and top layers, vase mode significantly reduces printing time and material use. However, this also means that objects printed in this mode are not designed to bear loads or withstand significant forces. They are best suited for decorative purposes, where aesthetics take precedence over structural integrity.
Pros & Cons
Pros
- Speed: Vase mode significantly speeds up the printing process due to the continuous printing approach that forgoes layer stops, infill, or top layers.
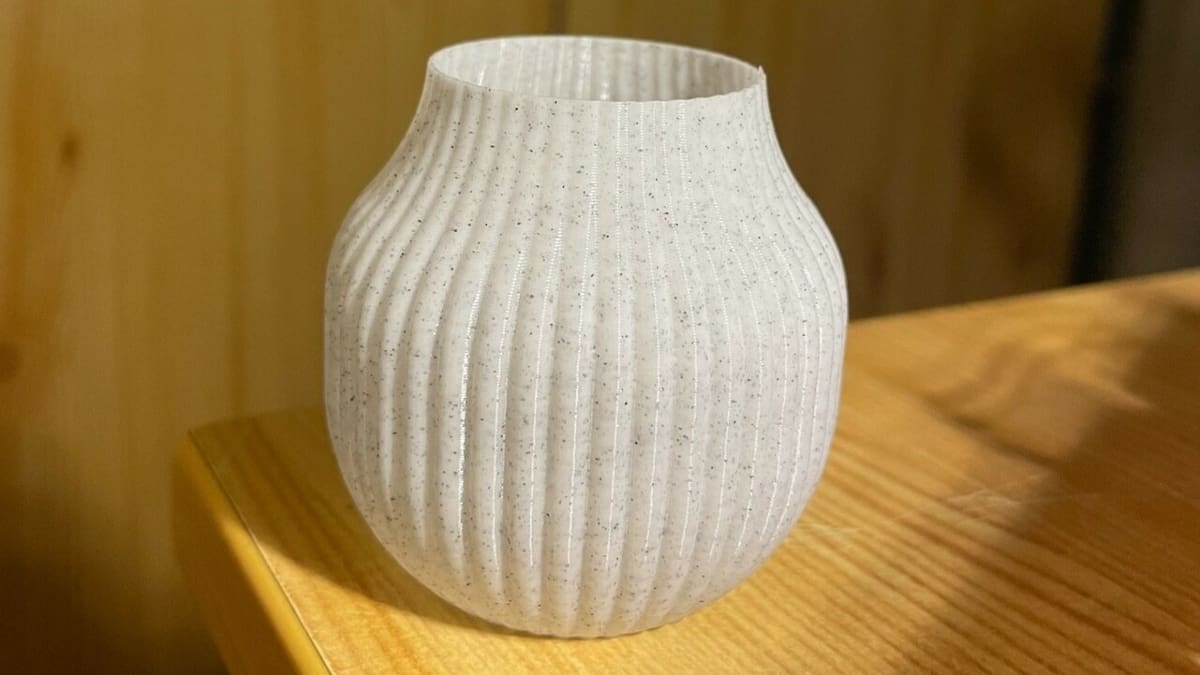
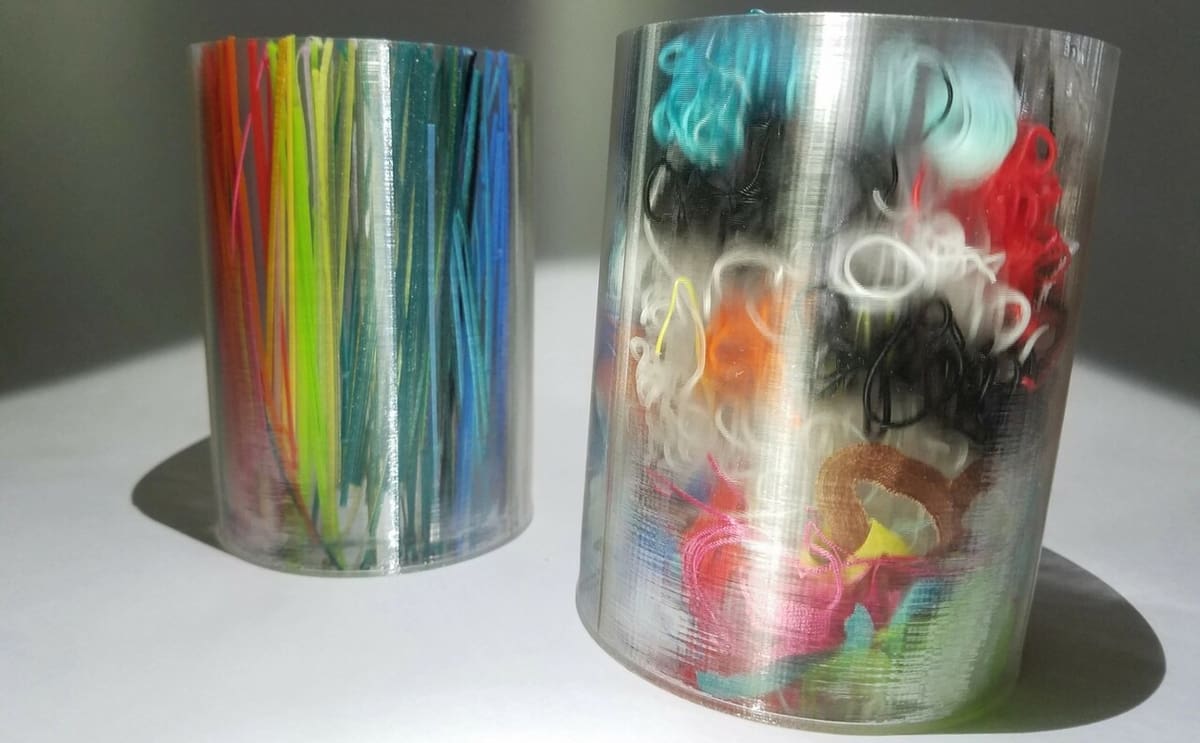
- Aesthetics: Vase mode produces objects with smooth surfaces and seamless curves, which with the right filament, can be reminiscent of glass. This approach makes it ideal for decorative pieces.
- Material efficiency: By printing with just a single wall, vase mode minimizes filament use, reduces the weight of the final product, and increases print turnover.
Cons
- Strength: Objects printed in vase mode have lower structural integrity due to their single-wall construction. This makes them prone to cracking or breaking under stress, limiting their use to non-structural applications.
- Design limitations: Vase mode is restricted to simple, hollow shapes, usually with an open top. Surface patterning can give interesting effects, but significant overhangs present a challenge for vase mode prints. Internal structures or variable wall thicknesses are not possible.
- Compatibility issues: Vase mode may not be supported by all 3D printers, but does require a well-calibrated printer in any case. Troubleshooting may be tricky, especially for beginners, because there are a number of potential causes.
How to Use It

Using vase mode in Bambu Slicer only takes a few steps. However, it’s necessary to take some time to consider your print settings and your sliced model before you start printing.
To enable vase mode:
- Launch Bambu Studio on your computer.
- Use “File > Import” to add your 3D model to the workspace.
- Head to the print settings tab on the left-hand side and open the “Others” tab within those settings.
- In the “Special mode” subsection, you’ll find an option for “Spiral vase”, which you can check to enable vase mode.
- A warning message will pop up, informing you about other settings in the slicer that will be changed to allow for vase mode printing. Hit “Yes” to continue.
Optimizing Print Quality Settings
After enabling vase mode, the next steps involve adjusting various parameters to fine-tune the print quality. While all of the most important print settings, such as temperature, are still at play, there are a few key ones that can help you ensure success with vase mode:
- Layer height: The layer height affects the resolution of the print, with a smaller layer height producing finer details and smoother surfaces. Just like normal prints, you can increase this value to speed up print time or decrease it to enhance the detail of the model.
- Wall thickness: While vase mode inherently prints with a single wall, the thickness of this wall can be adjusted to a certain extent. A thicker wall increases strength but also uses more material and requires slower print speeds. The “line width” can be set up to double the nozzle width. For a 0.4-mm nozzle, try out a 0.6-mm line width with a slight decrease in the layer height.
- Speed: Printing in vase mode generally benefits from slower printing speeds, as this gives the layers sufficient time to cool before depositing the next one. There’s a bit more leniency with larger parts, but the filament material can also play a role.
- Fan: In a similar vein to print speed, proper cooling is essential to success with vase mode. Smaller parts, in particular, benefit from upping the fan speed in vase mode.
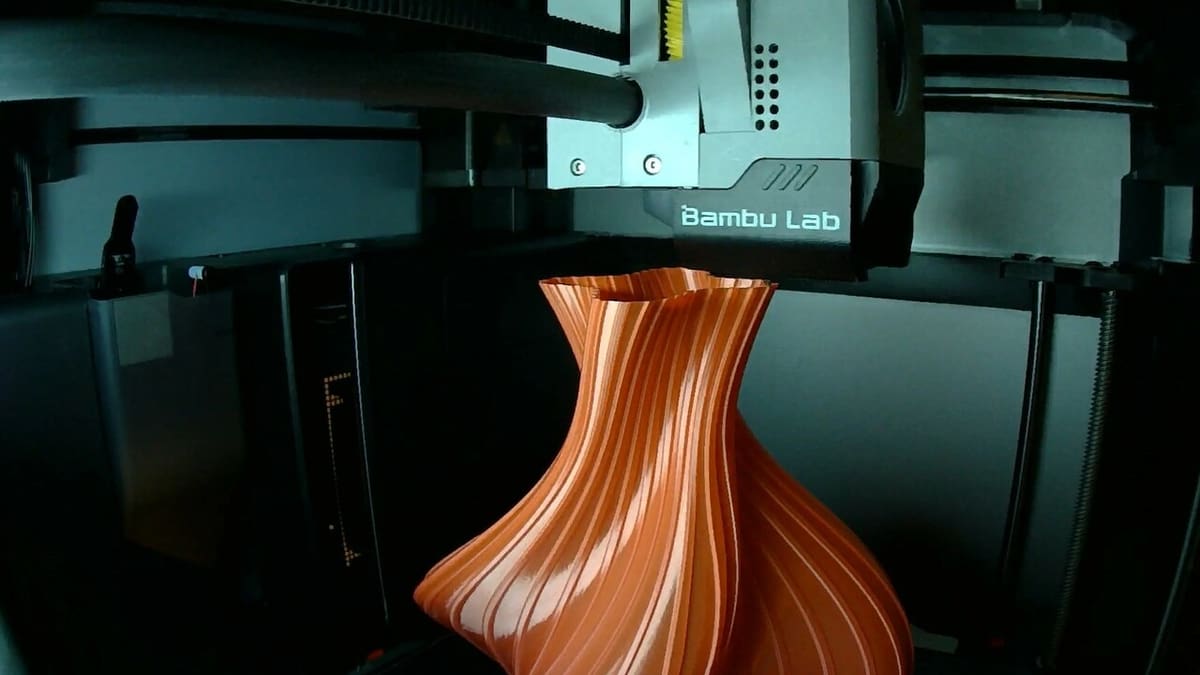
Slice & Print
After enabling vase mode and adjusting the print settings, it’s time to slice. Once complete, it’s crucial to review your sliced file before starting the print to identify potential issues before printing begins.
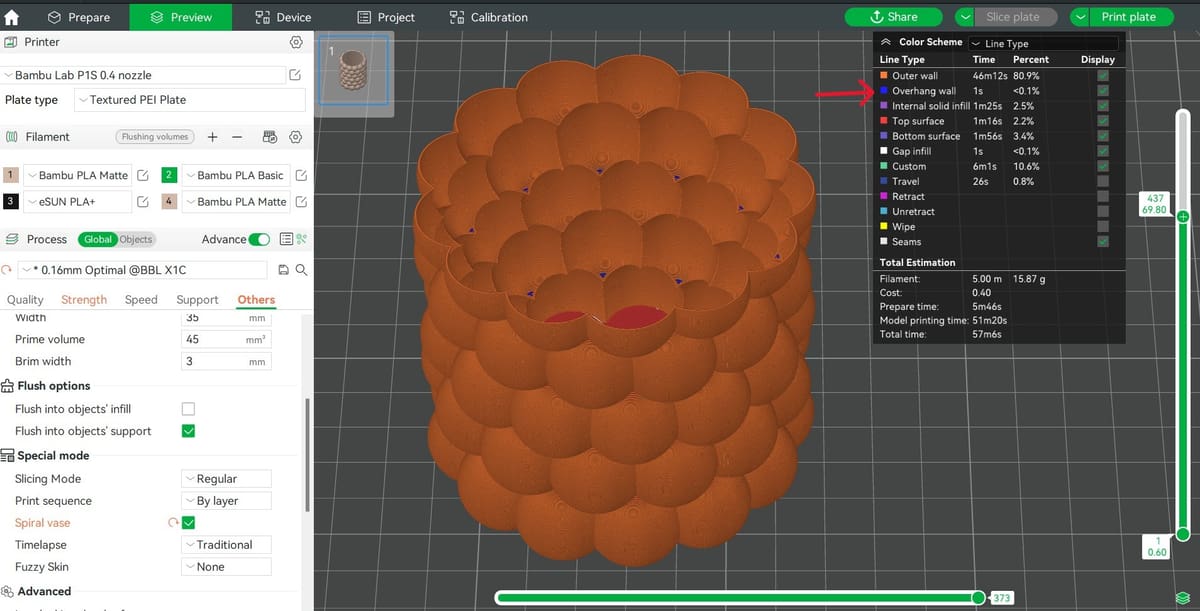
As we’ve established, vase mode struggles to print overhangs because there’s a lack of surrounding walls and support to prevent collapse. Bambu Studio highlights overhangs in the Preview tab so be sure to review these features if detected and consider the capabilities of your printer.
In the Preview tab, you can also take a peek at the nozzle travel. With vase mode, nozzle travel should be limited to the initial layers and be absent in the bulk of the model. If you see nozzle travel where it wasn’t expected, your model may not be suitable to print in vase mode.
Other Considerations
Checking the box to enable Spiral Vase is easy, but getting a successful print is not always so simple. While we’ll cover troubleshooting tips in the next section, but let’s first make sure you’re set up for success with the right equipment and 3D model.
Nozzle Size
The nozzle diameter you chose can help you create interesting effects on your vase mode prints. With a larger nozzle diameter, you can increase the line width to get thicker part walls, which also improves layer adhesion and the capacity to handle overhangs.
You can also aim to increase layer thickness, creating a unique finish to prints (which can help with transparency, if that’s what you’re going for) and reducing overall print time. However, it’s important to note that while larger nozzles can speed up the printing process, they might compromise the finer details of your model.
The Model
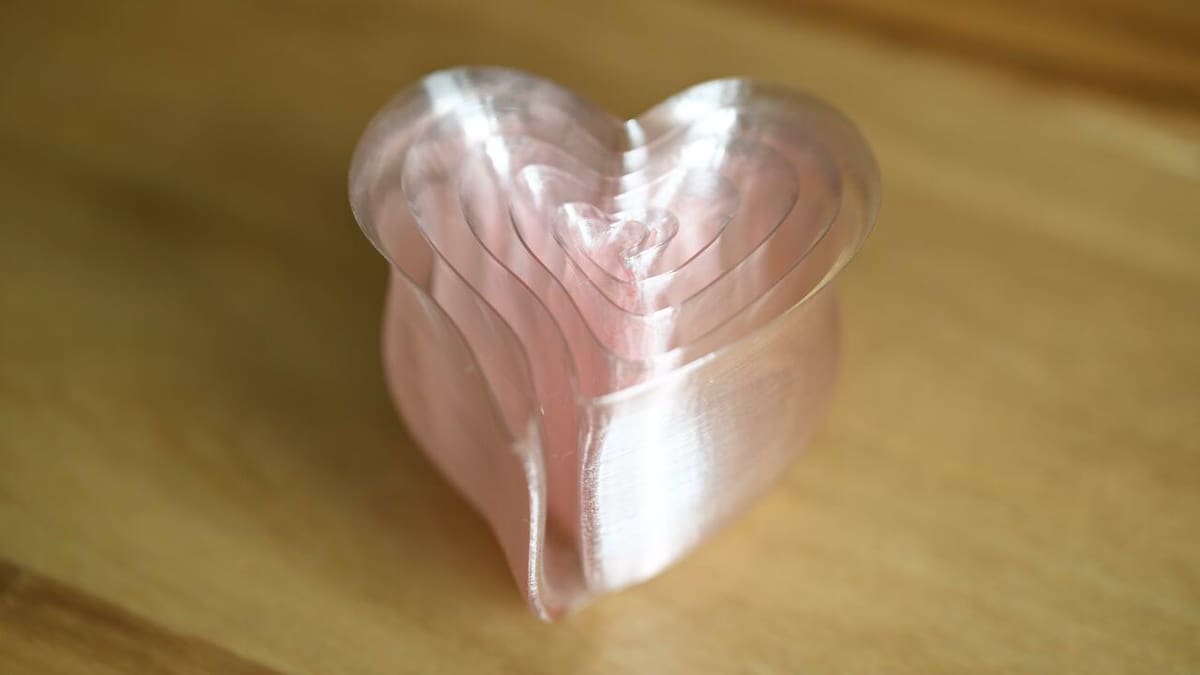
When designing for vase mode or trying to determine if a model you found in a repository is suitable for vase mode, there are several things to consider. If the model is not already hollowed out, it’s easiest to start with a solid shape, as Bambu Studio can remove all internal solid just by enabling Spiral Vase. It’s most important that the model has no internal geometry or disconnected parts, such as this model, as vase mode is a continuous extrusion of filament.
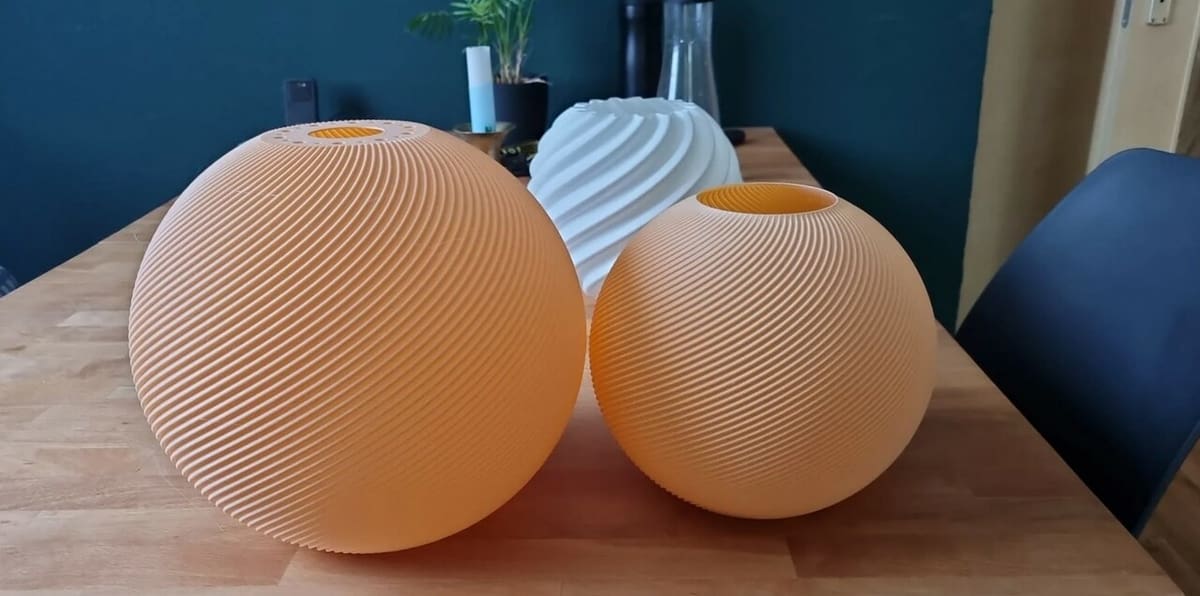
The model should have a flat bottom to promote good adhesion to the build plate. Wall angles should be near-vertically oriented as severe overhangs or bridging often lead to failure due to lack of structural support. This also means closed-top designs, such as a sphere, are not suitable for vase mode.
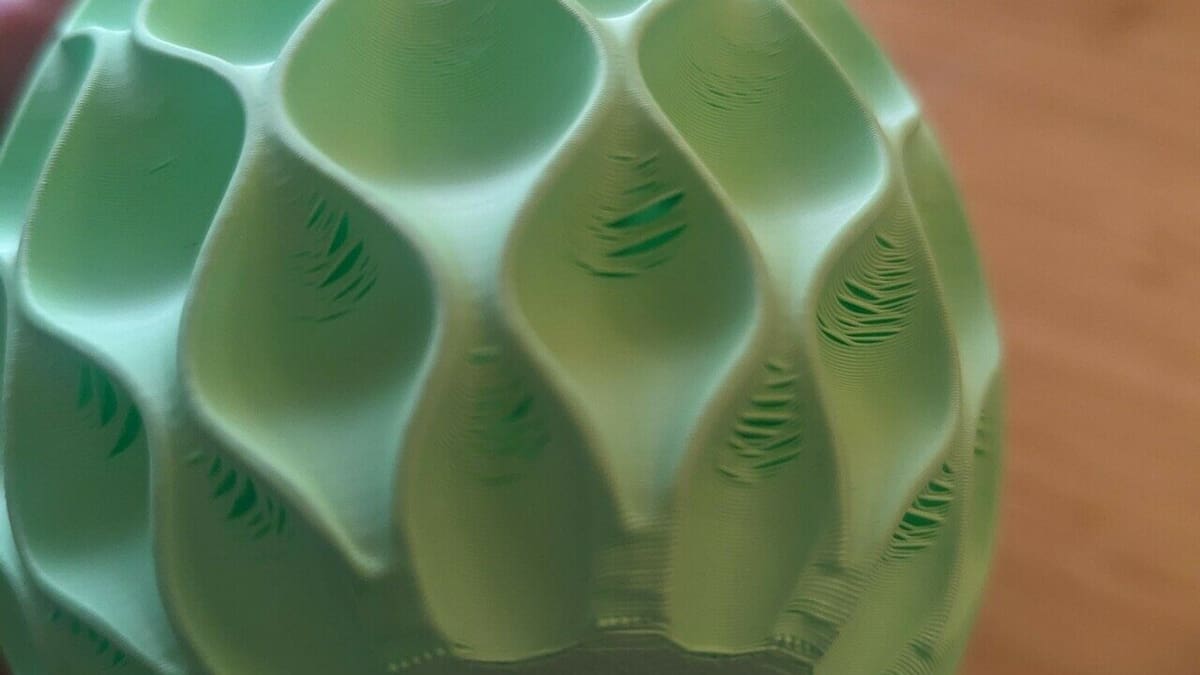
Issues with warping can be common in vase mode, especially when walls are totally flat, such as a box. However, adding texture and patterns to the shell improves the structural integrity of the model due to an increased surface area, and therefore is less prone to warping.

Troubleshooting
Troubleshooting common issues when printing in vase mode can be tricky because there are so many factors at play. Here are key problems and their potential solutions:
- Poor layer adhesion: Poor layer adhesion can arise from several issues such as incorrect temperature settings, printing too fast, or inadequate cooling. If you’re using a larger nozzle, you may have to increase the temperature slightly to compensate for the extra material.
- Warping: Aside from the usual causes of warping, including poor bed leveling, inadequate adhesion, and variable ambient conditions, warping in vase mode can also come from an incompatible model. If you’re not already printing in an enclosure, you should consider doing so to maintain a steady temperature in the printing chamber. If the model walls themselves are warping or look wavy, adding ridges and texture to the surface will improve the structural integrity of the print.
- Holes or gaps: Holes in parts printed with vase mode, similar to the image above, are most likely a result of the model not being suitable for this type of printing due to overhangs. Vase mode is particularly bad at printing overhanging surfaces, so it’s important to design with that in mind or check for overhangs in the Preview mode of Bambu Studio. Some have reported that using a larger nozzle size and layer width can help tackle challenging areas.
- Surface artifacts: Surface defects such as roughness or under-extrusion often occur due to too low of a printing temperature, printing too fast, using filament that hasn’t been dried properly, or poor filament quality. If you’ve already adjusted your print settings to no avail, you may want to ensure your filament is dry.
License: The text of "Bambu Studio: Vase Mode – Simply Explained" by All3DP is licensed under a Creative Commons Attribution 4.0 International License.