10 3D Printed Coffee Accessories to Up Your Barista Skills

For many people, the day only begins once they have a cup of coffee. Check out these java-licious 3D printed coffee accessories!
Who doesn’t love a nice cup of coffee in the morning? From the smell of freshly ground beans to the rich taste, coffee awakens all of the senses and provides a much-needed boost of energy to us non-morning folks. Whether a flat white, latte, cappuccino, or espresso, coffee is always a good idea.
Depending on your way of preparing or enjoying your coffee, you may need a few extra tools and accessories. Don’t worry, as many caffeine-loving makers are brewing up some excellent 3D models for this purpose. From mugs to grinders, you can find everything you need for the perfect cup of coffee in the 3D printing community.
In this article, we’ll take a look at the best 3D printed coffee accessories out there. Pour yourself a nice cup, and enjoy!
Food Safety

Before we begin, it’s important to keep in mind that any 3D printed part that will come into direct contact with food or beverages requires special attention. Germs can get lodged in even the smallest cracks or spaces, such as the layers in FDM printing. This creates a home for bacteria to thrive.
To avoid bacteria, you need to do more than clean your prints. You’ll also need to keep food safety in mind while planning, preparing your printer, and post-processing. Make sure your 3D printer is clean and sanitized, including the bed and nozzle. If you plan to use 3D printed coffee accessories repeatedly, you should try to smooth out and clean your prints as much as possible.
In addition to bacteria, the filament you use can also contain toxins or toxic materials. When choosing a food-safe filament, consider the color. Rainbow hues are more likely to contain dyes that potentially contain toxins, whereas natural colors are typically safer. Also, be sure to check out the material safety data sheet (MSDS) to determine the filament’s chemical properties. You should be able to find this in the product’s packaging.
In terms of material, avoid ABS and resins, as these are some of the more hazardous materials on the market. PLA and PETG are generally considered food-safe options, although the strength and heat-resistant properties of PETG may make it the better option for your coffee mug or any prints that will come into contact with hot beverages.
For all the details on attaining food-safe quality, check out our article on food safety. We’ve also put together a list of filaments that are manufactured according to national food safety standards that’s worth checking out.
Measuring Cup
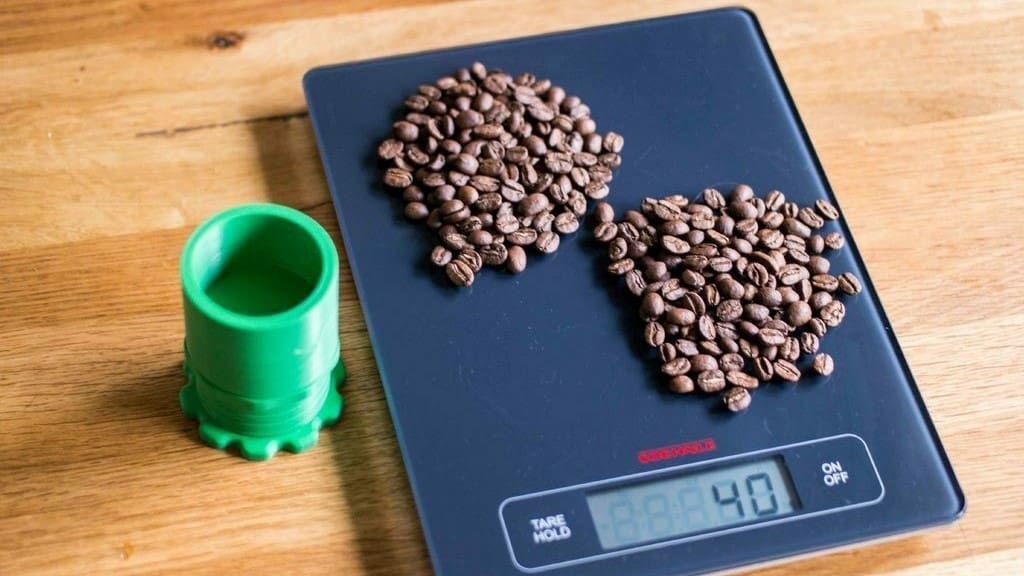
You can buy ground powder, but grinding the beans for your coffee can greatly improve the flavor. This measuring device can help you adjust the amount of beans by volume, eliminating the hassle of using a scale that doesn’t consider things like coffee beans with different weights. There is a counterpart to lock the adjustment and fix it to your preference.
The designer notes that supports are not necessary, but that thin wall detection must be enabled to avoid failures. There are two sizes of this model available for download.
- Who designed it? MeisterEdel
- How printable/popular is it? This custom measuring cup uses 3 simple pieces and has already been downloaded 12 times.
- Where to find it? Cults
Coaster
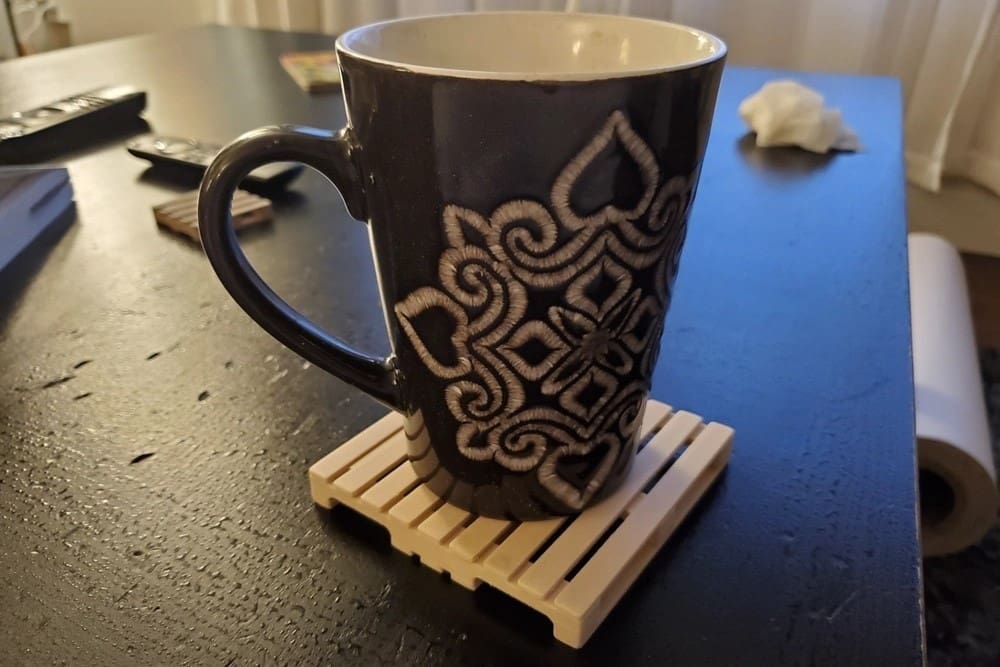
If your routine is hectic and busy, a cup of coffee is great company! However, it can leave a stain on tables and furniture if you forget the coaster. This coaster is a miniature pallet, and few things are more appropriate to hold your coffee and protect the furniture.
If you’re concerned about replicating this model correctly, the author recommends using a 0.2-mm layer height with 2 walls and 10% infill. No supports are needed and assembly is simple. It may require a little cleaning and a drop of glue to ensure the pieces fit together snugly, and it’s necessary to print three units of the base and fourteen of the top and bottom pieces. PETG prints were quite successful, providing a robust and durable cup holder.
- Who designed it? madizmo
- How printable/popular is it? With over 120 likes, nearly 400 downloads, and 355 prints, it’s clearly a very popular design.
- Where to find it? MakerWorld
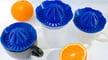
Capsule Cutter
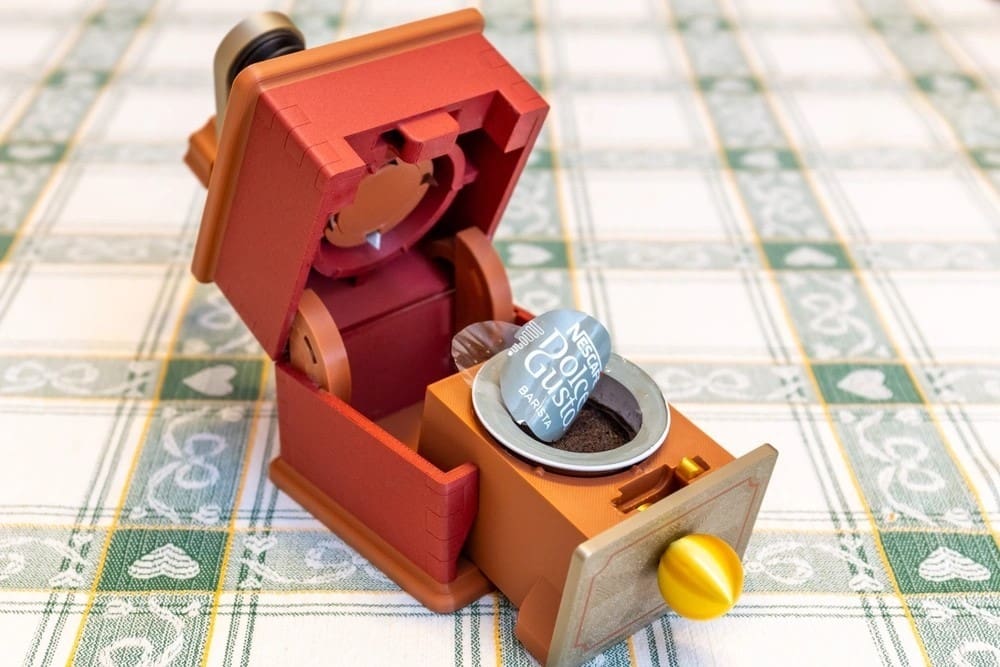
Depending on where you live, you’ll need to separate organic from non-organic material, as is the case with capsules from Nescafe machines. Using a sharp object to remove the seal from the capsule can be risky and lead to cuts, which is why this creative designer developed something that promises to accomplish the mission without any scratches.
There are detailed, illustrated instructions with step-by-step assembly, but the files are in STEP and 3MF format. In total, the designer estimated around 9.1 hours of printing for the pieces. The blades used in the construction of the tool must be correctly positioned with caution and in the right direction. Be careful and use tools and safety gloves when putting together the central blade assembly, as they are very sharp.
- Who designed it? Officina23
- How printable/popular is it? Of the 18 users who downloaded, 16 left their likes and 5 indicated that it printed well.
- Where to find it? MakerWorld
Coffee Grinder

This coffee grinder is a perfect example of how 3D printing can turn creative ideas into tangible reality. Despite the name, which may confuse some, it can be used to grind both coffee and herbs, making it a multifunctional item for any kitchen or preparation space. It aims to provide a fun and rewarding brewing experience.
To successfully reproduce this, the model must be printed with a 100% infill, preferably in PLA. The ideal layer height is 0.12 mm to capture all the fine details of the design. It is also advisable to increase the diameter of the holes from 7 mm to 7.2 mm in components such as Bearing A and B, and in the Internal Grinder to facilitate assembly. Consider adding washers between the External Grinder and Stand to help adjust the desired grit.
- Who designed it? Clarkerubber
- How printable/popular is it? With more than 25,000 downloads, 12 makes, and 2 remixes it won’t be difficult to make yours!
- Where to find it? Thingiverse
Travel Gimbal
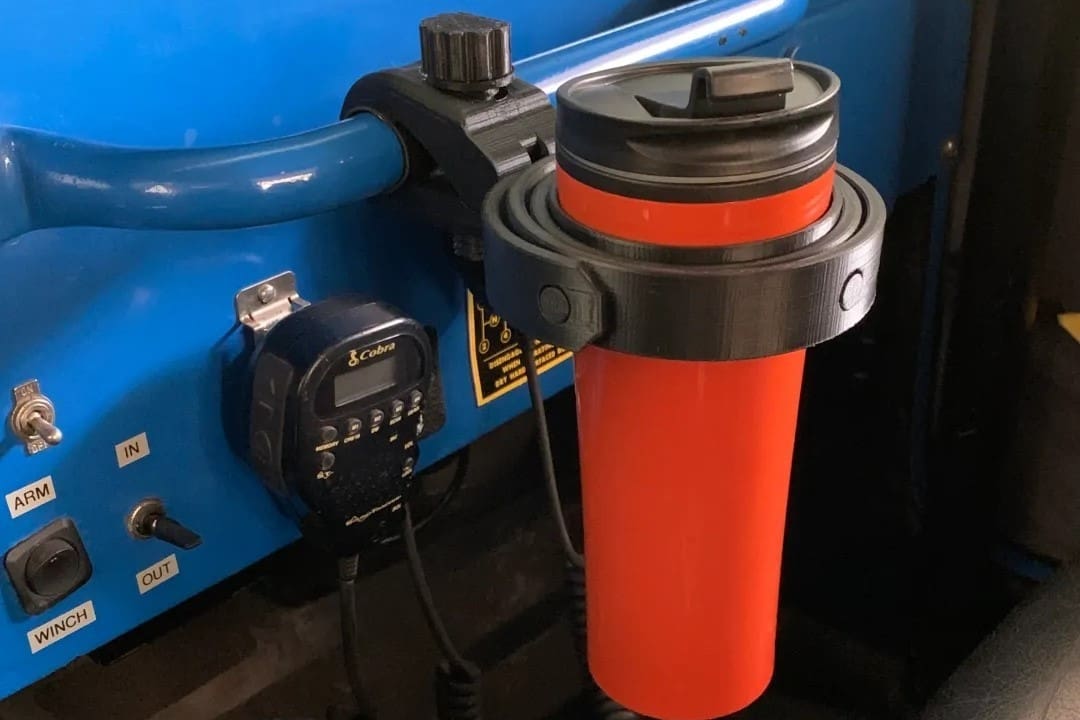
There are days when you can enjoy your coffee without rushing, but when that’s not the case, you’ll need some accessories to enjoy the journey without wasting a single drop. This gimbal is perfect for adapting to bars and vehicles or even on your bike. The lock allows you to attach the accessory to bars measuring 20-30 mm in diameter and flat things of the same size.
This design was the winner of a Printables contest in 2022 and since then it has become increasingly popular. Currently, it has several options such as a longer screw, locknut, small cup adapter, and a TPU bar for greater claw grip, among others. For print configurations, four external wall perimeters are recommended. If you want to experiment with adjustments or modifications, the files are also available in STEP and F3D format.
- Who designed it? mobiobi
- How printable/popular is it? Almost 5,000 downloads, 2,200 likes, and 145 makes show that you too can make one without any problems!
- Where to find it? MakerWorld, Printables
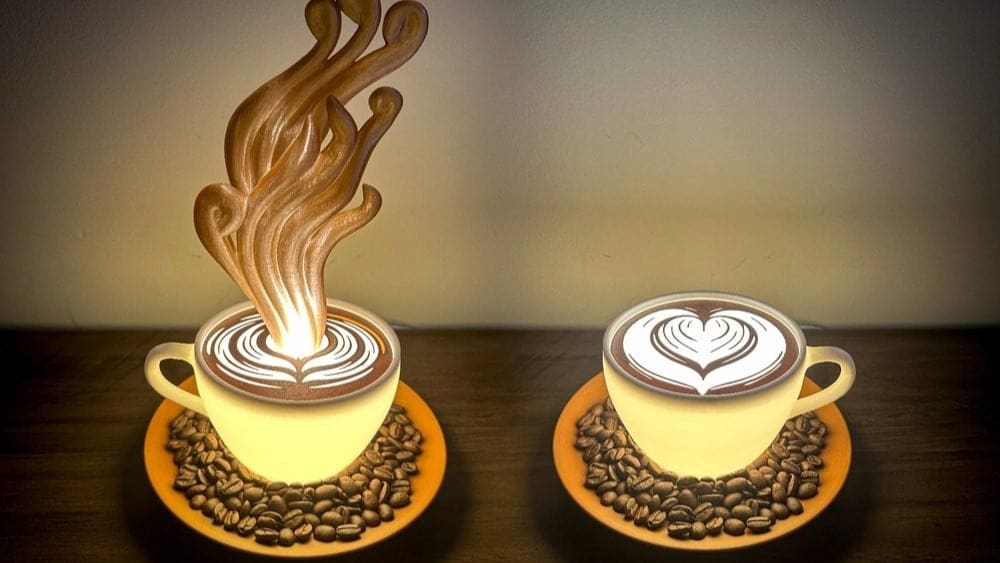
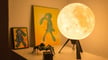
Latte Lovers Lamp
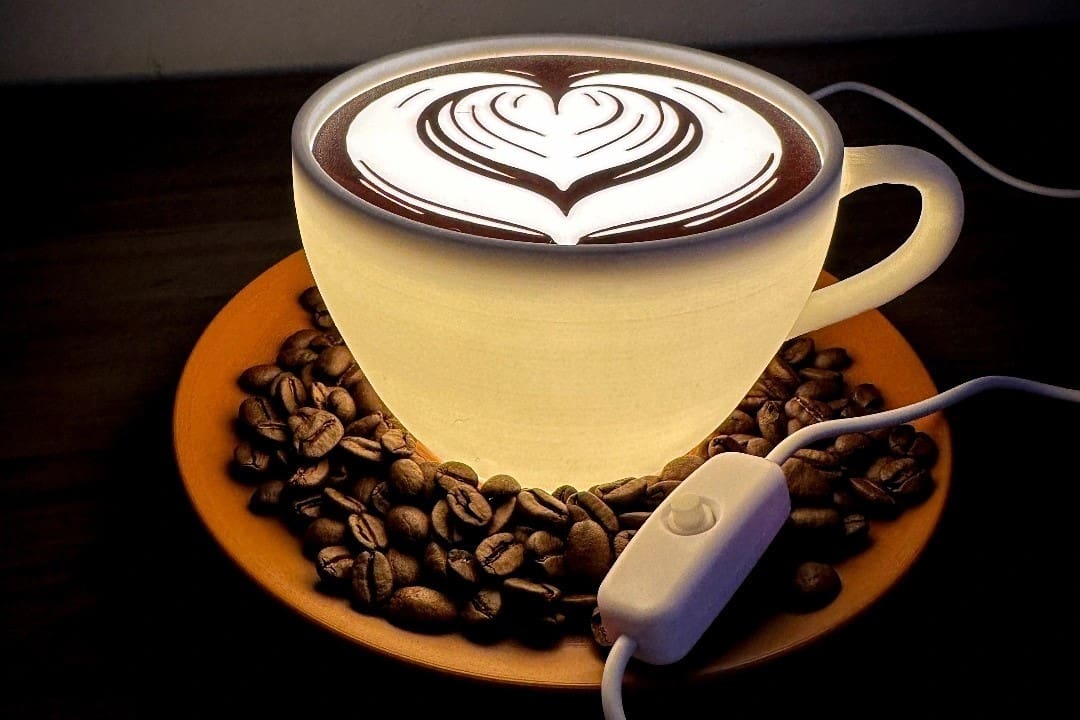
This fun lamp is perfect for coffee lovers looking for decorating inspiration. It looks beautiful and makes any environment more cozy and welcoming. The addition of real beans also makes everything more realistic and can even give off a good aroma, but don’t worry if you don’t have it on hand. The author left a bean model that you can also download.
To reproduce this lamp, a Bambu Lab LED kit was used, combined with white filament. You will find assembly instructions with images on the MakerWorld page. For print settings, simply follow the tips and recommendations left by the author, such as using four layers of external walls, and supports only on the cup handle to increase quality. For the optional steam, use 0% infill, 0 bottom layers, two layers of outer wall, and a raft for grip.
- Who designed it? Eluded Studios
- How printable/popular is it? This beautiful project has already been boosted 6 times and has 380 downloads and 427 prints.
- Where to find it? MakerWorld
Wave Coffee Tamper
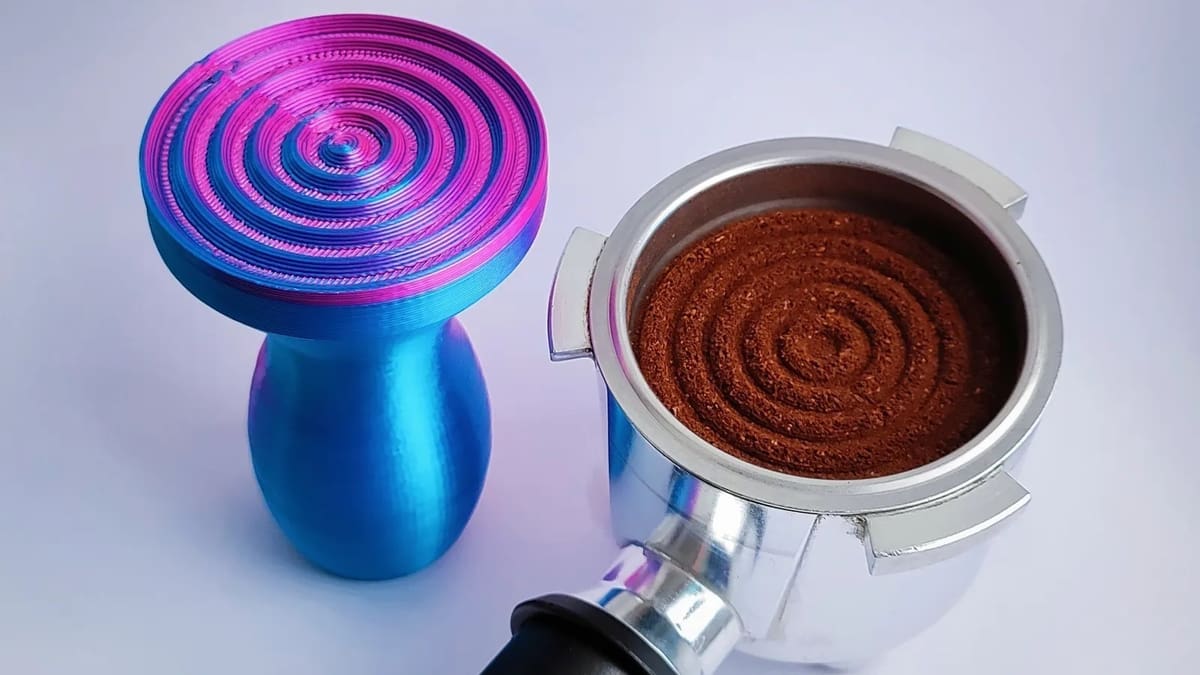
If you’re looking for a creative and useful gift for the coffee lover in your life, the Wave Coffee Tamper is a brilliant choice. This model not only turns freshly ground coffee into a true work of art, similar to a zen garden, but also offers several size options, including 59, 57, 53, 51, and 49 mm, ensuring compatibility with different coffee machines. The diversity of colors and materials available on the market allows you to personalize the tamper, making it a unique and memorable gift for any coffee enthusiast.
Based on experiences shared by other users, a common setup includes using PLA filament, a 0.4-mm nozzle, and a 0.2-mm layer height. Some users reported excellent results with printers like the Creality Ender 3 and Prusa MK3/S/S+, highlighting the ease of printing and ergonomic design. For specific adjustments, such as tamper size, it’s recommended to measure the diameter of the coffee machine filter holder base and, if necessary, resize the model. For example, NukaTurtle had to adjust the diameter to 39.9 mm for perfect compatibility with the Keurig K-Iced Essentials machine.
- Who designed it? Tmpx64
- How printable/popular is it? Even though it is recent, this model has already been downloaded more than 520 times and 13 people have shared beautiful makes.
- Where to find it? Printables
Heart Stencil
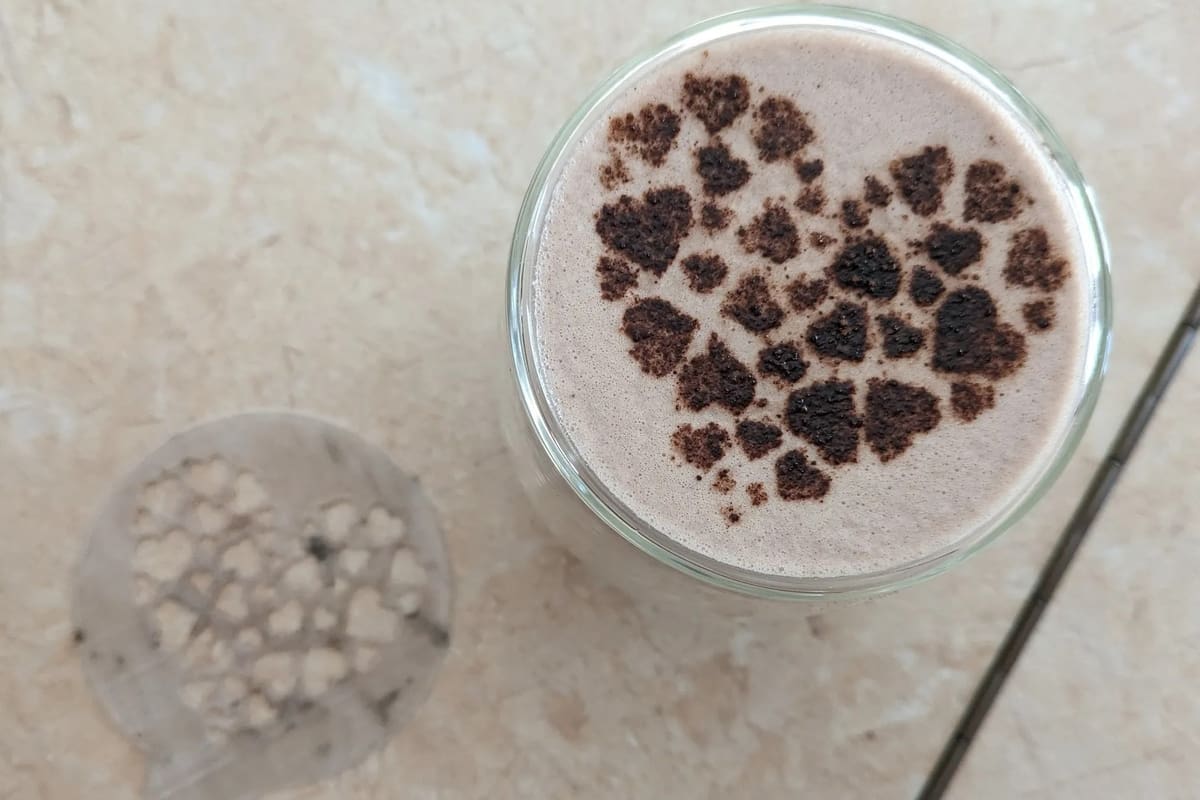
To add that special touch and deliver a professional presentation, you don’t need expensive tools. All you need is a 3D printer to make a simple but beautiful stencil for your latte! In addition to being simple and easy to make, you can try several interesting options like this one with hearts.
You will find two models, 83 and 100 mm in size, and for the print settings, keep in mind that you don’t need many layers, just one or two very uniform layers. For the best result, fill the cup almost to the top, place the stencil over the cup without letting it touch the drink, and gently sprinkle the cocoa or coffee powder using a sieve to ensure even distribution.
- Who designed it? hubi2512
- How printable/popular is it? This simple stencil has already been downloaded over 520 times and has 8 shared makes.
- Where to find it? Printables
Planetary Gear Spirograph
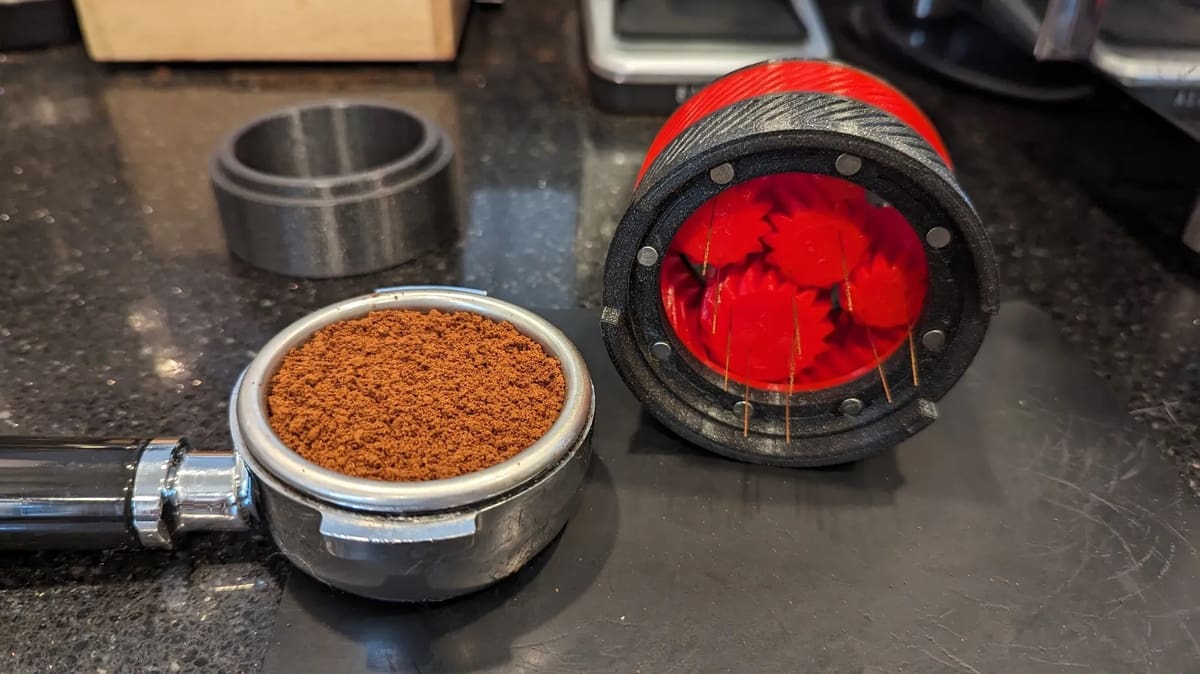
Making a perfect espresso requires more than a good machine and an experienced barista. This 3D printable contraption is more than just a tool, it’s a mechanical work of art. With its planetary gear mechanism and spirographic pattern, the Umikot rotates and cycles elegantly, evenly distributing the ground coffee. With customization options that include different needle sizes and interchangeable bases, you can adjust the Umikot to perfectly suit your espresso setup. Goodbye, cafe clutter. Hello, consistency in the cup!
This version was created for the 58-mm size, but there are also versions for the 54-, 55-, and 45-mm sizes. In addition to a 3D printer and quality filament, you’ll also need needles. You can use the same steel ones for unclogging the printing nozzle or accumulator needles. Common print configurations include 0.2-mm thick layers, 4 top/base layers, 2 walls, and a minimum of 11% gyroid infill for added strength. You will also need some parts, such as 12-mm M3 screws, and optionally eight 5×3-mm magnets. Keep in mind that the needle size varies, depending on the size of the basket.
- Who designed it? redfoxdude
- How printable/popular is it? With more than 2,600 likes, 13,000 downloads, and 173 makes, it should be easy to make your own at home.
- Where to find it? Printables
Bag Clip
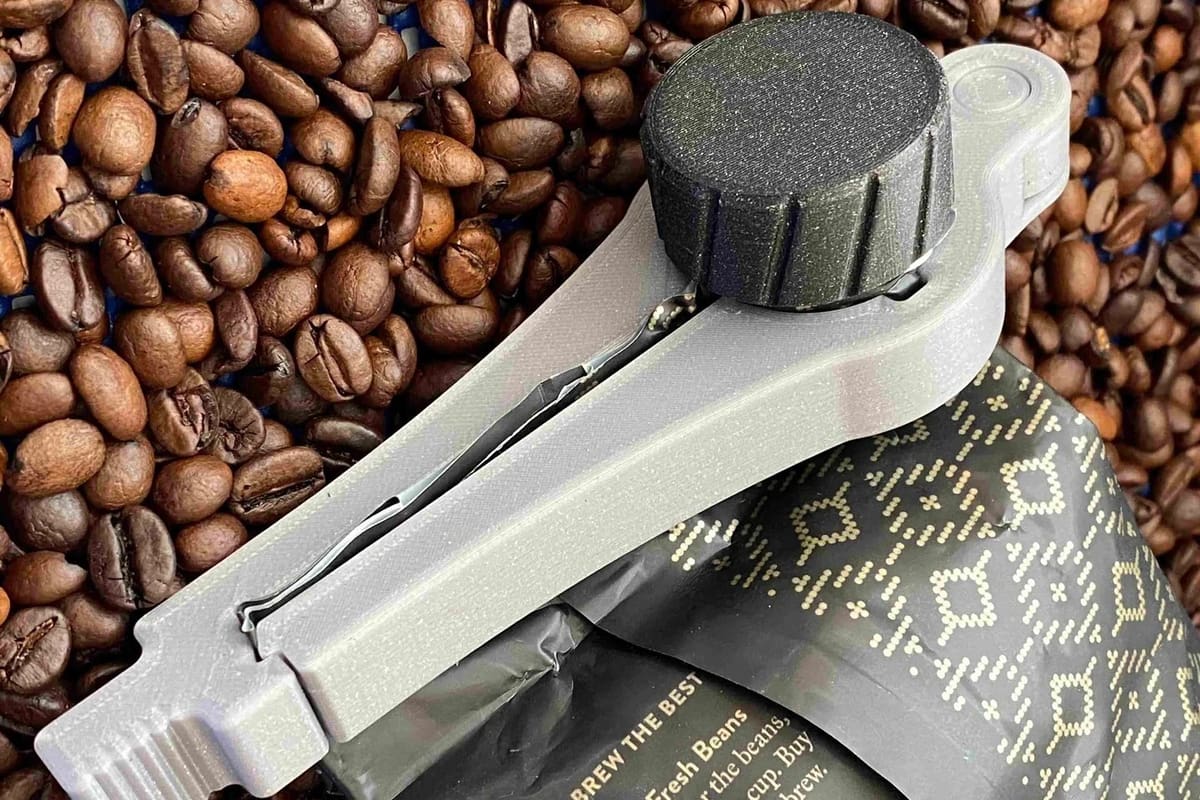
Coffee needs to be stored carefully to stay fresh. Sometimes we store the beans in jars, and other times we keep them in the packaging itself. If the latter is the case, it’s important to close the package very well. This clip is a great option to ensure that everything is closed securely. It’s also practical, as you’ll only need to open the lid to gain access again.
Clips of different sizes are available, and the largest can fit bags up to 200 mm. The insert and lid must be printed with a layer height of 0.1 mm, 15% infill, and three perimeter lines. Add five border lines to the insert to ensure a firm grip on the print bed. The arms must be printed with a layer height of 0.2 mm, 15% infill, and three perimeter lines. Some users recommend printing the lid at a 4% increase to ensure a better fit.
- Who designed it? Jerry_Lee
- How printable/popular is it? More than 2,000 people have already downloaded this model and 50 of them left beautiful examples.
- Where to find it? Printables
License: The text of "10 3D Printed Coffee Accessories to Up Your Barista Skills" by All3DP is licensed under a Creative Commons Attribution 4.0 International License.