The 10 Best Creality CR-10 S5 Upgrades & Mods

The Creality CR-10 S5 has an unbeatable size to cost ratio, but it can still be improved. Check out our list of must-have CR-10 S5 upgrades and mods!
Aim High and Get Further
Before starting to upgrade your Creality CR-10 S5, we should lay out a goal: to make the Creality CR-10 a reliable, production-ready machine. According to this, the following selection of mods and upgrades has been carefully picked and covers everything from the nozzle to the feet of the machine.
We think that one of the key qualities of a reliable production machine is that it performs with as little attention as possible. But print preparation time as well as handling before and after the print should also be minimized.
These mods can be applied independently, but some only make sense in combination with others. As such, working through the list might take a little time, but the outcome will be a reliable machine for big jobs.
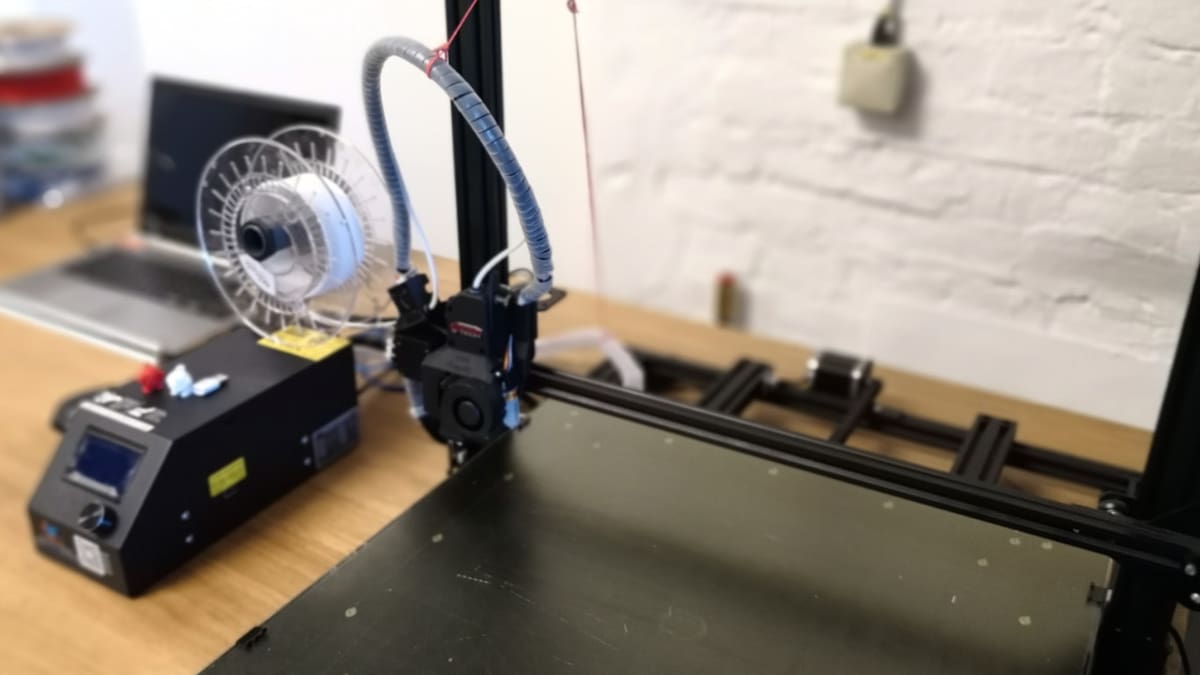
Bondtech Extruder
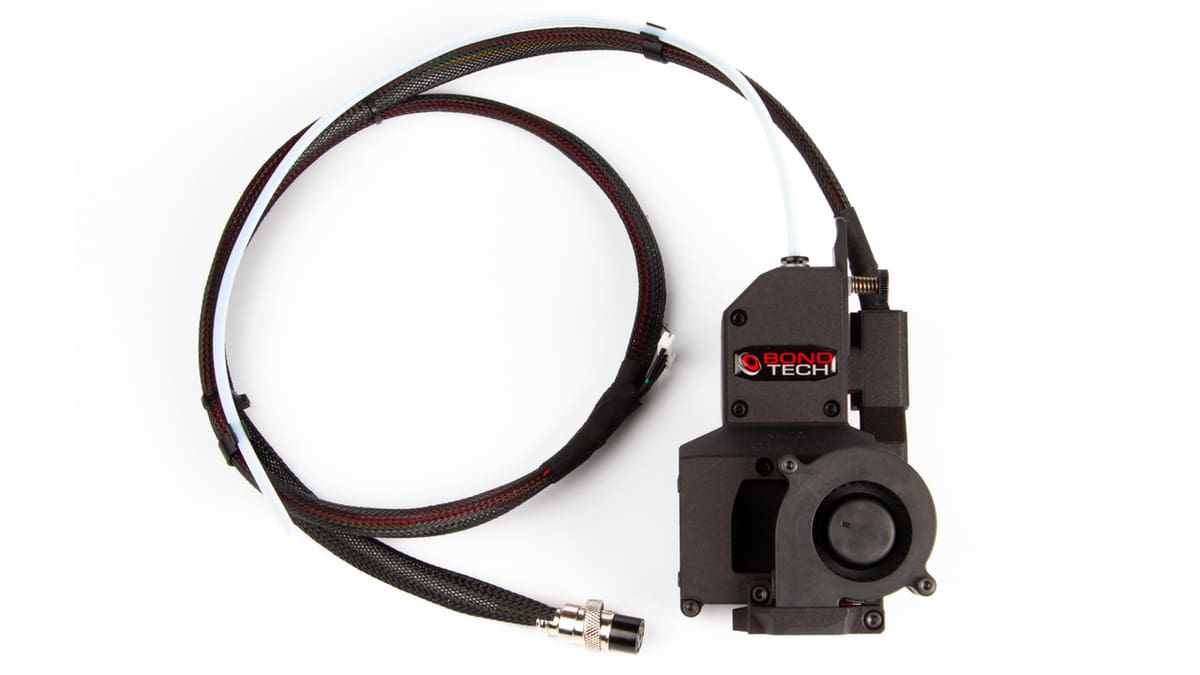
The Swedish extruder specialist Bondtech recently released a complete direct drive system (DDS) for Creality’s CR-10 series. It not only includes Bondtech’s well-known direct dual drive filament feeder (completely replacing Creality’s bowden system) but combines this with the reliable E3D V6 hot end and an upgrade for the filament sensor, which is based on the metal ball principle, controlling translucent filaments reliably.
Bondtech developed their upgraded DDS based on community feedback and the result is a very convenient upgrade that comes at a price. Still, the Bondtech DDS is really a great starting point to improve the Creality CR-10 S5’s performance.
The upgrade will also require a BIOS update which is provided by Bondtech. It supports both the different thermal sensor of the E3D Hotend and the 3:1 gear ratio of the drive plus the added safety of thermal runaway protection. A final added bonus: power failure backup to continue prints safely after power supply failiure.
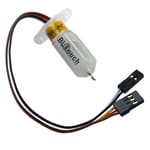
Antclabs BLTouch Bed-Leveling Sensor
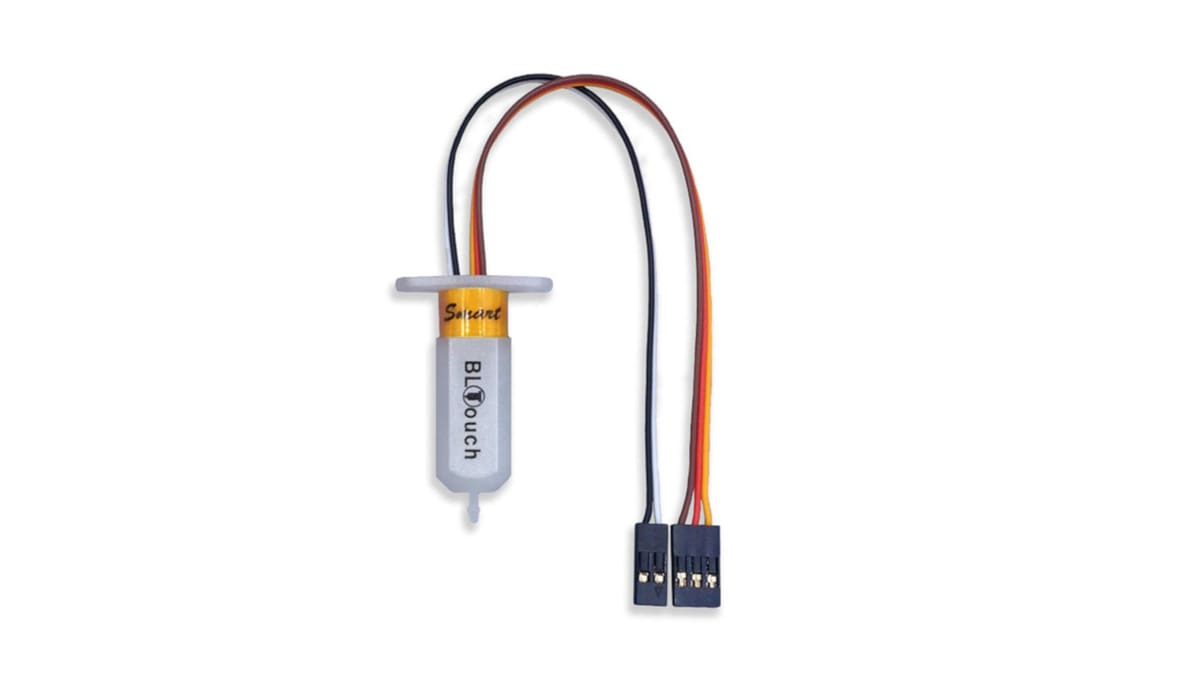
It’s really not a big surprise to find the BLTouch in our list. Invented by the young founder and CEO of Antclabs, Paris Kyung-yeon Lee, the BLTouch, meanwhile, has evolved to version 3.1.
The large print volume of the S5 makes it almost compulsory to use an automated bed-leveling probe since the manual bed-leveling just provides the opportunity to adjust the four corners of the bed. Especially when printing at medium to high bed temperatures, the warping can get quite severe. Thus, this bed leveling sensor, which enables live Z-adjustments to compensate for irregularities, gives you a fair chance of getting a good first layer.
The BLTouch will perfectly fit the mount provided by Bondtech (do not forget to print it before you disassemble the print head).
Almost Kryptonite
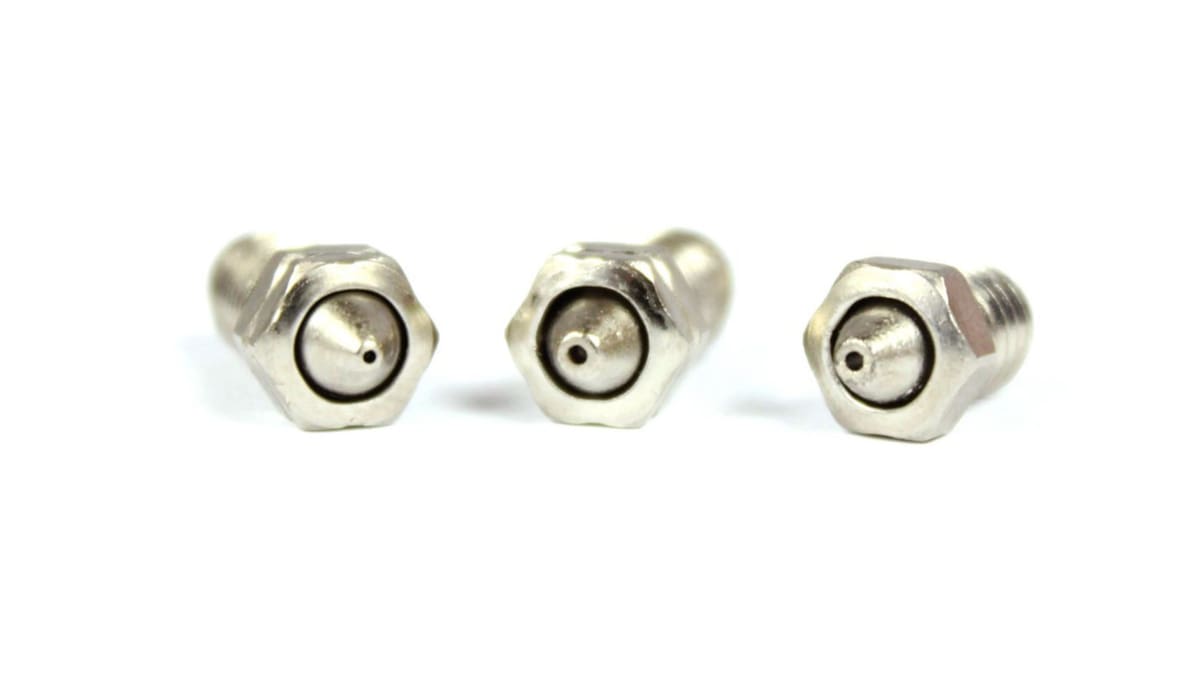
Upgrading your machine with the goal of having a convenient production machine will sooner or later lead to using production filament containing hard particles such as carbon fiber. These particles are abrasive materials, and any standard brass nozzle will not survive long.
The long time favourite solution is of course the Olson Ruby nozzle, but now there’s a new option. It’s the Kickstarter project backed by dyze design: A nozzle made from tungsten-carbide, which is also highly wear resistant but reportedly more conductive than the Olson Ruby.
Silicone Nozzle Covers
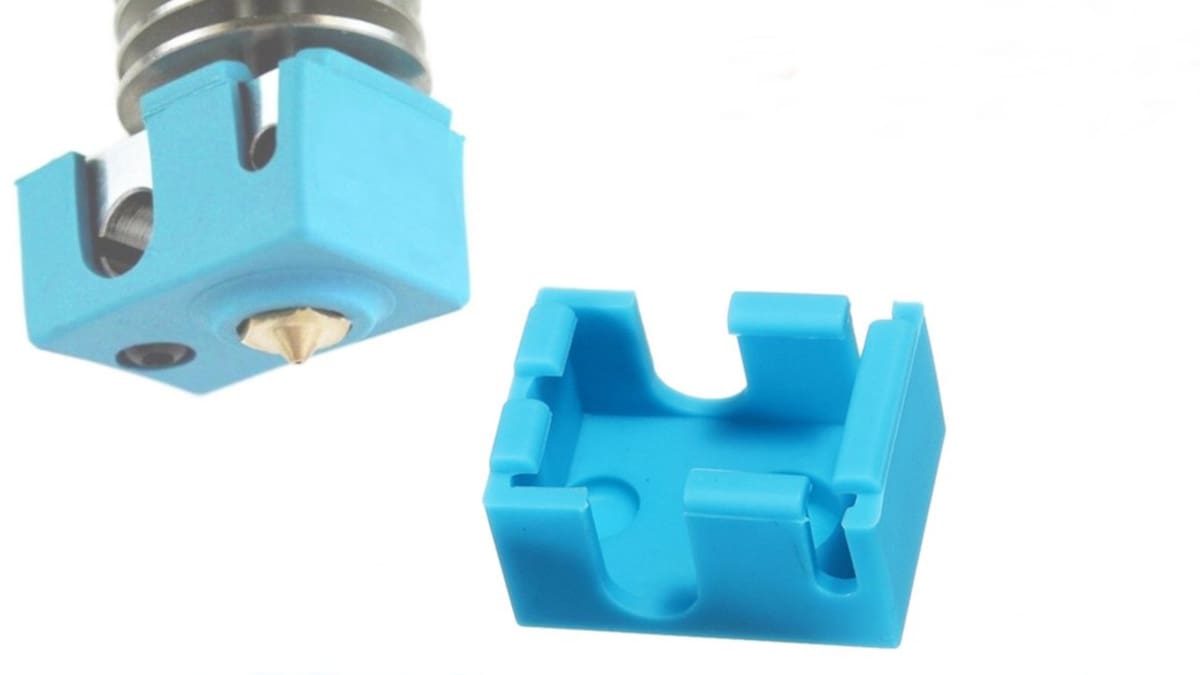
Sometimes things go wrong: dripping, oozing, melting, the list goes on. But hotends can get dirty in these little print accidents, which can cause staining or other problems down the line.
These silicone hot end covers are no-brainers. They slip on and off easily and can be cleaned pretty easily. Besides, the cost is so low that it is not worth mentioning – especially when compared to the cost of potentially damaged hotends, lost prints, and time.
Onion Omega2 Pro
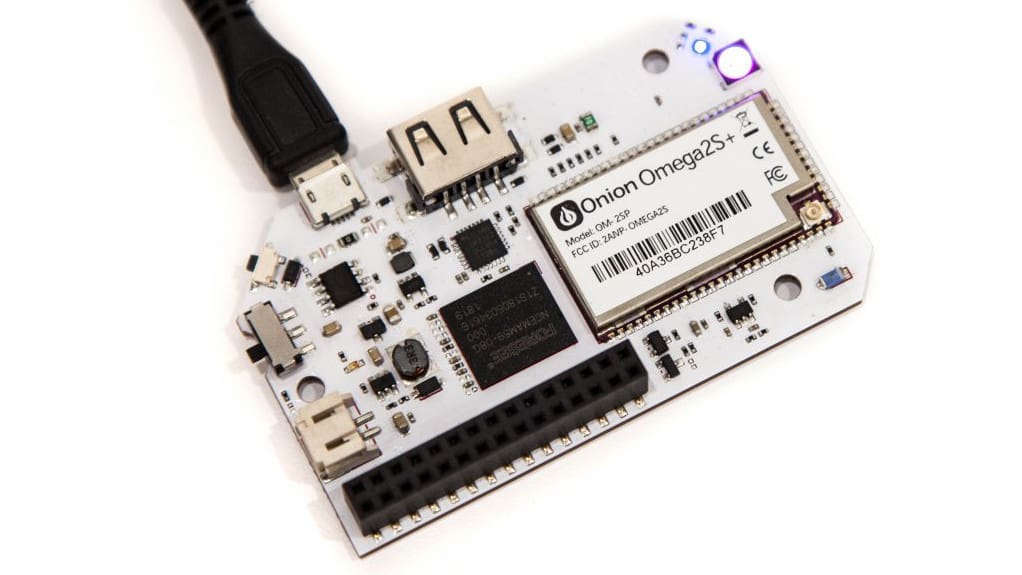
Getting your printer online in your local network is essential for a convenient workflow. OctoPrint is probably the software of choice for doing that and the Onion Omega2 Pro is a perfect match in hardware.
Less known than the more common Rasperry Pi, the Omega2 Pro is a great piece of hardware to meet your needs with sufficient power and memory, WiFi on board, a small form factor, and comparably low price. Setup is easy, and in a short time, the Linux-based machine will host your OctoPrint server, making your machine accessible from your local network.
By the way, it’s a good idea to make your OctoPrint only accessible from your local network, protected with a firewall and strong passwords for both the Omega2 PRO and OctoPrint!
PEI Sheet
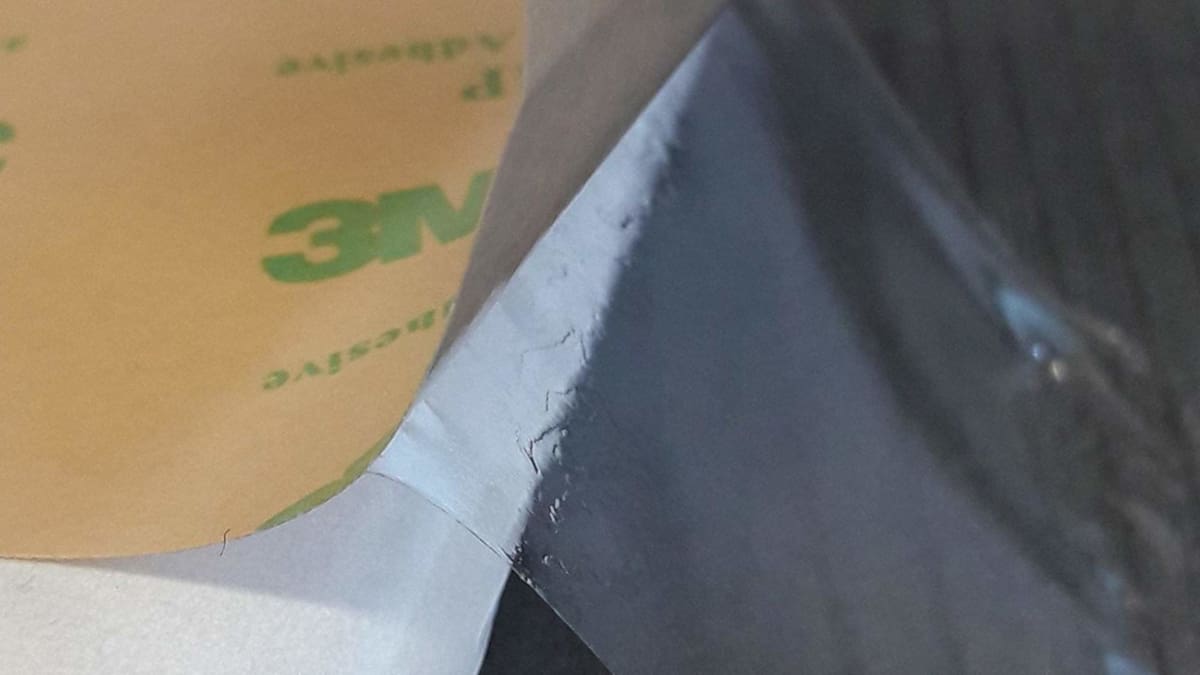
If you are a little fed up with maintaining a sticky surface on the big glass bed by applying sprays, ABS glue, or tape, there is an easy and very convenient solution. Many printers do already have a PEI layer on the print bed since this temperature-resistant material creates good bed adhesion, is easy to clean, and does the job for most of the materials used on the CR-10 S5.
PEI sheets come in a variety of sizes and can be immediately applied. Just clean the glass and remove any stains of your previously-applied adhesives and gradually apply the foil to the bed. Take care not to include any bubbles of air between the foil and the bed. Finally, do not forget to calibrate your Z-axis since the zero value will move up by the thickness of the PEI sheet (0.2 mm).
Better Bed Mounting
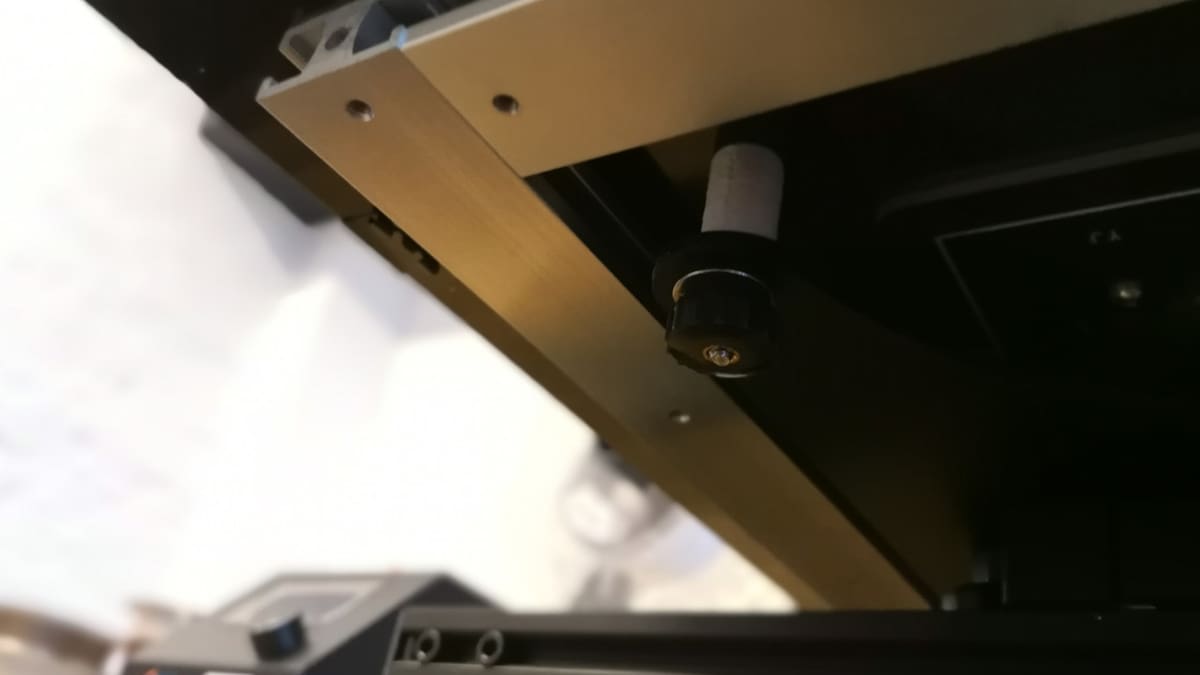
Creality delivers the CR-10 S5 with spring mounts for the heated bed. Especially in conjunction with the other proposed upgrades, this leads to some issues. The bed itself is big and therefore heavy, resulting in some wobbling in the Y-axis due to inertia. Accelerations and stops cause movements of the bed against the springs, which might result in the heated bed wearing but also cause wobbling that might show as shadows and ripples in your prints.
Replacing these springs with either pieces of tube, in combination with a reduction in acceleration (800 to 500) and jerk (8 to 5) in your printer settings, will drastically reduce the effect.
Vibration Dampeners
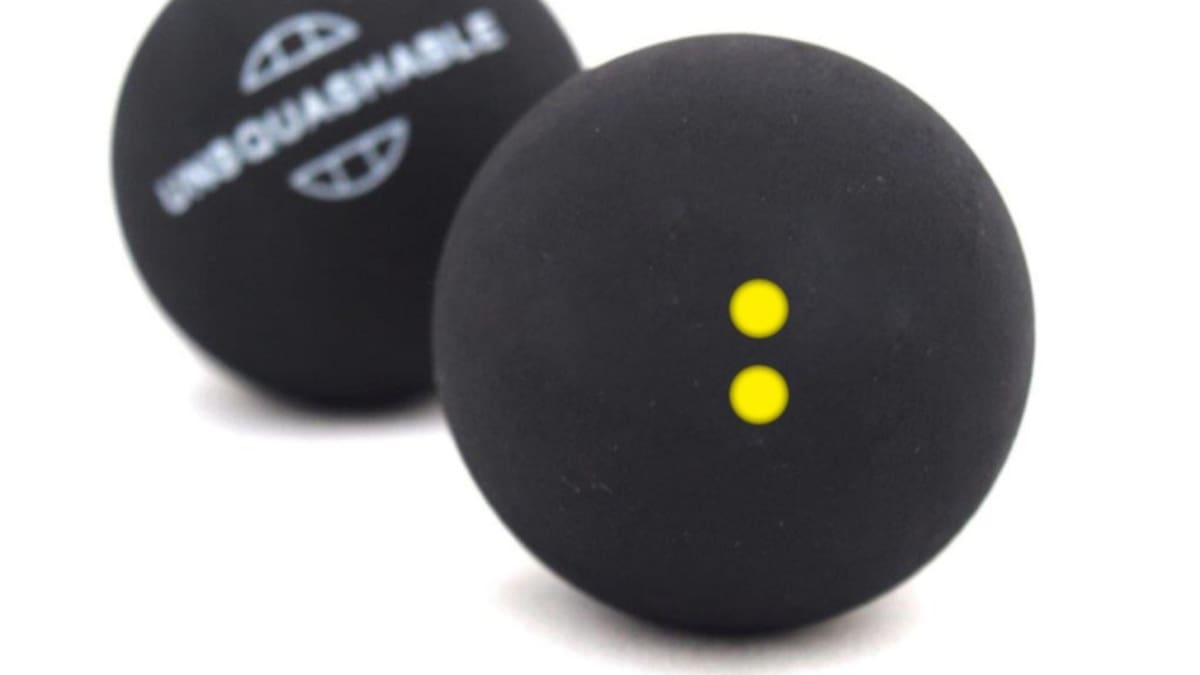
Vibrations and shock induced by movements and stops of the print bed go straight trough the carriage, frame, feet, and into your desk. Dampening them is a must, otherwise the vibrations of what is essentially a randomly-wobbling table are retransmitted back into the printer.
The most convenient solution is dampening feet made from squash balls, which by nature have great shock absorbing capabilities. There are a few examples of printable feet that accommodate these balls and fit into the frame with the original screws, like the Creality anti-vibration feet by MyMiniFactory user Flavio Tursi or “stomp!” by Thingiverse user tokehs.
Your ears will also benefit since the noise level will be reduced.
Cable Management
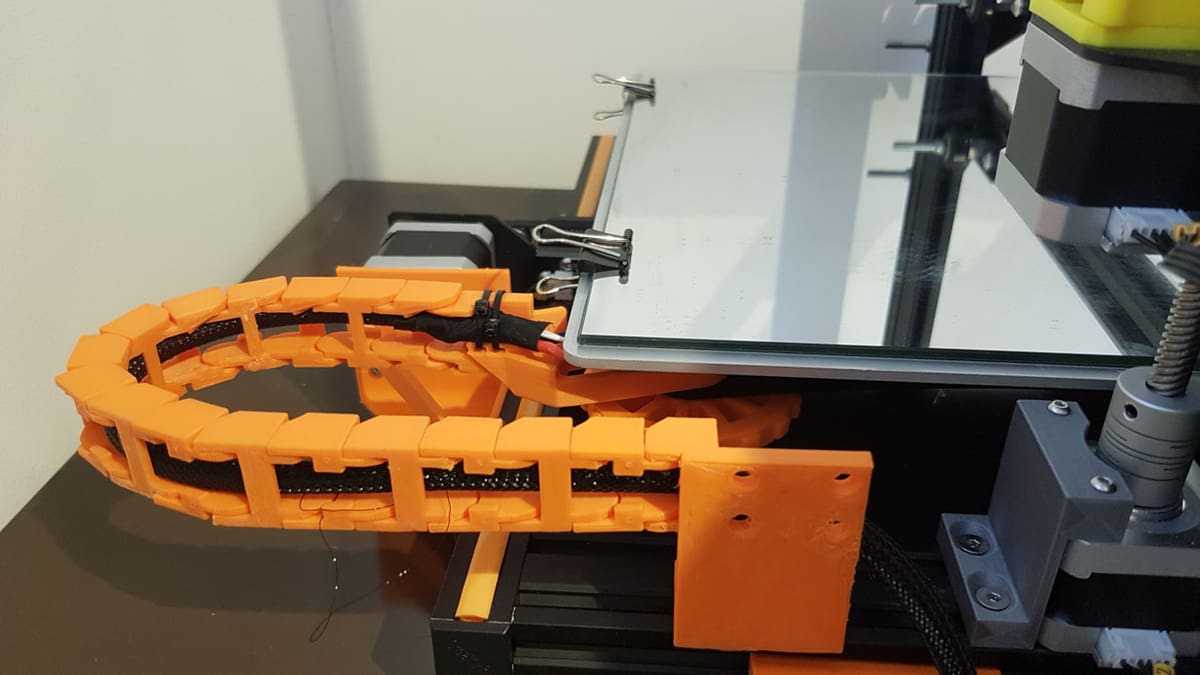
One of the really annoying aspects of the Creality CR-10 S5 is, of course, cable management. Both extruder and heated bed cabling are organized in no logical or tidy manner.
The most professional solution is to install cable drag chains by Thingiverse user Steven Fayers. They provide protection for all three axes of the printer.
Spool Holders
This machine prints big, so you’ll likely need to use big spools of filament. For this purpose, the stock filament spool is not ideal, so a custom spool holder is needed.
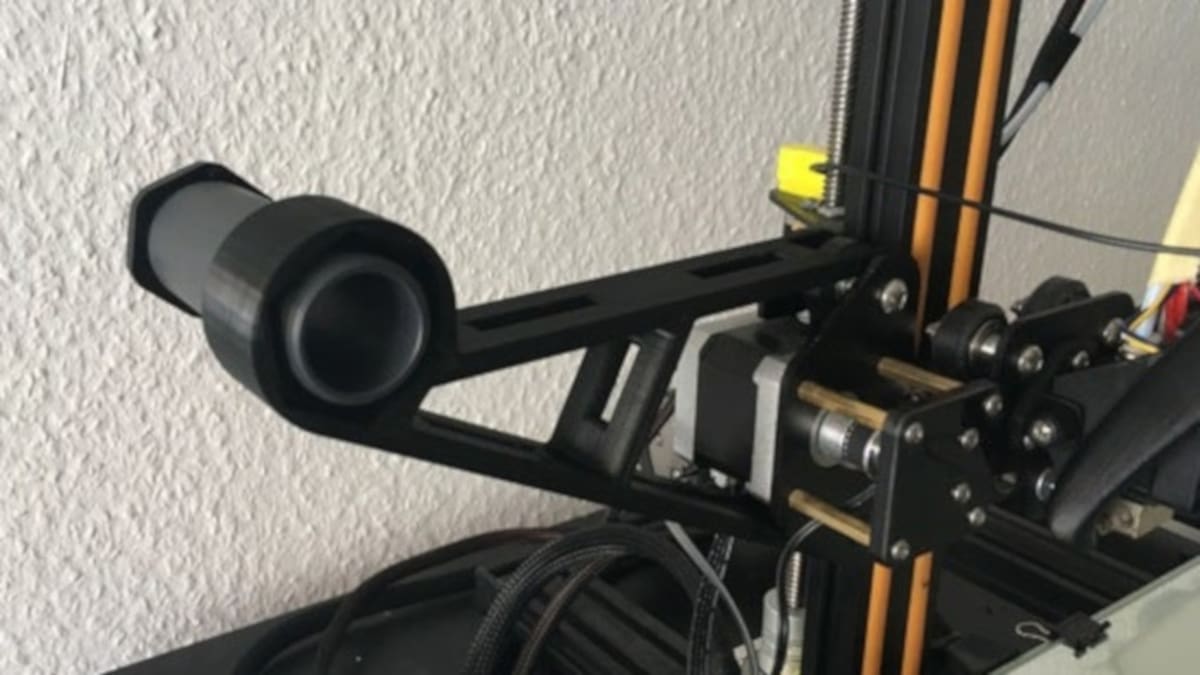
When using small spools and low weight, you could use the Creality CR-10 x-stepper spool holder by Lukas Linß, which mounts directly onto the Z-axis and feeds filament from a constant position, which also very much suits the Bondtech setup (if you print it mirrored).
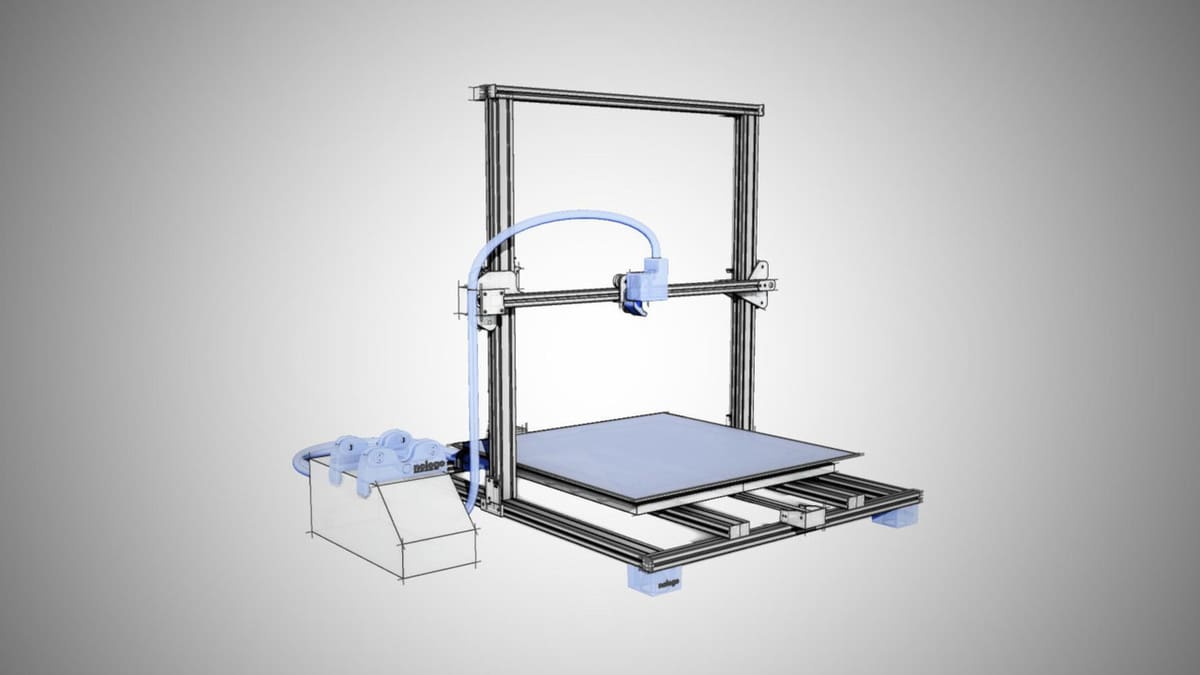
Feature image source: nologo design
License: The text of "The 10 Best Creality CR-10 S5 Upgrades & Mods" by All3DP is licensed under a Creative Commons Attribution 4.0 International License.
CERTAIN CONTENT THAT APPEARS ON THIS SITE COMES FROM AMAZON. THIS CONTENT IS PROVIDED ‘AS IS’ AND IS SUBJECT TO CHANGE OR REMOVAL AT ANY TIME.