The Best Creality K1 Cura Profile / Settings

Looking for the perfect Creality K1 Cura profile? Check out these settings and unleash the lightning-fast potential of your Creality K1!
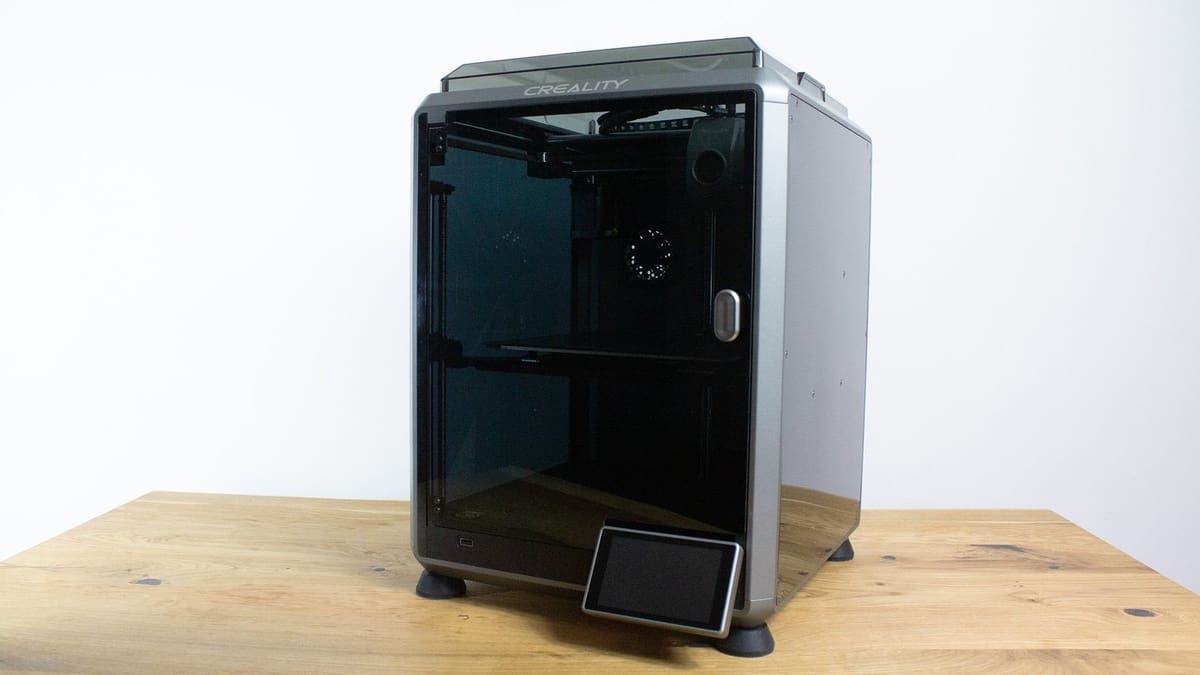
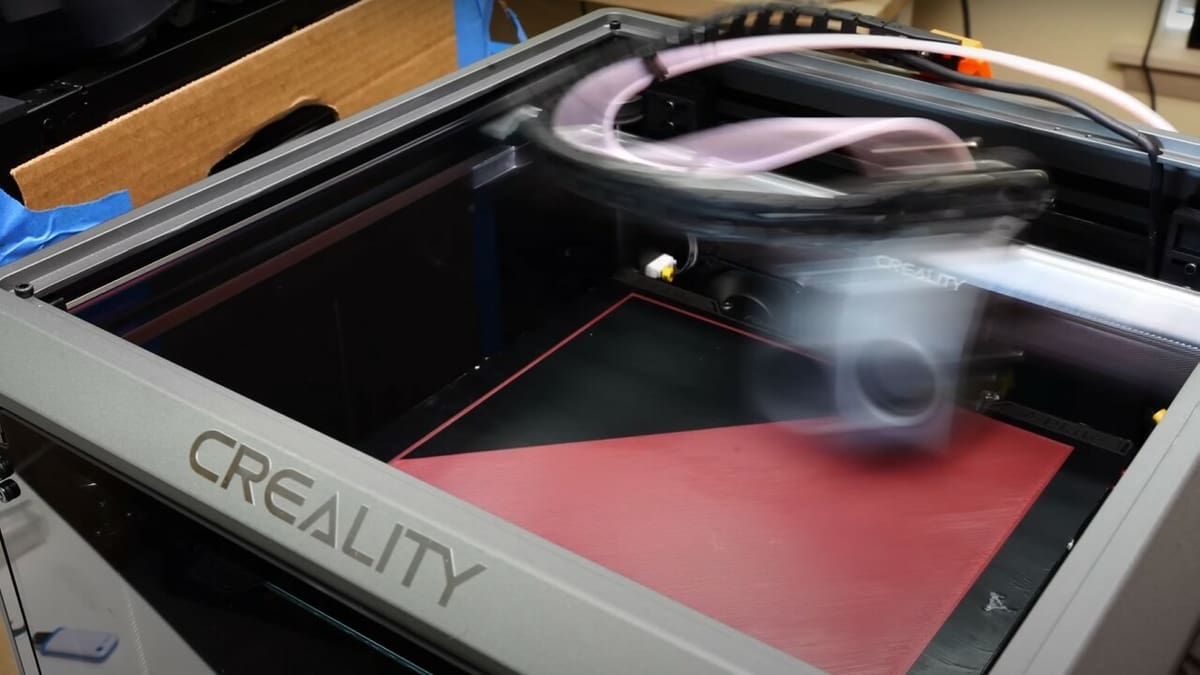
When Creality’s K1 was released in mid-2023, it was greeted with plenty of enthusiasm. This Klipper-based, fused deposition modeling (FDM) printer has a packed feature list, and Creality claims it’s capable of reaching 600 mm/s max print speed and 20,000 mm/s2 acceleration. The printer also boasts hands-free leveling and an enclosure, all at a budget-friendly price point.
Despite a few teething problems with the initial batch of printers that required Creality to ship out new extruders to customers, this printer’s popularity continues to grow in the 3D printing community. The K1 comes with Creality Print slicing software out of the box. This is a fork of the popular Cura, tailored to Creality. Unfortunately, Creality Print lacks some of the features implemented in the latest version of Cura.
Cura, beloved by 3D printing enthusiasts, is a free, open-source slicer that welcomes users of all experience levels. As a beginner, you’ll be able to view the most important settings, while more advanced users can fiddle with over 400 settings in Custom mode. Thankfully, Cura enables users to create profiles for printers not initially integrated into the software, so it’s possible to set up the slicer to function seamlessly with Creality’s K1.
In this article, we’ll guide you through configuring Cura for optimal use with the K1, and offer essential settings to ensure impressive and efficient printing results. Let’s get started!
Getting Started
If you want to harness the power of Cura to elevate your printing experience with the K1, you’ll need to create a custom print profile. At time of writing, there’s no native profile for the K1 in Cura. Essentially, a print profile contains information that identifies the 3D printer, the material, and all activated print settings with their corresponding values, which a slicer uses to generate G-code. While Cura has tons of pre-set print profiles for third-party printers and materials, it also allows users to create custom print profiles.
Here’s how to get started creating a profile for your K1:
- Go to “Settings > Printer > Add Printer”.
- Select “Non-UltiMaker printer”.
- Then, select “Add a non-networked printer”.
- Scroll to Creality3D and select “Creality Ender 3 S1” (as recommended by Creality) and rename the printer “Creality K1”, then click “Add”.
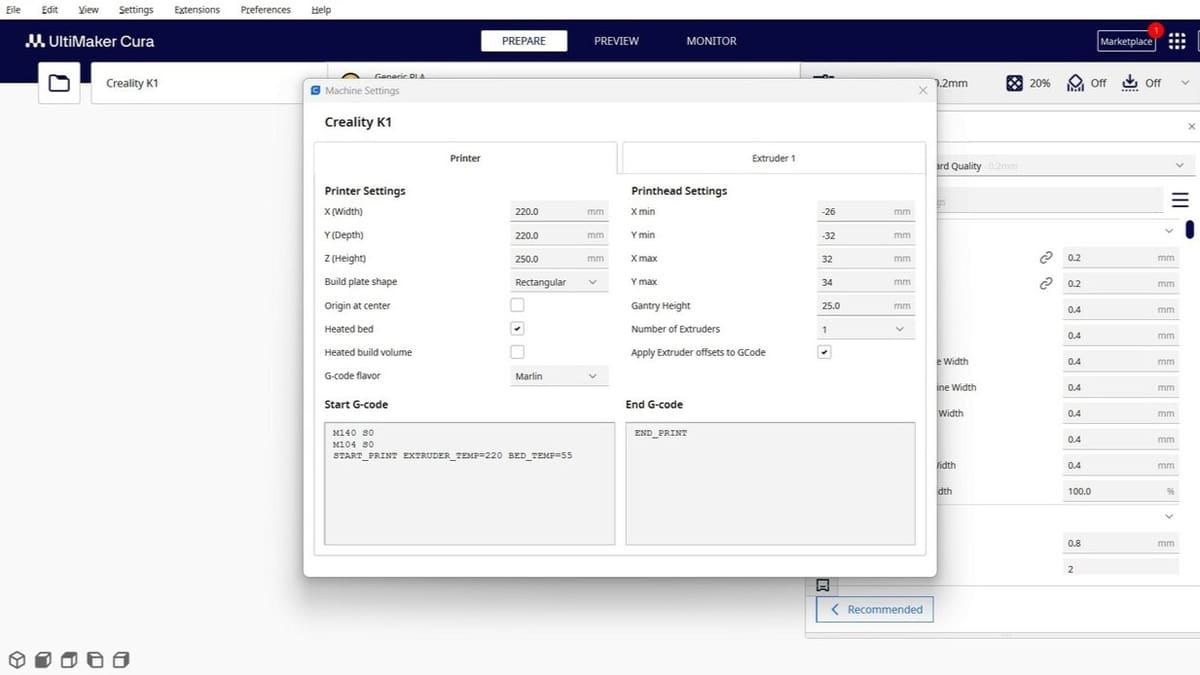
- Under the printer, change the “Z (Height)” value to 250.0 mm, then clear both the Start and End G-code fields.
- Input the following lines into the “Start G-code” field:
M140 S0
M104 S0
START_PRINT EXTRUDER_TEMP=220 BED_TEMP=55
- Then, input into the “End G-code” field:
END_PRINT
As the Creality K1 is shipped with a 0.4-mm nozzle, the settings we provide will be for printing PLA, ABS, PETG, and TPU with this nozzle size.
Here’s a quick summary of our recommended profile, but we’ll provide a more detailed overview of each specific setting. Keep in mind that you may need to modify this profile to fit your specific filament type and nozzle.
Perfect Creality K1 PLA Profile
- Printing temperature: 220-240 °C
- Bed temperature: 50 °C
- Speed: 200-300 mm/s
- Layer height: 0.2 mm
- Retraction: 0.5 mm at 40 mm/s
- Infill: 20%
- Initial layer speed: 10-20 mm/s
- Initial fan speed: 0%
Hot End Temperature
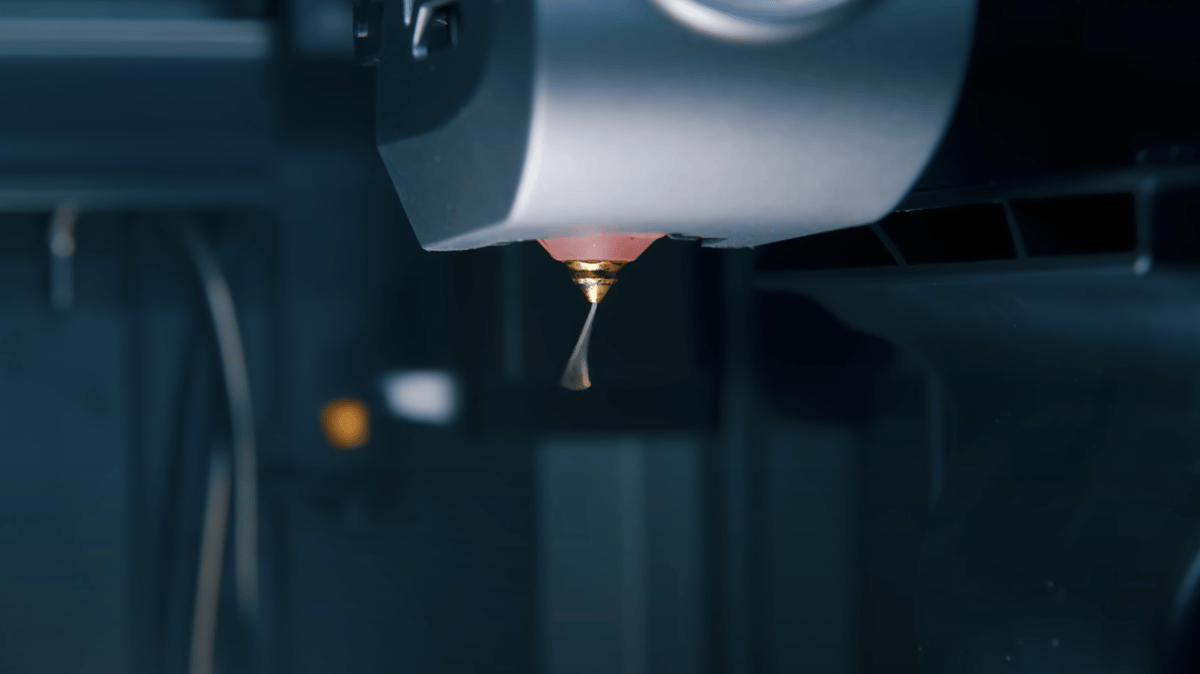
FDM 3D printing involves the melting of thermoplastics and its precise deposition in layers. This makes the hot end temperature one of the most important settings, as the hot end is responsible for melting the plastic. An improper temperature will contribute to problems like over- or under-extrusion and blobs, degrading your print quality.
All filament manufacturers will suggest specific printing temperatures for their filament, and this is generally the best starting point when creating a print profile for your filament. However, for smooth extrusion of PLA, a temperature between 220 °C and 240 °C usually works best for most brands. Factors such as nozzle diameter and print speed will also affect the printing temperature that ultimately works best for you, so we suggest first printing a temperature tower when trying out a new filament.
Ideal printing temperatures range around 260 °C for ABS, between 250 °C and 270 °C for PETG, and around 220 °C for TPU. A good rule of thumb is to start printing from the lower ranges and increase your temperature by 5 °C until your print quality is exceptional.
Summary
- PLA: 220-240 °C
- ABS: 260 °C
- PETG: 250-270 °C
- TPU: 220 °C
Bed Temperature
Increasing the temperature of your build plate generally improves the adhesion between your print’s initial layer and the plate, reducing the risk of a failed print arising from your print separating from the bed.
The K1 comes with a PEI build plate capable of reaching 100 °C, which you’ll require when printing ABS on this machine. While PLA doesn’t typically require a heated bed, depending on the build plate material, it still benefits from the bed being raised between 50 °C to 60 °C. Kapton tape, glue, and blue painter’s tape can also be used to improve your print’s bed adhesion.
Summary
- PLA: 50 °C
- ABS: 100 °C
- PETG: 70 °C
- TPU: 70-75 °C
Speed
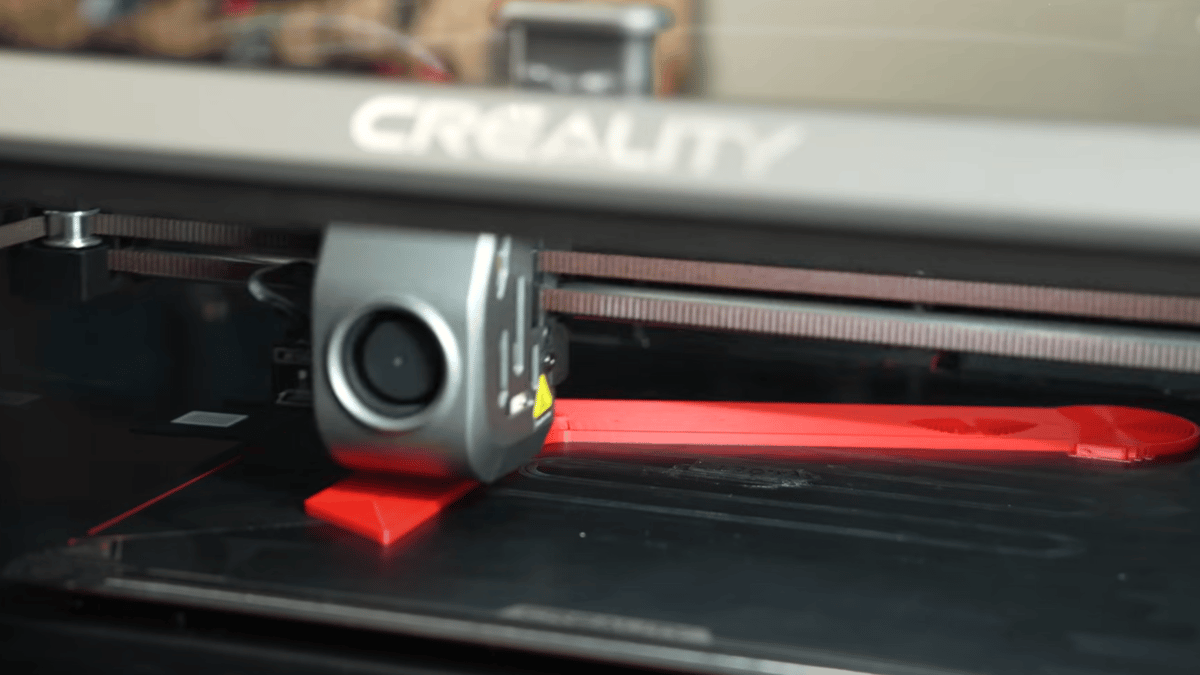
Creality claims that the K1 is capable of impressive 600 mm/s print speeds and 20,000 mm/s2 acceleration speeds. However, they also concede that users should expect a more typical maximum print speed of 300 mm/s and a travel speed of 800 mm/s. The most important factor that governs how fast a 3D printer prints is its maximum volumetric flow rate, which Creality claims is 32 mm3/s for the K1. Volumetric flow rate describes the volume of plastic your hot end can push out per second.
For PLA, we suggest setting a maximum flow rate of 20 mm3/s and a starting speed of 200 mm/s and going up from there. This speed and flow rate also works well with ABS. As PETG is a bit stringier, we suggest 180 mm/s as a good starting point. Since it’s a good idea to start at a much lower speed for flexible filaments, we recommend a max speed of 80 mm/s for TPU. Print a speed test tower to further dial in your settings!
Summary
- PLA: 200-300 mm/s
- ABS: 200-300 mm/s
- PETG: 180 mm/s
- TPU: 80 mm/s
Fan Speed
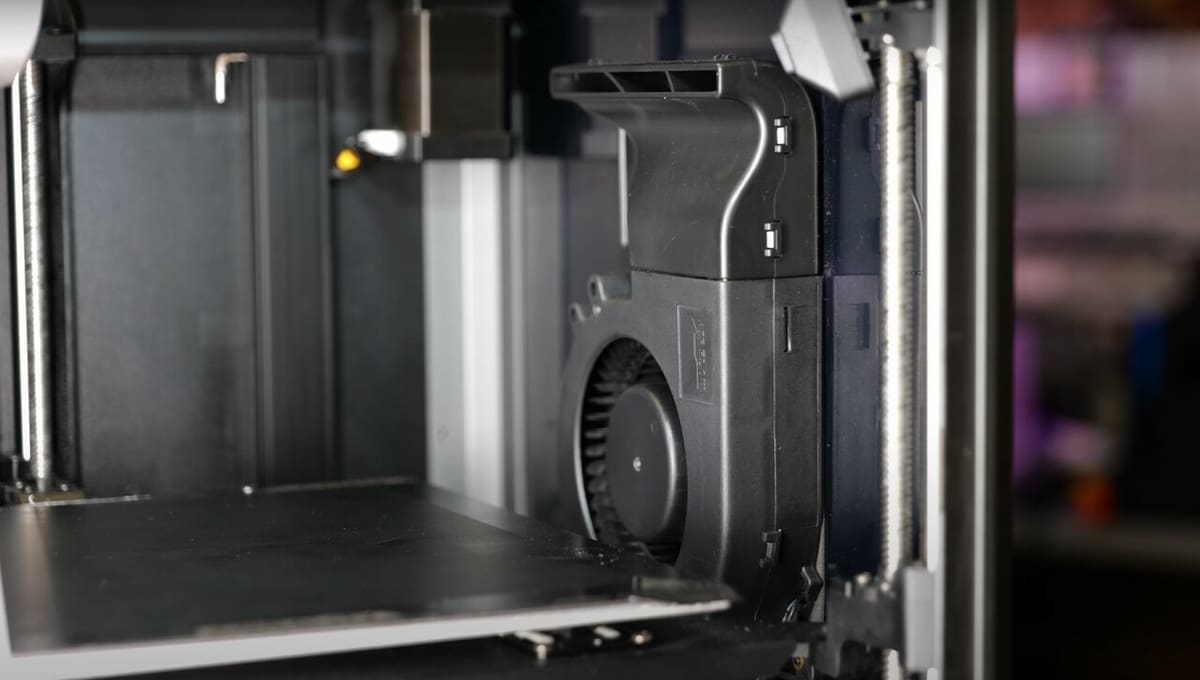
Ultimately, your fan speed depends on your material. When printing PLA on your K1, you’ll need your part cooling fans on full blast, the door open, and the top off to ensure that no heat build-up will negatively affect your print quality. Conversely, for ABS, because the K1 chamber is passively heated (it uses nozzle and print bed heat to raise its chamber temperature), you’ll need to turn off all fans and preheat your printer until the chamber temperature is about 40 °C before you start printing, to prevent warping and layer adhesion issues.
When cooled too rapidly, PETG tends to crack, so printing with the door closed is a good idea. Have your maximum fan speed between 20% to 30% and your chamber temperature at 40 °C for optimum results.
Much like ABS, avoid printing TPU with fans turned on, as TPU layers require time to bond. Bridges, overhangs, and small layers, however, will benefit from slight cooling. Set your fan to 20% max for these areas for optimum quality.
Summary
- PLA: 100%
- ABS: 0% (closed chamber)
- PETG: 50-100%
- TPU: 0% (20% for bridges, overhangs, and small layers)
Layer Height
For any given nozzle, using a layer height between 25% and 75% of the nozzle size is recommended. However, the layer height you decide to use will ultimately be determined by the purpose of your print.
Smaller layer heights produce more detailed prints but generally take longer to complete, compared to larger layer heights, which sacrifice some resolution or detail for shorter print times. Overhangs also tend to print better when using larger layer heights.
Ensuring alignment between your print speed and layer height is crucial when printing on the K1. Higher print speeds complement smaller layer heights more effectively (keeping in mind the maximum volumetric flow rate), minimizing the risk of under-extrusion, while greater layer heights are best paired with lesser print speeds for optimum print quality.
Summary
- Fine detail, slow: 0.1 mm
- Coarse detail, fast: 0.2 mm
Initial Layer
Arguably the most important layer in FDM printing, getting your initial layer to stick to the print bed for the duration of your print goes a long way in eliminating failed prints, saving you time, money, and frustration. Getting your initial layer right also ensures the dimensional accuracy of your prints.
You can implement several strategies to significantly improve the quality of your initial layer on any FDM printer, the K1 included. Start by increasing both the initial layer nozzle and print bed temperatures by 5 °C while disabling cooling fans to prevent premature cooling of the plastic. Additionally, opting for a larger layer height to print the initial layer can be beneficial. The higher nozzle and print bed temperatures ensure that the plastic remains molten for a longer period, while using a larger layer height increases the compression of the molten plastic into the print bed, thereby improving adhesion.
To optimize this process, reduce your print speed specifically for the initial layer, aiming for a range of 10-20 mm/s. Since the K1 comes with a PEI print bed and extrudes a line at the edge of the print bed thanks to the start G-code, you probably won’t have to use a raft, brim, or skirt.
Watch out for elephant’s foot, which may arise due to the extra squishing of your initial layer to the print bed. Setting a negative value for your initial layer horizontal expansion value in Cura will help avoid this issue.
Summary
- Initial layer height: For a layer height of 0.2 mm, go for 0.24 mm or 0.28 mm
- Initial layer speed: 10-20 mm/s
- Initial fan speed: 0%
Retraction
Retraction reverses the motion of the extruder motor to combat stringing on a print by reducing the pressure within the nozzle. Retraction is very handy when your printer has to perform travel moves between different parts of a print or when printing multiple objects at the same time. Retractions increase print times and can cause grinding of your filament, leading to a failed print, so we suggest setting your maximum retraction count in Cura appropriately.
When using retractions, the most important settings are the retraction speed (retract and prime) and the retraction distance. Retract speed is the speed at which the filament will be retracted while the prime speed describes how fast the filament will be fed back into the nozzle. Retraction speed will also depend largely on your travel speed, with faster travel speeds requiring higher retraction speeds.
Avoiding retractions when using TPU is recommended, as flexible filaments are more susceptible to grinding. However, the K1 has a direct extruder, so you can use retraction at slower speeds. Retracting PLA at 40 mm/s and a retraction distance of 0.5 mm works well on the K1. These values work pretty well for ABS and PETG, too.
It’s also beneficial to set your prime speed a bit higher to prevent under-extrusion after a retraction has been made. Ultimately, printing a retraction test is the best way to get the right settings from your prints.
Summary
- PLA: 0.5 mm at 40 mm/s
- ABS: 0.5 mm at 40 mm/s
- PETG: 0.5 mm at 40 mm/s
- TPU: 0.5 mm at 30 mm/s
Infill
The amount of infill you use in a print is dependent on the purpose of the print as well as its geometry. Functional prints generally require more infill than decorative pieces. However, prints with larger closed top surface areas will require more infill to support their top layers than prints with smaller top surface areas or open geometry.
Your infill percentage and pattern will affect the strength, weight, and time taken to complete your print. For functional prints, we recommend infill patterns that provide equal strength in all directions, such as Cura’s cubic and octet infill patterns.
For decorative pieces, a maximum infill of 15% should suffice, while more functional prints will require higher infill percentages ranging from 50% to 100%.
Summary
- Decorative prints: 0-15%
- Standard prints: 15-50%
- Functional prints: 50-100%
License: The text of "The Best Creality K1 Cura Profile / Settings" by All3DP is licensed under a Creative Commons Attribution 4.0 International License.