The Best Ender 3 S1 (Pro) Enclosures

Enclosing your printer brings several benefits to your prints and workspace. Check out these options for Ender 3 S1 and S1 Pro enclosures!
So, you have an Ender 3 S1 or S1 Pro 3D printer from Creality and you are pretty happy with it. (Let’s face it, why wouldn’t you be!) However, you’ve noticed some users in online forums talking about adding an enclosure to their printing setup to improve their print quality, among other benefits.
Well, these claims are certainly not unfounded! Having an enclosure for your printer could be the missing link you need to bring your prints to the next level.
Dust and particles can affect your print and cause damage to the machinery, so an enclosure offers protection. It also helps reduce noise, especially if your machine is in a room that’s lived in or it’s in a shared workspace. If you’re printing more challenging materials like ABS or you want to decrease chances of warping in general, a cover can help regulate the temperature and keep pesky drafts away. And last but definitely not least, an enclosure can allow for wires, control panels, and miscellaneous tools to be neatly contained. No more disorder!
Despite all of these benefits, the Ender 3 S1 and its cousin the S1 Pro both don’t come with a built-in enclosure. The large size of these popular printers makes it difficult to source an enclosure that can fit, let alone have room for filament spools and other storage.
In this article, we’ve compiled a list of enclosures, both purchasable and DIY, that can contain these monster printers.
Purchasable Options
The easiest way to get an enclosure for your printer is to buy a purpose-built model or kit from a provider. Obviously, this will probably cost more than the DIY options we’ll be looking at later, but you’ll be up and running with a fully enclosed printer much quicker. Let’s have a closer look at the options.
Creality Enclosure
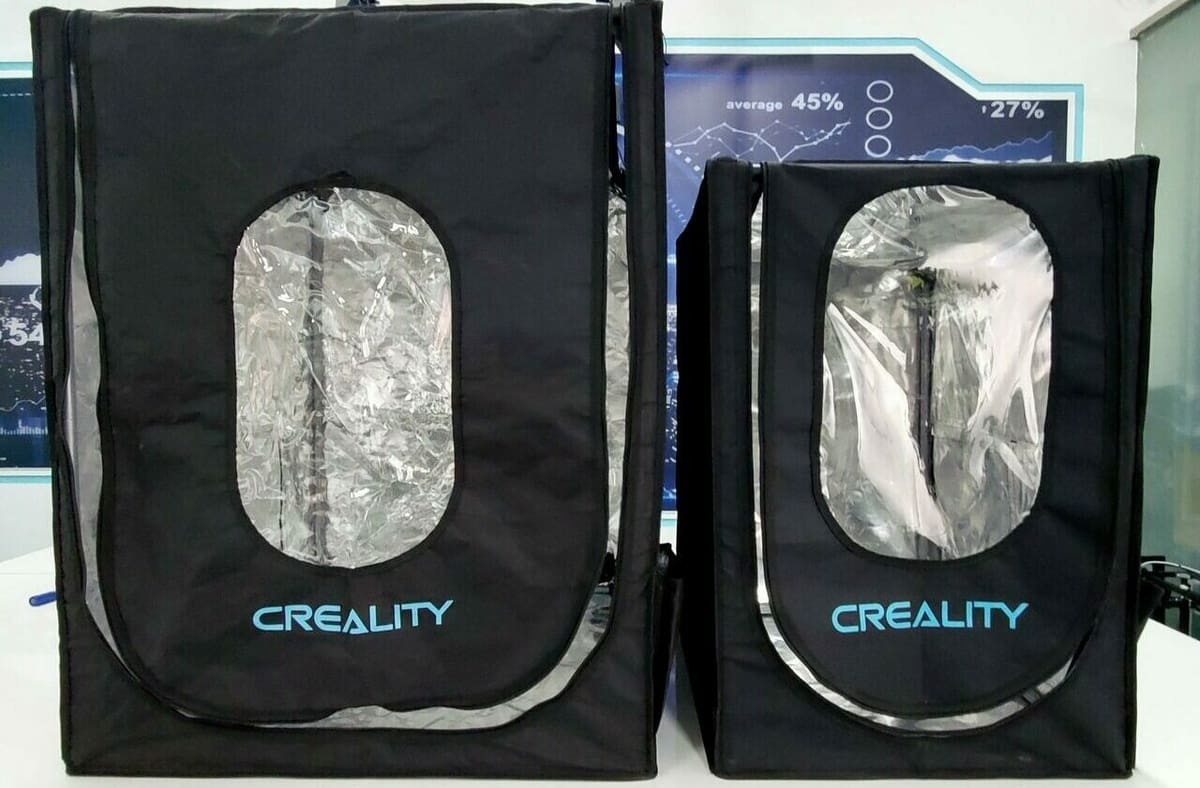
Creality’s own branded enclosure comes in three different sizes, with the medium size being most suitable for the Ender 3 S1 and S1 Pro. You can also opt for the large size (70 x 75 x 90 cm) if you would like some extra storage space.
This enclosure is simple yet functional. Even assembly of this sturdy, lightweight design is a breeze. The basic framework is made of aluminum poles and plastic connectors that are covered in a water- and dustproof, heat-resistant tent. Place your printer inside and you’re good to go, easy as that.
There’s a large opening panel at the front, and smaller access panels at the top and on one side, which make it easy to reach any essential parts of the printer. Once everything is closed up, the printer is still visible through the front panel so you can monitor the work in progress as necessary.
- Cost: ~$120
- Visibility: Small, front-facing window
- Accessibility: Front-, side-, and top-opening panels
- Assembly: Easy
- Dimensions: 73 x 65 x 72 cm (medium size)
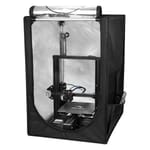
Photo Studio Light Box
Sometimes, you just have to think a little outside the enclosure to find the right solution.
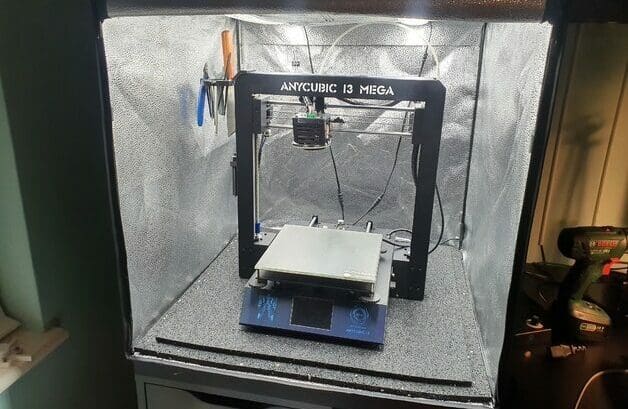
A photo light studio enclosure is constructed in a very similar way to the Creality enclosure, simply employing a frame covered by a fabric “tent”. While this enclosure isn’t designed with temperature insulation in mind, the reflective internal lining will nevertheless provide some of that functionality. You will, however, have integrated lighting with many options available online. This is a nice bonus if webcam monitoring or making time-laspes is your thing.
Since these tents aren’t designed specifically for a 3D printer, you may run into a limited number of holes for wiring or service access panels. In addition to the typical front access panel, some models may also have a top panel. Though, it’s good to know that these enclosures are available in pretty large sizes, so you’ll be able to fit your printer plus the filament spool and some tools without issue.
While the Anycubic i3 Mega pictured above isn’t as tall as the Ender 3 S1 and S1 Pro, opting for a slightly larger light box should easily do the trick.
In any case, you could also consider adding a webcam for checking in on your print without opening up the enclosure.
- Cost: ~$80
- Visibility: None with all access panels closed, integrated lighting
- Accessibility: Front panel can be fully or partially opened
- Assembly: Easy
- Dimensions: 70 x 70 x 70 cm
Clearview Plastics Kit
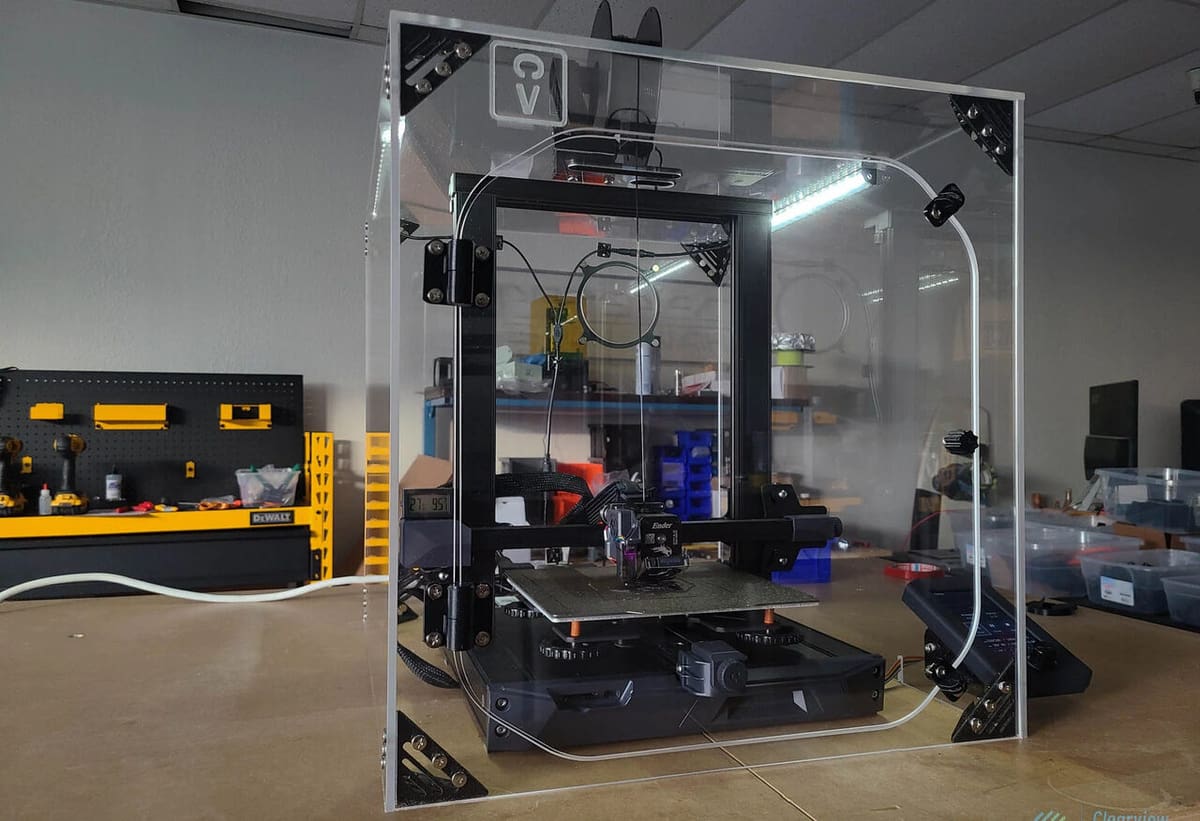
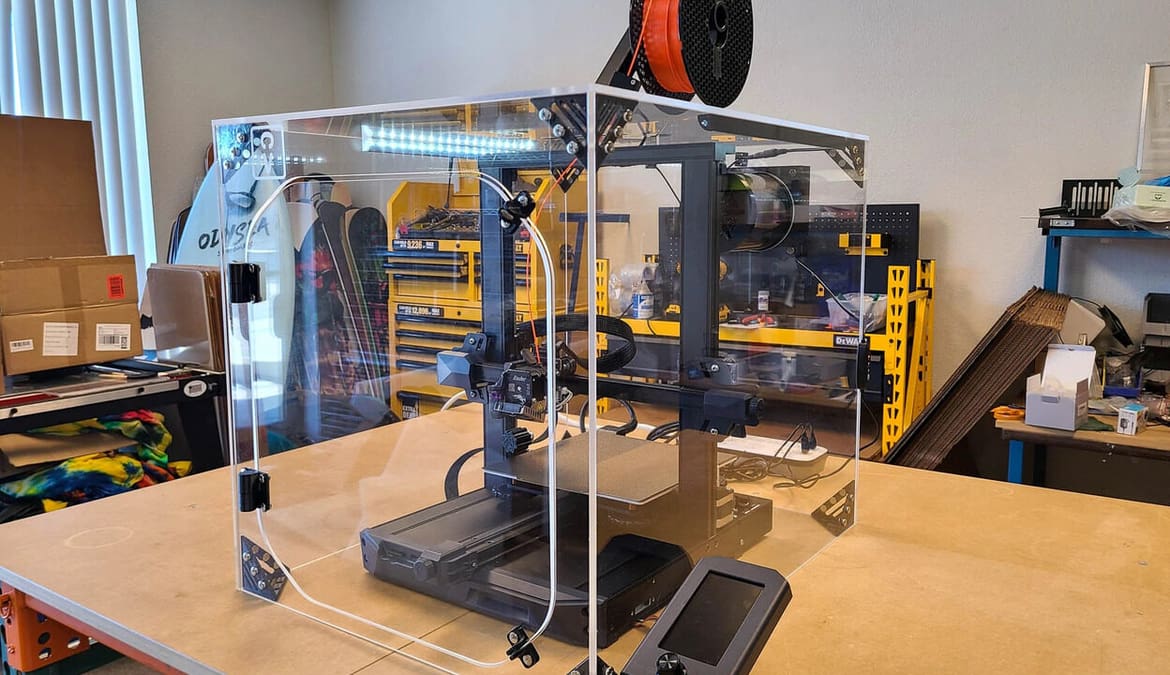
If you’re looking for housing that is a bit more substantial and hard-wearing for your precious S1, then this acrylic enclosure from Clearview Plastics may be able to meet your needs. The model has been specifically designed to house the Ender 3 S1 and S1 Pro while providing full visibility of the printer from every side.
The standard version of the enclosure is made from 1/8″ thick panels but these can be upgraded to 1/4″ clear or tinted acrylic or 1/4″ clear polycarbonate at additional costs. The standard version will certainly give you all the protection you need for your printer, but if you want to stack additional printers or supplies, then the thicker panels may be the way to go.
The enclosure itself only houses the printer, so the control panel and filament spool will have to stay outside. However, there are custom-designed access holes for both of these and other wiring as well. Access is via a large front-opening hinged door, but you can also lift the whole enclosure off the printer if you need to.
The enclosure comes as a kit with detailed instructions. Clearview Plastics provides full customer support and after-sales service should you need it. They also offer upgrades to the enclosure such as an LED lighting kit or an internal spool holder, for an additional cost. While this definitely isn’t the cheapest option, it may well be worth it in the long run.
- Cost: Starting around $290
- Visibility: Complete
- Accessibility: Front-opening hinged door
- Assembly: Intermediate
- Dimensions: 50 x 51 x 60 cm
DIY Options
So, we’ve had a look at a few purchasable enclosures for the Ender 3 S1 and S1 Pro. However, the imaginative and creative minds of 3D printing enthusiasts don’t always settle for “off-the-peg” options.
If the idea of making your own enclosure seems daunting, not to worry! There are many options online with full instructions and tutorials aimed at all skill levels. We’ve found a couple of suitable tutorials to share with you and it’s time to check them out!
MDF Box
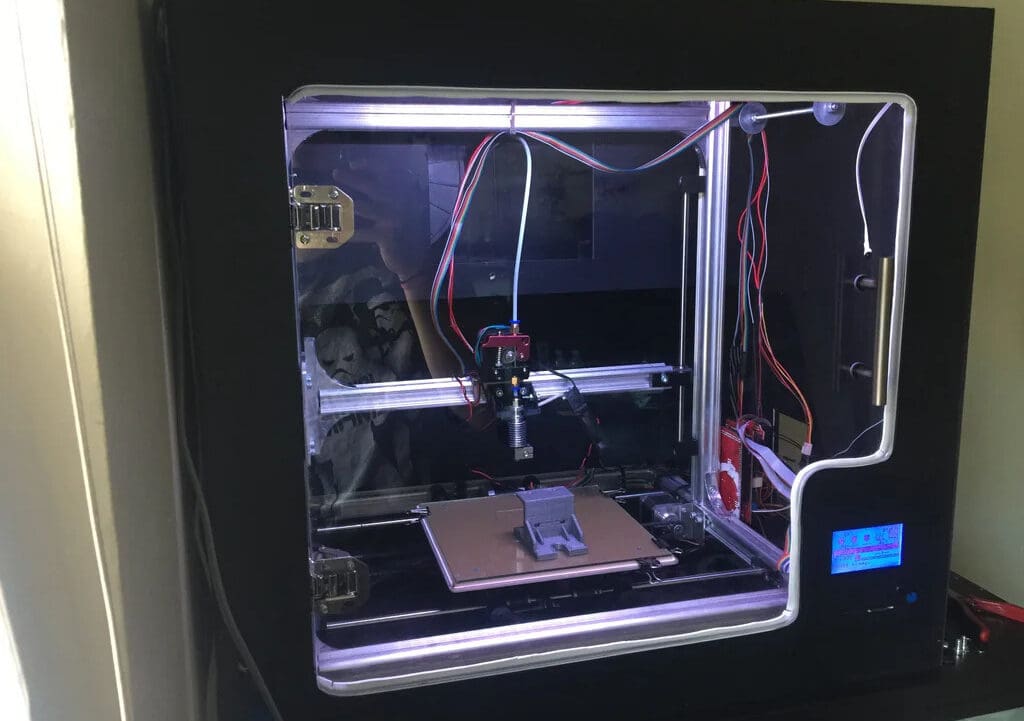
An Instructables project posted by arron_mollet22 is a perfect example to showcase that you don’t need to throw down the big bucks to have a high-quality printer enclosure. Although it’s not been specifically designed for the Ender 3 S1 or S1 Pro, a careful adaptation of the measurements will allow you to complete the project to your ideal dimensions, as the Velleman K8200’s measures don’t differ much from the S1 and S1 Pro’s.
Construction of this custom enclosure employs MDF (medium-density fiberboard) and acrylic panels. It’s safe to say this enclosure is meant to fully protect your printer and last.
While you’ll need some wood-cutting and wiring skills, the designer gives a detailed walk-through of what you need and how to make it. Instructions include the setup of an LCD display panel for monitoring internal temperature among other parameters.
Although the costs of materials will vary depending on location and availability, we’ve come up with a cost estimate if you already have access to the necessary workshop tools.
- Cost: ~$110
- Visibility: Front-facing clear panel
- Accessibility: Front-opening hinged door
- Assembly: Difficult
- Project page: Instructables
Plastic Sheets
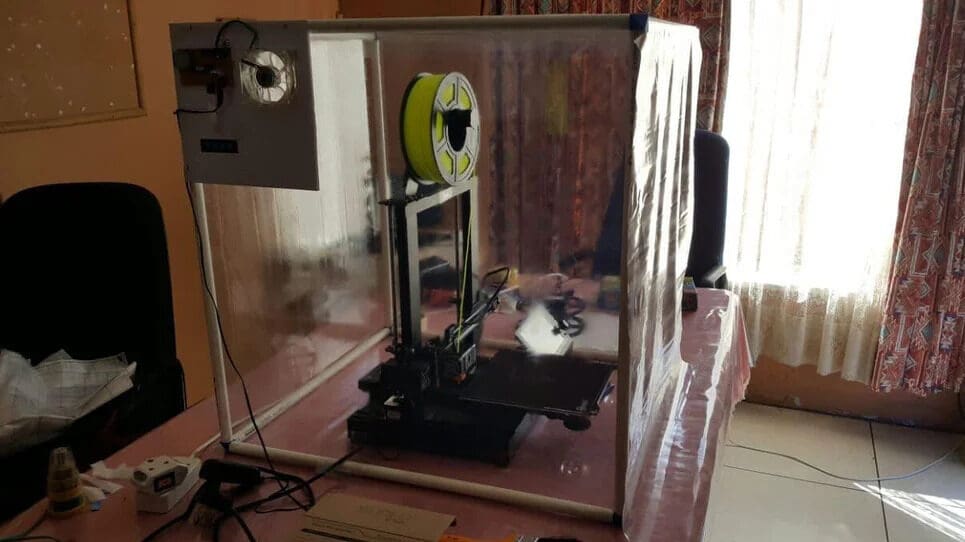
Our second DIY option is a much simpler affair but should nevertheless get the job done!
The design and build instructions, created by Gertv29, resemble those of the purchasable tent-like enclosures that we’ve previously gone through. Plastic PVC pipes and 3D printable connectors make up the frame which is simply covered with clear, vinyl sheeting. The end result is a complete enclosure for your printer, spool holder, and control panel – but for a fraction of the cost of any of the other enclosures.
The designer has upgraded the design to add a fan and controller for additional temperature control, but this is optional. The size can be adapted to your own needs, just make sure you get longer pieces of pipe and more plastic covering. By leaving one side of the plastic sheeting unsecured except across the top, you’ll be able to easily reach into this enclosure for any task.
The cost of the materials will vary depending on your location and desired size of enclosure, but all the supplies should be readily available at any local hardware store or online.
- Cost: ~$30
- Visibility: Complete
- Accessibility: One or more full sides
- Assembly: Intermediate
- Project page: Instructables
License: The text of "The Best Ender 3 S1 (Pro) Enclosures" by All3DP is licensed under a Creative Commons Attribution 4.0 International License.
CERTAIN CONTENT THAT APPEARS ON THIS SITE COMES FROM AMAZON. THIS CONTENT IS PROVIDED ‘AS IS’ AND IS SUBJECT TO CHANGE OR REMOVAL AT ANY TIME.