The Best Ender 5 S1 Upgrades & Mods

The Ender 5 S1 is a 3D printer with plenty of potential. Discover how to unlock it with these Ender 5 S1 upgrades!
Creality is one of the most famous companies in the 3D printing world. Its Ender 3 – the machine that made them so popular – has allowed millions of people to get into the hobby without spending too much.
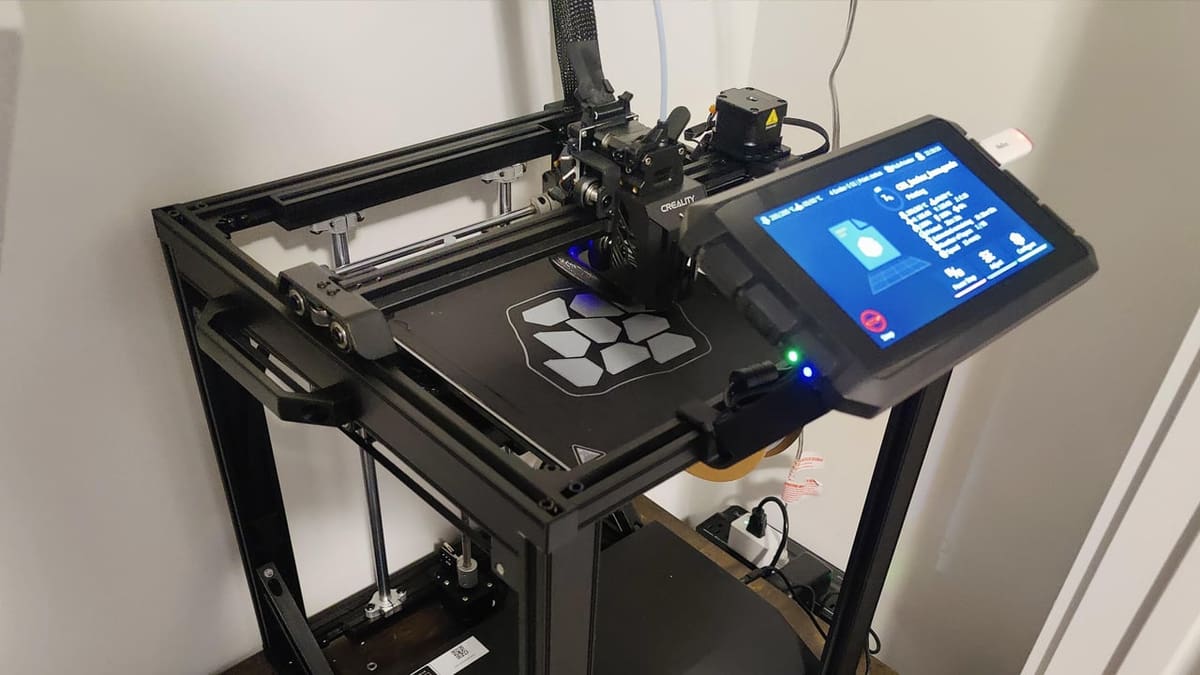
Since the Ender 3’s release in 2018, Creality has continued to work on new printer models, and after the Ender 3, the Ender 5 is one of most well known. This printer is distinguished by its cube-like frame. The Cartesian motion system is maintained, and the print bed doesn’t move back and forward like bed slingers but rather up and down. Thanks to this design, the frame is sturdier, creating a better structure for high-speed printing.
The Ender 5 series has been so appreciated by the community that Creality continues to add to it. The lastest one at the time of writing is the Ender 5 S1. It has some new features that make it more advanced than the previous models, like the direct extruder and the auto bed leveling sensor.
Although it’s a great machine, there’s always room for improvement. So, let’s check out the best upgrades for the Creality Ender 5 S1!
To Buy
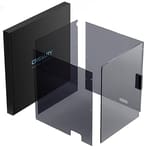
Enclosure
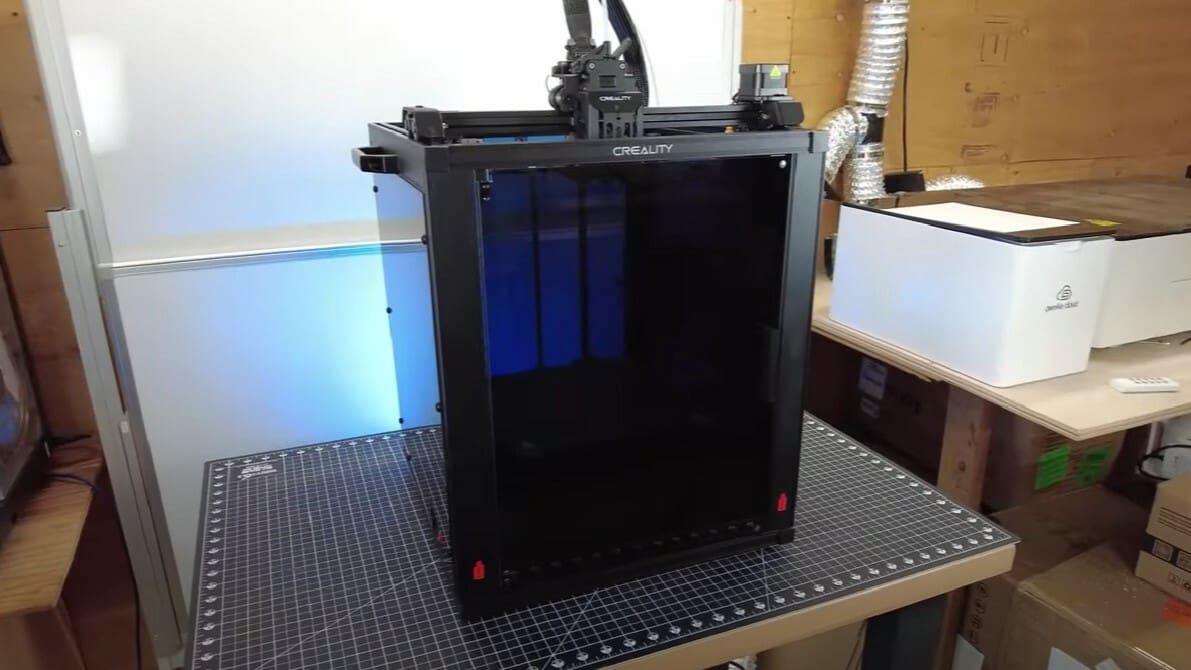
The Ender 5 S1 hot end can reach 300 °C to print high temperature filaments. However, when thinking about printing these kinds of filament, you must consider warping. In fact, materials like ABS, ASA, and nylon tend to warp with an open 3D printer, given fluctuations in ambient temperature. Maintaining a consistent temperature is essential for achieving quality prints in these filaments, so you should definitely consider this upgrade if you’re planning on printing any of these filaments often.
Creality offers an enclosure kit for the Ender 5 S1, so this upgrade will be only a matter of assembly. This kit includes the panels to enclose all sides of the machine except for the top. Check out Randy May’s build video and test of the enclosure to see how well it does.
- What does it improve? It allows you to print high-temp materials that tend to warp without an enclosure.
- How much does it cost? ~$60
- Who designed it? Creality
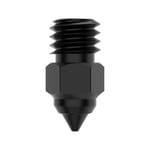
Hardened Steel Nozzle Kit

There’s incredible variety in the types of filament you can print with, and composite materials offer great aesthetic and performance features to your prints. For example, filaments with added carbon or glass fibers tend to be really strong, which is perfect if you need rigid prints.
Unfortunately, printing composite filaments will quickly deteriorate a brass nozzle. To print such filaments, you should consider a hardened steel nozzle for better results. It’s much more durable than a brass one and allows you to print those materials with better quality, since the path of the nozzle won’t deteriorate fast – ensuring a constant extrusion.
- What does it improve? It allows you to print composite filaments with good quality without having to swap nozzles often.
- How much does it cost? ~$25
- Who designed it? Creality
Creality Sonic Pad with Klipper
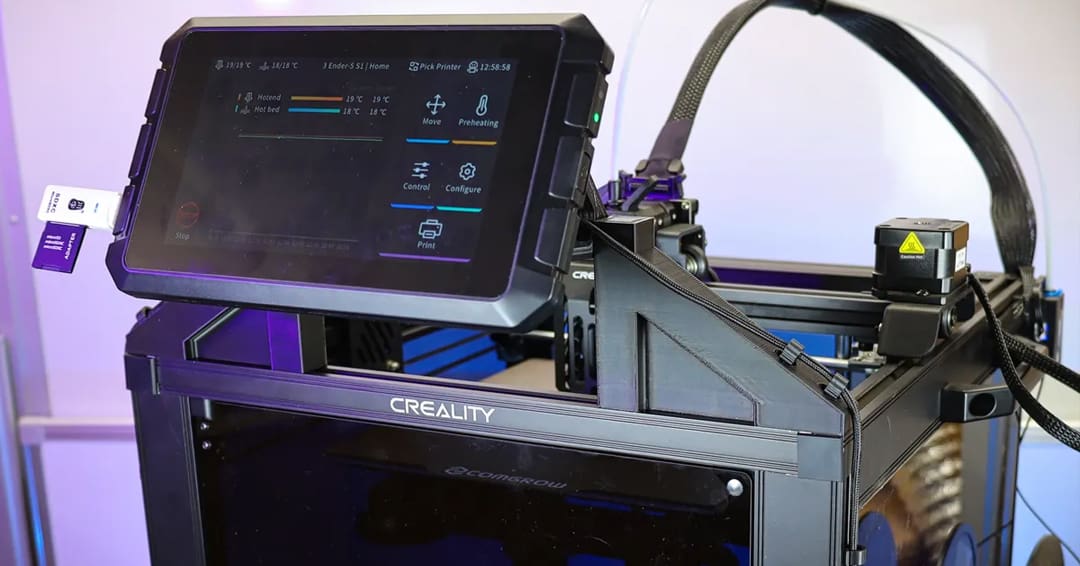
Klipper is a popular firmware that’s loved by the maker community because it unlocks a lot of possibilities. In particular, it allows you to push your printer to high speeds while also maintaining good quality. It also offers a lot of useful plug-ins, such as “Exclude objects”.
You can easily install this firmware on the Creality Ender 5 S1 with the Creality Sonic Pad, which offers a premade configuration for the Ender 5 S1. The Sonic Pad will work both as the SBC to run Klipper and as a convenient touchscreen to control the machine.
- What does it improve? It allows you to increase speed without losing quality. It also unlocks convenient plug-ins that can improve your 3D printing experience.
- How much does it cost? ~$120
- Who designed it? Creality

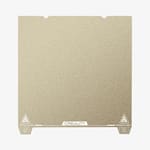
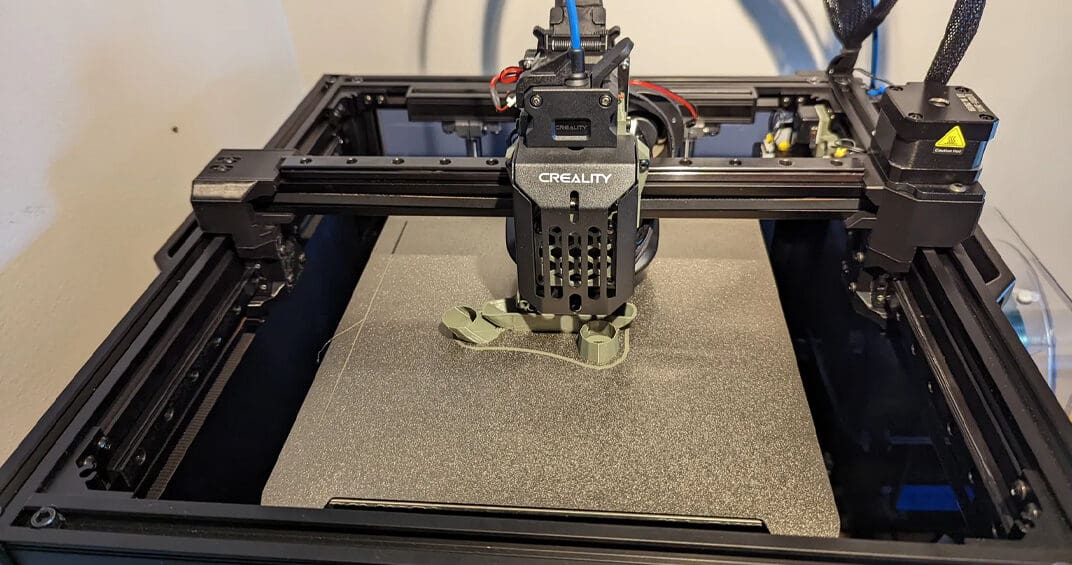
PEI Build Plate
Many find the stock build plate on the Ender 5 S1 to be one of its weaknesses. It’s not rare to hear makers complaining about it because filament sticks too well to it, damaging the plate after a few prints. So, you should definitely consider swapping it with a PEI build plate to improve your printing experience.
Creality has created a PEI build plate for the Ender 5 S1 that presents two holes on the backside so you can align it easily. This plate is flexible, so prints will be easy to remove.
- What does it improve? With this plate, you’ll be able to easily remove your prints from the bed and achieve a good first layer adhesion.
- How much does it cost? ~$25
- Who designed it? Creality
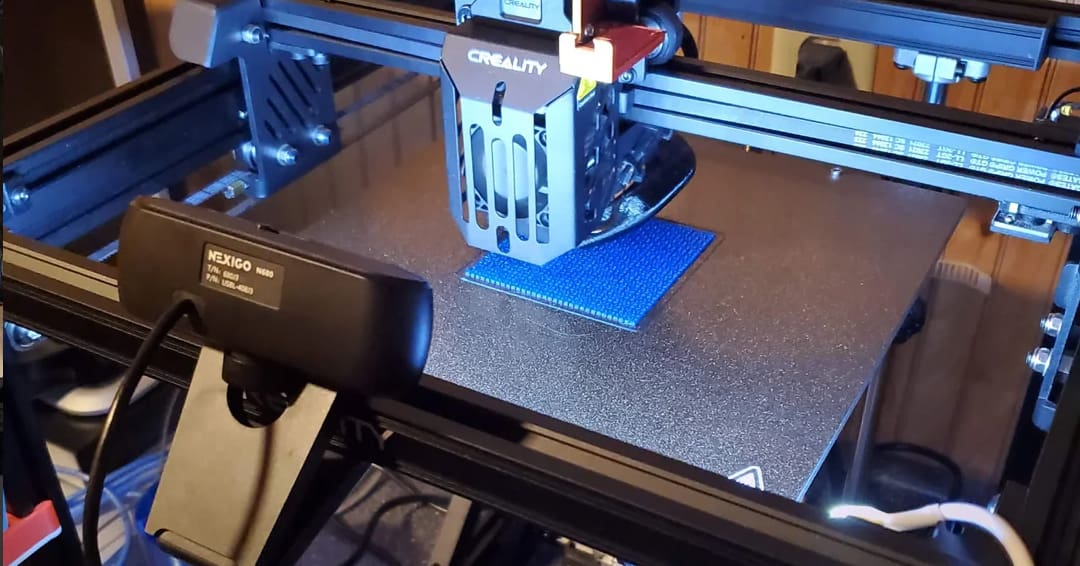
Camera
Cameras are inexpensive nowadays, and they can be really helpful. They allow you to create beautiful time-lapses for social media, and they also allow you to check your prints to ensure that everything is going smoothly.
You can add a camera to your Ender 5 S1 by buying a inexpensive USB webcam. You can even use a Raspberry Pi camera, either the V3 module or the HQ module. As for the mount, there are lots of designs out there, including some specific to the Ender 5 S1.
- What does it improve? It’s useful to check your prints, even when you’re not at home, and to create beautiful time-lapses.
- How much does it cost? ~$30
- Who designed it? Logitech
- Where to find it? Amazon
To DIY
Lights
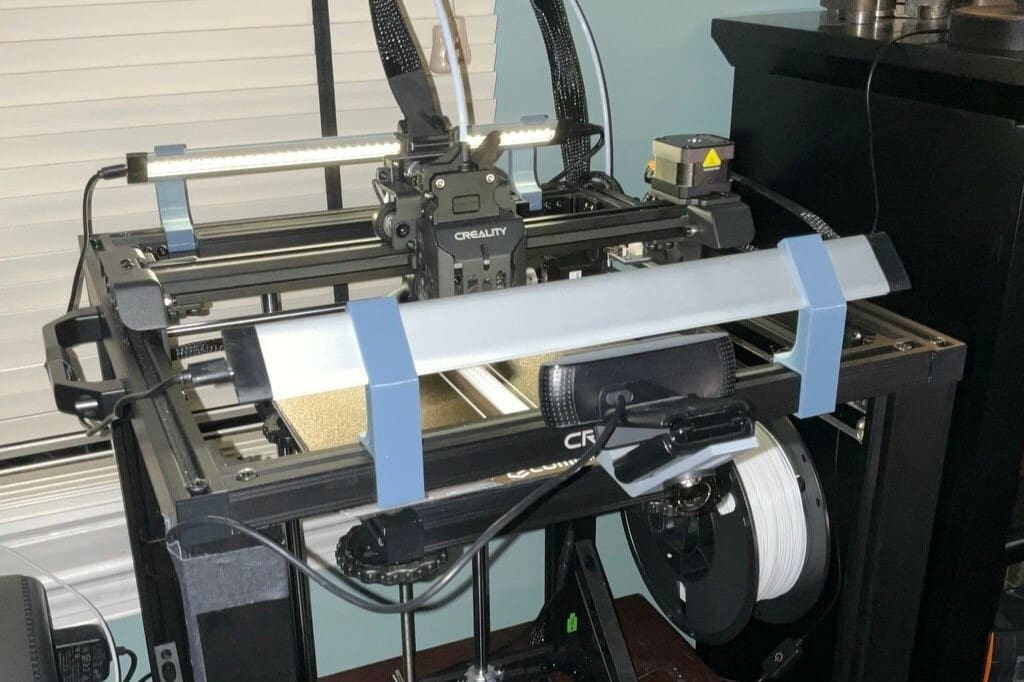
Lights are really useful to install on a printer. They allow you to check the first layer to ensure it sticks properly. They help you see components when doing maintenance, and they’re really handy when you want to create cool time-lapses.
This design consists of LED light strips and brackets that fit on the top rail of the Ender 5 S1. You should avoid PLA, however, since it can melt when the lights get hot.
- What does it improve? It’s really handy to have a light to check the first layer, do maintenance, and create good time-lapses.
- How much does it cost? ~$15 plus cost of the filament
- Who designed it? Wrigster
- Where to find it? Amazon, Thingiverse
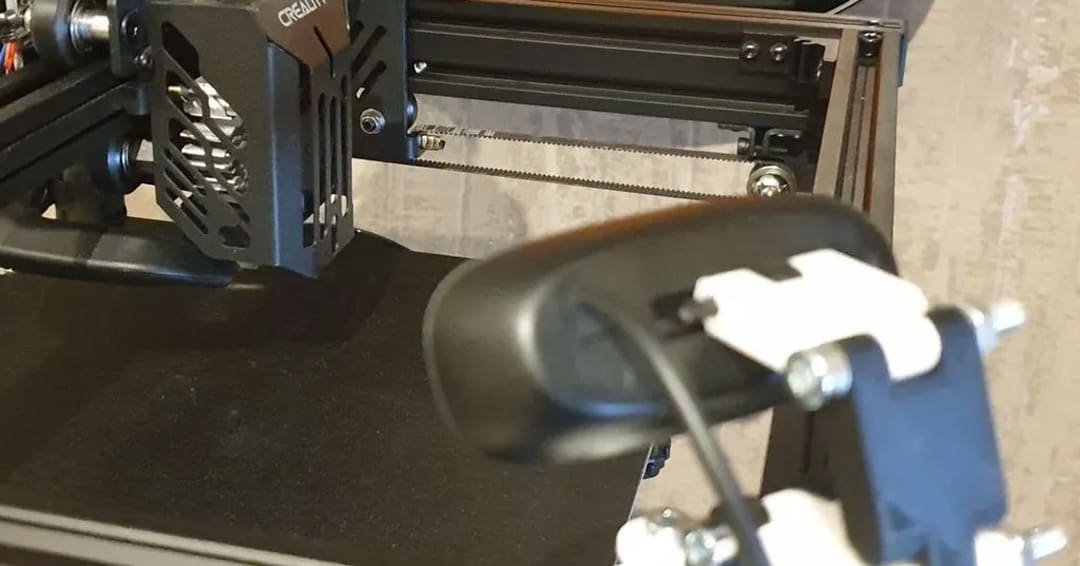
Linear Rails
If you install Klipper on your machine, you can really speed up your printing. In doing this, the stock V-slot wheels can be limiting, since they deteriorate easily. For high speed printing, linear rails would be the way to go. Adding them improves the rigidity and precision of the machine but decreases the gantry weight. In this way, we can achieve greater speeds with greater quality.
You can choose between MGN12H and MGN9H, the most common types of linear rails used on 3D printers. The guide provided by Printables user Hoon includes information on everything you’ll need for this upgrade.
- What does it improve? It improves the rigidity of the structure and the precision of the motion system, while lowering the weight of the gantry.
- How much does it cost? Depends on the build
- Who designed it? Hoon
- Where to find it? Printables
Bed Support
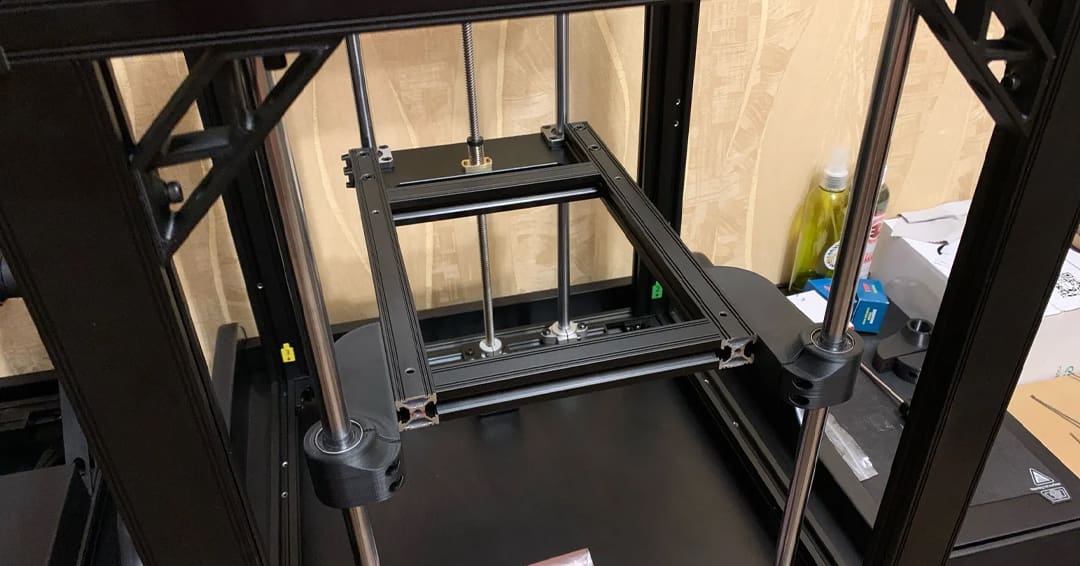
The Ender 5 S1 comes with a single Z-axis. Although there’s nothing wrong with it, the weight of large prints – especially those using the whole build volume – can cause the plate to tilt. This mod can help prevent that.
Basically, you’ll add two linear rods to the opposite side of the Z-axis motors. They’re attached to the printer with a few 3D printed supports and mounts, increasing the rigidity of the frame. Fortunately, you don’t need to add an additional Z-axis motor, which would add complexity to the structure.
- What does it improve? It improves the quality of big prints and increases the rigidity of the frame.
- How much does it cost? ~$15-$20
- Who designed it? MrToToRo
- Where to find it? Printables
Bed Locks
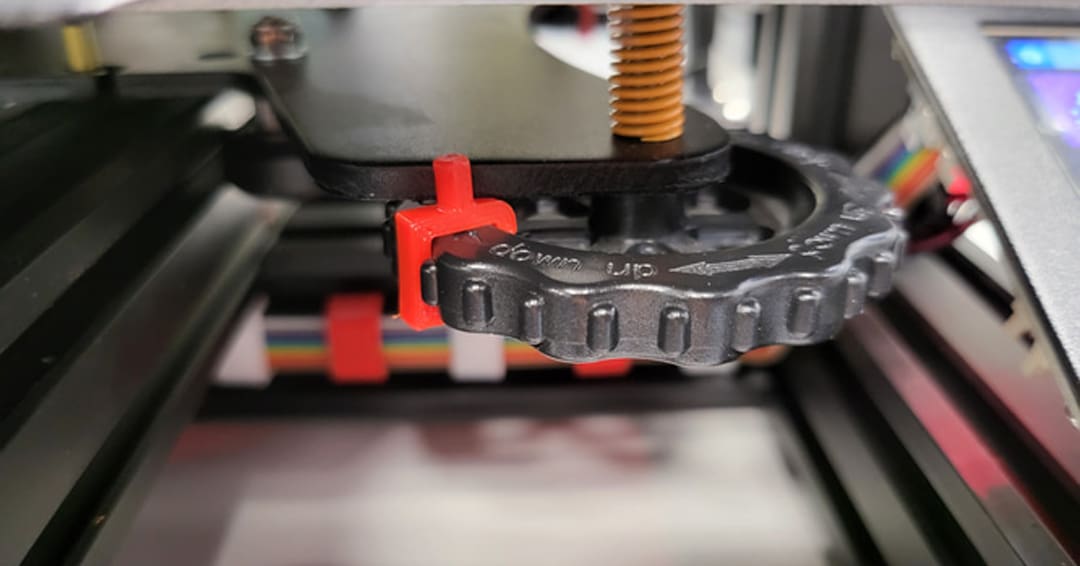
The Ender 5 S1 comes with the CR Touch, a super convenient auto bed leveling sensor. But even if the CR touch will take care of the leveling, there’s still room for improvement. This printer comes with springs and wheels under the bed. Unfortunately, vibration can cause them to move, making the leveling difficult. This super easy and fast print will prevent it from happening again.
Print four bed locks, then after you have leveled the printer, attach them to the wheels under the bed. They print without supports in PLA. You’ll love them!
- What does it improve? It helps to keep the bed leveled.
- How much does it cost? Only cost of the filament
- Who designed it? PartyBus
- Where to find it? Thingiverse
Front Bins
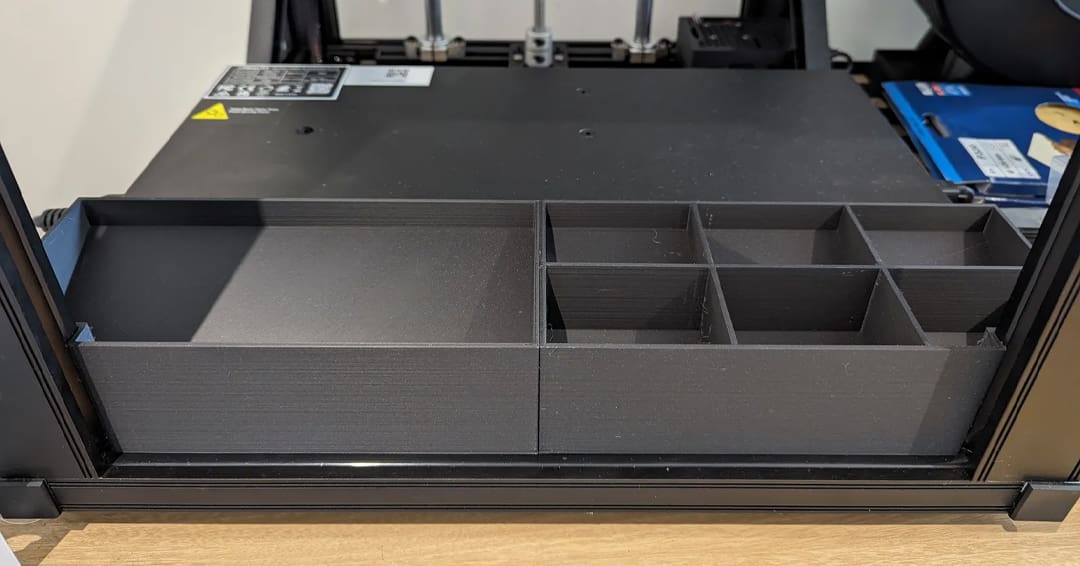
With 3D printers, a lot of tools are used. If you’d like to have them easily accessible when needed, you’ll love this modification. This mod adds front bins to your printer, allowing you to store tools for maintenance. Alternatively, you can use them as trash cans for filament fragments that usually accumulate all over your desk.
The bins are positioned near the screen on the sloped space in the front part of the printer. They snap in and are easy to remove if you need to move or empty them. And the best part is, they’re designed so as not to obstruct the bed motion.
- What does it improve? It becomes a place to store your tools and the filament fragments that you have to get in the trash.
- How much does it cost? Only cost of the filament
- Who designed it? NicoleAshley
- Where to find it? Printables
License: The text of "The Best Ender 5 S1 Upgrades & Mods" by All3DP is licensed under a Creative Commons Attribution 4.0 International License.
CERTAIN CONTENT THAT APPEARS ON THIS SITE COMES FROM AMAZON. THIS CONTENT IS PROVIDED ‘AS IS’ AND IS SUBJECT TO CHANGE OR REMOVAL AT ANY TIME.