Original Prusa Mini/Mini+ Enclosure: 6 Great Solutions

The Prusa Mini and Mini+ are capable printers, but they lack enclosures. Read on for the best Prusa Mini enclosure options!
With a small footprint of just 380 x 330 mm, the original Prusa Mini and the slightly upgraded Prusa Mini+ are among the best small-format 3D printers on the market. The printers are entirely open-source and are ever-popular among hobbyists and makers.
Despite the small size, Prusa Research packed in a host of performance and ease-of-use features, like a full-color LCD display, automatic bed leveling, a 32-bit mainboard, and a powerful hot end and heated bed. Most makers like to print PLA or PETG on the Mini and Mini+, but the heating components are well capable of reaching much higher temperatures.
Unfortunately for makers interested in printing with more sensitive materials, the Mini and Mini+ lack an enclosure. Although it’s not impossible to print materials like ABS and ASA without an enclosure, the print quality is likely to suffer. An enclosure around your 3D printer traps heat in, limits air drafts, prevents dust from getting into your machine, and limits the noise of printing.
Luckily, there are many compatible 3D printer enclosures available, including both buildable and purchasable options. In this article, we’ll go over some of the best Prusa Mini and Mini+ enclosures. When considering your options, it’s important to think about how visible and accessible the printer will be and if there are any other features you need, like a temperature or humidity sensor. Now, let’s dive into the list!
To DIY
First up we have some worthy projects that you can build yourself at little expense!
Ikea Lack
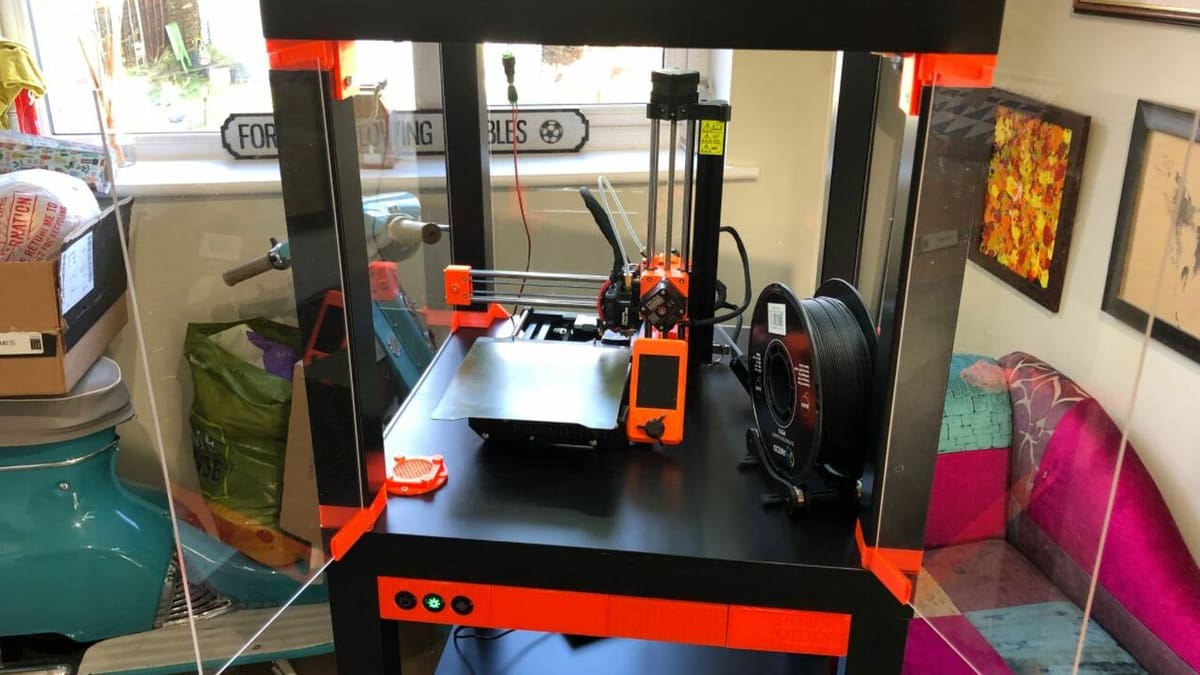
First up is the classic Ikea Lack enclosure, one of the most popular options! While most users probably think about this enclosure for the Original Prusa i3 MK3S+ or the Ender 3 (Pro/V2), it should also be compatible with the Prusa Mini+. Unfortunately, the 3D printable files involved with this project were designed to fit the print space of the MK3S+; luckily, makers have posted Mini-compatible models online.
As you might have guessed, the central part of this enclosure project is an Ikea Lack table, which is pretty low cost and can easily fit a Mini+. As with most DIY enclosures, though, you’ll also need a few 3D printable parts, transparent panels (like polycarbonate or acrylic), and some other hardware. Of course, the DIY component of this enclosure means that you can make it any way you want, but typical constructions of the enclosure include four windows, a top access panel, and a filament storage shelf.
- Cost: $100-$200
- Visibility: All sides
- Accessibility: Removable top panel or hinged door
- Assembly: Medium-hard
Wood
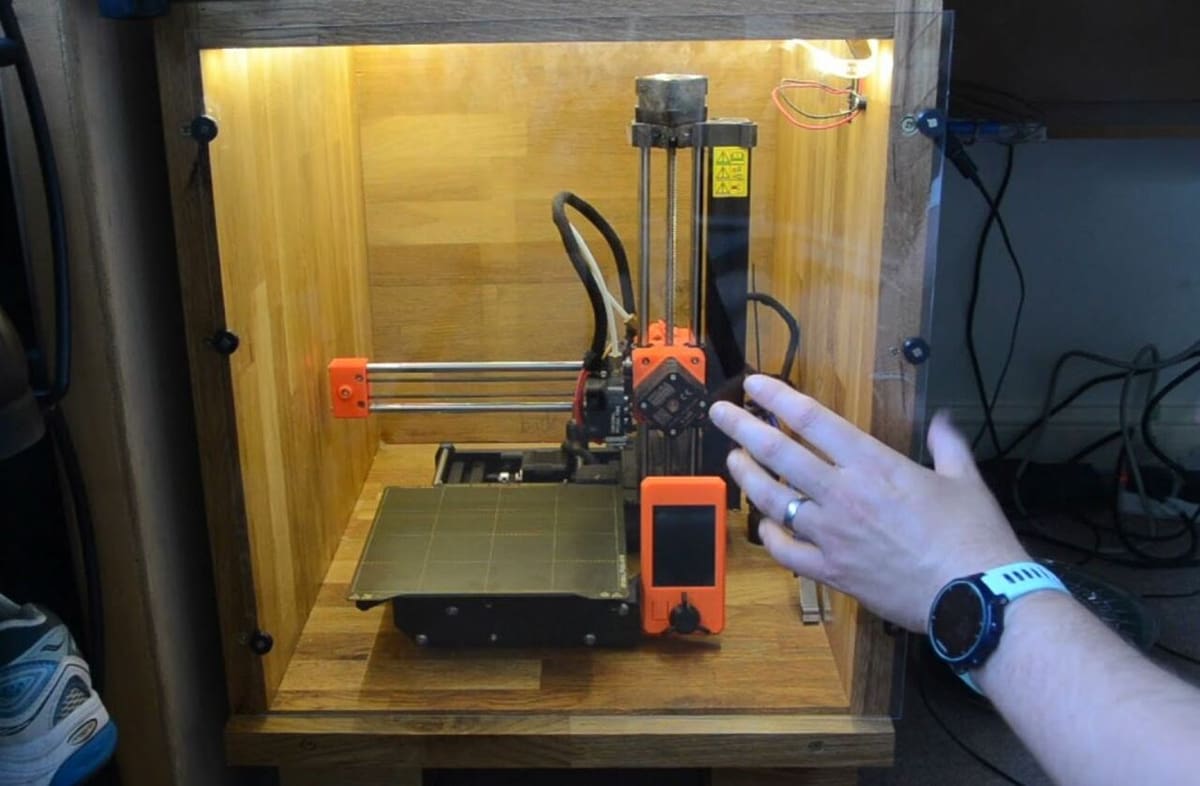
Second, a wooden enclosure is another DIY enclosure option for the Prusa Mini+, as it’s known for its excellent thermal insulation. Moreover, depending on how you build it, a wood enclosure should be very effective in trapping heat to keep your prints nice and warm, so they don’t warp. While there aren’t many popular wooden enclosures compatible with the Prusa Mini+ for sale, there are a few build demonstrations online.
Wood is one of the easiest materials to work with due to its non-brittleness, so you can use nails and screws without worrying if the panel will shatter. Being more trouble-free to work with also means that you can easily attach a variety of enclosure upgrades, like sensors or lights. Many wooden enclosures contain at least one window for visibility of the printer and can usually be opened through a hinged door.
- Cost: ~$75-$150
- Visibility: Front only (usually)
- Accessibility: Hinged door or sliding (or removable) panel
- Assembly: Medium
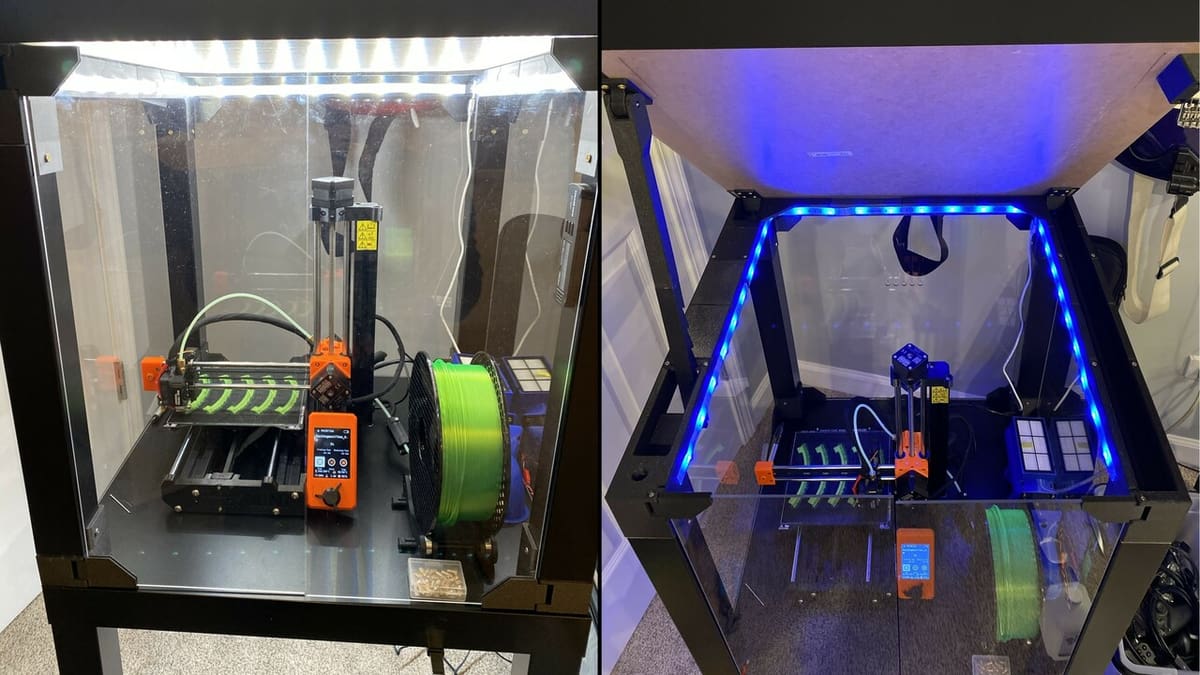
Acrylic
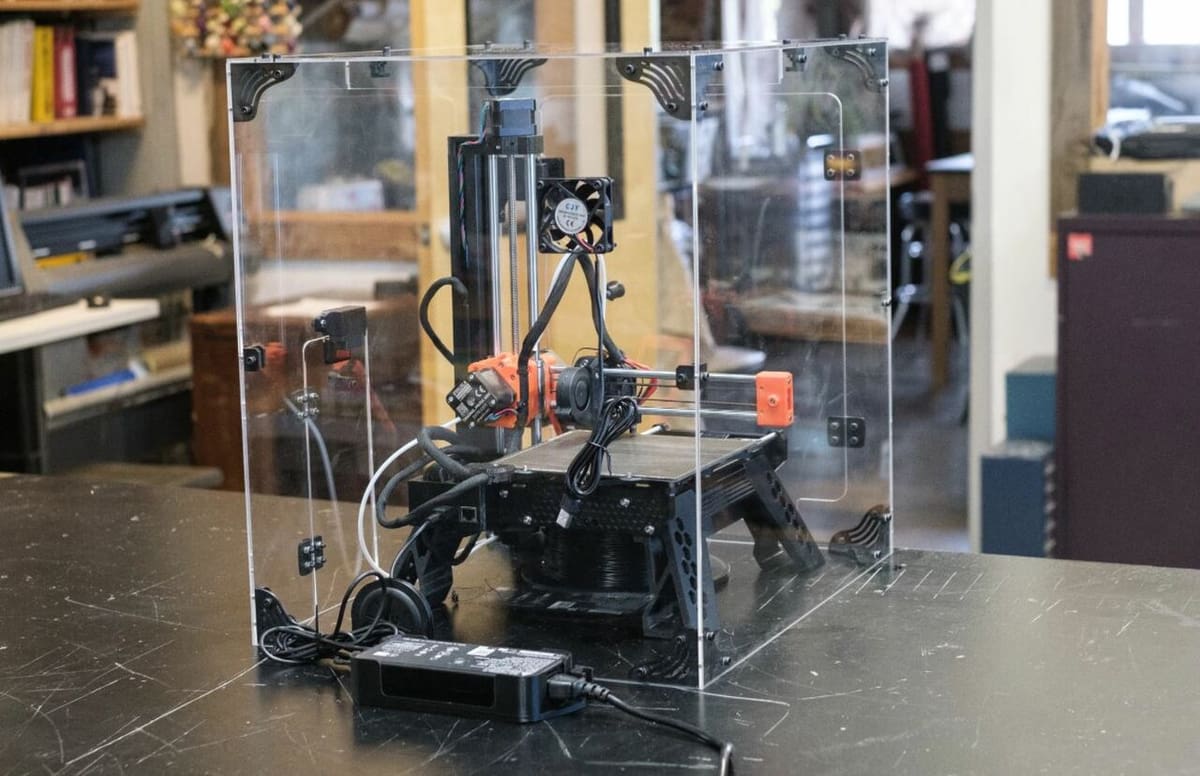
An acrylic enclosure is another popular option that you can purchase or build for your Prusa Mini+. Acrylic isn’t the most insulative of materials. However, it should still be very effective in keeping the heat in, and, as acrylic panels are usually transparent, you’ll have surround visibility for your printer.
If you’re looking to build one, which tends to be less expensive than purchasing one, then be prepared to 3D print some of the hardware other than the panels (e.g. mounting brackets). Typical features on acrylic enclosures include a hinged access door and an outside filament spool holder.
Sadly, acrylic is a brittle material, meaning it’s harder to work with as the panels could break when you try to screw into them. If you want to avoid the construction process, you can purchase a pre-built Mini+-compatible enclosure from 3DUpFitters, which allows you to add a handful of optional upgrades, like an air filter.
- Cost: ~$175
- Visibility: All sides, including top
- Accessibility: Hinged door
- Assembly: Medium-hard
To Buy
If you just want to go for a functional enclosure that you don’t have to build yourself, here are some options that will be ready to use straight out of the box!
Photo Studio Tent
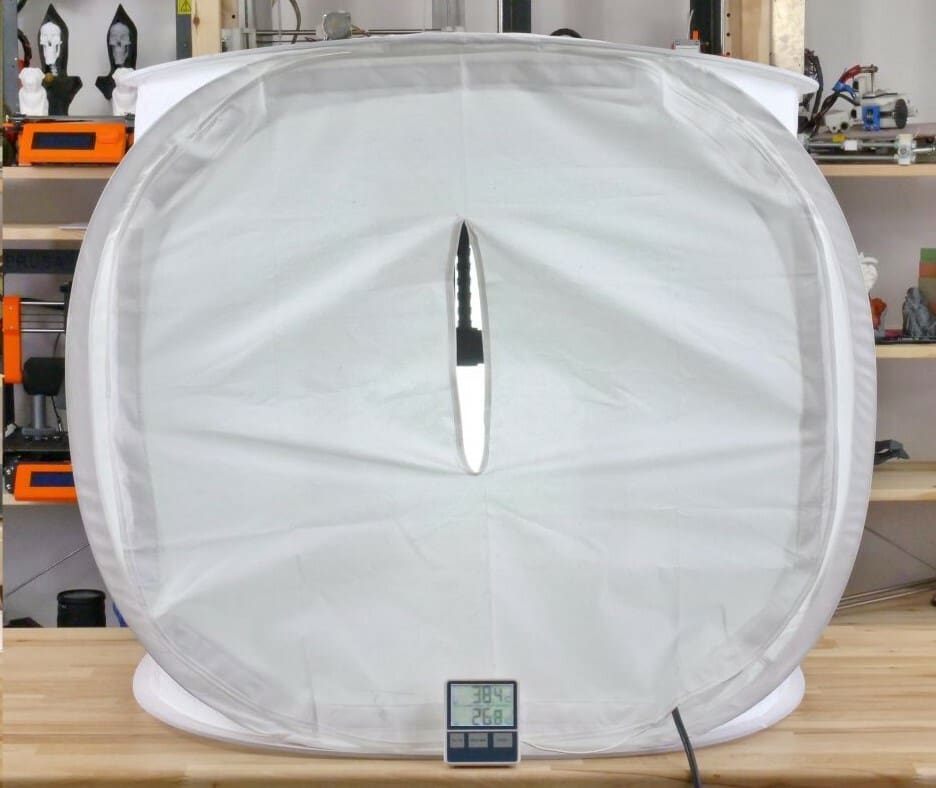
While most of the selections on this list offer many integrated or attachable features, this next option takes a bare-bones and lower-cost approach to serve as an enclosure. A photo studio tent is a super simple way to allow your printer to use temperature-sensitive materials like ABS, and the Mini+, given its small footprint, should fit into many of these tents.
Although nylon or similar materials, which most photo studio tents are made of, aren’t the best for insulating a 3D printer or for preventing air drafts, you should still be able to get by. If you ever do run into problems with warping or cracking, you can try increasing your bed temperature or placing your printer and enclosure in a less airy location.
It’s also worth noting that the wire-and-cloth construction of a photo studio tent is too weak to handle any significant attachments. For this reason, you may want to consider another type of enclosure if you’re looking to make attachments or modifications.
- Cost: ~$30
- Visibility: None
- Accessibility: Zipper door
- Assembly: Easy
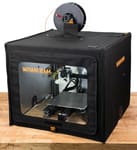
HotBox V2
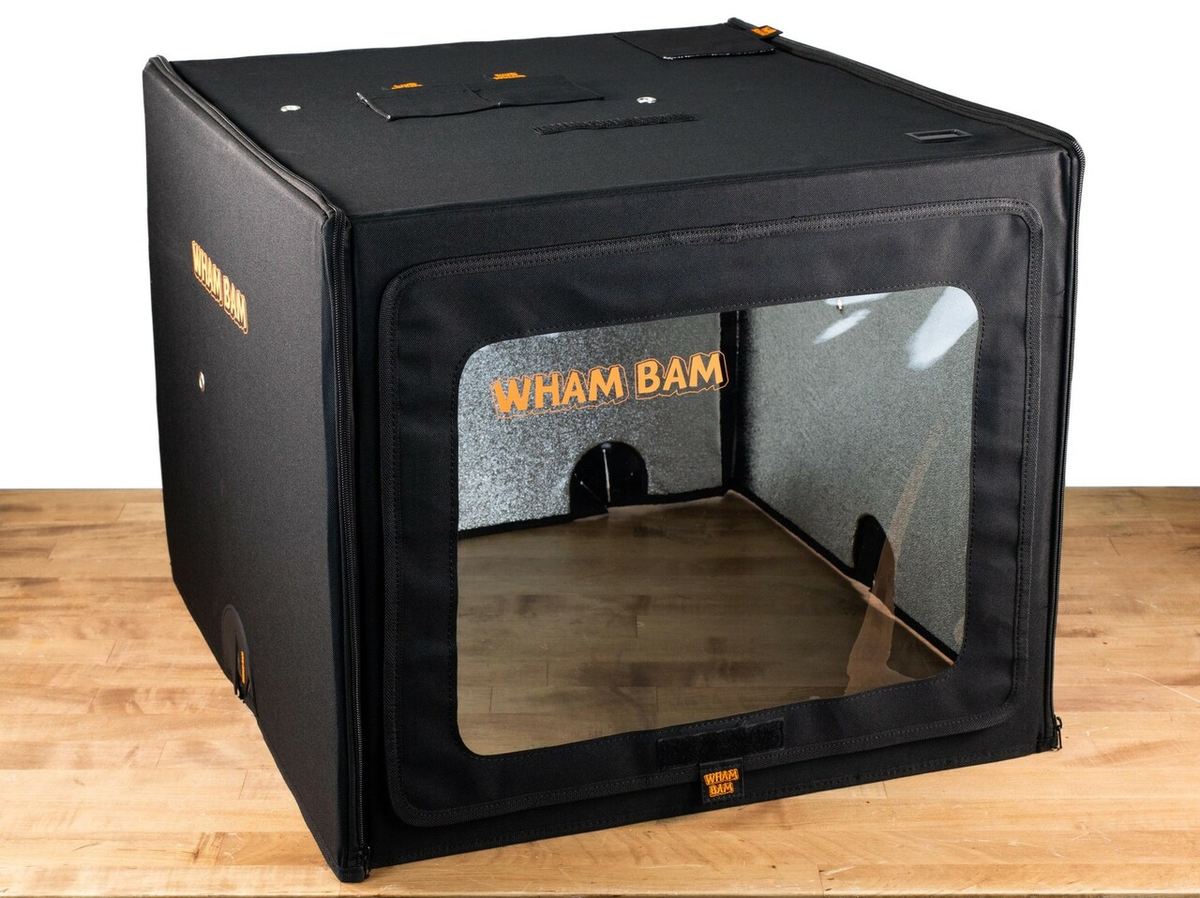
Lastly, Wham Bam is a developer of 3D printer enclosures and build plates. The HotBox V2 is Wham Bam’s second-generation enclosure, which fits a variety of 3D printers, including the Prusa Mini+. The HotBox V2 is also on the lower side of the price range of enclosures but still offers many benefits.
According to the company, the HotBox V2 is made of high-grade nylon 600D fabric with a fire-resistant coating and an insulative heat-deflecting liner on the inside, which should help keep heat in. The enclosure has many great features, including two light strips on the inside, nine holes for filament to pass, an integrated thermometer, and gaps for cables and for attaching a spool holder.
Lastly, the enclosure also features a plastic sheet front window with a zipper-accessible door. In fact, the whole enclosure assembly uses zippers, which allows the HotBox V2 to be easily folded.
- Cost: ~$120
- Visibility: Front only
- Accessibility: Zipper door
- Assembly: Easy
Printed Solid
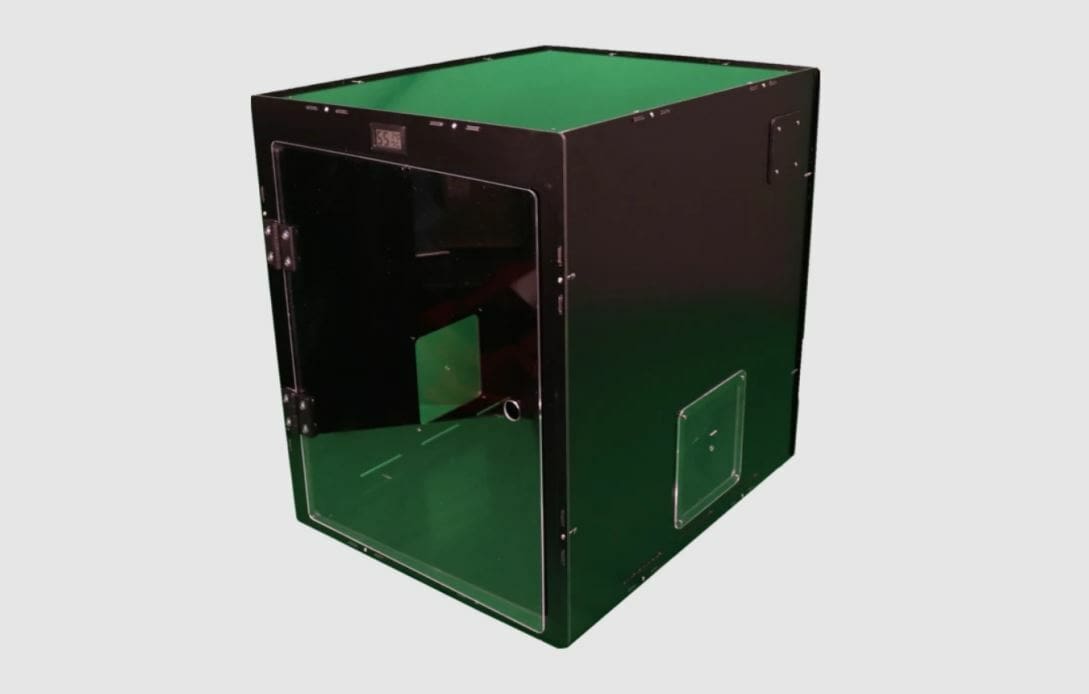
Printed Solid is a well-known online store for 3D printing supplies, including printers, filaments, and accessories (e.g. hot ends). Printed Solid also offers their own series of high-quality Next Gen Safety enclosures, with different options for different model printers, including the Prusa Mini. Assembly for these enclosures should be pretty straightforward and requires no glue, only using screws and interlocking panels.
The main body of the enclosure comprises CNC-machined aluminum-clad panels, which, according to the manufacturer, provide a lot of insulation and are very lightweight. Printed Solid’s enclosure also has an acrylic panel hinged to one of the other aluminum-clad panels to serve as both a window and a door. One of the best parts of this enclosure is that there are a few gaps (with covers) that allow you to install Printed Solid’s optional features, like an air filter, spool holder, or your own custom-printed parts.
- Cost: ~$190
- Visibility: Front only
- Accessibility: Hinged door
- Assembly: Easy-medium (depends on optional upgrades)
License: The text of "Original Prusa Mini/Mini+ Enclosure: 6 Great Solutions" by All3DP is licensed under a Creative Commons Attribution 4.0 International License.
CERTAIN CONTENT THAT APPEARS ON THIS SITE COMES FROM AMAZON. THIS CONTENT IS PROVIDED ‘AS IS’ AND IS SUBJECT TO CHANGE OR REMOVAL AT ANY TIME.