
Best Raspberry Pi Laptop Kits & Projects

The small but mighty Raspberry Pi is ideal for DIY laptops and portable computers. Read on for Raspberry Pi laptop ideas and options!
The introduction of the Raspberry Pi in 2012 was part of a renaissance in hobbyist electronics. Many users who may have been put off by the complex and fragmented ecosystem of homebrew electronic design were able to take advantage of the Pi’s convenient port access and Python-based programming. The Raspberry Pi community has built into a generation of makers who pride themselves on creating projects tailored exactly to their own ideas.
Jump forward over 10 years and many people are piggy-backing on the initial enthusiasm for Raspberry Pis by using them as the heart of laptops and other portable computing hardware. The goals of these different kits and projects range anywhere from simply providing a portable laptop clamshell to having a portable Pi platform with a wide array of built-in sensors.
In this article, we’ll take you through a curated selection of professional and DIY offerings for Raspberry Pi laptops (and other portable computers) that you can buy or build.
To Buy
Raspberry Pi 400

Let’s start with the Raspberry Pi Foundation’s own offering. While not a laptop according to the traditional definition, the Raspberry Pi 400 definitely fits the bill as a Raspberry Pi that you can use on the go. You can even argue its lack of an attached screen as being a strength, since you have the flexibility of hooking it up to any existing display without any of the bulkiness and weight that comes from a traditional laptop screen.
If you’re the type of person who has a surplus of screens at home and work, then you should also be okay with the fact that the Pi 400 is not battery-operated. With those caveats out of the way, the Pi 400 provides easy access to its GPIO ports, 3 USB-A ports, and a USB-C port for power. Plus, there’s plenty you can do with it.
- Price: ~$70 (keyboard-only Raspberry Pi 400), ~$100 (for the kit)
- Difficulty: Low
- Battery life: N/A
- GPIO access: Yes
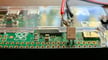
CrowPi2
The CrowPi2 is a Raspberry Pi portable PC that aims to please the tinkerer, maker, and STEM-learning communities. Hiding a Raspberry Pi 4 within its chassis, the CrowPi2 builds off the accessible GPIO pins by integrating a large number of sensors, switches, NFC, and more, all underneath the clamshell’s removable keyboard.
While it’s designed to work with the Raspberry Pi 4, earlier Pi models can also run this laptop. There are three kits available: a basic kit that doesn’t include a Raspberry Pi 4, an advanced kit, which includes a 4-GB Raspberry Pi 4, and a deluxe kit, which includes an 8-GB Raspberry Pi 4, as well as a few sensors and other add-ons.
The biggest downside with the CrowPi2 is that it’s not battery operated, which can be a bit of a limitation if you want to take advantage of the well-organized and integrated development board in multiple locations. Aside from that, there’s helpful information and instructional videos on the Elecrow YouTube channel to help you learn more about the software and how to set up the CrowPi2.
- Price: ~$290 (basic kit), ~$470 (advanced kit), ~$560 (advanced kit)
- Difficulty: Low
- Battery life: N/A
- GPIO access: Yes
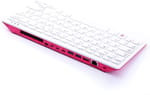
Waveshare Mini-Computer
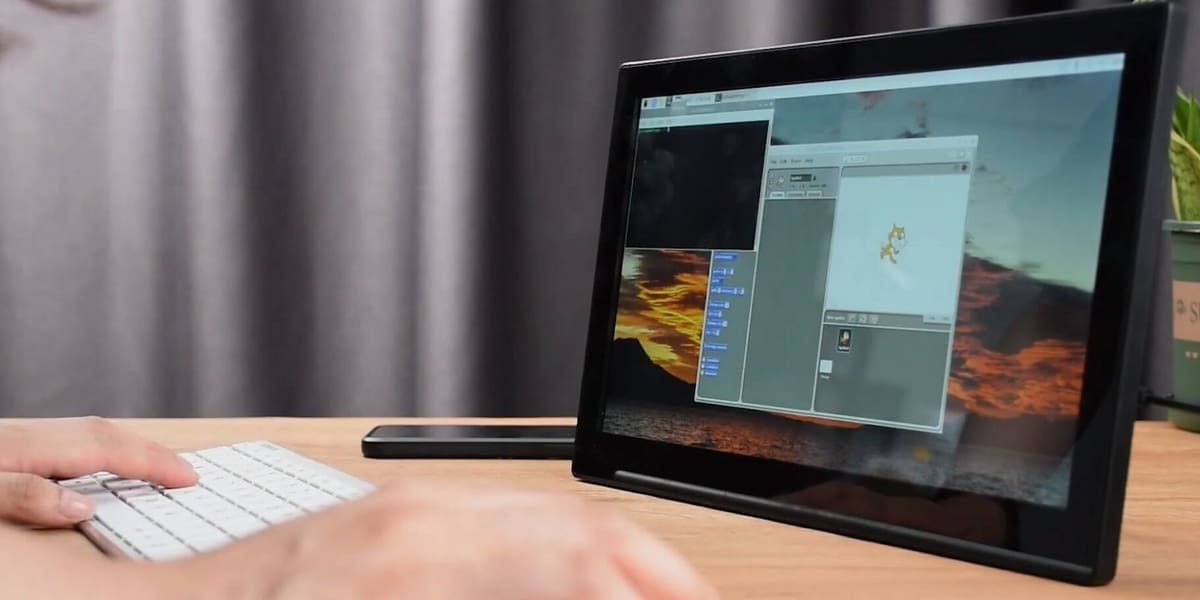
A slightly different entry to the list, Waveshare’s Raspberry Pi’s Mini Computer is a thin tablet powered by a Raspberry Pi 3A+. Just add a Bluetooth keyboard and mouse, and you’re all set.
Among the many features, the mini-computer includes a 13.3-inch high-resolution touchscreen, speakers, Bluetooth, Wi-Fi, as well as various types of ports (Ethernet, USB, Micro-USB, and MicroSD). Unfortunately, there is no battery, so the device must be connected to its power supply during use.
While there isn’t a lot of documentation or video content for the laptop, Waveshare does have a wiki with some basic information to get you started, as well as a link to a page where you can submit a request for additional support. On the software front, you can either use Waveshare’s pre-configured image or you can flash Raspberry Pi OS to a MicroSD card and manually add a configuration file. Check out methods 1 and 2 under the user guide section of Waveshare’s wiki.
- Price: ~$290 (Keyboard and mouse not included)
- Difficulty: Medium
- Battery life: N/A
- GPIO access: No
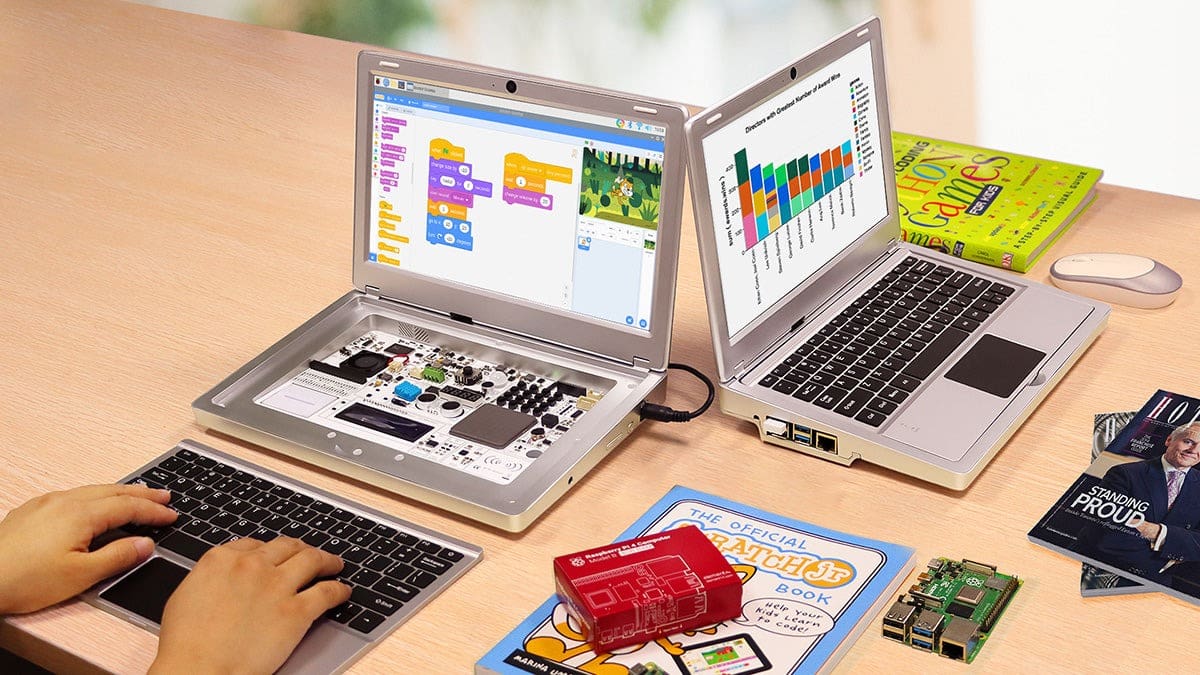
Piper Computer Kit 4
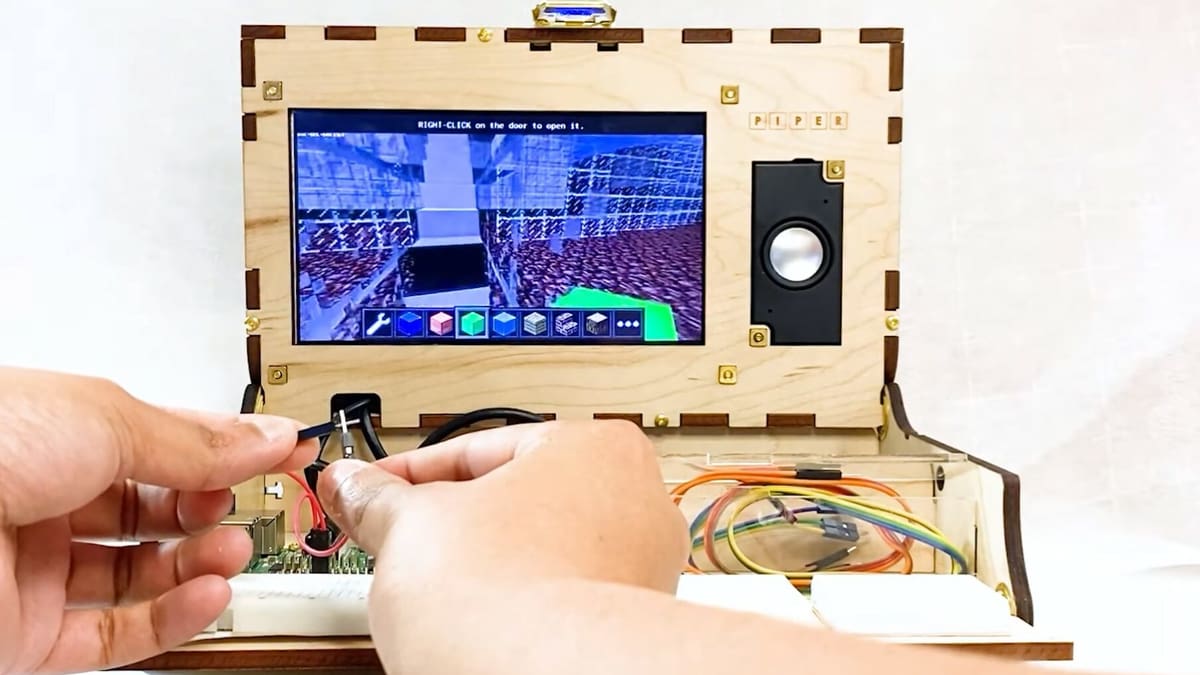
As another education and STEM-focused kit on our list, the Piper Computer Kit includes neat tutorials that teach you how to use the various sensors that it comes with. Once you finish putting the kit together, you’ll have easy access to the Raspberry Pi and its ports.
The laser-cut wooden enclosure of the Piper Computer Kit houses a 9″ monitor and speaker. The latest version of the Piper Computer Kit, V4, comes with a rechargeable battery, a Raspberry Pi 3 Model B with 1 GB RAM, a 16-GB MicroSD card, and a mouse.
- Price: ~$400
- Difficulty: Low
- Battery life: 5 hours
- GPIO access: Yes
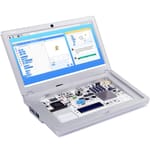
pi-top [4]
![Image of: pi-top [4]](https://i.stageall3dp.com/workers/images/fit=scale-down,w=1200,quality=79,gravity=0.5x0.5,format=auto/wp-content/uploads/2022/04/12120521/Screenshot-2024-03-12-120432-e1710241630993.jpg)
The pi-top [4] is conceived as a “portable brain” that can be easily integrated into a variety of projects. It’s tailored specifically toward the maker and education communities, which is evident in the readymade electronics and robotics kits for STEM project-based learning that are advertised alongside the pi-top [4].
In addition to a pre-installed Raspberry Pi 4, a power supply unit, display cable, and an operating system, the pi-top [4] comes with a rugged case loaded with features including a 5-hour internal battery, programmable buttons and screen, integrated heatsink and cooling fan, among others. For the full-on laptop experience, though, a touch display and Bluetooth keyboard need to be purchased separately. Kits similar to the discontinued pi-top touchscreen and keyboard combo can be found at Amazon.
Working with the pi-top [4] is a straightforward experience for users of all skill levels and backgrounds. Utilizing its own pi-top OS, the pi-top [4] comes with all the software you should need out of the box with no additional experience. Check the pi-top website for videos and documentation, including installation instructions.
- Price: ~$280 (touch display and Bluetooth keyboard sold separately)
- Difficulty: Low
- Battery life: 5 hours
- GPIO access: Yes
- Where to get it: DigiKey
pi-topCeed
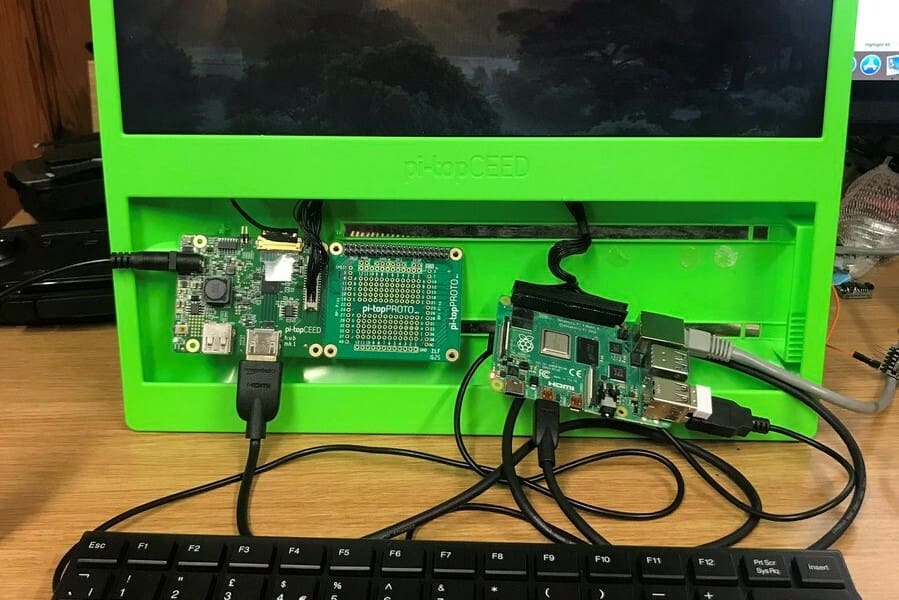
The second pi-top product on this list, the pi-topCeed is another “Build Your Own” computer kit that is aimed at makers and students who want to improve their STEM skills.
The overall setup of the pi-topCeed is very straightforward and shouldn’t require any prior Raspberry Pi experience. It’s the type of build that’s fun to do with kids and can be completed in a matter of minutes.
The kit comes with a 14″ screen but requires you to bring your own mouse and keyboard. There’s also no battery pack, so it will need to be plugged in for use. Although no longer manufactured, kits that include a Raspberry Pi 3 are still available through third-party retailers, while supplies last, and the documentation is accessible on the pi-top knowledge base.
- Price: ~$117
- Difficulty: Low
- Battery life: N/A
- GPIO access: Yes (with pi-top Proto add-on)
- Where to get it: DigiKey
To DIY
Nano Pi2 UMPC
The first community-made Raspberry Pi laptop on our list, the Nano Pi2 UMPC (ultra-mobile personal computer) has a clamshell form that’s reminiscent of a PDA or early smartphone. 3D printing the model is by far the easiest part of this process, which should be left to those skilled in soldering and who are knowledgeable in basic electronics.
With that being said, the instructions and general assembly process are all laid out on Thingiverse and are available to watch as well. If you’re willing to invest the time in assembly, this ultra-portable PC can take advantage of your Pi on the go with its full QWERTY keyboard and built-in battery.
If you do want to attempt the electronics but don’t have a 3D printer, a service like Craftcloud will give you price and delivery estimates to have the parts professionally printed.
- Price: ~$10 for the blueprints, ~$100 for parts (including a Raspberry Pi 2)
- Difficulty: High
- Battery life: Not specified
- GPIO access: No
- Where to get it: Thingiverse, Cults
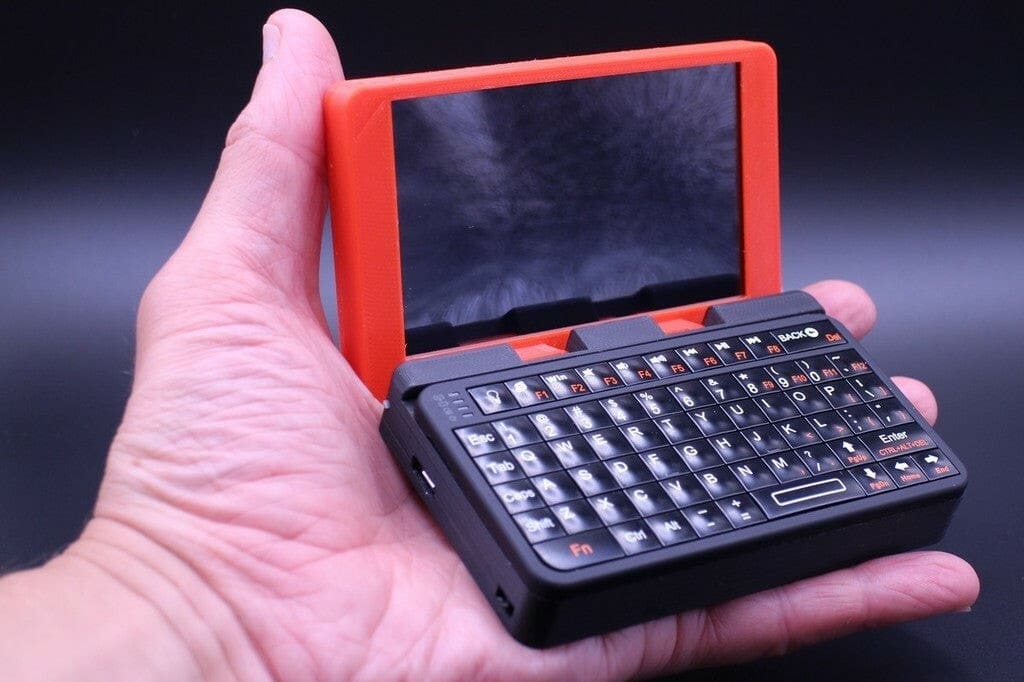
Tangi the PiBook
Before the sleek MacBooks, Apple produced laptops including the Powerbook and the iBook. Inspired by the designer’s first computer, the G3 Clamshell iBook, Tangi the PiBook was born. This is a Raspberry Pi laptop that blends vintage style with modern functionality.
Tangi the PiBook captures the essence of the iconic iBook while incorporating the versatility of the Raspberry Pi 4B. Its retro design appeals to those nostalgic for early Apple laptops, offering a unique computing experience. It features a 4″ TFT display, a mini keyboard with a trackpad, a built-in battery pack, mini speakers, and a 3D printed chassis.
For enthusiasts eager to learn more about Tangi the piBook’s creation, the designer has produced a mini-series on YouTube detailing the process, from designing the laptop in Fusion to its final assembly.
- Price: ~$150 for the parts
- Difficulty: High
- Battery life: 5 hours
- GPIO access: Yes
- Where to get it: Cults, Printables
Rasptop 2.0
If you often lose track of time while 3D printing, wiring, soldering, or general tinkering, you’re in for something sweet. In particular, a sweet coffee you can enjoy while listening to music for hours on the Rasptop 2.0. This Raspberry Pi 3-powered laptop allows users to enjoy music for up to 14.5 hours. The designer notes that the Raspberry Pi 4B is also compatible following minor adjustments detailed in the build instructions.
Although building the Rasptop 2.0 may require an extensive list of parts, soldering, and some time-consuming setup for Linux, the designer assures that it can be accomplished on a budget, especially if one opts for cheaper part choices. For example, the original build utilizes the official Raspberry Pi Touch Display, which is relatively expensive for a resolution of just 800×480; however, it does make the build easier.
The laptop may appear thicker than some other Raspberry Pi laptops as a result of incorporating off-the-shelf parts and active cooling components. Despite its thickness, Rasptop 2.0 offers a unique blend of functionality and convenience, providing users with an exciting build and a long battery life.
- Price: ~$350 for the parts
- Difficulty: High
- Battery life: ~14 hours
- GPIO access: Yes
- Where to get it: Thingiverse
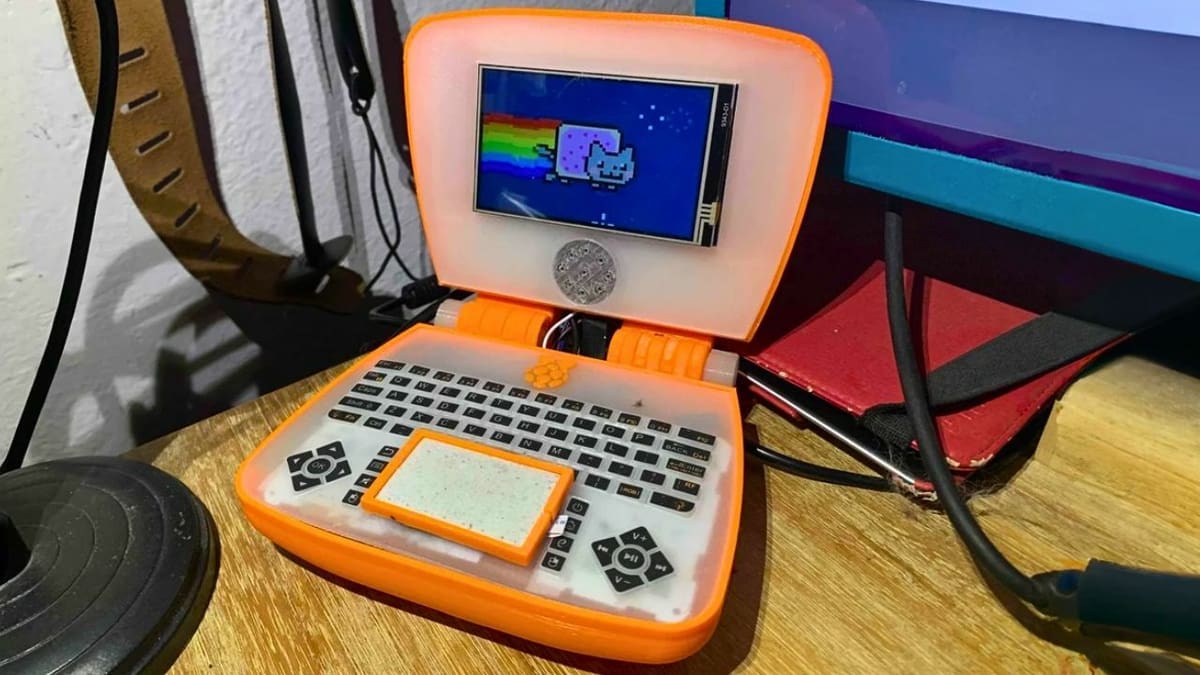
Cyberdeck ZBS
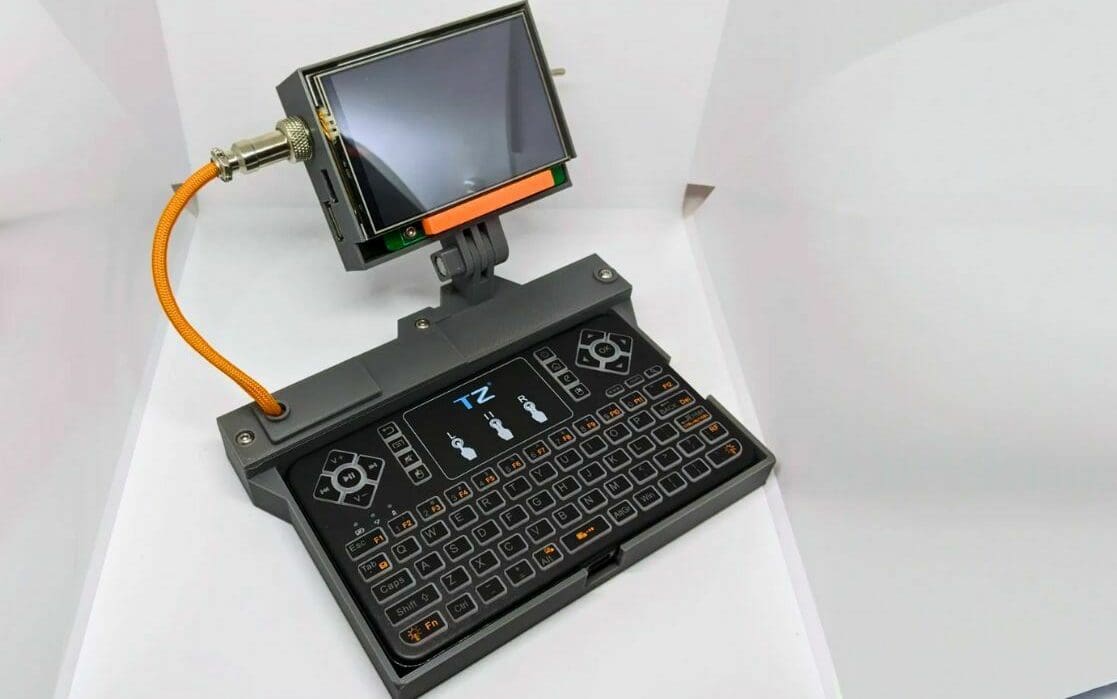
This Raspberry Pi laptop has a rather unique design and an unconventional build. Devices like these are often referred to as a cyberdeck, hence the name Cyberdeck Zero Boot System (ZBS). It is powered by a Raspberry Pi Zero and has a compact 3.5-inch screen. With a modest 1,200 mAh battery, it balances functionality with portability, making it ideal for quick on-the-go computing tasks.
The Cyberdeck ZBS has some quirky design features, such as a GoPro-style hinge for its display and a magnetic mount for the Bluetooth keyboard. Equipped with various connectivity options like HDMI and USB, the Cyberdeck ZBS facilitates multimedia usage and external device connections. Note that creating such a compact device will need some soldering.
Despite its compact size, the device efficiently houses its components, including neatly arranged batteries in parallel, thoughtfully optimizing for the sleek design aesthetics. Talking about aesthetics, the designer also added an orange lanyard clip, which adds to the portability of this compact laptop.
- Price: ~$150 for the parts
- Difficulty: High
- Battery life: 1-2 hours
- GPIO access: Yes
- Where to get it: Printables, Facelesstech
Raspberry Pi & Arduino Laptop
Here’s a unique Raspberry Pi laptop to round out the list. This project differs significantly from others in that the case is made out of cardboard!
While its cardboard construction may not be the most durable (which can easily be solved through 3D printing your own case), be sure that you’re comfortable soldering small electronics. Aside from cardboard, the bill of materials specifies a 7″ capacitive touchscreen and miniaturized USB keyboard for typing. Once it’s fully assembled, you’ll still have access to the Pi’s USB and Ethernet ports, though not the GPIO pins.
Want to 3D print your own case and don’t like the hassle of extracting the trackpad from an old laptop? You might want to check out the DIY Ultra Portable Raspberry Pi Laptop designed by the same creator. The intuitiveness of the trackpad already integrated into an off-the-shelf mini keyboard and the comparatively simple software makes this an easier project to get started with.
Rather than discarding the keyboard housing, the top of the keyboard case is used as the top of the laptop and the bottom of the keyboard case is used as the bottom of the laptop. It’s also recommended to use screws instead of glue for better repairability.
- Price: ~$100 (including Raspberry Pi 3 and two Arduino Micros)
- Difficulty: High
- Battery life: ~5 hours
- GPIO access: No
- Where to get it: Instructables
License: The text of "Best Raspberry Pi Laptop Kits & Projects" by All3DP is licensed under a Creative Commons Attribution 4.0 International License.
CERTAIN CONTENT THAT APPEARS ON THIS SITE COMES FROM AMAZON. THIS CONTENT IS PROVIDED ‘AS IS’ AND IS SUBJECT TO CHANGE OR REMOVAL AT ANY TIME.