Raspberry Pis are a series of tiny single-board computers (SBCs) originally designed to introduce kids to computer science. They are low-cost, easy to use, fun, and open the door to near-limitless possibilities to indulge the most creative of minds.
Over 40 million Raspberry Pis have been produced since their introduction in 2012, and the design has been constantly updated. Today, the top-of-the-range Pi 5 is powerful enough to replace a desktop computer and its 4-GB version is ~$60. The older Pi 4 and Pi 3B+ are still available at a lower cost and are powerful enough for most applications. There’s also the diminutive Pi Zero retailing for less than $10, which is brilliant for mobile projects.
Underpinning the huge popularity of these devices is the ready availability of online learning resources, their simplicity to program, and the enormous availability of dedicated “plug and play” hardware to turn the Raspberry Pi into a capable hub for interfacing with the physical world.
We’ve chosen projects to inspire kids of all ages to explore the amazing world of Raspberry Pis. Each is fun, plus a great platform to learn new skills and a springboard for kids to expand and develop new and imaginative solutions. Let’s get started!
Lost in Space

Kids as young as eight can have great fun learning how to program using Scratch – an easy, visual, block-based programming language.
Easy to follow instructions go through how to create simple, space-inspired, animated graphics. Scratch is available on desktop computers too, but opting for a Raspberry Pi opens the door for creative expansion into interacting with physical objects like LEDs, buttons, buzzers, and more!
- Designer: Raspberry Pi Foundation
- Difficulty: Easy and suitable for complete beginners to programming and Raspberry Pi.
- Project page: Raspberry Pi Foundation
Nature Watch Cam
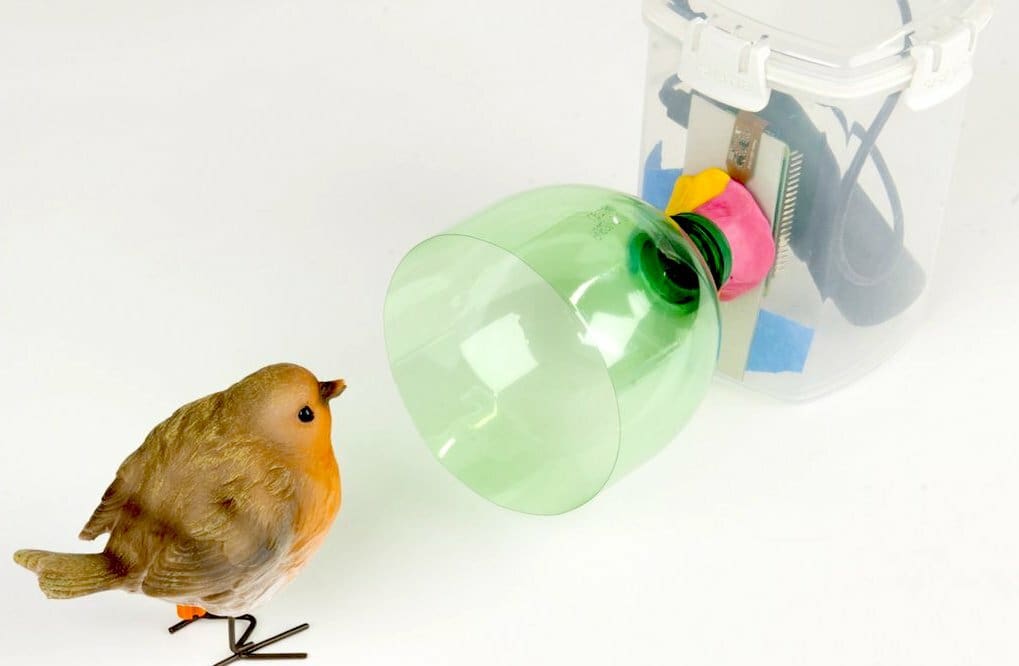
It’s easy to make this brilliant nature camera with a Raspberry Pi Zero W and a camera module, either the V2 or the HQ.
This project has been updated and improved over time, and it’s a great way not just to learn about the Raspberry Pi and the Pi camera module but also about making a working, useful device and learning about nature. What’s not to love?
- Designer: My Naturewatch
- Difficulty: Easy to build and use. In addition to the instructions below, you can also see Maddie Moate’s great YouTube video on how she made and used her own.
- Project page: My Naturewatch
Laser Tripwire

Make an invisible laser trip wire just like in the movies to protect your stuff from the fingers of pesky siblings, cat burglars, or (worse) parents!
The basic instructions show you how to make and program an invisible switch. When the laser beam is broken, an alarm is triggered. With a little imagination, the idea can be expanded to play back your own recorded message or to spring a crafty booby trap!
- Designer: Raspberry Pi Foundation
- Difficulty: Easy, although it involves some making that could need adult assistance.
- Project page: Raspberry Pi Foundation
Woo-Pi Cushion

Make an electronic version of the classic joke-shop whoopee cushion. On the face of it, this seems like a very silly project, which it is! However, there’s a lot to learn about how to interface computers to the real world, make simple contact switches, and how to play sound effects using the Raspberry Pi.
The basic concept can be applied to many other applications where a sound plays based on a switch contact being made or broken.
- Designer: Raspberry Pi Foundation
- Difficulty: Easy, and any required making is simple. You don’t need any tools other than a pair of scissors!
- Project page: Raspberry Pi Foundation
RetroPie Games Console
This well-supported, open-source project gets better and better. It uses a Raspberry Pi to emulate almost any classic arcade game or gaming console, connect with a multitude of controllers, and much more. It also supports many new game systems, too.
The initial build is straightforward, and there are many options for keen gamers to customize how it works. You could also build dedicated housings for mobile game consoles or reproduction arcade consoles.
- Designer: PetRockBlock
- Difficulty: Assumes a certain familiarity with the Raspberry Pi and how peripherals connect. Still, it’s not complex and can be completed by beginners following the instructions carefully.
- Project pages: RetroPie’s website, ETA Prime’s YouTube video
Flappy Astronaut
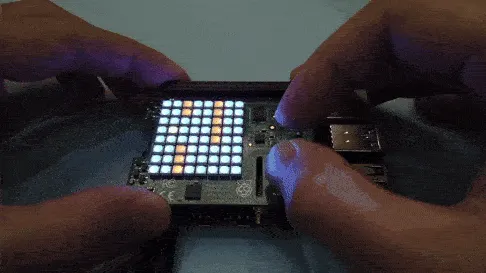
If you enjoyed the hit game Flappy Bird when it was released, then you will love this next project. It is a recreation of the old phone game using a Sense HAT as an 8×8 RGB LED matrix to display your character and the obstacles.
HATs, or “Hardware Attached on Top”, add more functionality to your Raspberry Pi board without your needing to build any add-ons.
Almost the entire project is completed through Python code, with the Sense HAT neatly installed on top of your Raspberry Pi to display your code outputs. Using a 2D list, you will be able to represent your astronaut and make the obstacles move from side to side. The game is controlled using a Sense HAT Joystick. Once completed, you’ll be left with a great project that you can try and improve on your own!
- Designer: Raspberry Pi Foundation
- Difficulty: This is a great project for anyone looking to get into Python coding. While the use of a 2D list can be confusing at first, it is the hardest part of this project by far.
- Project page: Raspberry Pi Foundation
Lego Game Controller
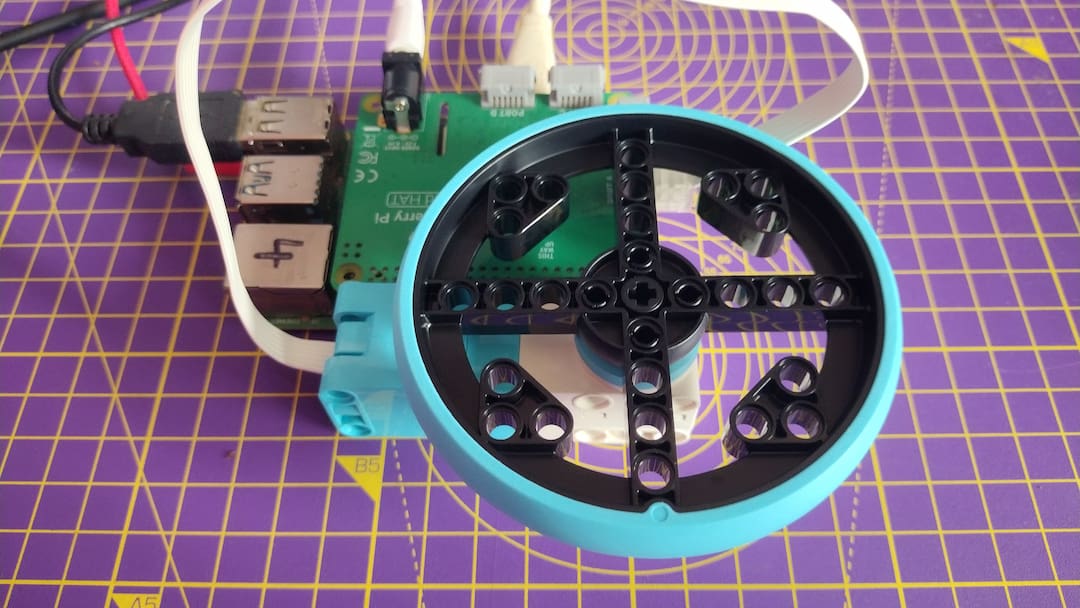
Game controllers are great projects to complete as you can use them on a variety of future projects to control your Python scripts or any other games that you end up making with your Raspberry Pi. These game controllers are particularly special as they are made with Legos!
Along with the construction and coding of your controllers, you will learn how to create a simple Pong-style game using Python. This is a good introductory project for kids looking to learn game coding, as Pong is a simple place to start and teaches some great fundamentals such as collision detection and player input detection.
- Designer: Raspberry Pi Foundation
- Difficulty: The majority of the project involves building and implementing the Lego controller, which may take some time depending on the type of Legos used. The coding isn’t as complex as other projects on the list and should be simple so long as the instructions are followed carefully.
- Project page: Raspberry Pi Foundation
Musical Fruit
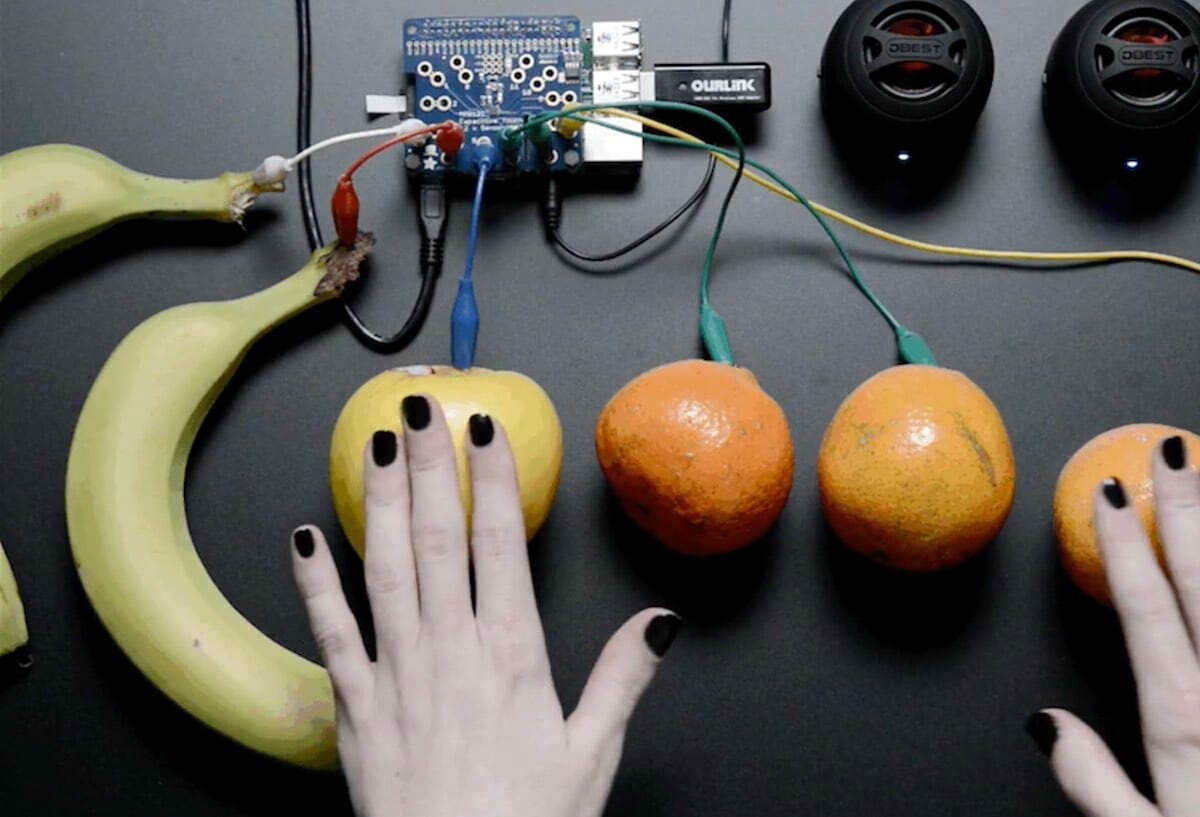
Another project where a HAT is needed to expand on what your Pi can achieve without the need to build your own circuits. In this case, the HAT supports “capacitive touch switches”, and there are many dozens of projects that use these in creative ways.
In this example, the HAT detects when fruit is touched, specifically apples, oranges, and bananas (though you could use any type of fruit). When touched, a sound to be played is triggered and you can customize this to make a drum machine, sound effects player, or simple synthesizer.
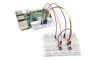
GPIO Music Box
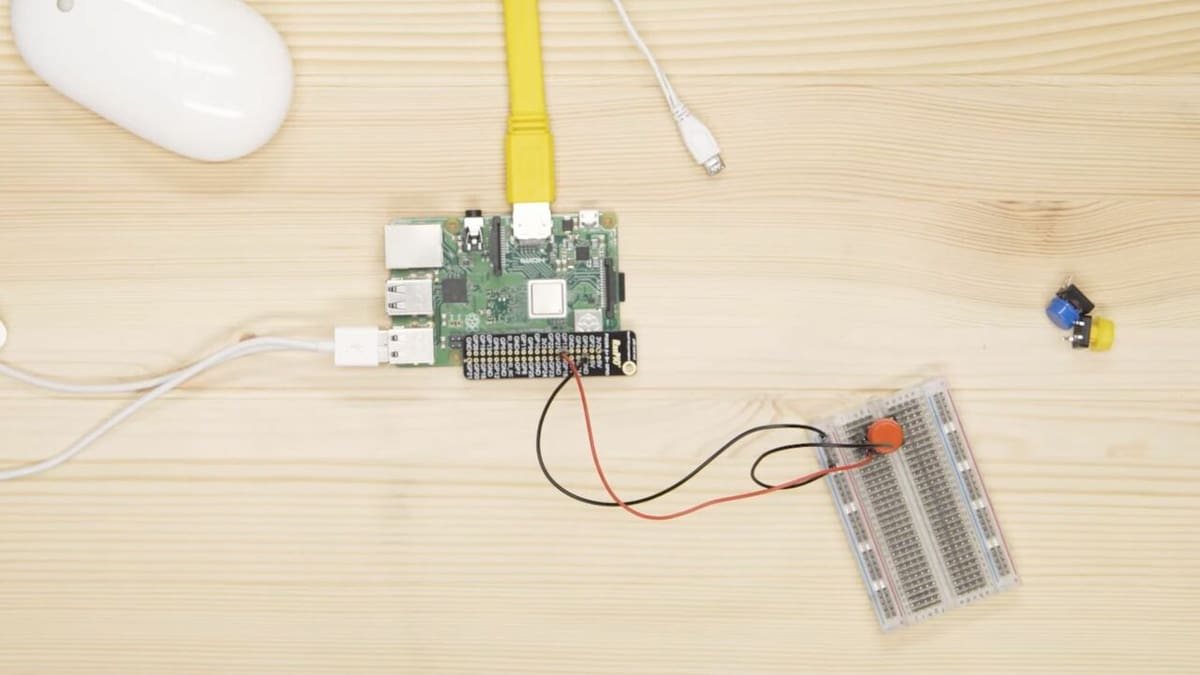
If fruit isn’t your kid’s thing and you can’t get your hands on a HAT, but the youngster still wants to have some musical fun, this is a project that just about every kid will be excited to finish. Who doesn’t love music? This project will help create a soundboard using four analog switches, a breadboard, and a Raspberry Pi.
Little experience is needed on the hardware side, with simple connections going to the breadboard and the Pi itself. You will need to use a simple Python script, available on the project’s site, to assign sounds to the buttons. Once finished, you can customize the buttons to play any music you want, sound effects, or find a new use for your music box. There are even recommendations on how to take the project to the next level with further script suggestions.
- Designer: Raspberry Pi Foundation
- Difficulty: This is a great project for beginners, as it introduces them to simple breadboard uses. Following along with the Python script shouldn’t be difficult when using the guide.
- Project page: Raspberry Pi Foundation
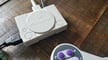
Audio Reactive Holiday Lights
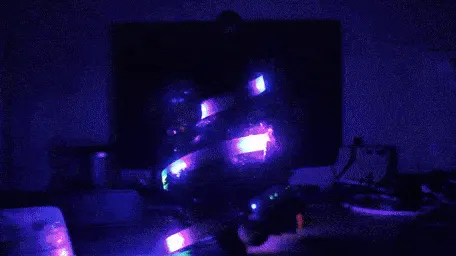
Create your own reactive LED display for holiday decorations or desktop gaming music!
This is a fairly straightforward project, consisting of an LED strip, a Raspberry Pi 2, 3, or 4, and either a Bluetooth or USB speaker. It’s a great project for learning how to program NeoPixel LED light strips. The original design used an external mic for an audio-reactive project, while this update eliminates the need for a mic, further reducing the barrier to entry and the cost of completing the build.
- Designer: Nazmus Nasir
- Difficulty: The instructions for the project need to be followed carefully as there are many different and related versions of the same project. That said, limited experience is needed to begin this project.
- Project page: YouTube
Animated Snake Eyes
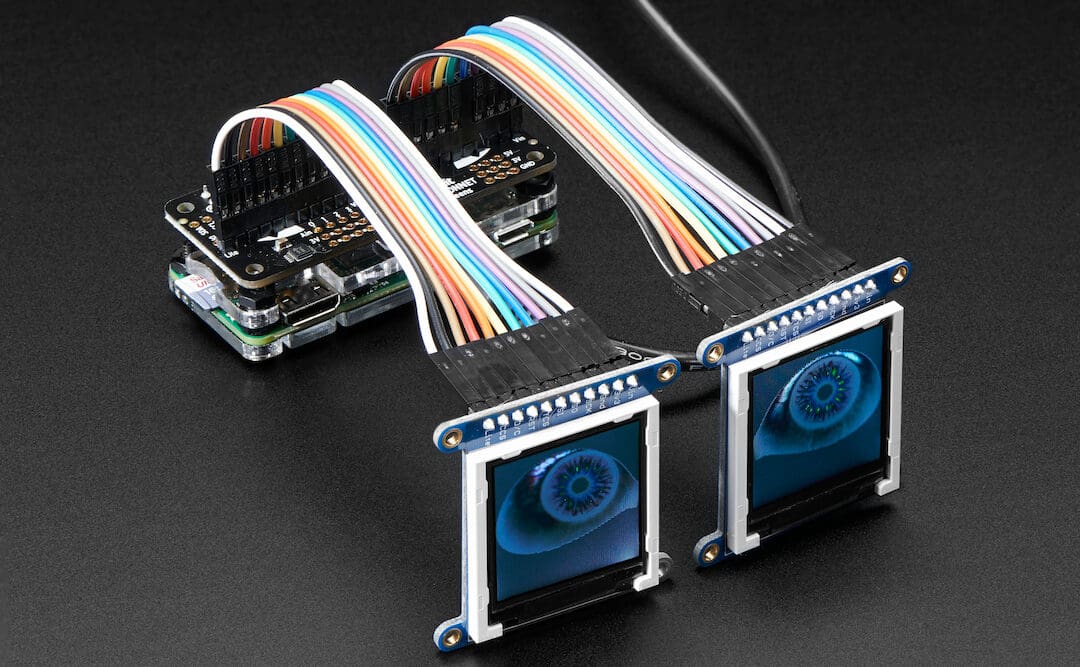
This project takes two OLED or TFT LCD screens and uses them to animate any type of eyes you want for your project. It’s a great accessory for holiday decorations and cosplay props, giving you complete control over a pair of animated eyes. You will have four analog control inputs, allowing you to change the appearance on the fly or play a certain animation.
This is a software-heavy project, with much of the hardware components being plug-and-play. You will be working with Python to control the eyes and assign commands to your analog inputs. While most of the components can be found on the Adafruit website, as this is an older project, some may be out of stock and will need to be sourced elsewhere.
- Designer: Phillip Burgess
- Difficulty: Assembling the hardware for this project is easier than most. You will have to work with Python so some experience with the programming language will help.
- Project page: Adafruit
Bat Radar
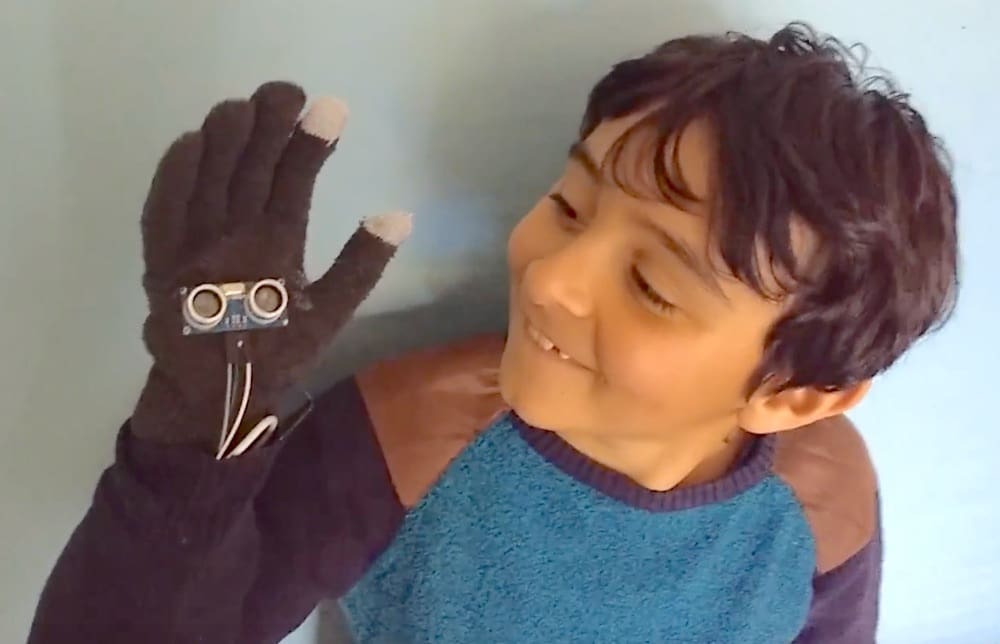
We know that bats “see” using ultrasonic echolocation. This fun project implements a very simple version of that principle using an ultrasound sensor as the radar and a vibration device to communicate how far away objects are.
It’s easy to imagine how you could use this project as a basis for more advanced solutions!
- Designer: Raspberry Pi Foundation
- Difficulty: Reasonably straightforward. There are a few components to assemble but neither the build nor software are complex. You can watch the whole construction and see the project in use in Marc Scott’s YouTube video tutorial.
- Project page: Raspberry Pi Foundation
Environmental Monitor
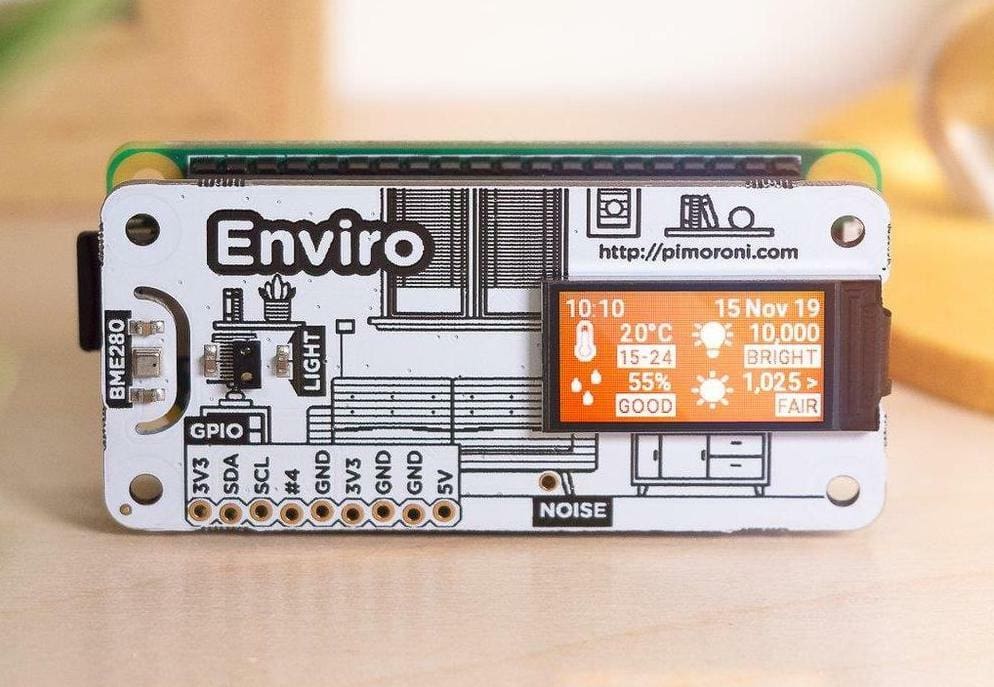
Another project that makes use of dedicated bolt-on hardware is this great little device, which combines temperature, pressure, humidity, light, and noise level measurements with a tiny color display.
It’s easy to get working with lots to learn about how to record, display, and access the data gathered. If you want more, there are slightly more expensive versions that add more air quality measurements and can be hooked up to citizen science initiatives.
Robot Buggy
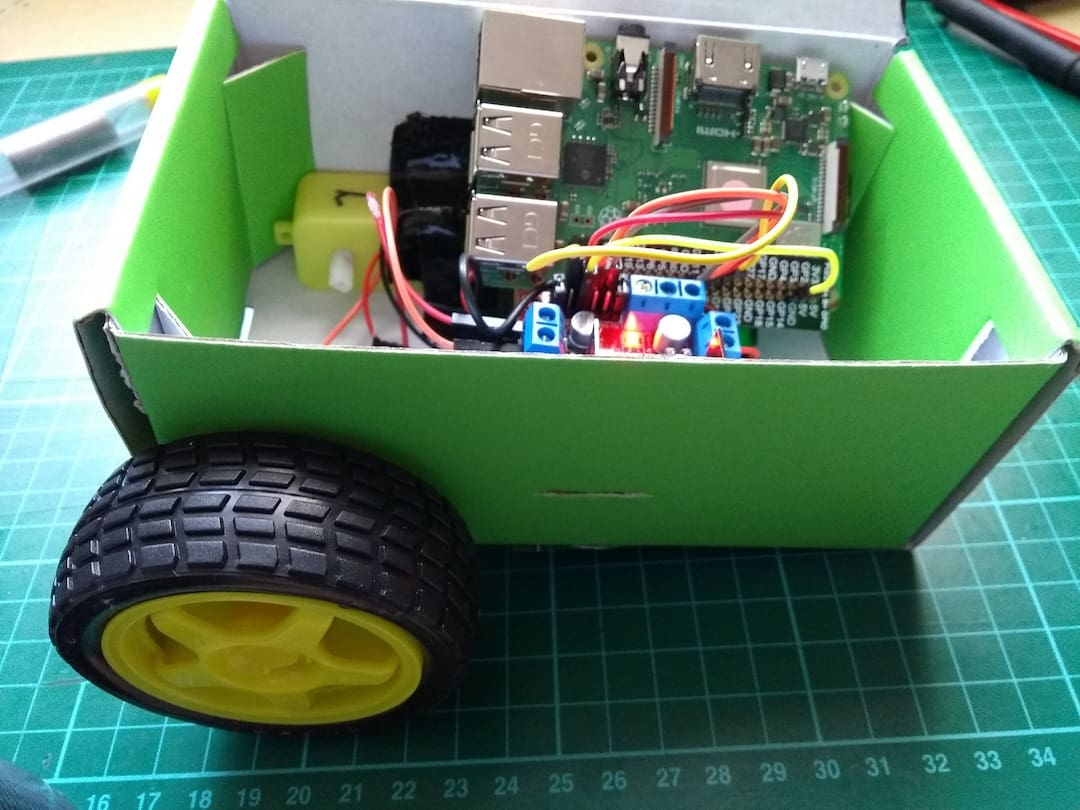
Robots are always a fun type of project and are very common in the Pi community. This buggy uses Python scripts, a motor controller board, and two motors to move the buggy, along with everything else needed to power the system.
This project is very hands-on, requiring at least some experience in soldering and coding. It may not be the best first project for a beginner, although it can be a great one to tackle once you’ve got your bearings and are looking for a challenge. If you do enjoy this project and want to take it further, there is also a line-following robot project that uses this buggy as a base.
- Designer: Raspberry Pi Foundation
- Difficulty: This project is better suited for those who already have some experience with a Raspberry Pi and can closely follow the instructions of the guide.
- Project page: Raspberry Pi Foundation
License: The text of "Cool Raspberry Pi Projects for Kids" by All3DP is licensed under a Creative Commons Attribution 4.0 International License.