The Best TPU Bed & Print Temperature Settings

TPU can be a tricky material to 3D print, but using the right temperatures is a start. Read on to find the best TPU printing temperatures!
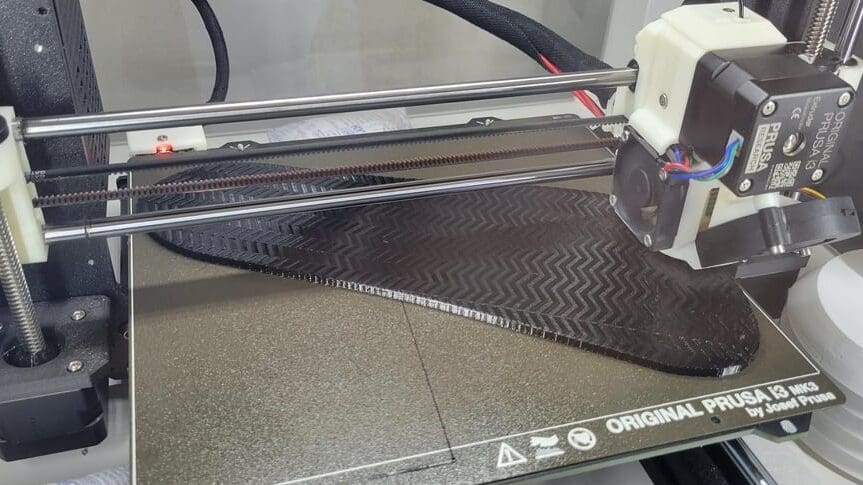
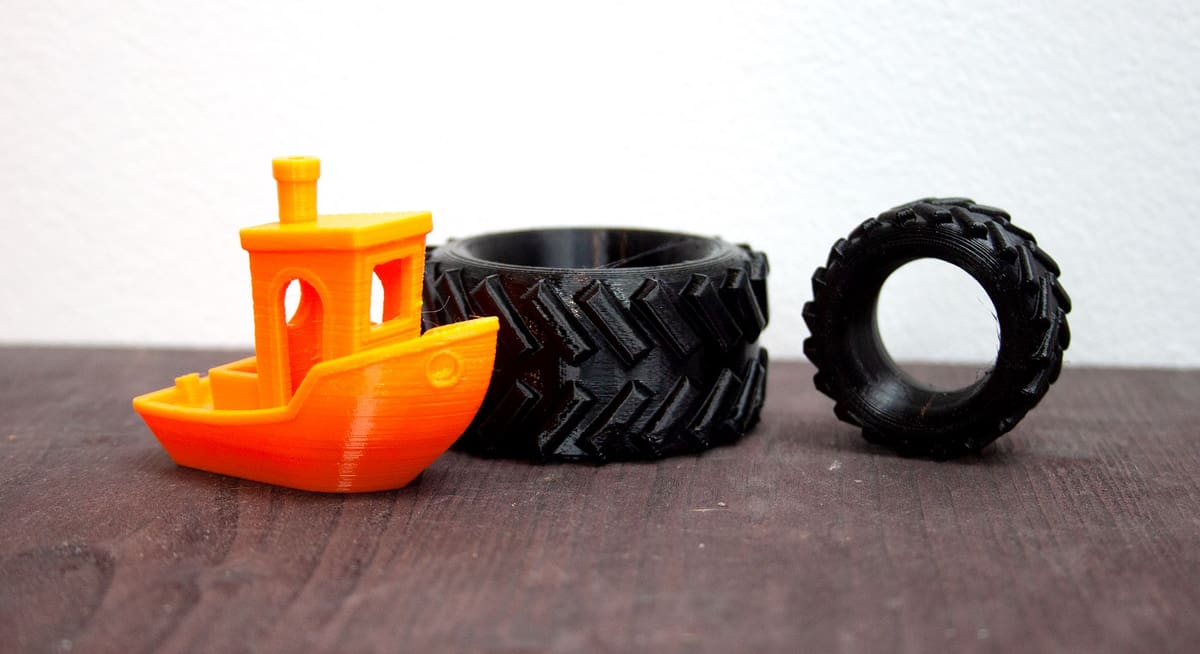
While PLA, PETG, and ABS reign supreme when it comes to 3D printing filaments, these materials are all reasonably rigid. Thermoplastic polyurethane, more commonly known as TPU, is a popular 3D printing material known for its natural flexibility and elasticity. As such, many users turn to TPU when printing flexible or impact-absorbent components like rubber feet, Go-Pro mounts, cable ties, and more.
Although there are many TPU filament brands, one thing they have in common is their difficulty to print compared to other printing materials. TPU’s natural flexibility and elasticity make it hard for the extruder to properly push the filament through the hot end without altering its diameter and causing nozzle jams. This is usually a problem for printers that use a Bowden extruder, which offers more room for the filament to stretch. Therefore, a direct extrusion setup is preferred for this material.
While the main challenge for users printing TPU is usually the extruder, there are other factors that also affect printability. The hot end temperature is perhaps the most critical slicer-controlled setting for any material, especially TPU, which already has its fair share of extrusion issues. The bed temperature is also very significant, as you don’t want your TPU models to warp on the print bed.
In this article, we’ll go over the ideal hot end and bed temperature ranges for printing TPU. These can be used in your slicer profile to produce the best prints. We’ll also discuss some bad signs to look out for when printing TPU and how they may be related to your temperature settings. Let’s dive in!
At a Glance
Hot End

Like any printing material, TPU has no one exact hot end temperature guaranteed to work for every spool of this material. However, you should be able to achieve high-quality results with most TPU filaments using a hot end temperature between 210 and 230 °C.
The exact printing temperature will depend on the specific spool (e.g. brand, batch) of TPU filament you have. Typically, more flexible filaments, like NinjaTek’s NinjaFlex, require higher printing temperatures (225-250 °C) than less flexible options like MatterHacker’s Pro Series TPU
(220-240 °C).
Also, it’s always a good idea to check the temperature ranges suggested by the manufacturer of your specific filament spool, as they probably know the most about the specific blend of TPU used to create the filament.
Bad Signs
Of course, even if you’re using a temperature inside our ideal range, you could still run into temperature-related issues, as 3D printing materials tend to be sensitive to temperature changes larger than 5 °C. There are two main bad signs that could indicate whether you need to increase your temperature.
Under-Extrusion
The first and perhaps most common bad sign you could experience when printing with TPU is under-extrusion. Small gaps in your print, a clicking noise from your extruder, filament grinding, and brittle prints are all bad signs of under-extrusion. This is likely the result of using a nozzle temperature too low to melt the filament fast enough and ensure proper layer-to-layer adhesion. If this is the case, consider raising the hot end temperature.
Over-Extrusion
On the flip side of under-extrusion, we have over-extrusion, which is excess material on a print. Stringing, blobs, zits, and scarring on your model are all pretty visible signs of over-extrusion and too high of a temperature setting. If you notice these issues, we suggest lowering your hot end temperature.
If either one of these issues is impacting your prints and you need to adjust your hot end temperature, we suggest doing so in increments of 5 °C until the issue goes away. Any increment larger than 5 °C could be an overcompensation and cause other issues.
Heated Bed
While the hot end temperature affects extrusion, the heated bed temperature affects adhesion and can be adjusted to control how well models, specifically their first layer, stick to the printing surface. Technically, TPU doesn’t require a heated bed, but printing the material without one typically leads to warping, so it’s best to have one. An ideal bed temperature for printing TPU falls between 30 and 60 °C, very close to that of PLA.
As we previously explained, there’s no one-size-fits-all hot end temperature, which also applies to the bed temperature. However, the bed temperature isn’t as sensitive as the hot end temperature, and you might not notice a difference in prints as long as you meet the minimum temperature to prevent warping.
The main concern when finding the right bed temperature is the ambient temperature. If the room where your printer is located is cold, you should use a higher bed temperature. Alternatively, you could invest in an enclosure, which helps to maintain ambient temperature around the printer and prevent unwanted drafts.
Bad Signs
As for the bed temperature, there are a few bad signs that you can detect and use to tune your printer’s bed temperature for TPU.
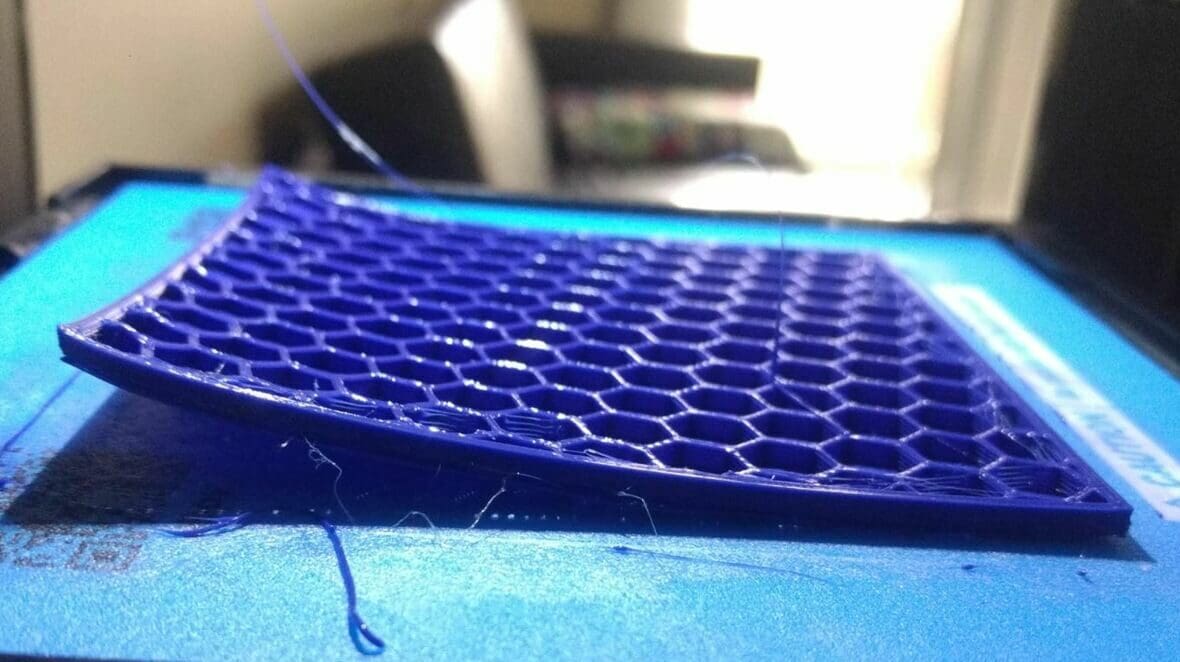
The most obvious indicator of an incorrect bed temperature is warping, where the areas of a print that contact the build plate don’t stay down and lift up (usually on the corners of prints). You can prevent warping on prints by raising the bed temperature to help the first layer more securely stick to the build plate. Using a glue stick can also help bed adhesion when working with TPU.
The opposite of warping and another sign that bed temperature needs to be adjusted is a problem known as elephant’s foot. This is when the edges of a print that touch the build plate expand and stick out past the outline of the model, which is a form of over-extrusion. As you might expect, elephant’s foot can be eliminated by lowering your bed temperature.
As with the hot end temperature, we suggest making adjustments to your bed temperature in increments of 5 °C. This will ensure you don’t overcorrect your issue and accidentally cause the inverse of the problem you’re trying to fix.
Part Cooling
Unlike some other rigid filaments, the part cooling settings are generally not a make or break for TPU. While too much cooling can lead to layer adhesion issues, you’ll want some cooling to prevent stringing.
For that reason, disable part cooling for the initial layers to ensure sufficient first-layer bonding. After that, setting a fan speed in the range of low to medium speed should be sufficient for most cases. If you’re noticing layer bonding issues, decrease the fan speed or turn it off completely.
On the other hand, certain model features like overhangs and bridges would benefit from increased part cooling. These features are particularly challenging to print with TPU, but the general advice is to slow the print speed and up the nozzle temperature slightly.
Other Factors
When it comes to tuning your printing temperatures, you should use test prints, as these can reveal a lot of information about your temperatures. A temperature tower test print is a quick way to gauge your machine’s print quality at different temperatures without having to print a model for every temperature. As a flexible filament, tuning the retraction settings can also play a big role in achieving high-quality prints.
Aside from the hot end and bed temperature settings, it’s important to remember that with any 3D print, there are many factors in play. Anything from the weather outside and the air conditioning unit in your printer’s room to the quality of the nozzle you’re using and even the speed of your mainboard’s processor can affect print quality.
Even when a problem may look temperature-related, it may not be. Issues like a partially clogged nozzle, an uncalibrated extruder, and wet filament can all yield low-quality prints similar to what might occur from using a bad temperature. TPU is particularly hygroscopic, so it’s essential to dry the filament completely before printing with it or else you’re likely to end up with all sorts of wonky surface defects.
Make sure to consider other solutions if you’ve made significant temperature changes (e.g. using double the recommended bed temperature) and aren’t seeing any changes in prints.

License: The text of "The Best TPU Bed & Print Temperature Settings" by All3DP is licensed under a Creative Commons Attribution 4.0 International License.