Blender: Animation Tutorial – 6 Easy Steps

Blender is a great tool for animation. Read on and bring your characters to life with this step-by-step Blender 2.9 animation tutorial!
Bend It with Blender
Blender is one of the go-to open-source software choices for animation. Surprisingly, it doesn’t take much to get started on creating simple character animations. Once you have a final 3D character model, you can bring it to life with the software’s numerous animation features and tools.
For example, Blender’s rigging tools will help you to achieve the desired movements for your character. Poses can also be added and manipulated with the software’s pose editing features. Alternatively, you can use the Nonlinear Animation editor to create various independent movements.
In this article, we’ll go over the basics of animating in Blender. We’ll start with a discussion of the UI as well as the key animation tools and features. Then, we’ll explain step-by-step the process of creating a simple character animation. You’ll also learn how to add sounds to the animation, sync it, and some useful tips to animate better.

UI

Upon starting Blender, you’ll see the default user interface. The interface is highly flexible and consists of various windows that you can resize. You can easily customize it by applying themes and changing other configurations with the Preferences editor.
The interface is primarily divided into three main regions:
- Topbar (orange) is located at the topmost part of the window. Here, you’ll find workspaces, such as animation and modeling, among others. You can toggle between different workspaces either from the top bar or use predefined hotkeys, which you can configure in the Keymap section of the Preferences editor.
- Areas, located below the top bar, contain various editors such as the 3D Viewport (yellow), Outliner (green), Properties (blue), and the Timeline (red). Every area is customizable, and you can even open the same editor more than one time. Blender houses a lot of editors for different workspaces, but Timeline, Graph Editor, Drivers Editor, Dope Sheet, and Nonlinear Animation are the ones that are specific to animation.
- Status Bar (pink) lies at the very bottom. It shows any statistical information, resource information, hotkeys, and warnings related to the project you’re working on.
Important Features
Now that you’re familiar with the user interface, let’s dive into the software’s most important features for animation:
- Navigation in Blender can be done with the help of a tracking device such as a mouse, but if you want to navigate faster in the 3D space, the keyboard shortcuts come in handy. The Navigation Gizmo, located on the top right of the 3D Viewport, lets you pan and zoom the 3D Viewport.
- 3D View helps you to navigate, add, edit, snap, and do various other things to interact with the 3D scene. Another vital tool is the 3D Cursor, a position in 3D space, which is used to place objects precisely. You can use and move it with the help of the snap tool. There is also a second type of snap operation that you can use during various transformations.
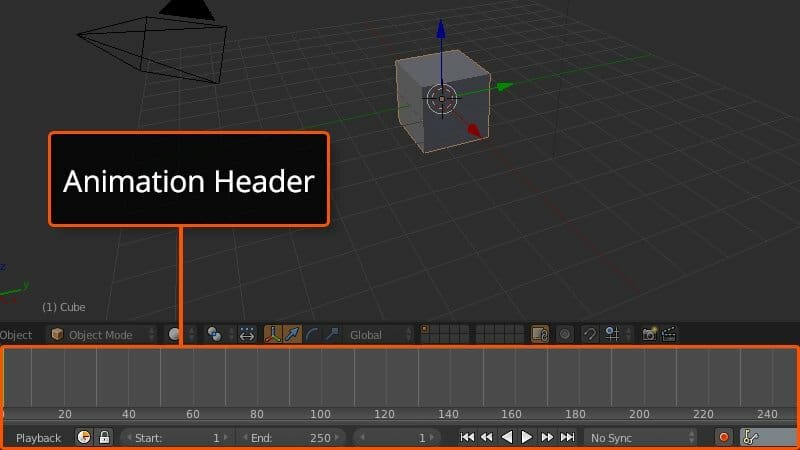
- Animation header, located at the bottom of the interface, contains the timeline, keyframe properties, and frame rate. By default, this rate is set to the standard 24 frames per second (FPS). If you want to change it to something else, open the Render settings and set up your desired FPS.
- Keyframes are definite positions that denote the starting and ending point of a specific transition. A sequence of such transitions makes up a complete animation. Keyframes are represented by small black squares and become orange when selected. You don’t need to fill the rest of the frames between the keyframes, Blender does that for you. It produces a smooth motion over such intervals, known as interpolation.
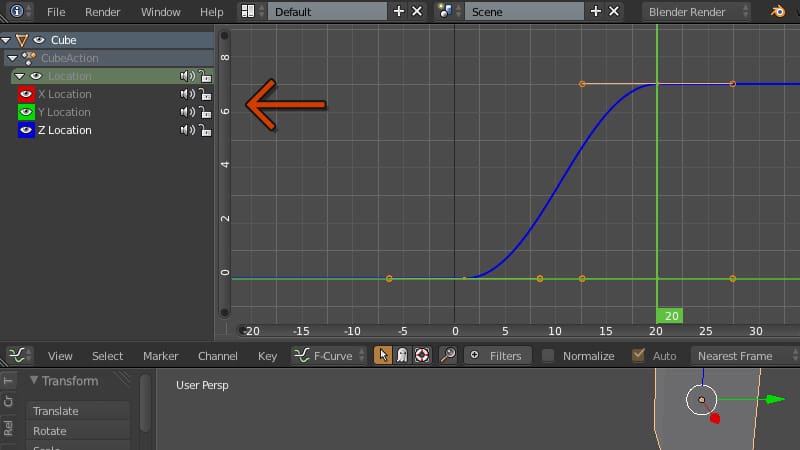
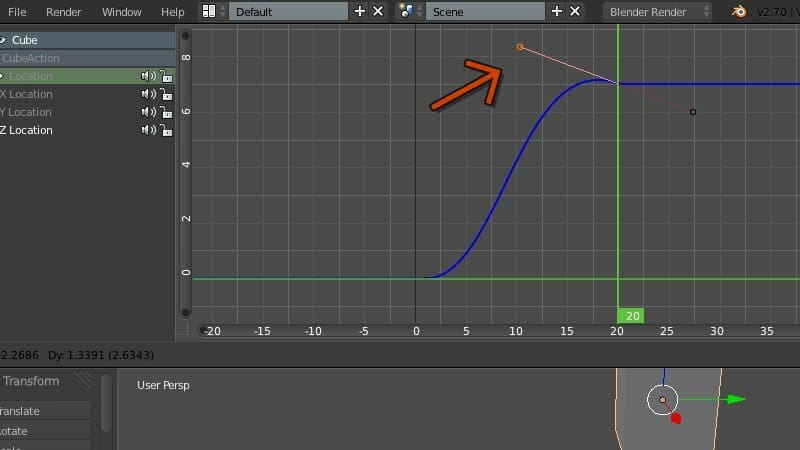
- Graph Editor helps you to tweak your animation curves, known as F-curves. An F-curve is simply the corresponding curve after you’ve added keyframes. With the Graph Editor, you can modify and monitor these to give the animation your desired transitions.
Getting Started
To begin animating in Blender, you could start with the default cube and animate it by scaling, rotating, changing its location, or any combination of simple transformations. Or, you could use a more complex 3D model and go through some rigging.
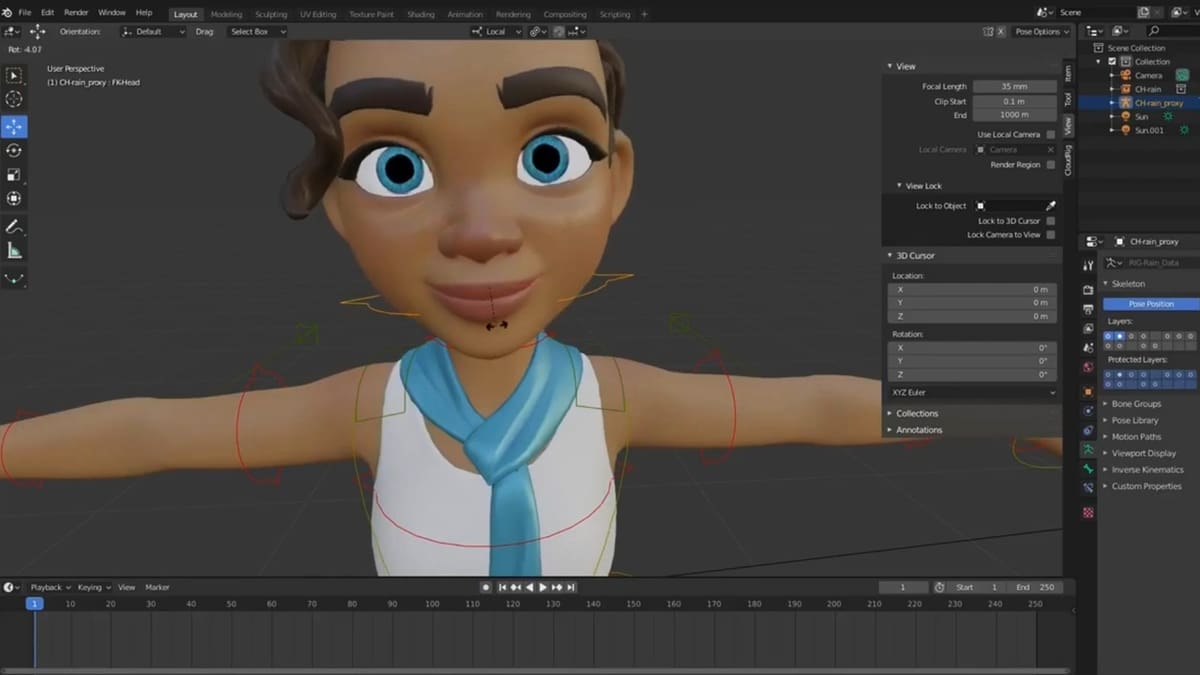
Rigging is nothing but adding controls to the model or object that provides control and elaboration at the selected points. Once rigged, the 3D model can be animated as desired.
In this tutorial, we’ll use a rigged character from Blender Cloud to do some basic animation, which we’ve broken down into six steps. Make sure to follow all the steps carefully, especially setting up keyframes and modifying them.
Also, remember that practice makes perfect: Repeating each of the steps and playing around with different iterations will definitely help you become a better animator in Blender.
Let’s get started!
Step 1: Importing

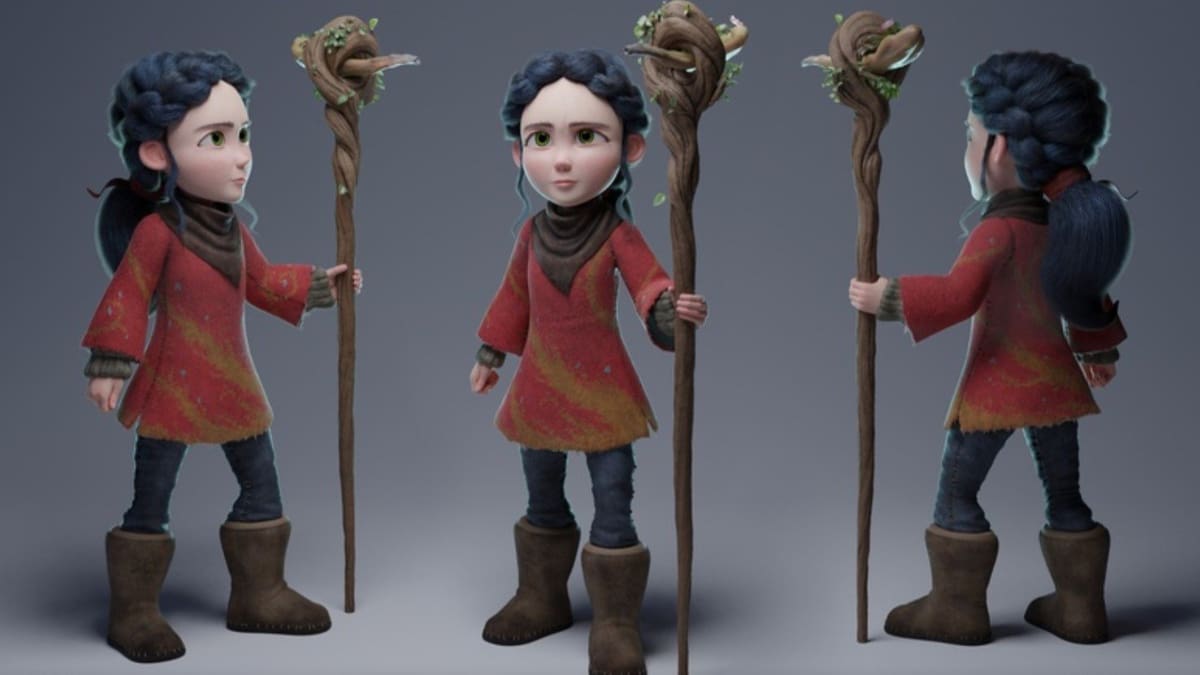
First, we need a 3D character model to animate. Many free and paid characters are available from a variety of sites. On Blender Cloud, Vincent and Rain v2.0 are the two most popular characters. They’re completely shaded, rigged, and best of all, free!
If you wish to download any of paid character options from Blender Cloud, you’ll need to get a subscription. A monthly, manually renewed subscription costs about $17 a month. An annual subscription that’s automatically renewed could save you some bucks, though.
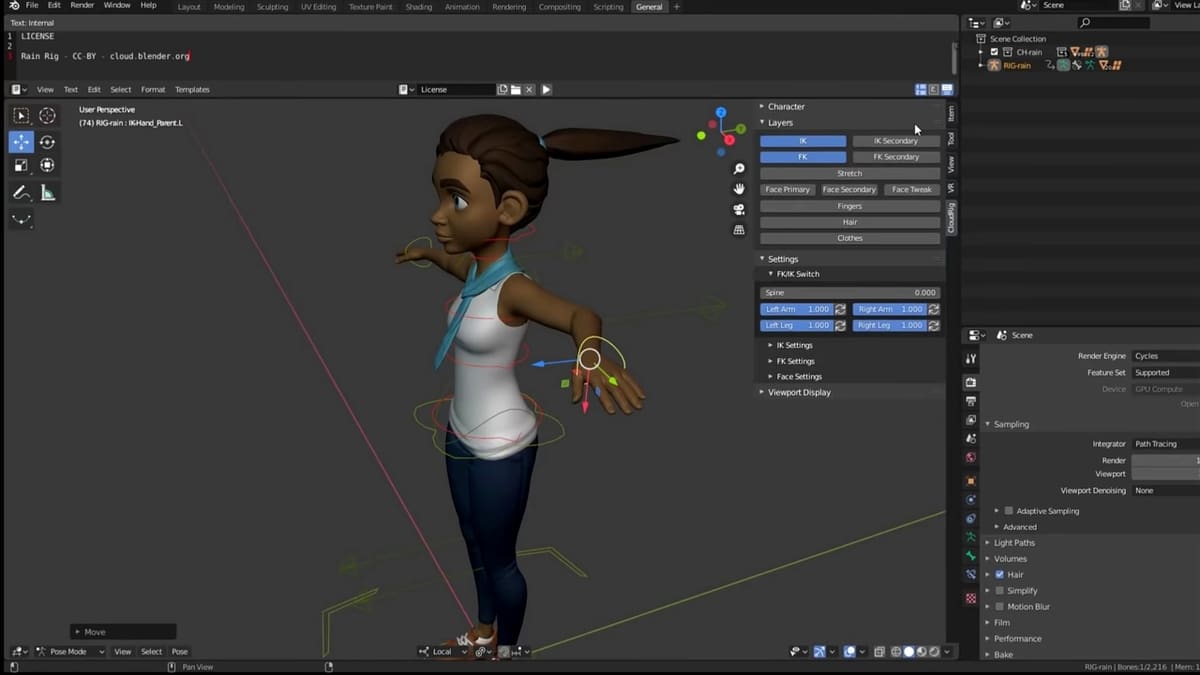
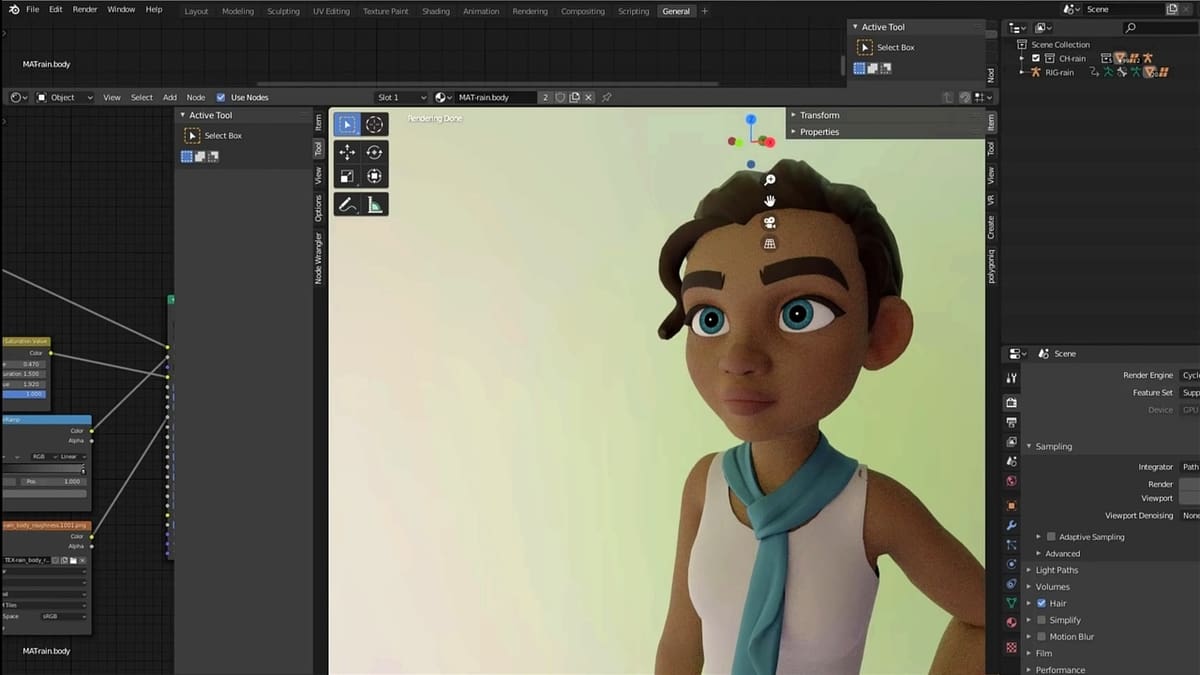
Here, we’ll use Rain v2.0.
- Download the character file to a location on your computer.
- Once downloaded, open Blender and place the 3D cursor on the origin point of the scene.
- Then, select “Import” from the File menu on the Topbar and select the file format of your 3D model.
- Choose the folder, select the character file, and allow the execution of phyton scripts.
The character will be imported into Blender, and once she’s fully loaded, let’s move on to adding keyframes.
Step 2: Keyframes
You’ll find diamond-shaped options at the bottom of the timeline; these are Keyframes. The two key icons present here will help you to add a keyframe to the selected position on the timeline. You can use them to delete a keyframe, too.
Adding Keyframes is quite simple:
- Open up the Timeline window in the Animation editor.
- Make sure that you’re at frame 1 in the Timeline.
- Press ‘G’, grab the foot bone, and move it. Alternatively, you can move any of the other bones.
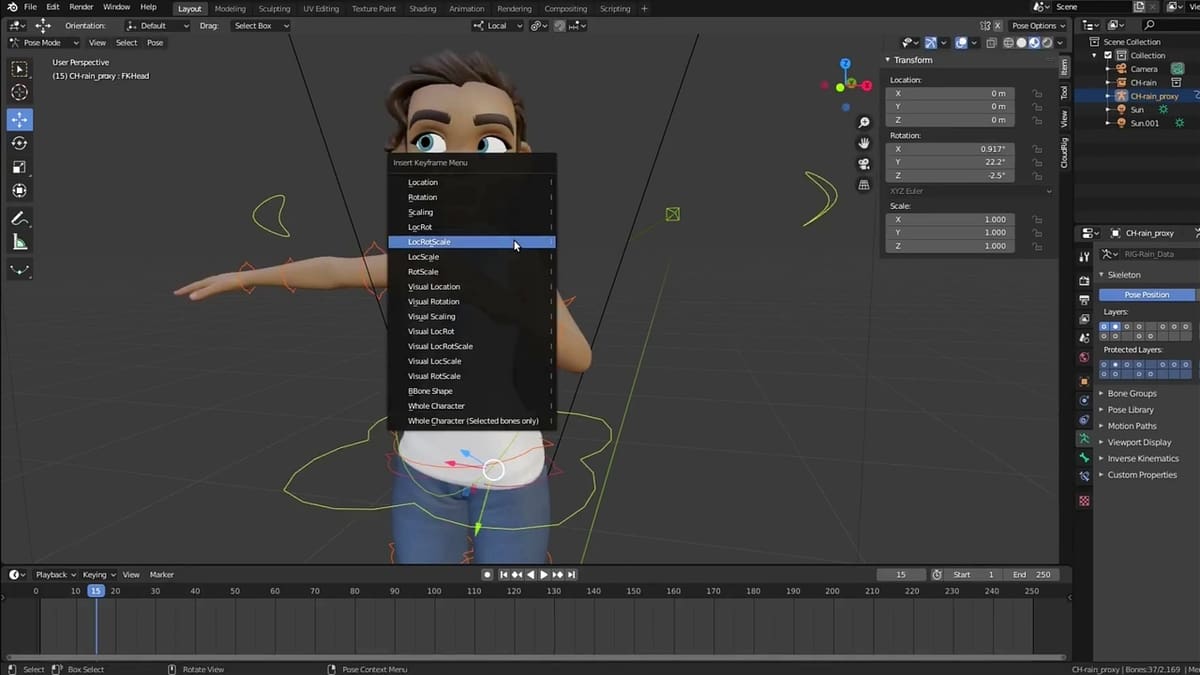
- Hit “Shift+ I”, choose the channel “LocRot” (Location Rotation), and insert the keyframe.
- Animation needs more than one keyframe. So, scroll through the timeline, go to frame 30, and add another keyframe by following the previous steps.
Now, scrolling through frames 1 to 30 in the Timeline, you should see the motion that you just created. Moving the keyframes will adjust the speed of the motion. Try moving the keyframe to frame 20, 40, or any other. You’ll see that moving the keyframe to frame 20 will make it go faster, while moving it to frame 40 slows the motion down.
Step 3: Reference Materials
It’s difficult to add natural movements to a character through one’s imagination alone, so reference images or videos are often used to get the movements right. There are plenty of reference images available on the internet. For video references, you can record yourself or a friend as well as source inspiration from YouTube.
Once you have the desired reference material, you can either display it on a second screen or add it as a background image to the 3D space. Here’s how to add it:
- Hit “Shift + A” to open the Add menu.
- From the drop-down, choose “Image”, then “Background”.
- After it loads, scale the reference image to match it with the character.
You can choose to animate your character exactly as the reference image or amplify it for more energetic movement.
Step 4: Fine-Tuning
You can achieve basic movements in the animation with inbetweens and keyframes. Inbetweens, as the name suggests, are intermediate frames between two keyframes. They help create a smooth transition between major keyframes.
For professional-looking animation, however, you also need to consider tweaking the keyframes further in the Dope Sheet and Graph Editor. When you first use these animation editors, it might seem quite intimidating. But with practice, you’ll find them to be very useful.
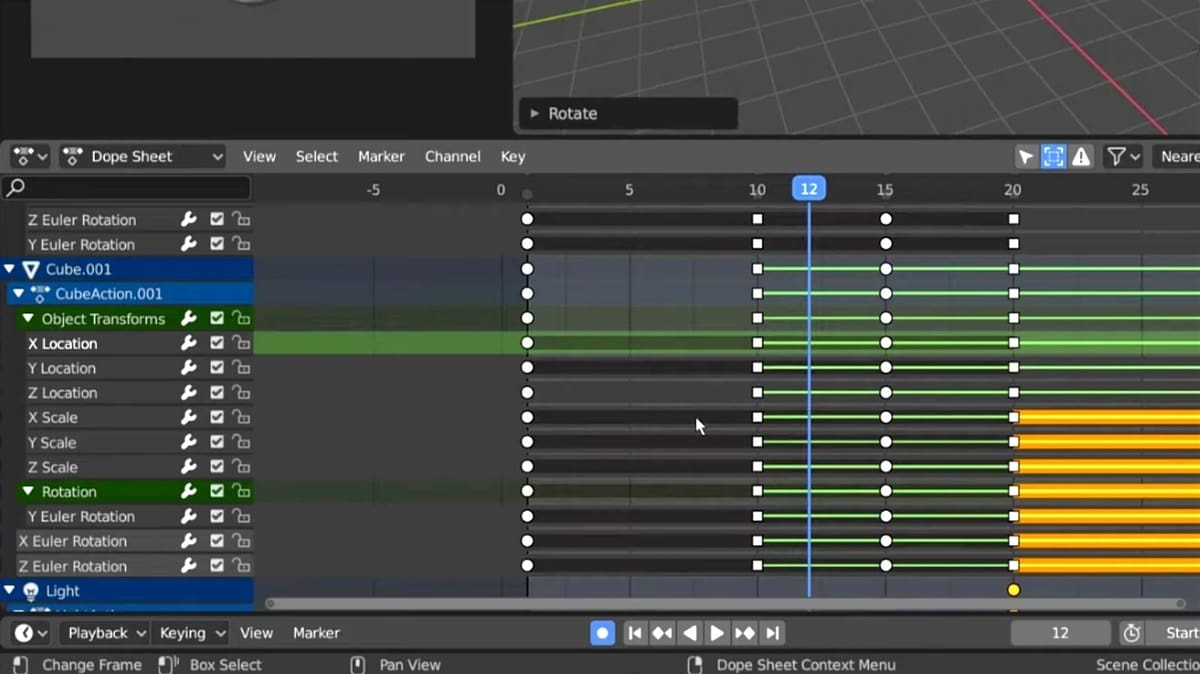
You can use the Dope Sheet for advanced editing of the keyframes. Using it is easy:
- Split the window horizontally.
- Switch over to “Dope Sheet” under the Animation tab.
- You’ll see keyframes of all the axis. Zoom into them.
Now, you can make desired changes, such as slowing down the speed or moving the bones on a certain axis.
The Graph Editor is the most advanced keyframe manipulator in Blender. It helps in further fine-tuning of the keyframes and visualization of the animation curves. You can use it to view and edit motion curves directly.
On the left side of this editor, you’ll find channels, and the keyframes are assigned to specific channels. Each keyframe has a handle that can be manipulated by moving, shrinking, or stretching it to adjust the curve. The Graph Editor can be used in the following way:
- Either split the window and switch over to “Graph Editor” under the Animation tab. Alternatively, you can hover over the “Dope Sheet” and press “Ctrl + Tab”.
- Left-click on any channel to select it.
- Hide the rest of the channel with “Shift + H”. You can unhide them anytime with “Alt + H”.
- Select any handle and make the desired manipulations.
Step 5: Sound
To add life to the animation, you can try adding sounds. It can be full-on background music or simply different sound effects. It’s also possible to record your own audio and import it to Blender. Let’s see how you can do that as well as sync it to your character’s movements.
- Download the desired audio file or record your own.
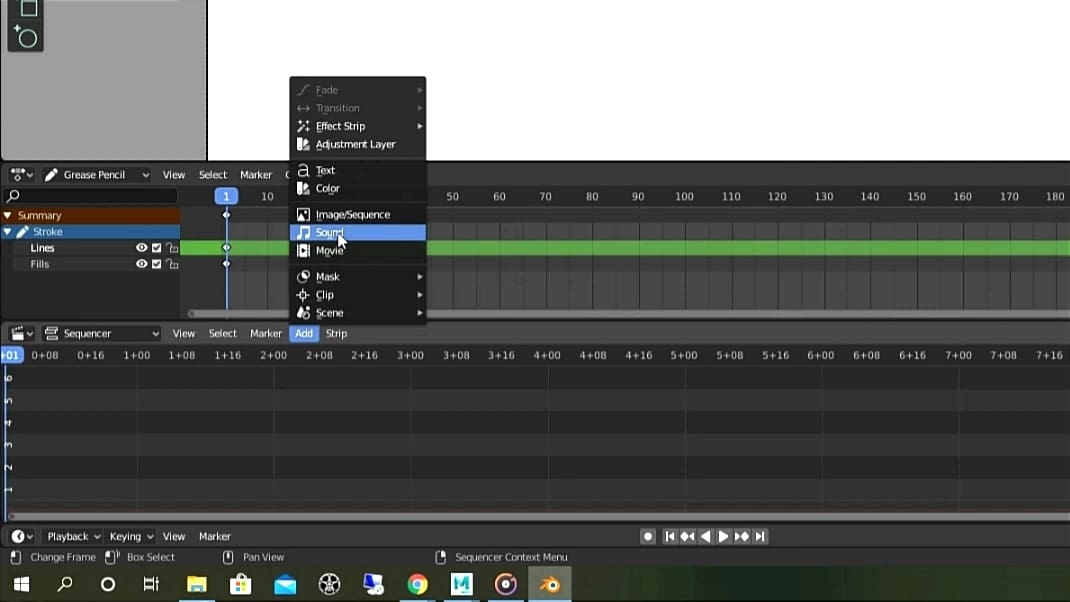
- In Blender, drag to split the screen and open the “Video Sequencer”.
- Press “Shift + A” to open up the Add menu, and choose “Sound”.
- Now, navigate through the list and select the sound you wish to add.
To apply the sound to specific sections of the animation, just click and drag it to the appropriate location. Repeat the steps to add more audio files. You can also change “No sync” to “Av Sync” in the Playback drop-down menu for better synchronization. The volume and pitch can be modified in the attached sidebar.
Step 6: Rendering
Before you render the animation, there’s a crucial render setting that needs to be configured: You need to make sure that the correct frame rate is selected. You can choose the standard 24 FPS or any other, but do select the same FPS you had in mind before adding keyframes. This will help you in avoiding undesired renders.
After setting the correct frame rate, rendering the animation is easy:
- Open “Scene”, choose the file location, and select “File Extensions” for saving.
- Choose the file format and your preferred color: BW, RBG, or RGBA.
- Set the Encoding Container as “WebM” and Video Codec as “WEBM / VP9”.
- If you added sound to the animation, set the Audio codec to “Vorbis”.
- You can also choose the desired Output Quality and Encoding Speed.
When you are satisfied with the configuration, select Render from the Topbar and then click on “Render Animation”.
Congrats, you have successfully animated a character in Blender! Now that you know the basic workflow, practice a bit more and become a pro. In the following section, we’ll go over some useful tips to help you become a pro faster.
Tips

As a beginner, it’s common to make mistakes, but some of them can be avoided by following a few simple tips:
- Turn off the bones that aren’t in use to declutter the screen. You can always turn them on when needed and turn them off again when the job is done. This results in a cleaner-looking workflow.
- Turning on Auto Keying will automatically insert a keyframe for bones and object insertion. This not only saves a lot of time but also proves to be useful in case you forget to add any keyframe in between the animation.
- Optimizing memory for rendering is very crucial, as rendering might take longer than you think. This might even lead to software crashes. It’s wise to always make sure to have appropriate space available on your device.
- Faster rendering can be achieved by simply setting up a lower frame rate. This will help you save a lot of time. Additionally, you can decrease the resolution to further increase the rendering speed.
License: The text of "Blender: Animation Tutorial – 6 Easy Steps" by All3DP is licensed under a Creative Commons Attribution 4.0 International License.