Blender Fracture Modifier – Simply Explained

Fracture Modifier is a feature that simulates real-life physics phenomena. Read on to know about Blender fracture options!
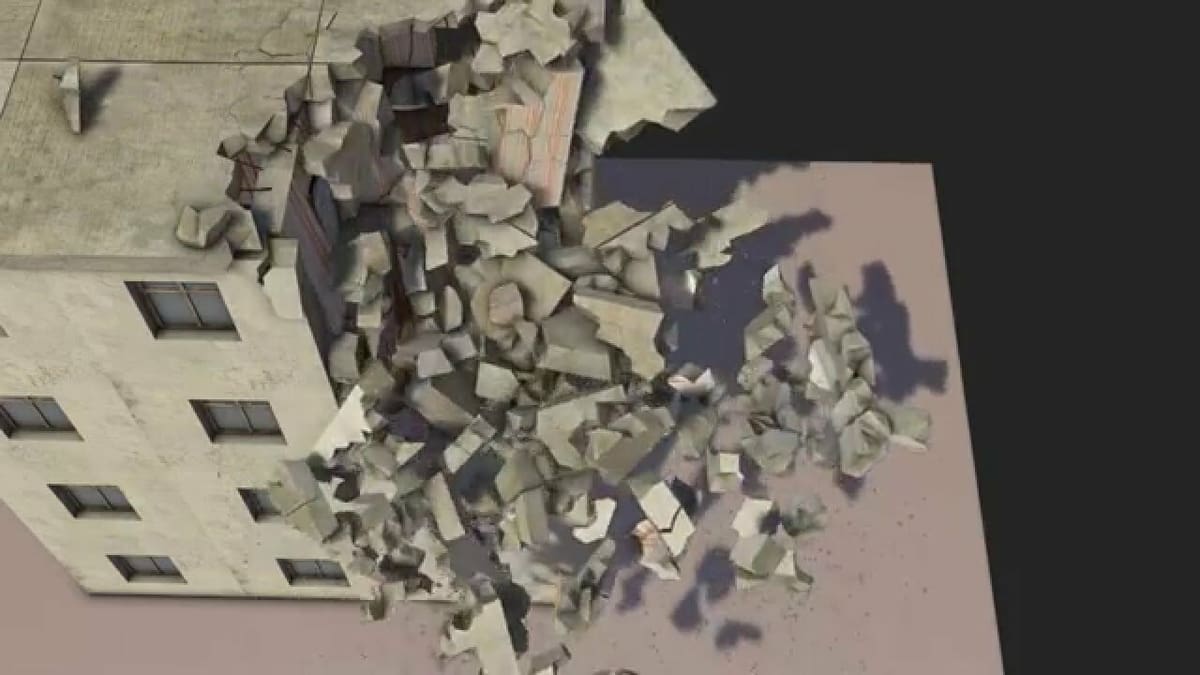
While simulating objects in Blender, the term “Fracture Modifier” is tossed around a lot. Whether it’s animating a dramatic car crash scene or simply playing with the physics of an object, the Fracture Modifier can be useful in simulating realistic object destruction scenes.
Essentially, the Fracture Modifier interacts with objects when they’re destroyed, simulating the fragments of the object in an easy way. This modifier helps the users to control the state of fragments without affecting the original form of the object. For example, the user can control how the fragments break and how these fragments are animated. The details of the fragments, like their shape and fracturing pattern, can also be changed! The modifier is very efficient and can come in handy for visual effects and destruction animations.
Since the Fracture Modifier is a development branch and not an add-on, it’s still under active development. It was successfully implemented for Blender 2.79 and is still being worked on for Blender 2.8 and above.
Keep on reading to learn more about the Fracture Modifier and how to use it in Blender!

Settings
The Fracture Modifier offers a number of settings to adjust how fracturing occurs in a scene. For now, we’ll focus on the basics, which are listed below:
- Shard count defines the number of fragments the object is going to break into. You can set this value, keeping in mind that the fracturing will be slower the more you increase the number of fragments.
- Constraint settings define the physical constraints put on the object to be fractured, like the height required for the object to be shattered completely, the point along which the object is to be shattered, and more.
- The mass of the object is set by you.
- Constraint breaking settings define the distance and behavior of the fragments as they shatter away from each other.
Now, let’s look at the steps to use the Fracture Modifier in Blender!
Step 1: Adding an Object
For the Fracture Modifier to work, we need an object that can be fractured into fragments. For our demonstration, we’ll use the default cube. An important thing to note is that another object is needed so a collision can occur, triggering the fracturing of the first object. For the second object, a simple plane will be used.
To add objects in Blender:
- Switch over to Object Mode. (It’s the default mode when the software is opened and can be switched over to by either selecting “Object Mode” from the drop-down list at the top left corner of the 3D Viewport or by simply hitting the Tab key on your keyboard.)
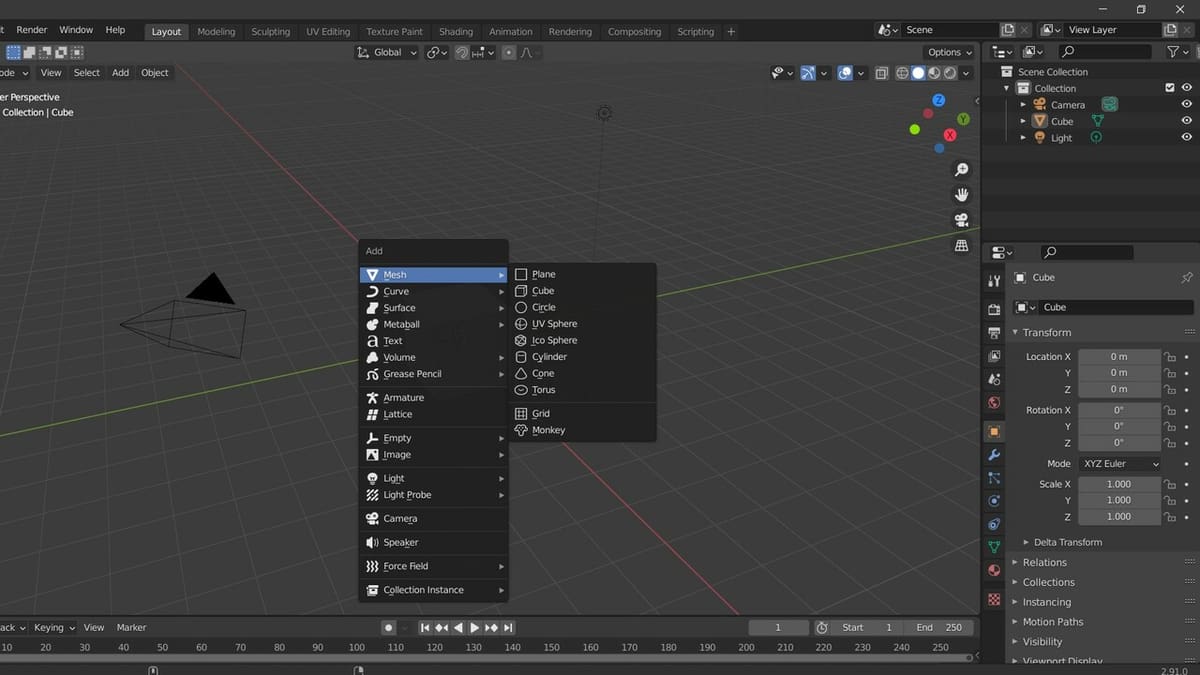
- Click “Shift+A” to open the “Add” menu.
- Select the object of your choice. The dimensions of the added object can be adjusted by changing the respective values in the “Object Properties” (in the “Properties” section). Along with that, the object can be selected by left-clicking on it, and the ‘A’ key selects all the objects present in the scene. The selected objects can also be moved by clicking the ‘G’ key and then dragging them.
Step 2: Physics Tab
The Physics tab in Blender is used to make and simulate realistic scenes that follow the real-life physics of matter. You can find it in the “Properties” section. After the objects to be fractured are added to the scene:
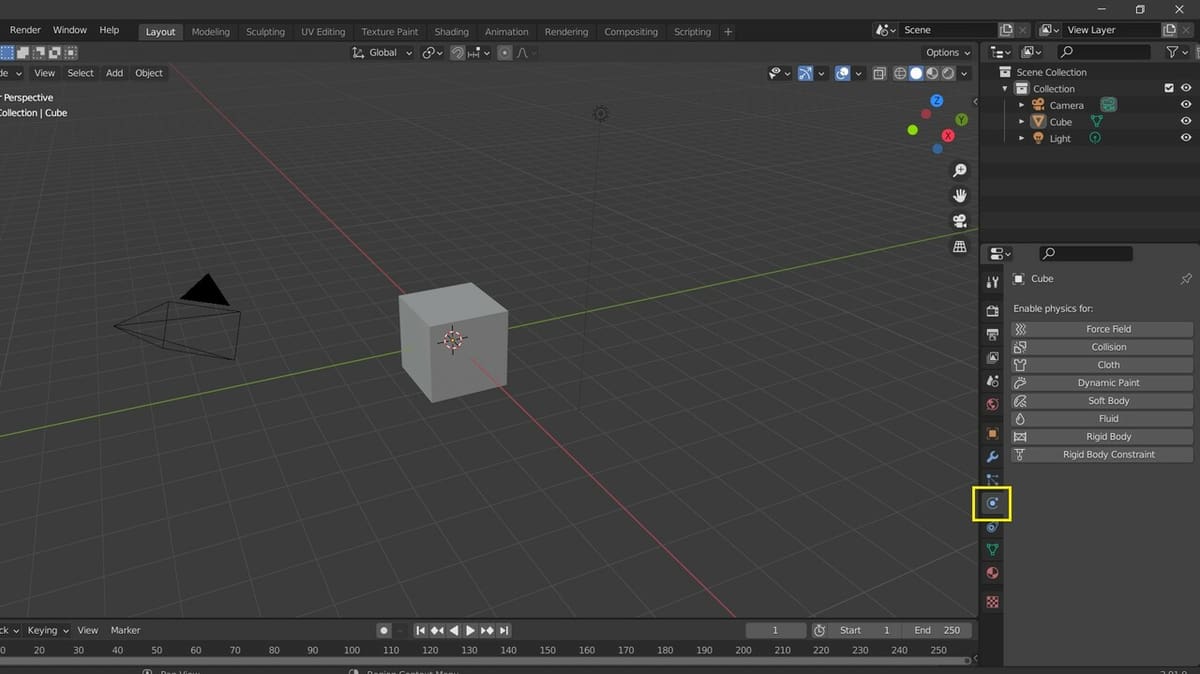
- Go to the Physics Properties tab in the “Properties” section.
- Click the second object (in this case, the plane), then expand the “Rigid Body” menu under Physics Properties.
- Select the second object (plane) and change the Rigid Body type from “Active” to “Passive”.
- Drag the object which is to be fractured (in this case, the default cube) to your desired starting location.
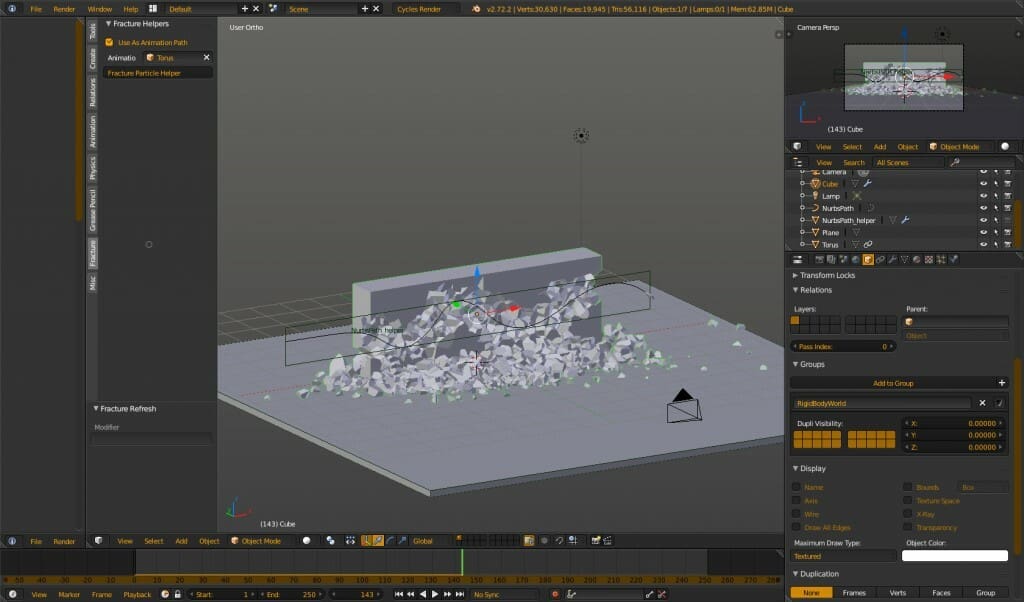
Following the above steps, expand the “Fracture” section under the Physics Properties tab, then set up the constraints to your to-be-fractured object.
Step 3: Execution
The final step after setting up the constraints is executing the modifier. Follow the below steps to do so:
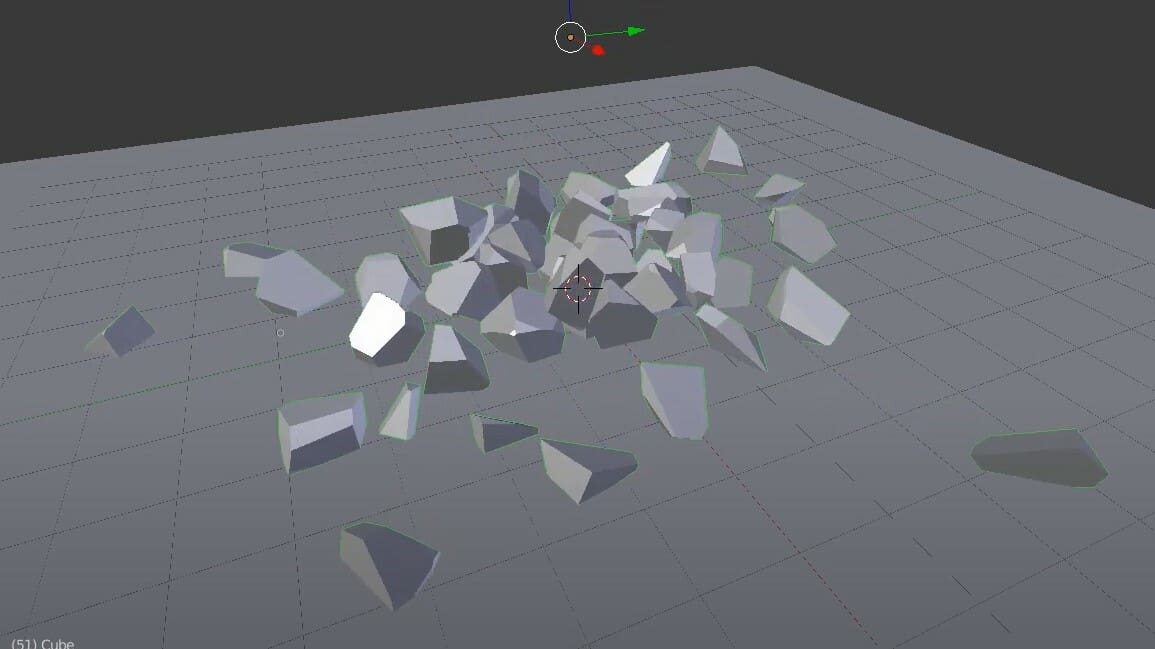
- Click on “Execute Fracture” below the modifier settings. The object to be fractured will be outlined in green.
- Move over to the “Timeline” present below the 3D Viewport and click the “Play” button.
You should now be able to see the object hitting the second object and fracturing in the scene. With that, we’ve successfully used the Fracture Modifier in Blender!
Resources
Since the Fracture Modifier is a development branch, not much information is available on the internet. However, you can find some helpful information in the sites listed below:
- GitHub provides the basic information along with a variety of downloadable links for add-ons and other features.
- Official Blender documentation has materials related to all the offered functions, along with a downloadable manual on the home page.
- The official developer’s website has bug fixes and other informative links.
- A number of YouTube channels have Blender tutorials like Blender Guru and CG Geek. You can also check out Blender’s official YouTube channel.
Happy destructing!
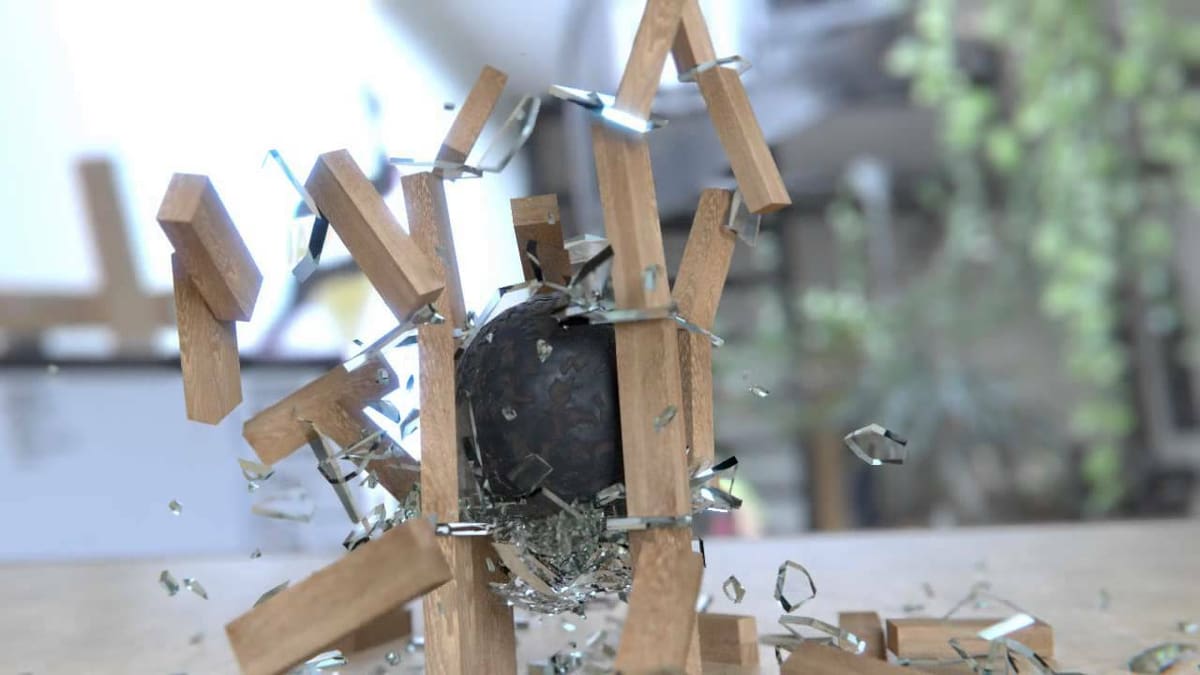
Lead image source: Ales via YouTube
License: The text of "Blender Fracture Modifier – Simply Explained" by All3DP is licensed under a Creative Commons Attribution 4.0 International License.