Blender: Render from Eevee – Simply Explained

Many of you might be familiar with Blender, but have you tried using its new renderer, Eevee? Read on to know what it is and how it works.
What Is Eevee?

If you’ve been using Blender, you might be familiar with the name “Cycles”. That’s the name for the ray-tracing renderer inside Blender, but upon release of version 2.8, a new real-time renderer was implemented called “Eevee”.
In case you don’t know what a renderer is, it’s basically software that helps the process of creating 3D scenes for an image or animation.
Eevee has its similarities and differences with Cycles, so we’ll try to cover the most notable ones here as well as give you some tips on how to use the renderer to your advantage.
Eevee vs. Cycles
Deciding whether you should use Cycles or Eevee depends on a few factors, so we’ll start by outlining the main differences between the two, and how you can benefit more from one or the other.
- Render time: One of Eevee’s most outstanding characteristics is its super-fast render time. It can be up to 12 times faster than Cycles using the same scene and hardware. That means you won’t need to wait as long for your scene renders to finish up.
- Quality: Due to a key difference between the two renderers, Eevee manages to render your scenes with good quality. That said, it’s not always better than Cycles, especially for photo-realistic renders.
- Ease of use: Both renderers are pretty close when it comes to user-friendliness. Finding one more intuitive or easier to use than the other greatly depends on your personal experiences with them. We find that most people remain comfortable using Cycles, as it was widely used before Eevee came out.
Eevee does bring some display and functionality changes that make tweaking render settings easier, which is great for newbies. But at the same time, it will also require extra work for things like shadowing, which are not rendered by default.
The main differences will show up on the “Render” menu, where you’ll find the settings for tweaking how your scene will be realized.
Which Renderer to Use
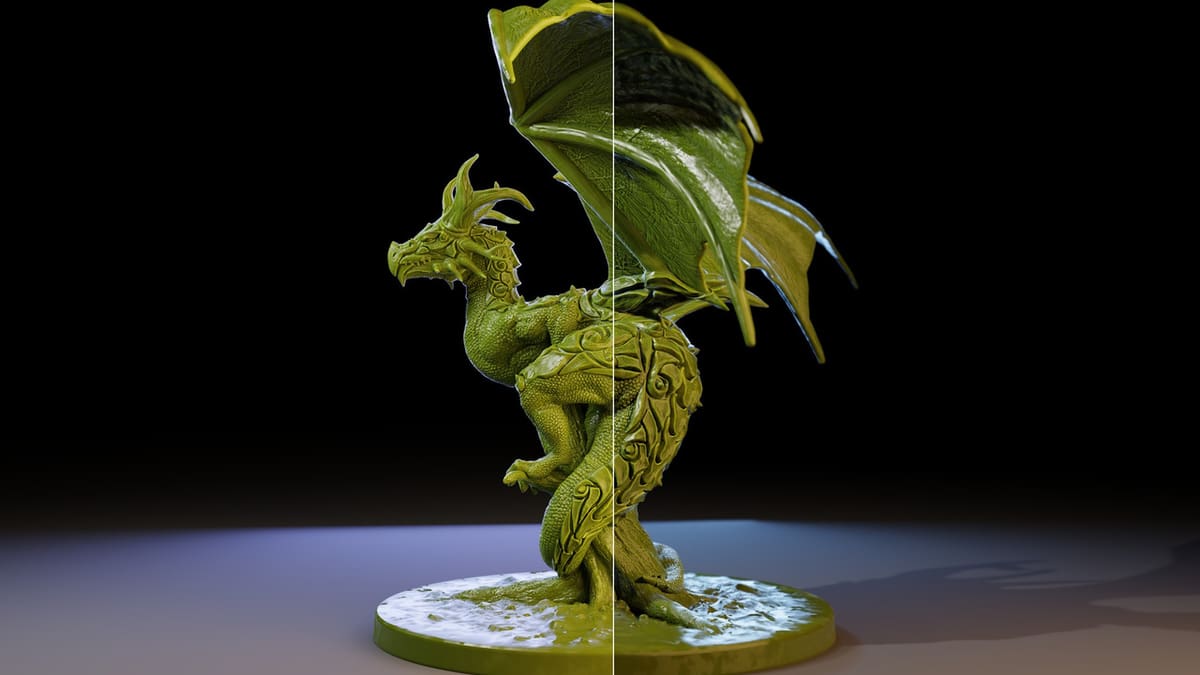
Let’s take a look at what kind of results you can expect from both Cycles and Eevee.
Cycles
If your projects usually involve realistic scenery, such as house interiors or beautiful landscapes, Cycles is the best way to go. Naturally, you’ll have to give up some render time compared to using Eevee.
Because Cycles is a ray-tracing renderer, renders will take longer to complete but have much more accuracy and realism. And as we briefly touched upon earlier, some material properties, such as shadows or translucency, can’t be rendered in Eevee without doing some complex tweaking in the nodes, as they’re not in the default settings.
Complex scenes with many objects using different materials like concrete or brick-walling, more detailed textures, multiple light sources, and complex backgrounds may benefit more from the accuracy and realism that Cycles provides.
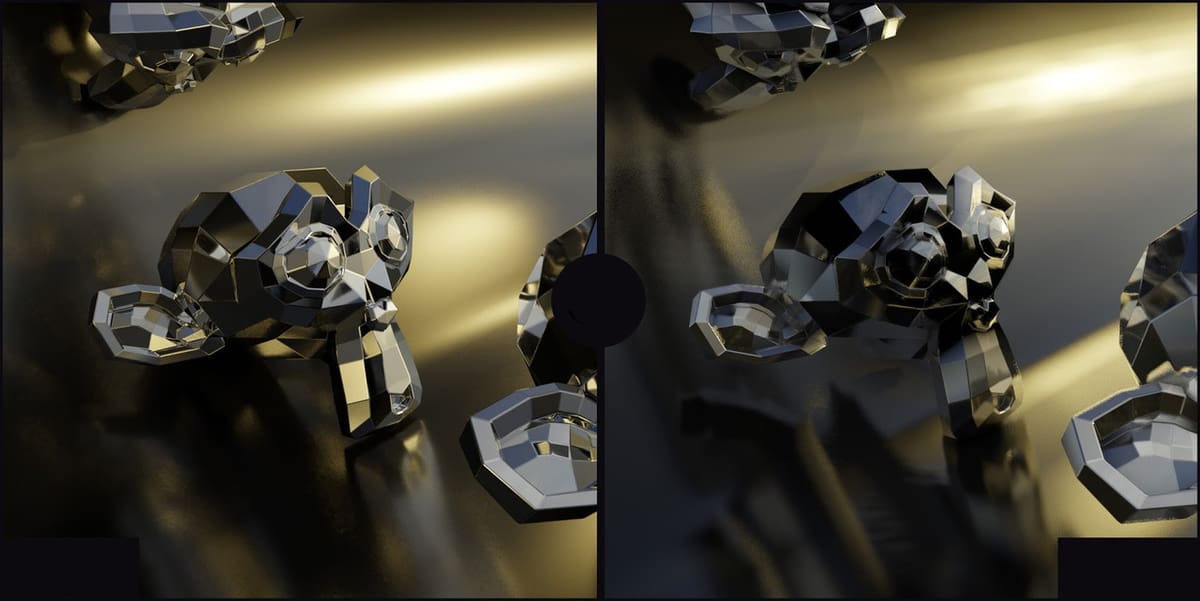
Eevee
Scenes with low-poly objects, usually containing “basic” items, can really benefit from Eevee. Low-poly scenes don’t tend to be photo-realistic, and Eevee is just as capable of rendering your scene as Cycles is, but much faster!
As a general rule, simple scenes without complex backgrounds and featuring objects like a colored cube or a longsword will be better suited with Eevee, which saves you render time.
How to Use Eevee
Eevee should be the default renderer with Blender 2.8. Working with it isn’t much different from working with Cycles – the menus are pretty straightforward.
That said, if you’re using a previously-made scene in Cycles, you may need to adjust some materials and the lighting so that they render properly in Eevee.
After you’re done with your scene, head to the Render tab and hit render!
If you’re lucky and everything goes well, you should get a good render from your scene, which is slightly different from that in Cycles. Bit by bit, you’ll also stop seeing orange boxes rendering in the image, which are caused by missed pixels.
For further tweaking on the render menu, you can find some settings on ambient occlusion, bloom, and depth of field. We don’t have time to go over each one of them here, but we recommend you start the renders by slowly tweaking one setting at a time. Then, play with multiple options until you get the render quality you’re looking for.
Why Use Eevee?
Hopefully, you’ve now got a better idea of the differences these two renderers provide. But here’s a quick recap of the pros and cons of Eevee:
Pros
- Render time is greatly reduced.
- Settings can be more intuitive to play with for beginners.
- It can give faster and similar results in some scenes compared to Cycles.
Cons
- It doesn’t provide the realism that Cycles does.
- Some scenes must be made and tweaked in Cycles before they can render properly.
- Some materials don’t work immediately.
- It’s not available on previous official versions of Blender.
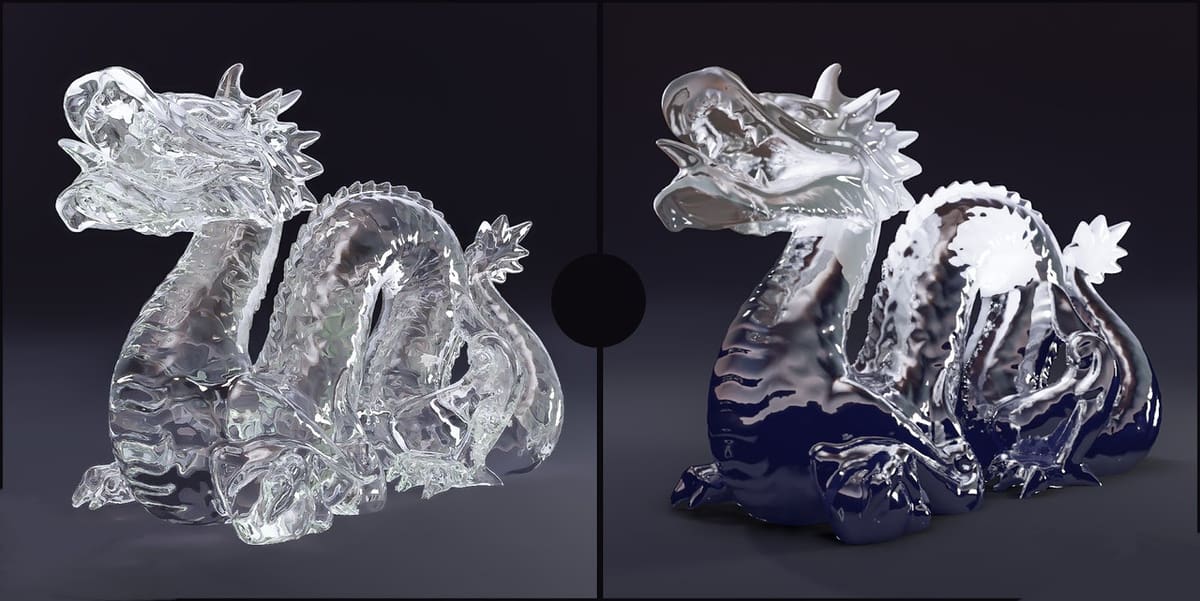
As a final reminder, most of the tricky things Cycles provides that seem like they can’t be accomplished in Eevee, such as complex light reflections, working with transparency, and shadows, can mostly still be achieved through a bit of node tinkering.
Tips for Using Eevee
We can’t finish without giving you a couple of tips for using Eevee, so here goes!
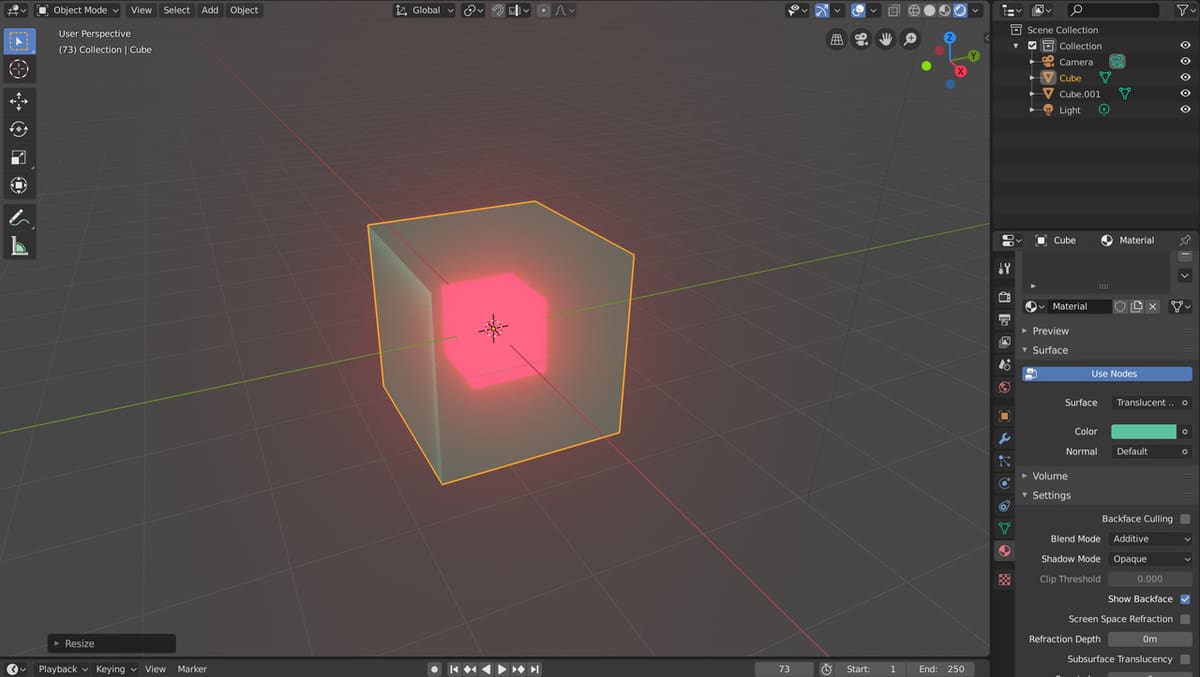
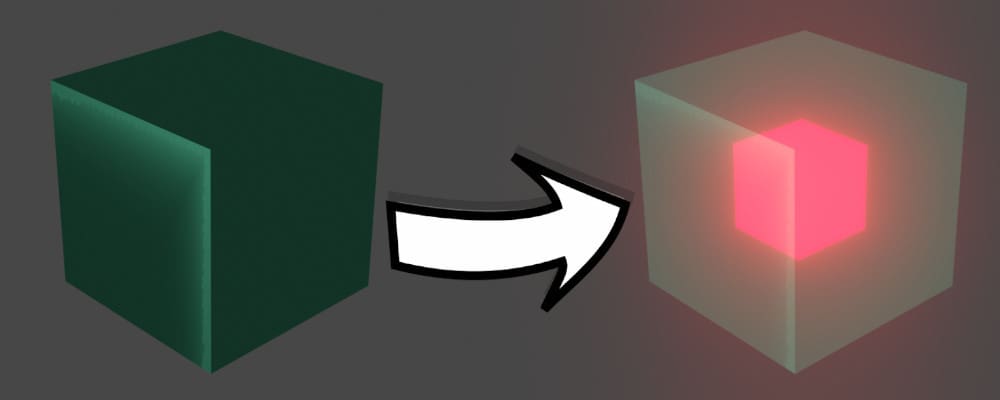
Probably one of the most common issues that we mentioned when first using Eevee is transparency. If you try to render an object with a transparent material, it will quite likely appear all black. Here’s how to fix this:
- Select the object.
- Go to the material tab.
- Click on “Blend mode”.
- Select “Additive”.
Another quick tip: If you’re working with a particle system to create objects, such as grass or hair, and you want them to have more detail, follow these simple steps:
- Go to the render menu.
- Click on “Hair”.
- Choose “Strip” where it says “Hair strand type”.
We don’t recommend using Eevee if you want to have more realistic-looking hair scenes or simulations, but it’s always good to know you can still get awesome renders even if realism isn’t your thing.
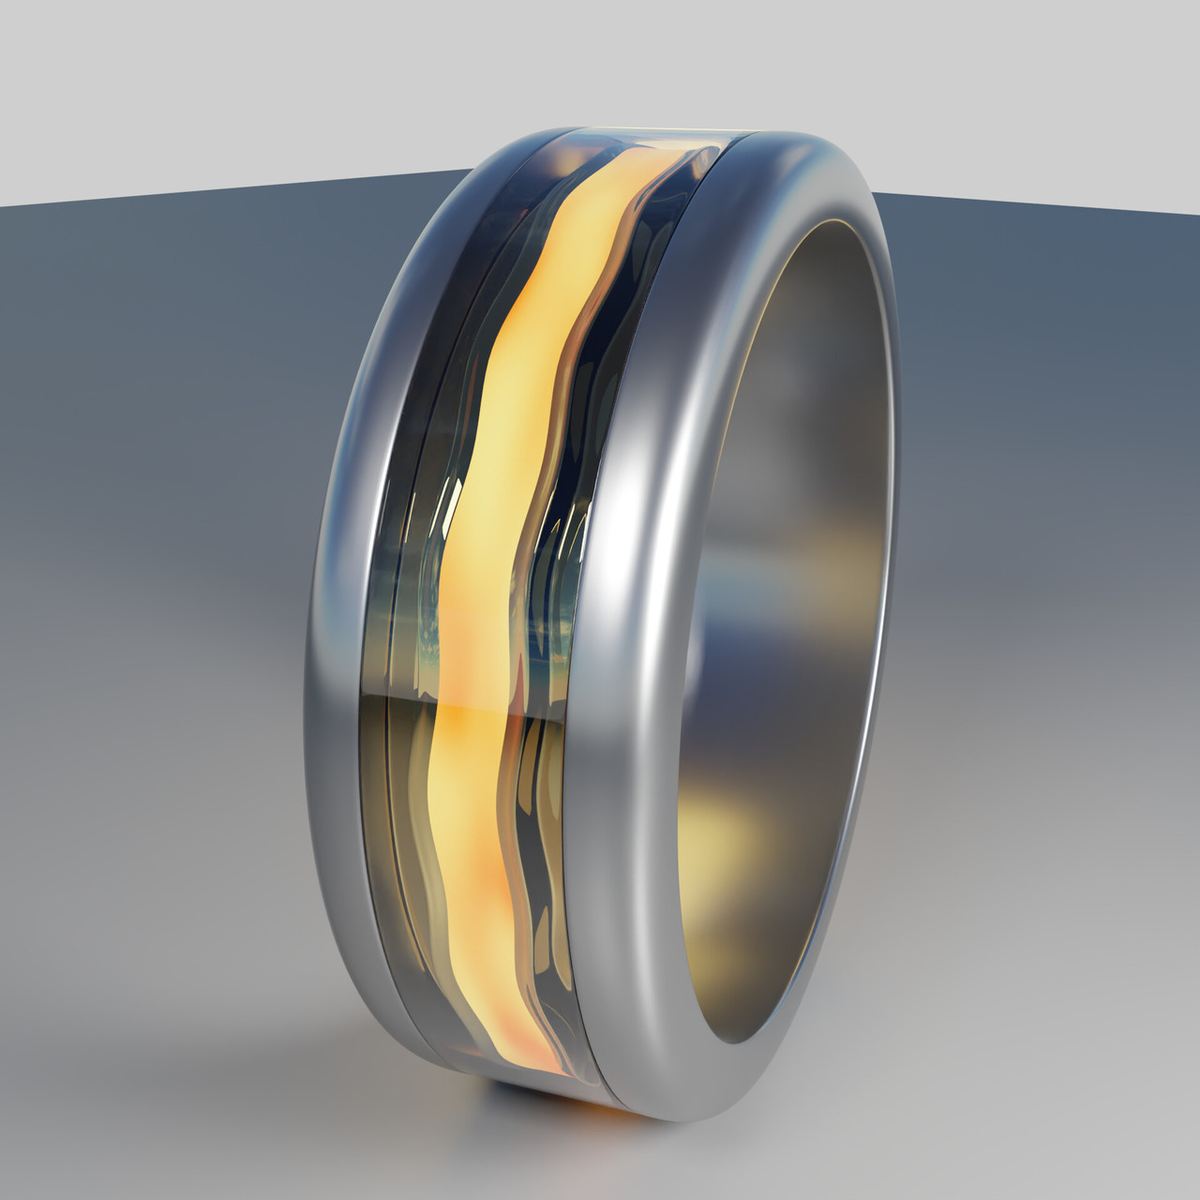
(Lead image source: Sorin Vinatoru via Blender.Community)
License: The text of "Blender: Render from Eevee – Simply Explained" by All3DP is licensed under a Creative Commons Attribution 4.0 International License.