Blender: Retopology – Simply Explained

Retopology is tool that allows you to simplify complex 3D models. Read on to find out new ways to enhance your Blender retopology workflow.
Doing It Again
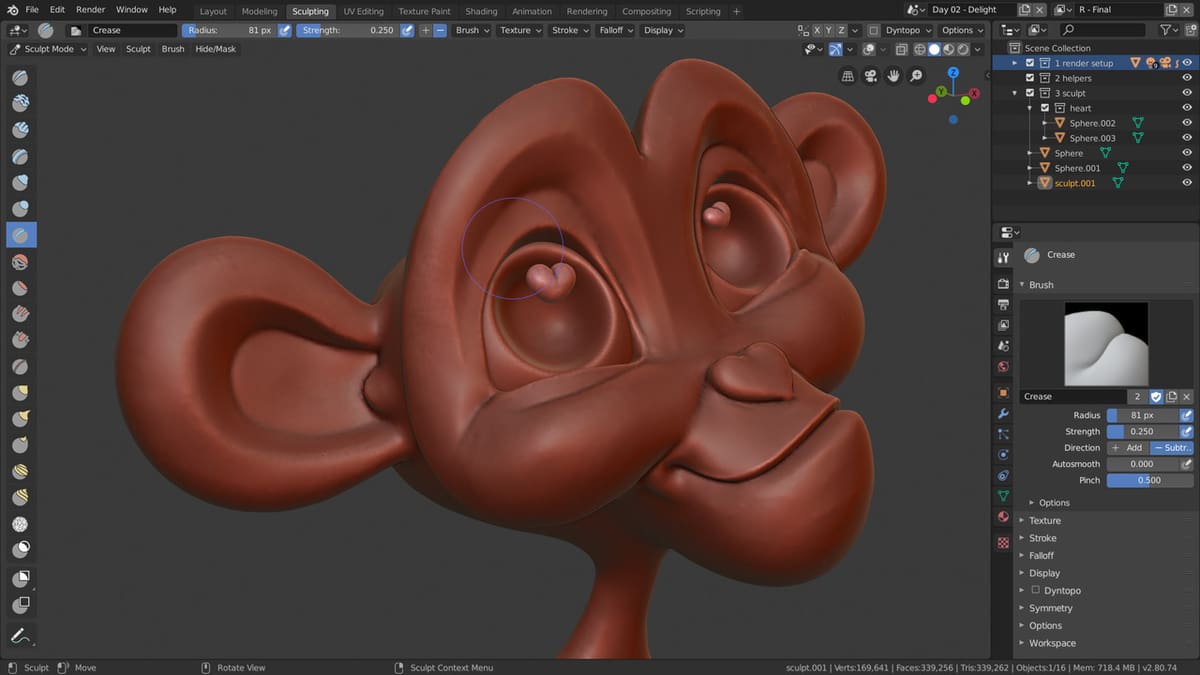
Blender is an open-source 3D modeling suite that can be used to create, texture, simulate, and render computer-generated objects. Available in different forms since the 1990s, Blender is a tool well utilized by the artist community to create 3D characters and models.
A common challenge many 3D modelers face with Blender is that in order to fully realize their artistic vision, they have to create highly complex shapes which are very time-consuming to render. While having a detailed and accurate model is critical for the final product, the added detail creates a lot of downstream problems such as slow rendering times and models being difficult to manipulate.
Retopology solves the aforementioned issues by simplifying a highly detailed model into a mesh. In Blender, the retopology process results in an underlying skeleton, also called a mesh, in order to speed up how you work with your model.
The goal of this article will be to review and go deeper into how retopology works, the different methods you can use to perform retopology, and how to use the Blender add-on “SpeedRetopo” in order to speed up your workflow. Lastly, we’ll provide some alternatives and places to go to get support. Let’s get started!

How Does It Work?
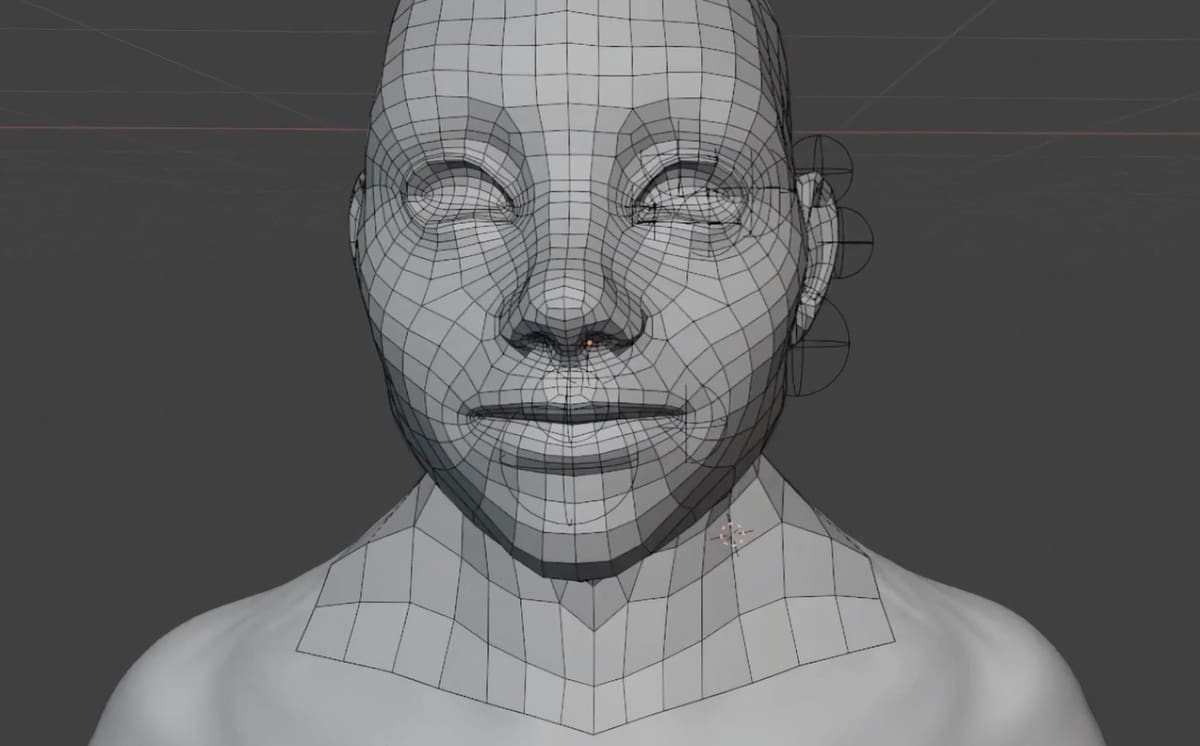
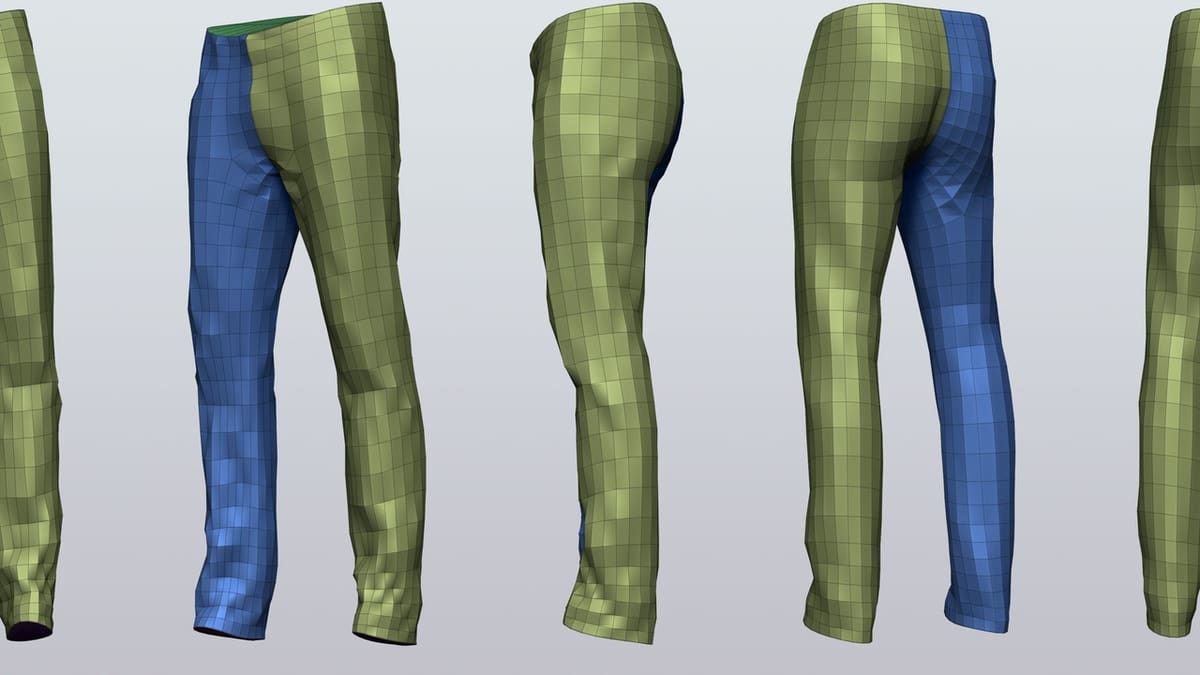
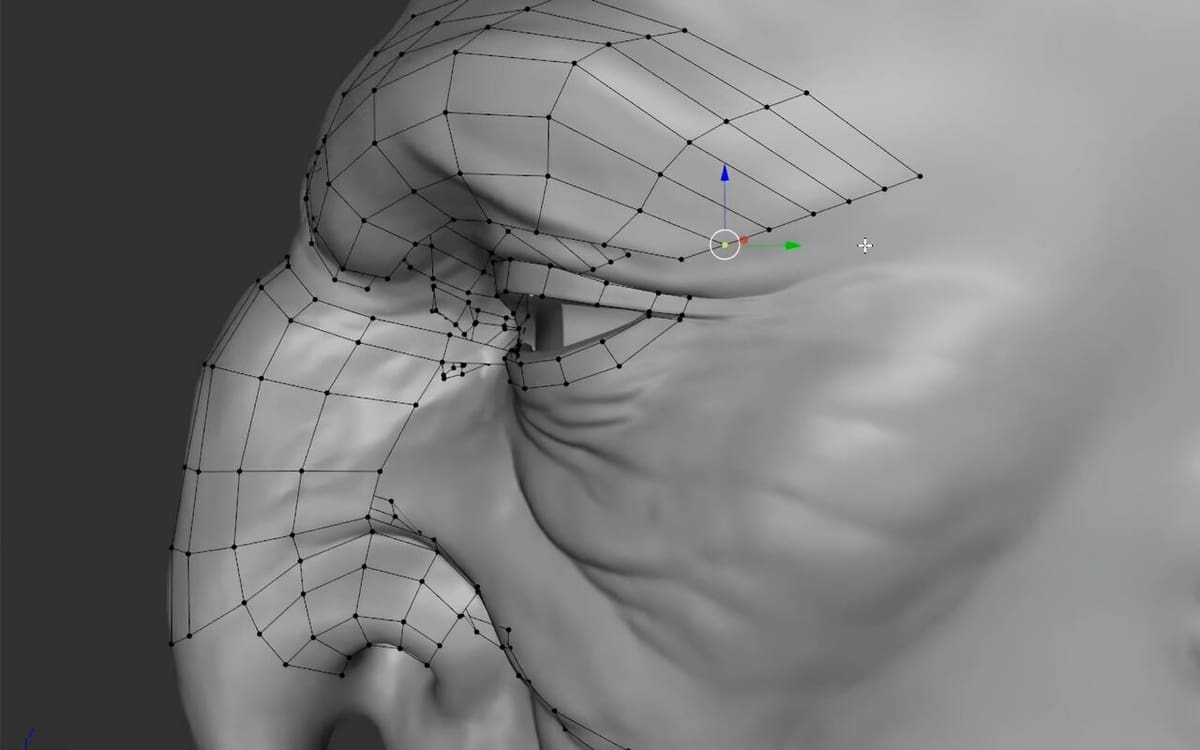
In its most basic form, retopology is the process of simplifying a complex 3D model into a low resolution, simplified mesh of polygons.
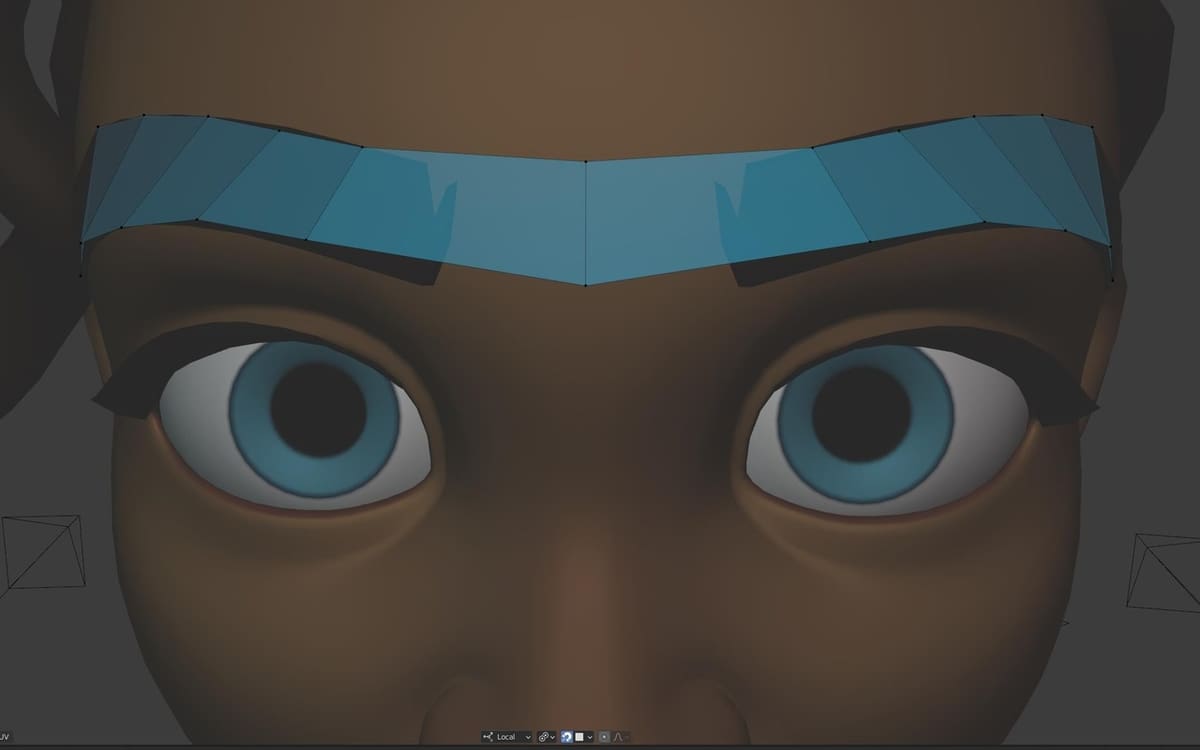
The simplest way of doing this is by manually drawing each individual polygon to create the underlying mesh of the 3D object. This underlying mesh is then integrated as a layer beneath the more complex model, allowing for 3D designers to manipulate their detailed model without having to painstakingly edit each polygon or wait a long time for the computer to finish rendering.
Methods
There are a number of different ways you can retopologize a 3D model that you’ve created.
As briefly mentioned earlier, the simplest way to do this is by using Blender’s “Contours” and “Poly Build” plug-ins to manually draw each polygon that makes up your underlying mesh. This general consensus is that while functional, the stock Blender process is time-consuming, which has resulted in a healthy market for third-party retopology add-ins. Here are a few quality offerings:
- SpeedRetopo: One of the more straightforward but functional add-ons that you can try. It’s a pay-what-you-can plug-in that expands on Blender’s built-in functions with the goal of speeding up your retopology workflow.
- Retopoflow 3: If you’re willing to invest a bit more money, Retopoflow 3 adds many additional functions in comparison to Blender and SpeedRetopo, as well as offering email support in case you have problems.
- Softwrap: Another paid plug-in worth trying is Softwrap, which approaches retopology from a different angle as it reutilizes topologies from similar-looking models. Then, it creates a flexible “softbody” simulation to adapt the old topology to your new model.
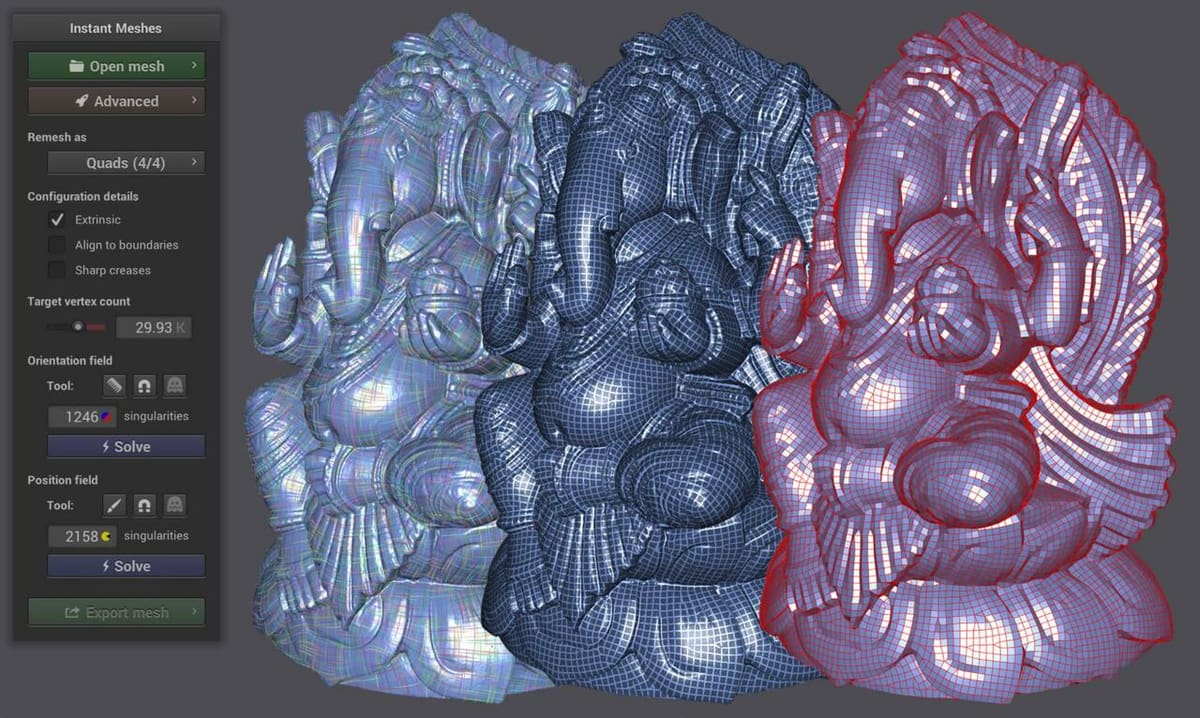
- Instant Meshes: Last, you can consider using the open-source Instant Meshes software from Wenzel Jakob on GitHub. The goal of this software is to fully automate the retopology process, simply by importing and processing your 3D model. Unfortunately, this may not be a panacea to the time-consuming nature of retopology, as some users have reported there being topology and clipping issues with the tool.
Example Method: SpeedRetopo
For the purpose of this article, we’ll be using SpeedRetopo, which offers a low barrier to entry. It’s a great tool to start learning the basics since you can pay what you want. In it, there are three different methods for you to experiment with.
- BSurfaces: The fastest and most convenient method is called “BSurfaces”, which allows you to draw natural lines that follow the contours of your model. The algorithm then subdivides the space between lines to create the required polygons.
- Vertex: This workflow allows you to manually specify vertices (corner points) of a polygon that you can build up until you’ve created a full skeleton.
- Poly Build: Building on top of Blender’s built-in “Poly Build” tool, it operates similarly to the “Vertex” method by allowing you to interactively draw your geometry.
SpeedRetopo Setup
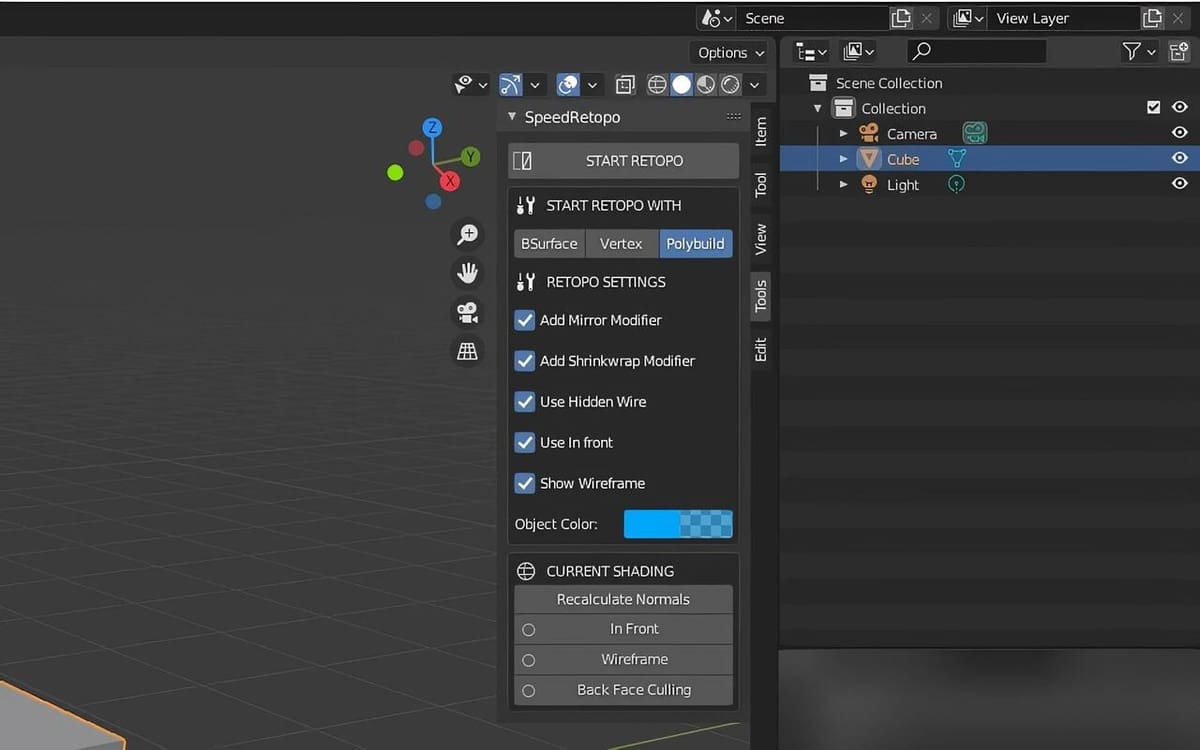
The process to install SpeedRetopo is fairly straightforward:
- Before starting, make sure you’re using an up-to-date version of Blender. (The SpeedRetopo plug-in only supports Blender version 2.79 to Blender 2.9.2.)
- Download the plug-in and extract it.
- Open Blender then navigate Edit > Preferences > Add-ons > Install.
- In the Install window, go to where you’ve uncompressed the SpeedRetopo plug-in from step two and then select the script. (Tip: Make sure to use the plug-in version number appropriate for your Blender install. For example, the file suffixed “_2_9” is for Blender 2.9.X.)
- Go back to the “Add-Ons” menu and verify that the “Bsurfaces GPL” add-on is enabled.
You should now see the SpeedRetopo plug-in in the Blender “Tools” menu at the top right-hand side of your screen. (You can use the ‘n’ key as a shortcut to see the “Tools” menu.)
SpeedRetopo's BSurfaces Tool
Using the BSurfaces function is where SpeedRetopo really helps speed up the process of creating your topology.
- Navigate to the “Tools” menu (shortcut ‘n’) and open the SpeedRetopo plug-in.
- Select the model you want to retopologize by either clicking on it or selecting it in the “Scene Collection” at the top right.
- Configure SpeedRetopo by selecting the “BSurface” option at the top of the menu and then uncheck the “Use Hidden Wire” option. (Hiding the wires makes it easier to see the fully detailed model so that you can draw lines and find points of reference.)
- Initiate the retopology process by selecting “START RETOPO” in the SpeedRetopo menu.
- You can now begin to draw parallel lines by using the Annotate tool by pressing and holding down the ‘d’ key while you move your cursor. Draw two lines at first, so that you can see how they’ll define where SpeedRetopo will automatically create new polygons.
- When you’re happy with the placement of your lines, click on the “Add BSurface” button in the SpeedRetopo tool menu.
- You’ll now see a grouping of new polygons created and a “BSurfaces add surface” menu pop up in the bottom left-hand side of your screen. This menu allows you to adjust the BSurface algorithm, including the density of the number of polygons drawn. Additionally, the “Cross” option adjusts the shapes across the X-axis and the “Follow” option changes the number of shapes on the Y-axis.
- Repeat steps five through seven until you’ve generated a mesh for your entire model.
Help & Support
There’s an abundance of resources when it comes to Blender and retopology. For Blender 101 tutorials, head to both YouTube and the Blender documentation. Alternatively, you can navigate to Blender Daily’s “Quick-Tips” playlist or this Blender for Dummies article to build on what you may already know.
If you’re running into issues with SpeedRetopo, you can try reaching out to their Discord group. Before you do so, first watch their video on reporting problems with the plug-in so that you capture the correct information.
Lead image source: TooTo3DScan
License: The text of "Blender: Retopology – Simply Explained" by All3DP is licensed under a Creative Commons Attribution 4.0 International License.