Blender to FBX: How to Export Objects in Blender as FBX

Blender supports various file formats, many with unique properties compared to STL and OBJ. Learn how to export your Blender files to FBX!
A Myriad of Formats
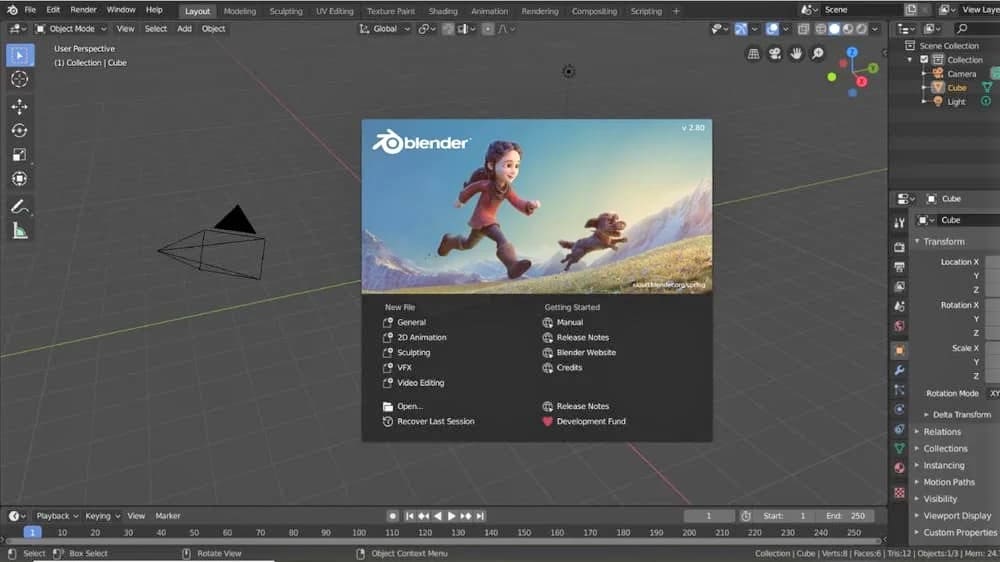
Blender is a popular open-source 3D graphics software that’s used by beginners and professionals alike. It comes packed with an arsenal of 3D design tools and also supports multiple universal formats (aside from its own “.blend” format), which enable the user to import from or export to different 3D design programs.
These formats differ in function and purpose. For instance, the STL format, which we often deal with in 3D printing, only carries the geometry of the object’s surface and indicates how the object looks and how big it is. Meanwhile, a format like OBJ carries UV mapping data in addition to the geometry and, thus, is more often used in graphic design.
The Filmbox (FBX) file format packs even more information. Aside from the aforementioned data, it carries almost everything related to the 3D scene, including cameras, lighting, joints, rigs, skinning, and textures. Using this format, you won’t need to do everything all over again after importing your model in another 3D modeling tool. All the necessary data will be imported alongside the model.
With an FBX, you can even import multiple scenes into a single Blender scene and work with them together.
Exporting as FBX
Exporting a 3D scene as an FBX is quite straightforward, but keep in mind that exporting differs from saving. Saving a file in Blender produces a Blender (.blend) file, which can only be viewed or modified in Blender. Exporting, on the other hand, produces files that are recognized by a plethora of other platforms.
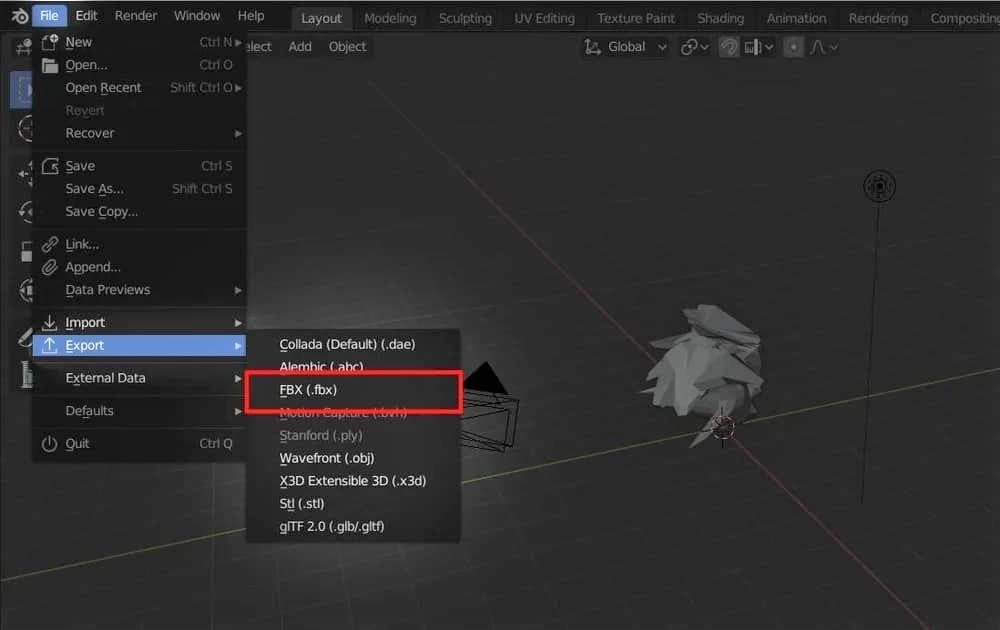
Here are the basic steps:
- Open the File menu from the top left.
- Hover over “Export”.
- Select “FBX (.fbx)”.
Export Specifics
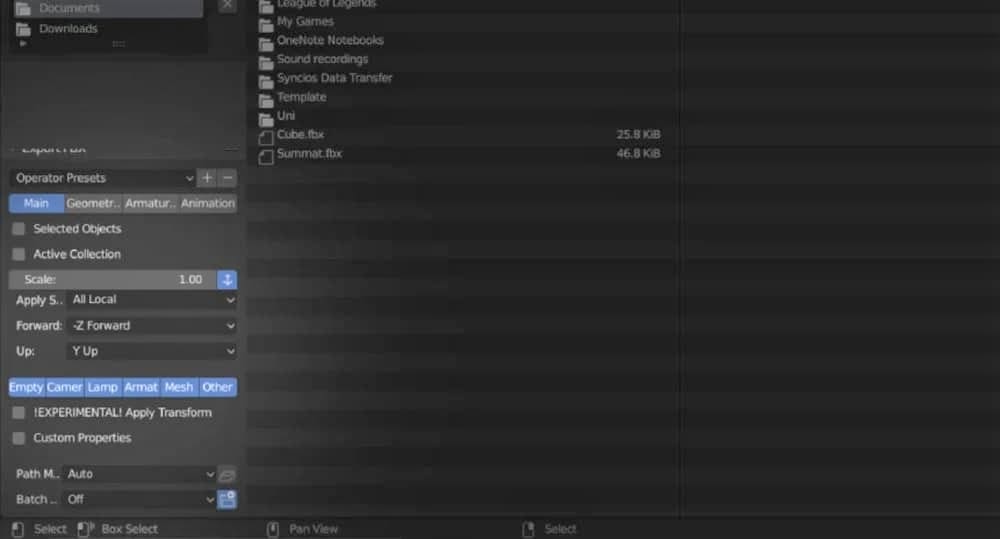
Once the export page pops up, you can change the settings and choose what and how you want to export:
- On the bottom left, under the “Main” tab, you can choose what you want exported. To highlight multiple items, hold down the Shift button on your keyboard and mark them one-by-one.
- If you want only certain objects to be exported, check “Selected Objects” and then select the objects you want from the scene prior to opening the export page.
- You can also grow or shrink the models to your preference using the scale bar. Drag it to the left or to the right or manually enter a value.
Once you’re done tweaking the settings, choose the export location, name your file, and finally hit “Export FBX” next to the address bar.
And that’s it! You now have your scene exported as an FBX file!
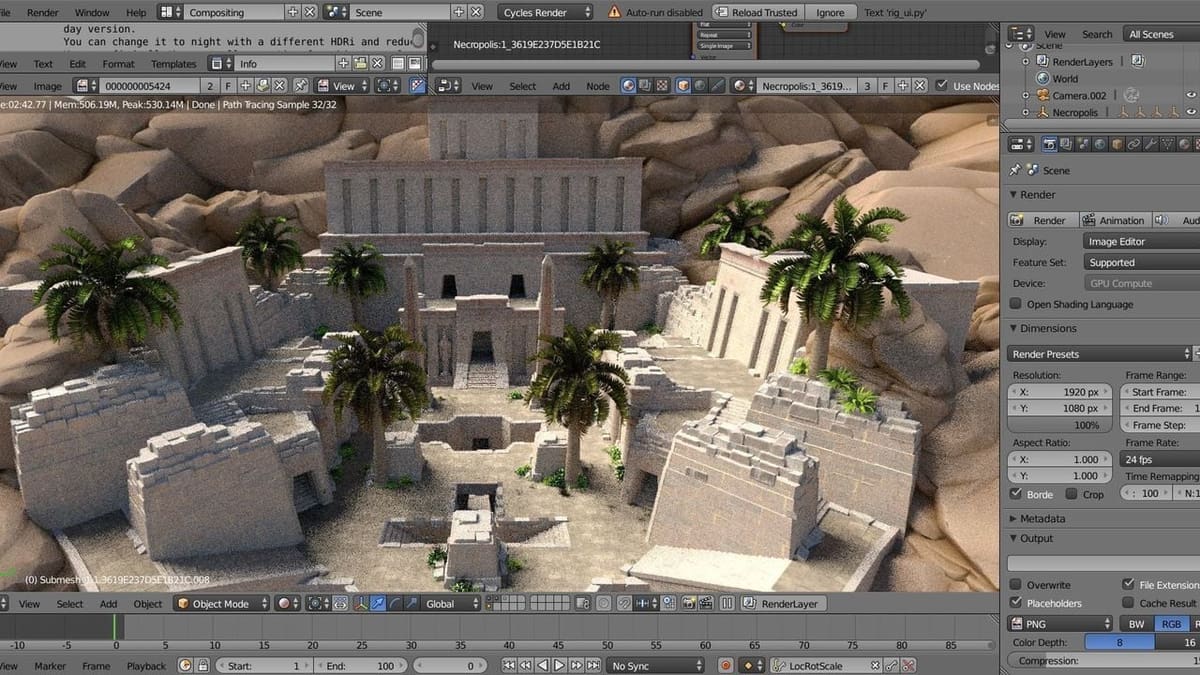
(Lead image source: CGTrader)