
Blender: Vertex Paint – Simply Explained

In Blender, Vertex Paint is similar to how you would paint on paper. Read on to learn more about what it is and how to do it!
The Pinnacle of Painting
Blender gives us a lot of ways to make our 3D models as attractive as possible. We can apply or paint textures to models, use UV mapping to map images or textures onto objects, and also add reference and background images, all of which can be very useful for things like character modeling and making renders prettier and more realistic.
Vertices, in general, mean the meeting point of two or more lines. So basically, the lines connected with vertices, and the faces connected by lines, form the structure of a 3D model and is referred to as the “mesh” of the model. Vertex Painting, then, is a method to directly color the vertices of a model.
As there are so many options for texturing 3D models in Blender, you may be wondering why use Vertex Paint at all. Well, it’s actually the preferred method because it gives us a way to quickly paint meshes by applying color directly to the vertices.
Also, manually coloring gives us a bit more control over the areas we want to paint. And finally, certain color effects, like gradients are best done with Vertex Painting. So, if we want a quick and efficient way to paint our objects, this tool is definitely the best choice!
In this article, we’ll go over how to use Vertex Paint as well as its various tools and functions. Before we jump into the nitty-gritty, let’s quickly review Blender’s user interface (UI) as it relates to this feature.

UI Overview
When you first open Blender, it displays the default Layout Workspace, which includes the following four editors:
- 3D Viewport: Shaded yellow in the above image, the 3D Viewport is the area where your 3D models are displayed and where you’ll do most of the painting. At the top of the 3D Viewport is the Header, which displays a number of menus and controls specific to the mode in which you’re working.
- Outliner: Shaded green in the above image, the Outliner editor displays the object names as a list.
- Properties: Shaded blue in the above image, Properties offers ways to edit the active objects in the scene. This is where you’ll be able to add layers, which we’ll discuss a little later.
- Timeline: Shaded red in the above image, the Timeline editor displays animation frames of the scene. Later, we’ll switch this to the Shader Editor.
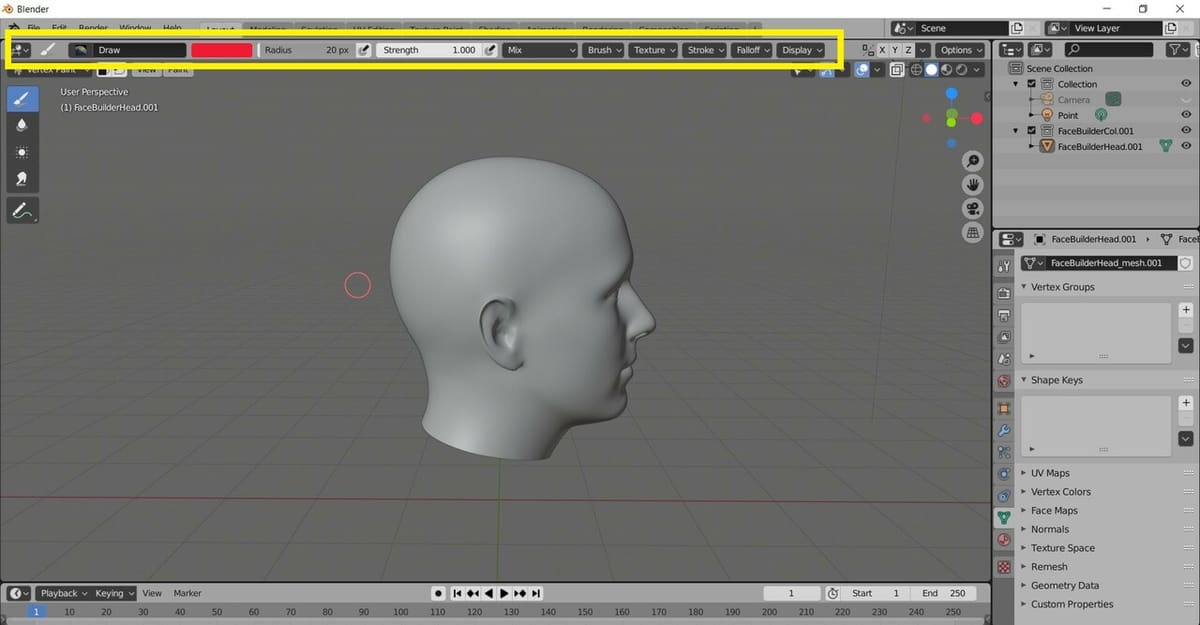
Vertex Paint is a specific mode in Blender, just like Object Mode, Edit Mode, and Sculpt Mode. To switch to Vertex Paint Mode, simply click on the drop-down list at the top left corner of the 3D Viewport and select “Vertex Paint” from the list.
Once in Vertex Paint Mode, you’ll have access to a sidebar as well as other menus and controls in the 3D Viewport Header that are all specific to Vertex Paint. Let’s take a closer look.
UI: Sidebar
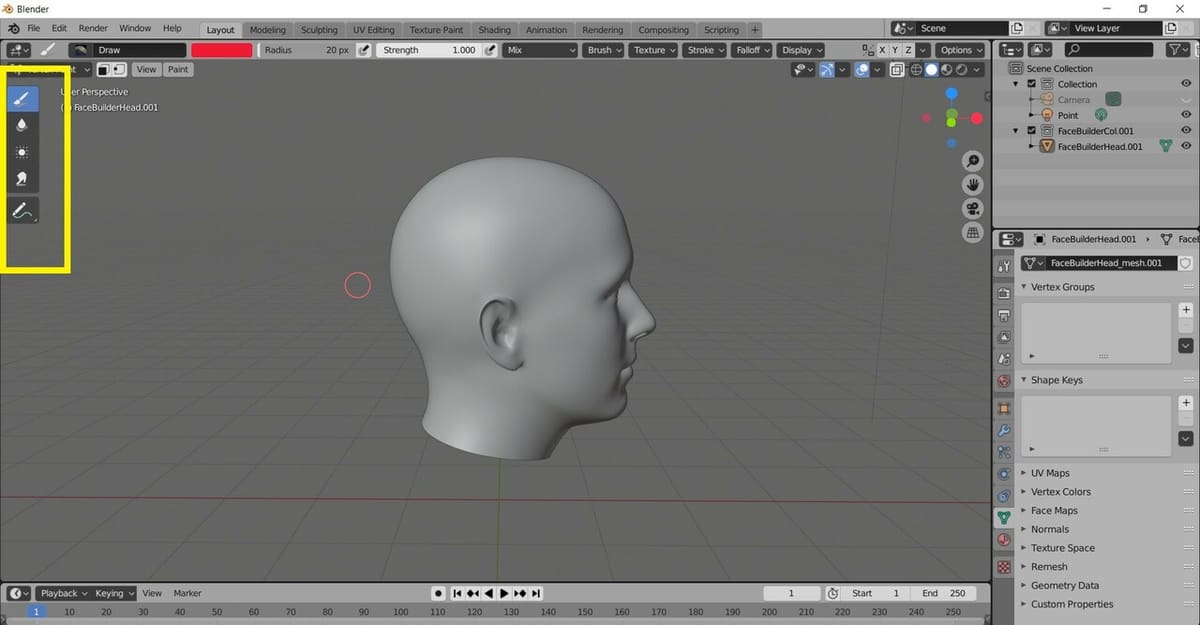
The Sidebar in Vertex Paint Mode provides a number of tools that help us paint on the meshes however we want:
- Draw: Chooses the color and draws over the objects
- Blur: Blurs a set of adjacent vertices by holding the left mouse button and dragging the mouse over them
- Average: Calculates the average color of all the colors and thus smoothes the overall color of the object
- Smear: Smudges the colors on the object by holding the left mouse button and dragging the mouse over the colors
- Annotate: This can be used to add notes and suggestions on the display screen
UI: Header
In the Vertex Paint Mode, the 3D Viewport Header displays various tool settings that impact how color is applied to the model:
- Color Picker: This is the color palette, which allows us to choose the color we want for the brush. We can either click on a predefined color or use the small dropper beside the palette to choose the color from anywhere on the display screen.
- Radius: This option allows us to choose the size of our brush. The size range varies from 1 px to 500 px. The small pen symbol beside the radius allows us to enable pressure sensitivity relative to the size of the brush, which is useful for people coloring on tablets.
- Strength: This option allows us to choose the power of the brush when the color is applied. The strength range varies from 0.000 to 1.000. This option also has a pen symbol beside it, which allows us to choose the pressure sensitivity relative to the strength of the brush.
- Blend: The drop-down list just right of Strength gives us a variety of Blend Modes that can be used for painting. Blend Modes basically determine how color values will be applied to the object. For instance, the “Darken” Blend Mode blends the colors in a way that makes the initial layer appear darker.
- Brush: This option allows us to choose and create the brush type we want to use.
- Texture: This option allows us to choose the texture we want to use and is recognized as a color source in Vertex Paint.
- Stroke: Stroke defines the way the brush strokes are applied to the object.
- Falloff: This option displays a brush curve. Changing the shape of this curve determines how hard or soft the brush will be.
Now, let’s see how to use Vertex Painting in Blender!
Step 1: Choose the Color

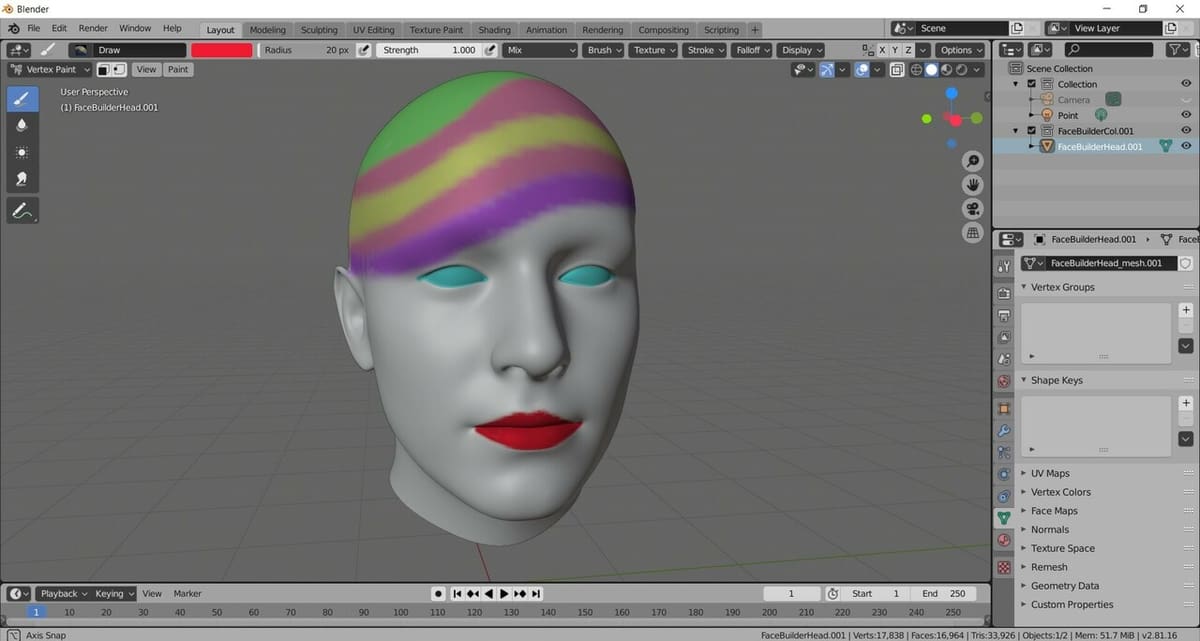
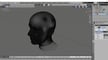
We’ll demonstrate some features of Vertex Painting on a model of a human head, which was obtained through FaceBuilder. Before we dive into the first step, we need to make sure that we’re in the right mode.
To switch over, simply choose “Vertex Paint” from the drop-down list in the top left corner of your Blender screen.
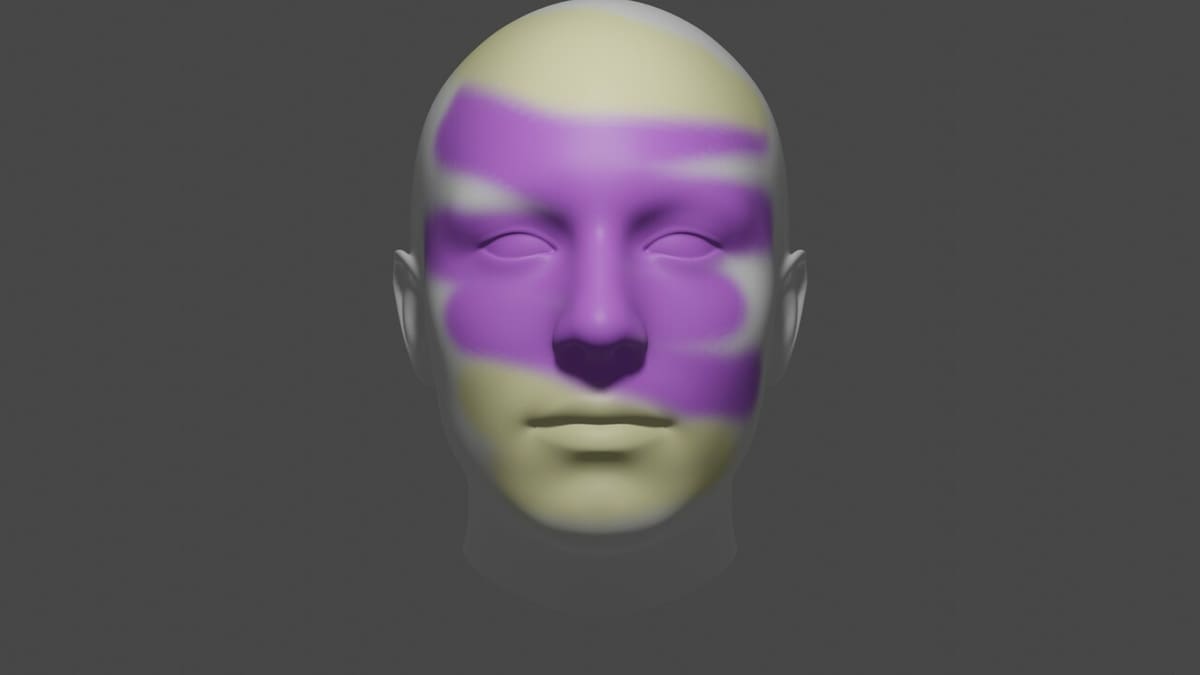
Next, we’ll have to choose the color we want to use:
- Click on the “Color” option in the Header.
- Choose a predefined color or use the Dropper just beside the color palette to choose any color on the Blender screen.
- Get creative and paint your model!
Step 2: Layers
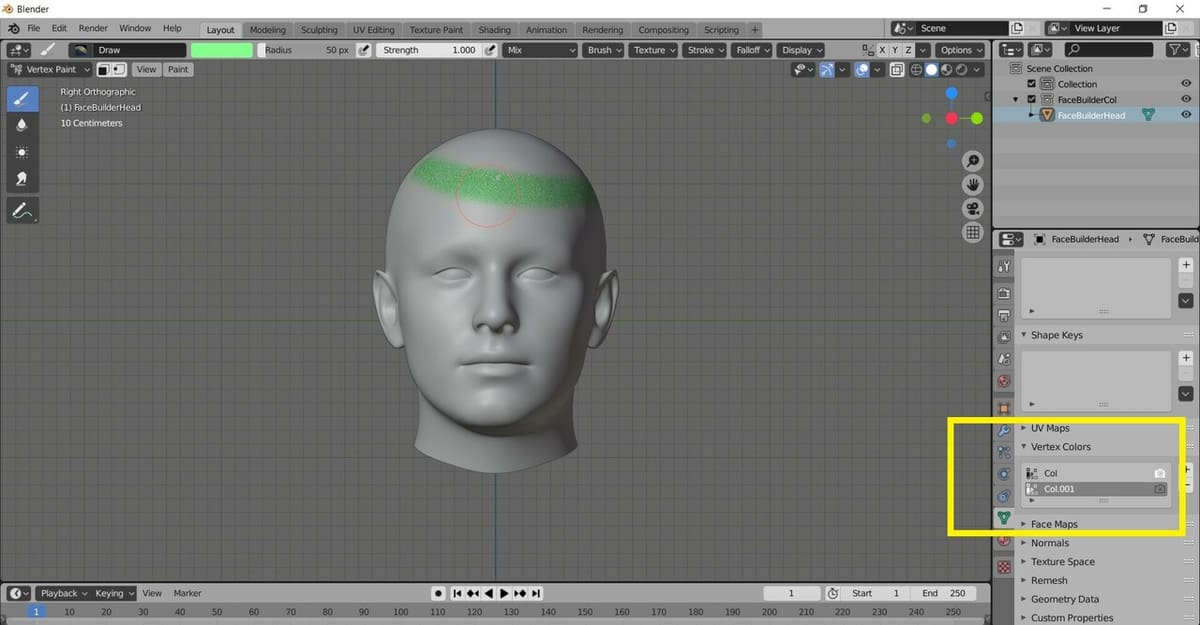
Layers are displayed under “Vertex Colors” in the “Object Data” tab of the Properties editor (on the right-hand side of the display screen). It can be useful to add various layers, enabling you to edit a layer without disturbing the rest. Here’s how to do it:
- Click the “Object Data” tab on the Properties Editor on the right side of the display screen.
- Expand the “Vertex Colors” section. All the layers will be displayed here.
- More layers can be added by clicking on the small ‘+’ icon on the right side of the Vertex Colors list.
Separating layers makes it easier to segregate and edit the colors. For example, if we want to paint the face and then paint the eyes with a different color without affecting the previously painted face, we can just create one layer for the face and one more layer for the eyes.
Step 3: Rendering
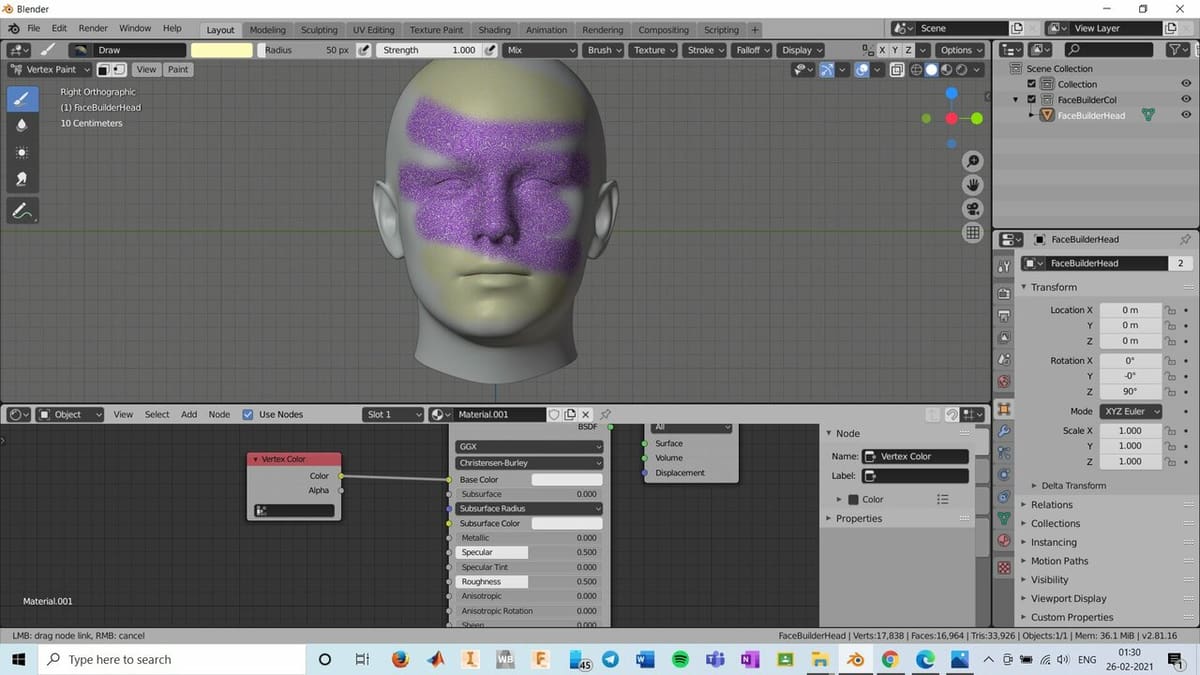
If we continue to paint on our model in the 3D Viewport, the colors will only be visible while we are painting them but won’t be visible in the final render of the model. Hence, we need to render the Vertex Paint, which can be done by following the below steps:
- Change the Viewport to “Viewport Shading” from the top right corner of the display screen.
- Switch the Timeline Editor to the Shader Editor by clicking the small clock-face icon in the lower-left corner of the display screen and selecting “Shader Editor” from the drop-down menu.
- Click on “New” at the top of the Shader Editor, and tick the “Use Nodes” box in the Shader Editor’s Header if it’s not already ticked.
- Press “Shift + A” in the Shader editor, then search for “Vertex Color” in the “Input” section and click on it.
- Connect the “Color” node of the Vertex Color to the “Base Color” node of the Principled BSDF shader, or whatever shader you’re using.
Before rendering, make sure to add a camera to the scene as well as a light source for better lighting in the final render. It’s relatively simple to add a camera and a light:
- Switch to Object Mode by choosing “Object Mode” in the drop-down list at the top left corner of the display screen.
- Press “Shift+ A” to bring up the Add menu.
- Click on “Camera” and “Light”.
- Once you’ve set up the camera and lighting as you’d like, complete the process by selecting “Image” from the Render menu on the Topbar (at the very top of the program’s UI).
We’ve now successfully used Vertex Painting in Blender 2.9!
Tips for Beginners
Now that we’ve got Vertex Paint under our collective belt, here are some helpful tips for beginners.
Prerequisites
Always check for double vertices and recalculate normals beforehand! These issues will not only create problems with Vertex Paint but also for a majority of stuff on Blender, including 3D printing.
Subdivision Surface Modifier
This modifier is used to split the faces of the model into smaller faces, which smoothens the model out. It can be used to give a more complex and realistic look to an object. This modifier can be applied to a model by doing the following:
- Click the “Modifier” tab in the Properties Editor.
- Click on “Add Modifier”.
- Select “Subdivision Surface” from the displayed list.
It should be noted that Vertex Color doesn’t work well with triangular planes if the subdivision surface modifier is used on the model. Also, if you’re a beginner, Vertex Paint will be easier to use with fewer polygons on the model.
Joining Objects
If objects are joined after Vertex Painting, the colors of both the objects are maintained, so there’s no need to color them all over again. Here’s how to join two or more objects:
- Switch to Object Mode by selecting “Object Mode” from the drop-down list present in the top left corner of 3D Viewport, or by simply hitting Tab on your keyboard.
- Select the objects to be joined by holding the Shift button down on the keyboard and clicking on the objects to be selected.
- After selecting the required objects, press “Ctrl + J”.
Now, the selected objects are joined.
Lead image source: jason via CGMeetup
License: The text of "Blender: Vertex Paint – Simply Explained" by All3DP is licensed under a Creative Commons Attribution 4.0 International License.