BuildTak FlexPlate Review – Is It Worth It?

Ever wish you could bend your build plate to get those difficult prints off of the surface without damaging them? Well, BuildTak has a solution for you, but is it really worth the price tag? Let's find out!
What Is the BuildTak FlexPlate?
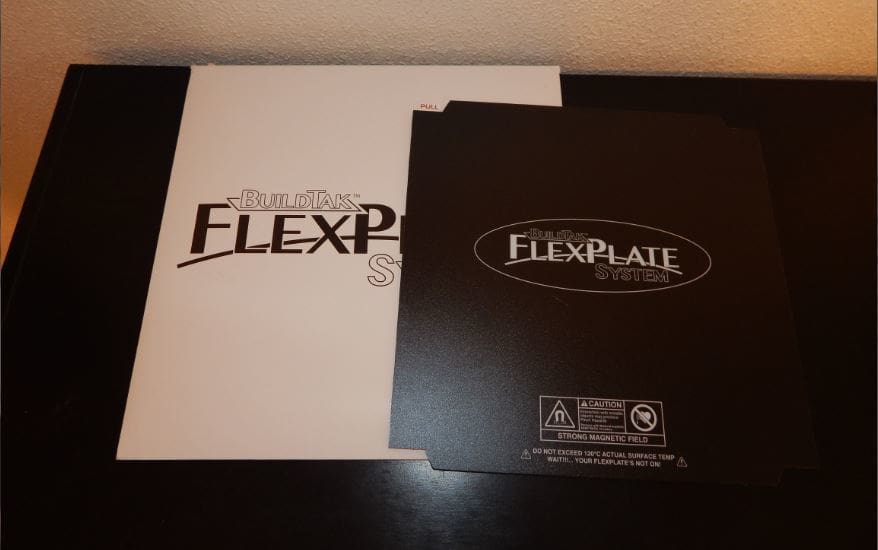
An innovative new build plate system, the BuildTak FlexPlate is intended to be used alongside a typical adhesive bed sticker. The advertised purpose is to make the removal of prints as easy as possible, without extra tools.
The FlexPlate is essentially a large piece of spring steel, held down by super-powerful rare earth magnets. The magnetic base is attached to the build plate with a permanent, heat-resistant adhesive, and the spring steel sheet is held to the assembly by the magnets.
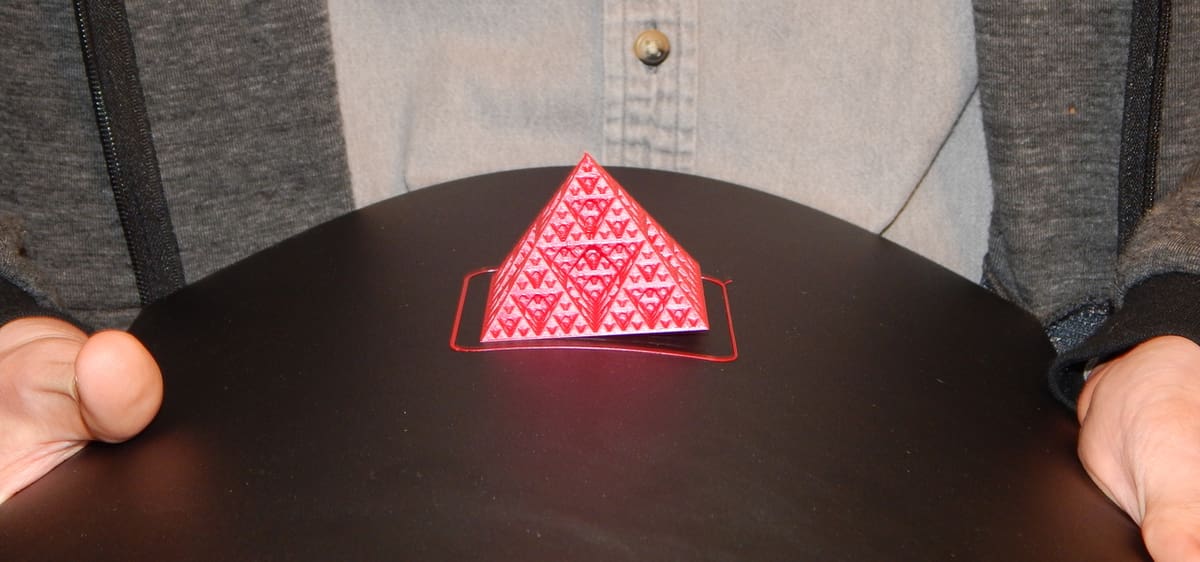
The ideal use case for the FlexPlate is printing with very large bases, where you don’t have to worry about removing them from the bed. Yet, another useful scenario we found is batch printing, as removing multiple objects without damaging them can be difficult on traditional beds.
The spring steel sheet is intended to be used with a BuildTak surface or a PEI sheet for print adhesion, but you could alternatively use painter’s tape or Kapton depending on your preferences. The sheet can bend, allowing parts to be popped off the bed without using a scraper, which could damage BuildTak or PEI surfaces.
Pros & Cons
Pros:
- High quality
- Versatile
- Works very well
- Easy to use
Cons:
- A bit pricey
- Requires more frequent leveling
- Installation can be tricky
- Should be installed on a perfectly flat build plate
The Verdict
Overall, we like the BuildTak FlexPlate system, but it is a little pricey and does require more maintenance than a glass sheet. Issues aside, it carries out its advertised purpose very well — removing prints from the build surface is indeed easy.
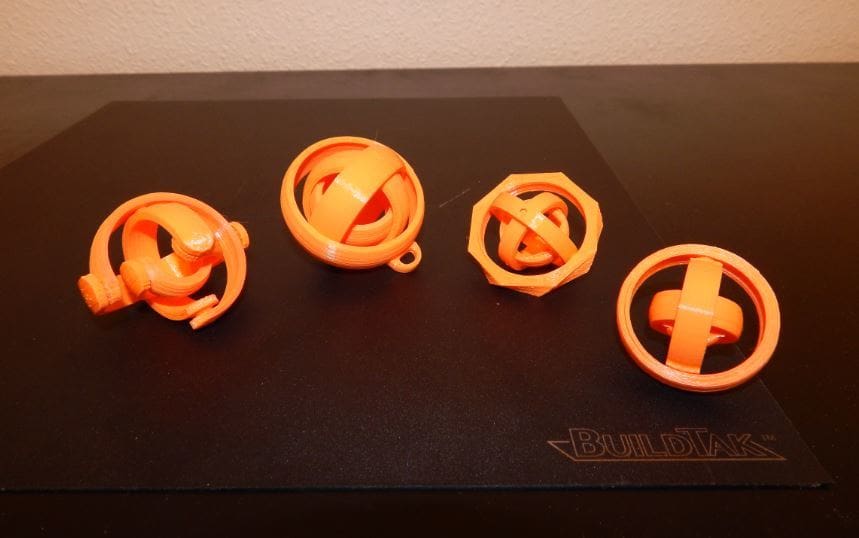
The FlexPlate performed admirably over a range of prints, with varying complexities of base layers. Almost everything came off of the bed with no problems and had a flawless bottom layer.
Perhaps the biggest problem we had was while printing with supports. In our experience, we found that the bottom supports didn’t come off of the bed with the rest of the part and had to be removed via a scraper. However, we consider this to be a minor issue, having more to do with the bed adhesion than the FlexPlate system.
In fact, the majority of our complaints actually have more to do with the BuildTak surface than the FlexPlate itself. Comprised of a high quality, bendy piece of steel and some fancy magnets, there’s actually not much that can go wrong with the FlexPlate system.
That said, the FlexPlate does have one limitation: It must be installed on a flat build plate for optimal results. On a printer with mesh bed leveling, this isn’t a problem. For us, this meant installing the FlexPlate on a sheet of glass and then clipping that to our heated bed. This is mostly an issue with larger printers, where build plate warping is more common. Overall, this takes away from the ease of removing the steel sheet but does not adversely affect any of the other features of the FlexPlate.
Leveling is one of the keys to 3D printing in general, and from our experience, the frequent removal of the FlexPlate meant we needed to slightly tweak the leveling every few prints. But again, this isn’t really an issue coming from the FlexPlate as much as it is the BuildTak surface on top of it.
Because of the structure of the BuildTak surface, finding the so-called “sweet spot” while leveling is crucial to the lifespan of the adhesive. With any other adhesive method, some variation in the leveling won’t adversely affect the print, simply because the surface is expendable. With BuildTak, this isn’t true, as having a print too closely means it could be well nigh impossible to remove it from the bed, and you could also cause irreversible damage the adhesive surface.
As far as build plates go, the FlexPlate performs admirably, provided you are okay with spending a little money and fiddling around to find (and keep) the perfectly leveled “sweet spot”.
How Does the FlexPlate Work?
The BuildTak FlexPlate system itself is a very simple mechanism. Consisting of a piece of spring steel (the FlexPlate) and an adhesive pad with a grid of rare earth magnets, the plate has two overall functions.
The first function is to stick to the heated bed. This is achieved first by the permanent high-temp adhesive on the bottom of the magnetic sheet, which is applied directly to the heater plate (or glass, depending on how you install it). The FlexPlate is then held to the bed by the powerful magnetic field.
The second function is to allow finished parts to be easily removed from the build surface, whether that’s the official BuildTak sheet included in the kit or simply strips of blue painter’s tape. This is a two-step process. First, the FlexPlate can be essentially “peeled” off of the magnetic base, allowing the user more freedom to pry at the part (if needed). Next, the FlexPlate can be easily contorted – hence the name “FlexPlate” – to pop the print off of the build surface.
In addition to these features, there are a couple of details that seem to make the FlexPlate system special, and we think these may partially account for the cost of the system. These have to do with the high-quality magnets in the base: They seem to be particularly arranged and have a patterning in the material around them, which we think helps heat spread evenly through the plate while keeping the spring steel firmly attached to the base.
Which Versions of the FlexPlate are Available?
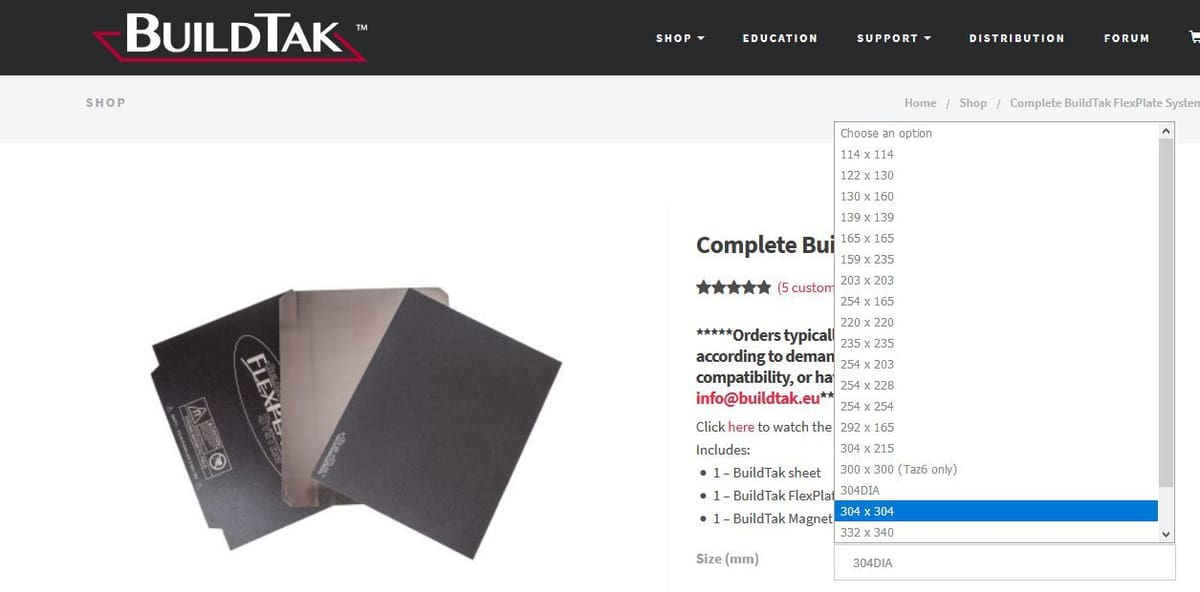
The BuildTak FlexPlate is available in most common bed sizes, as well as a 304-mm circular size for some delta printers. There is very little variation in the product other than size.
How to Install the FlexPlate
The BuildTak FlexPlate is relatively simple to install, especially with the provided instructions.
First, you should choose whether to install the FlexPlate directly onto the heated bed or onto a sheet of glass. As we mentioned earlier, glass is the better choice for larger printers where the bed is prone to warping. Note that, once installed, the FlexPlate is permanent and won’t come off (at least not easily).
Next, clear your chosen surface of any debris, adhesives, and stickers and wipe it down with rubbing alcohol to ensure that it is clean.
Peel the backing off of the magnetic sheet, and carefully line it up with your surface. Press down firmly, starting at one edge and working to the other to make sure there are no bubbles and the adhesive is well-seated.
After that, take the warning sticker off of the spring steel sheet. Install your printing surface of choice (for example BuildTak, PEI, or painter’s tape) and carefully place the FlexPlate on the magnets.
If using glass, clip this to your heated build plate. If not, you can move straight into the last step.
Finally, the only thing left to do is level your print bed! If using BuildTak for your build surface, as we did, this can be a bit trickier than using blue tape, because the surface is more sensitive to how close the first layer is.
Ta-da! All done! You can now print whatever you want without having to worry (too much) about adhesion problems or removing objects from the print bed!
FlexPlate Alternatives
Probably the biggest downsides of the BuildTak FlexPlate system is its cost, especially for larger bed sizes. For professionals and hobbyists with larger budgets, this isn’t a problem, but for anyone looking to avoid breaking the bank, a cheaper alternative could be preferable.
One of the closest alternatives to the FlexPlate System is the Easy-Peelzy, a very similar platform. It lacks the spring steel plate, replacing it instead with a bendy magnetic sheet, making it a bit more foolproof. The bendy sheet also doubles as a printing surface, negating the need for BuildTak or painter’s tape.
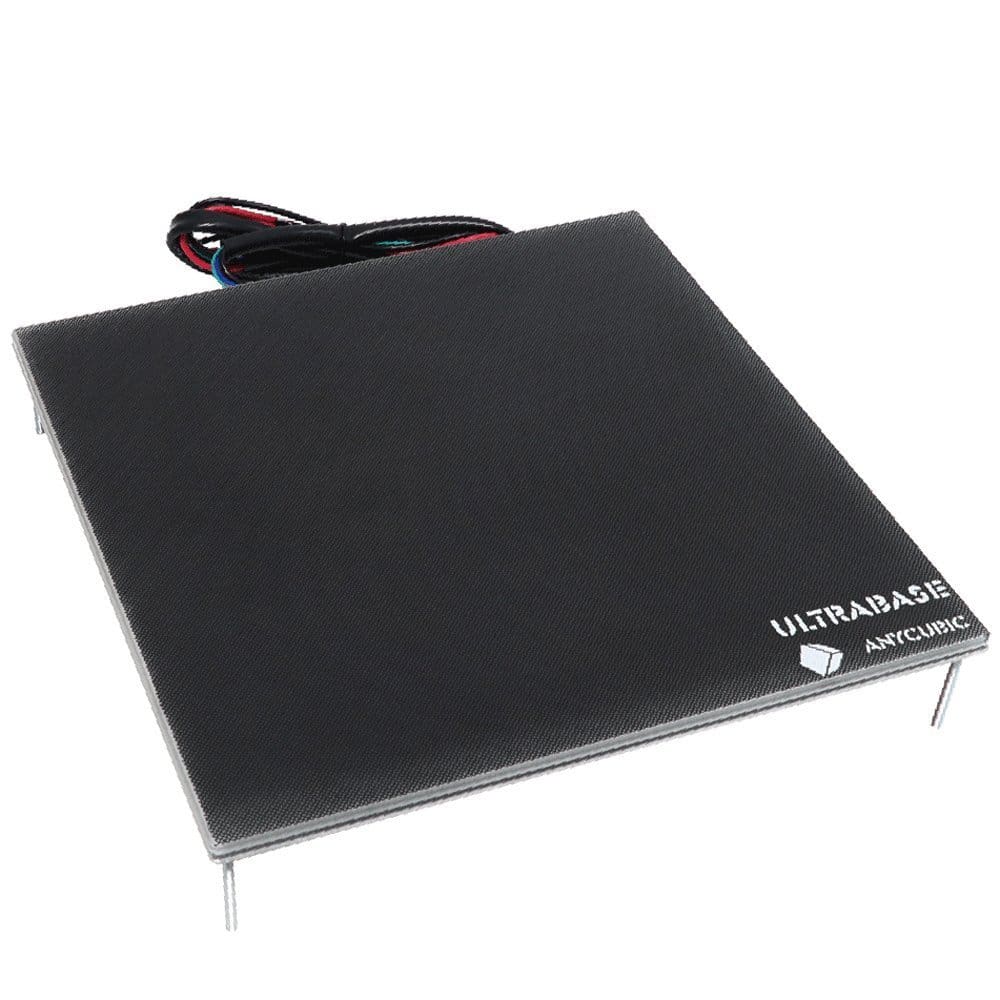
Another alternative to a FlexPlate would be the Anycubic Ultrabase, which allows for the easy removal of prints after they cool. The advantage of the Ultrabase is that it’s already flat, so installation is easy, and similarly to the Easy-Peelzy, you don’t need any additional adhesive print surfaces.
CERTAIN CONTENT THAT APPEARS ON THIS SITE COMES FROM AMAZON. THIS CONTENT IS PROVIDED ‘AS IS’ AND IS SUBJECT TO CHANGE OR REMOVAL AT ANY TIME.