Cheap 3D Print Bed Adhesion Stickers – Are They Any Good?

Getting your prints to stick to your build plate is one of the most important aspects of FDM 3D printing. We decided to test some cheap 3D print bed adhesion stickers that we found online to see if they're worth using.
In the past we’ve investigated many options for 3D print bed adhesion, trying all sorts of different methods. They include blue painter’s tape, hairspray and glue stick. Up until now, our preferred method was to use hairspray on a heated glass bed. Recently we came across these cheap bed stickers browsing 3D printer parts on AliExpress.
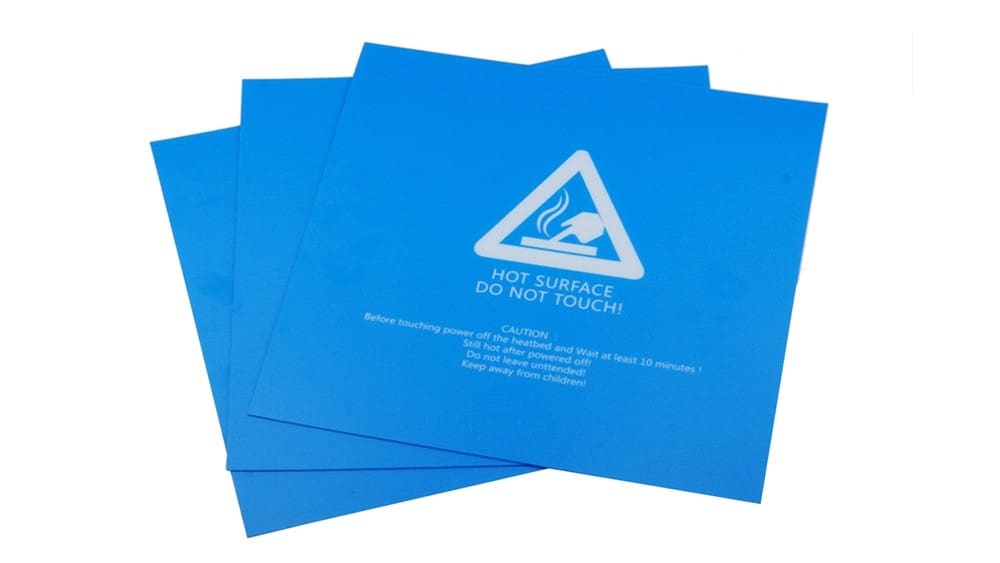
Advertised as “Frosted Heat Bed Sticker” and priced around $5, we decided to purchase one and test it out.
We tested the sticker on our TronXY P802e, printing in PLA, and on our CR-10 with flexible filament to see just how good (or bad!) it was.
Testing Them Out!
The sticker arrived a couple of weeks after we placed the order and we were eager to get it installed and start printing. We removed the film from the sheet to expose the double-sided adhesive. We were careful while securing it to the print bed, ensuring we didn’t have any air bubbles. After releveling the bed, we were good to go!
Compared to methods such as glue stick and hairspray, which are much messier and a pain to clean, installing the stickers was a much easier method to ensure a decent print bed adhesion. We even rate it above using blue painter’s tape as the stickers are much more durable. That means you won’t have to replace your build surface every couple of prints.
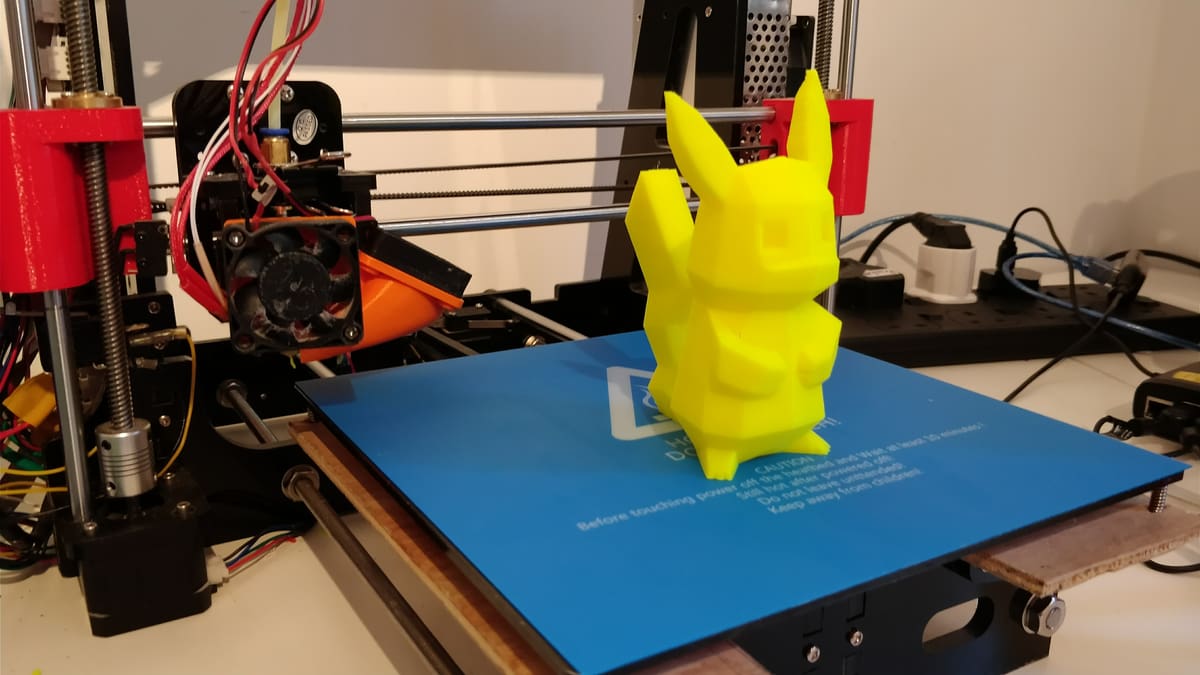
The model we decided to test on our TronXY was FLOWALISTIK’s Low-Poly Pikachu and we were blown away with how well the sticker worked!
On the CR-10, we printed a simple cube as we were still getting to grips with our flexible filament. Once again, the 3D print bed adhesion sticker did a brilliant job ensuring the print didn’t move.
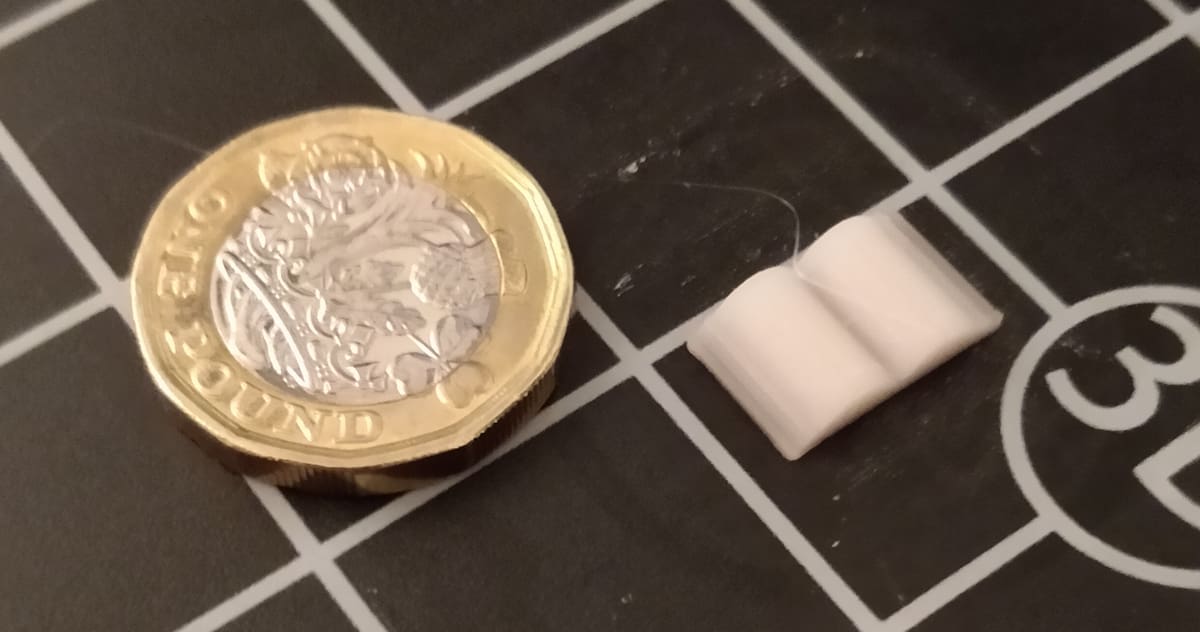
We also tested a super tiny model of an Open Book on our CR-10 to see if the stickers kept their grip on smaller prints. We scaled it down so that the spine was 9mm, to be used for example as a replacement board game piece. Once again, we had no issues with 3D print bed adhesion thanks to our sticker!
Removal of both models was fairly easy too. Once the bed had cooled, the print took next to no encouragement from our print removal tool.
The Downsides
We really struggled to find something negative about this sticker due to how well it worked and how little we paid. However we did realize one thing after using the sticker several times. After many prints, the sticker will slowly deteriorate in quality, which means it will need to be replaced.
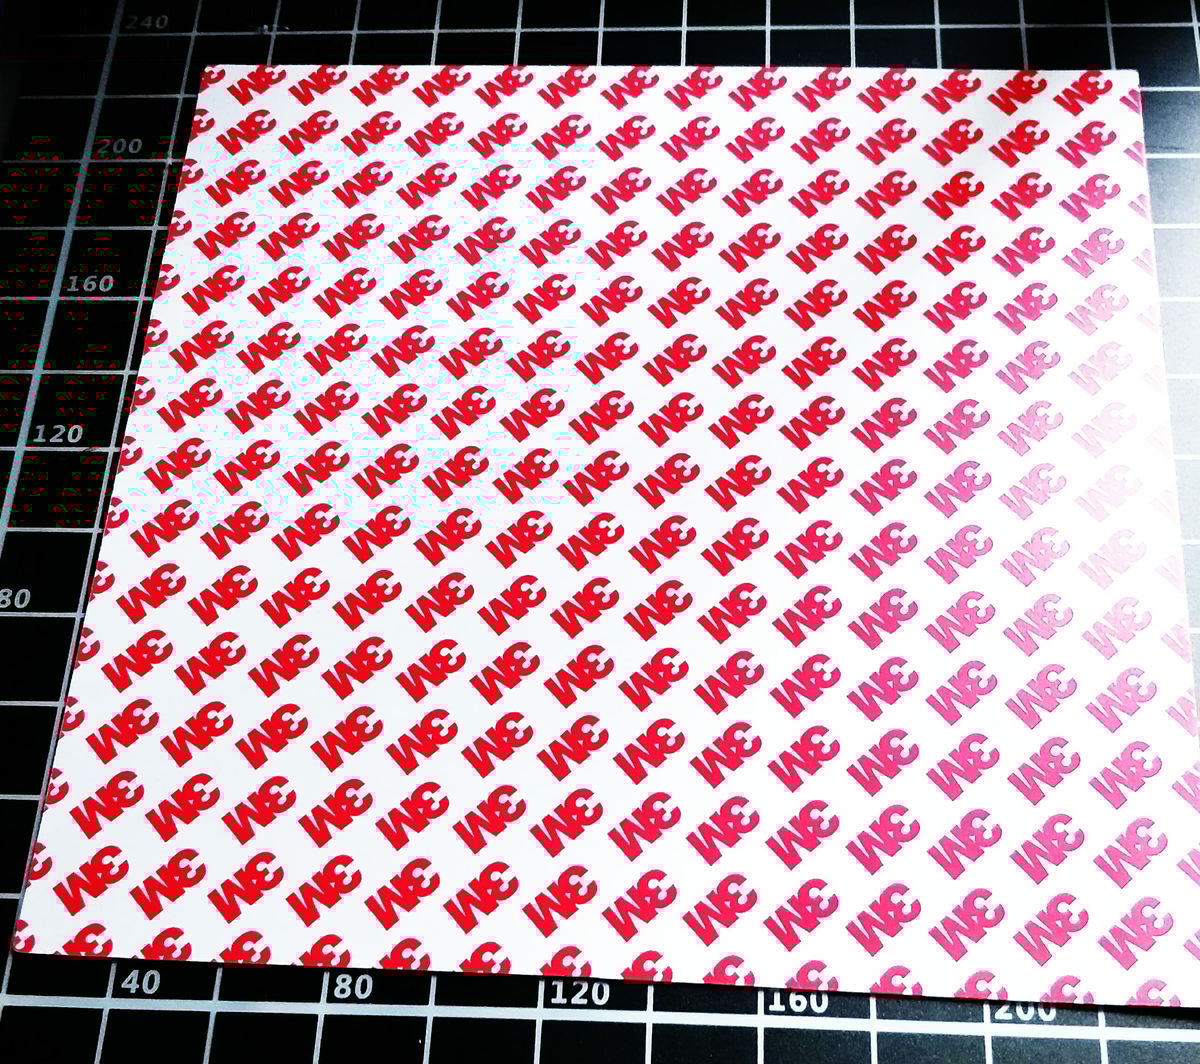
Another thing to take note of is that the adhesive on the back of the sticker is 3M branded. 3M make some of the best adhesives, so we can see it being a challenge to remove the sticker and clean the bed when it comes time for a replacement.
Final Thoughts
We would definitely recommend trying one of these frosted bed stickers for yourself, considering how cheap they are and how well they perform! They’re certainly much cleaner and easier to maintain than glue stick or hair spray for your 3D print bed adhesion!
License: The text of "Cheap 3D Print Bed Adhesion Stickers – Are They Any Good?" by All3DP is licensed under a Creative Commons Attribution 4.0 International License.