Climb vs Conventional Milling: The Differences

Climb milling and conventional milling are two ways to machine a part. Learn the differences between them and when to use each.
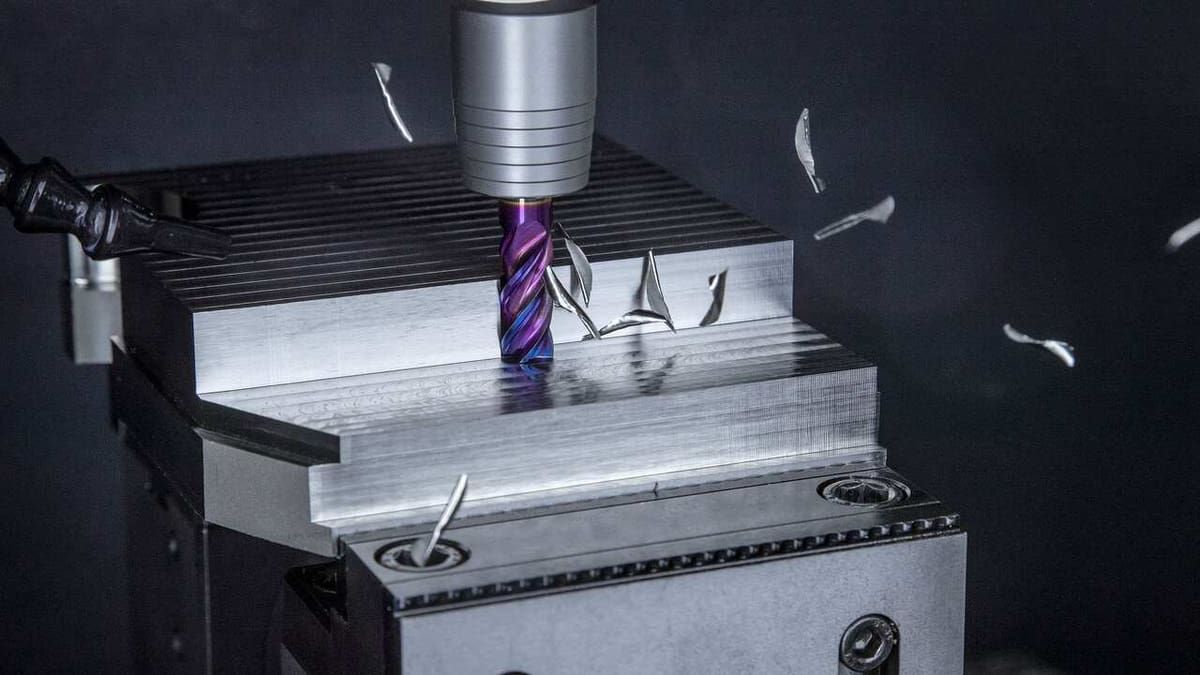
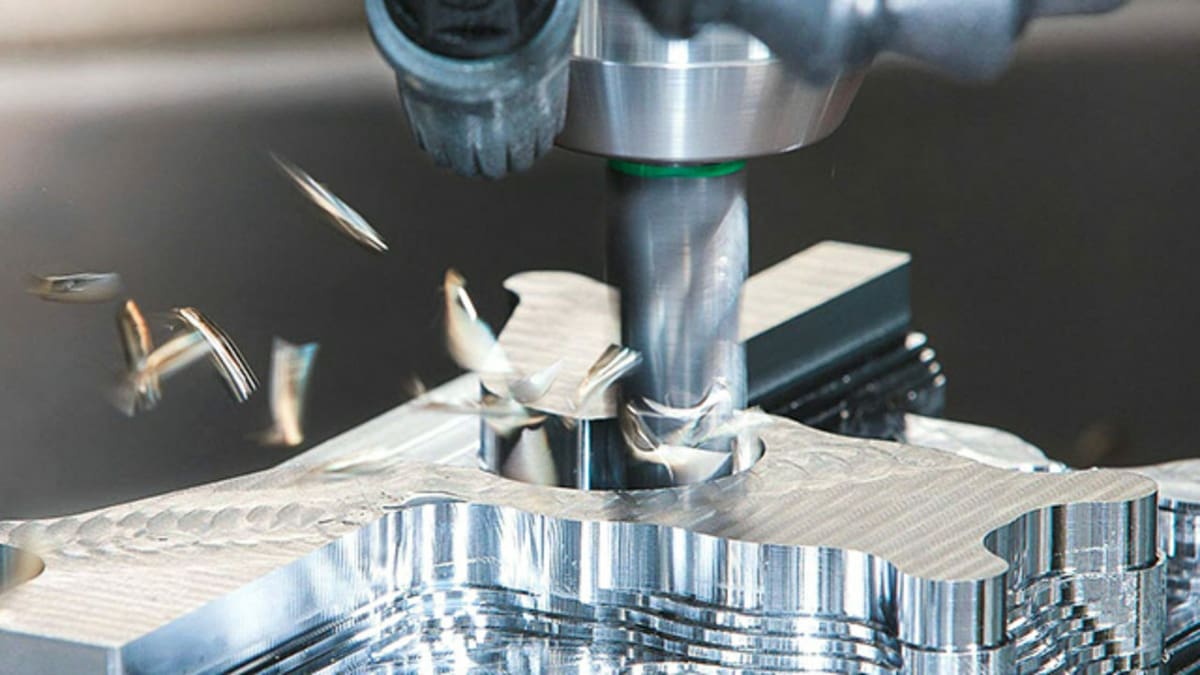
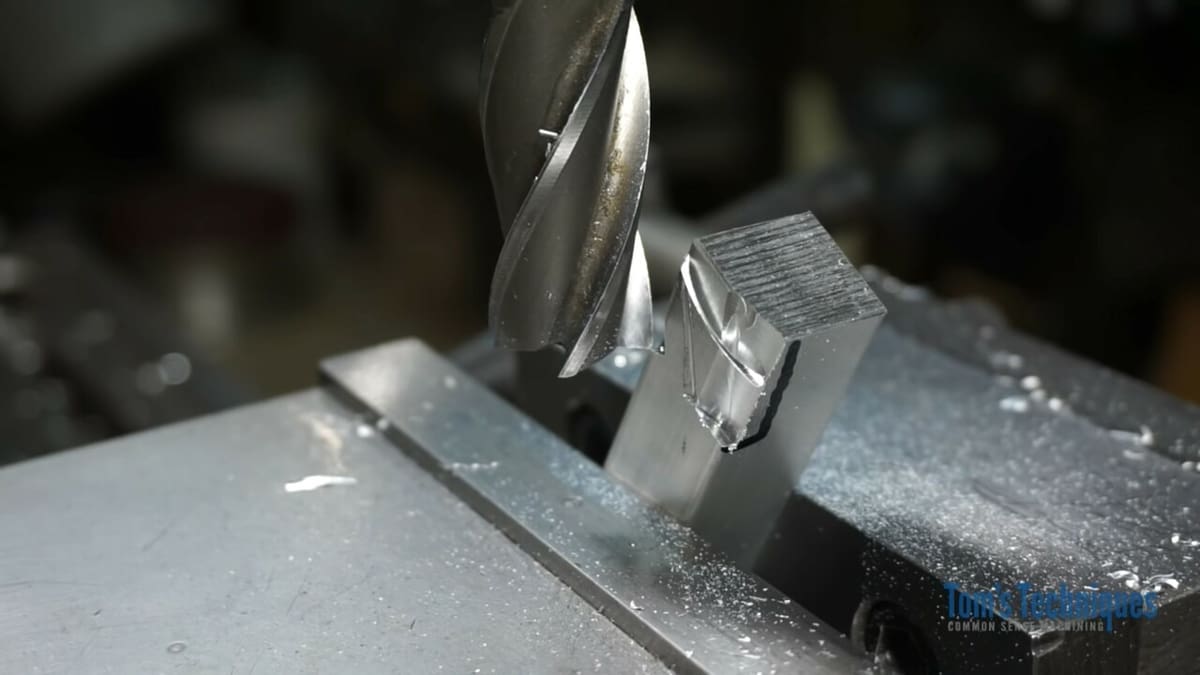
Milling operations are one of the most common subtractive manufacturing methods. Essentially, you take a big chunk of material and cut away at it. The cutting is done with a rotating tool that has sharp spiral blades known as “flutes”. These flutes gradually chip away at the raw material until the desired form is achieved, but there’s more to it than that.
In this article, we’ll go over the two fundamental ways that milling is achieved: conventional milling and climb milling.
Milling from Different Directions
On a milling machine, the cutting tool generally only spins in one direction (clockwise when looking at the tool from its motor), meaning the material can be pressed into the cutting tool in one of two ways:
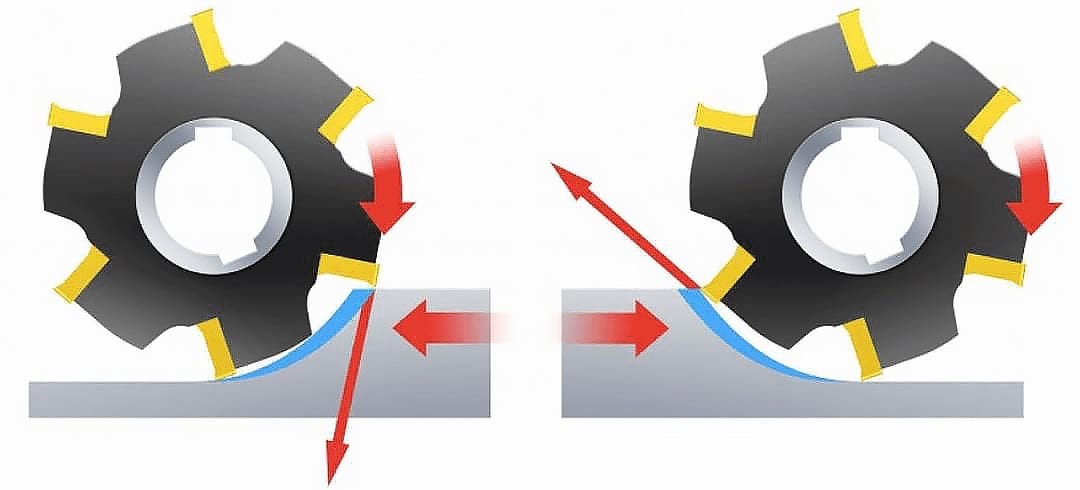
- The material is moving against the rotation of the tool, which is known as “conventional” milling.
- The material is moving with the rotation of the tool, which is known as “climb” milling.
Technically, all CNC mills and routers can perform both types of milling. However, each method has its own advantages and disadvantages.
Conventional Milling

First of all, we should point out that the term “conventional” milling might be a bit deceiving because it suggests that this method is used by most machinists.
In the days before CNC machines, manual (conventional) machining was indeed used primarily for the bulk of milling operations. This was done as a way of eliminating the effects of “backlash”, the bit of slack that exists between a lead screw and a nut. But these days, most of the tool paths of a milling operation are optimized by CAM software and backlash is compensated for, so conventional milling is no longer as dominant compared to climb milling.
As mentioned, in conventional milling, the tool rotates against the motion of the workpiece. When observing the path of the cut that one flute generates, it can be seen that, initially, the chip thickness is practically zero (i.e. the cutter slides on the surface without removing any material). Then, as the workpiece is moved toward the cutting tool, the chip has a very small thickness that increases as the cut progresses. This process has several effects:
- Heat generation: The initial rubbing of the tool against the material causes heat to build up in the tool as a result of friction. This means that conventional milling might result in overheating, which will shorten the life of the cutting tool.
- Rough surface finish: As the cutting forces increase during the cut, both the tool and the workpiece are being deflected from one another. This usually results in a relatively rougher surface finish (unless the cut is very shallow).
- More control: Because of this deflection, the tool tends to deflect away from the workpiece. This makes it less likely that unintentional cuts will be too deep.
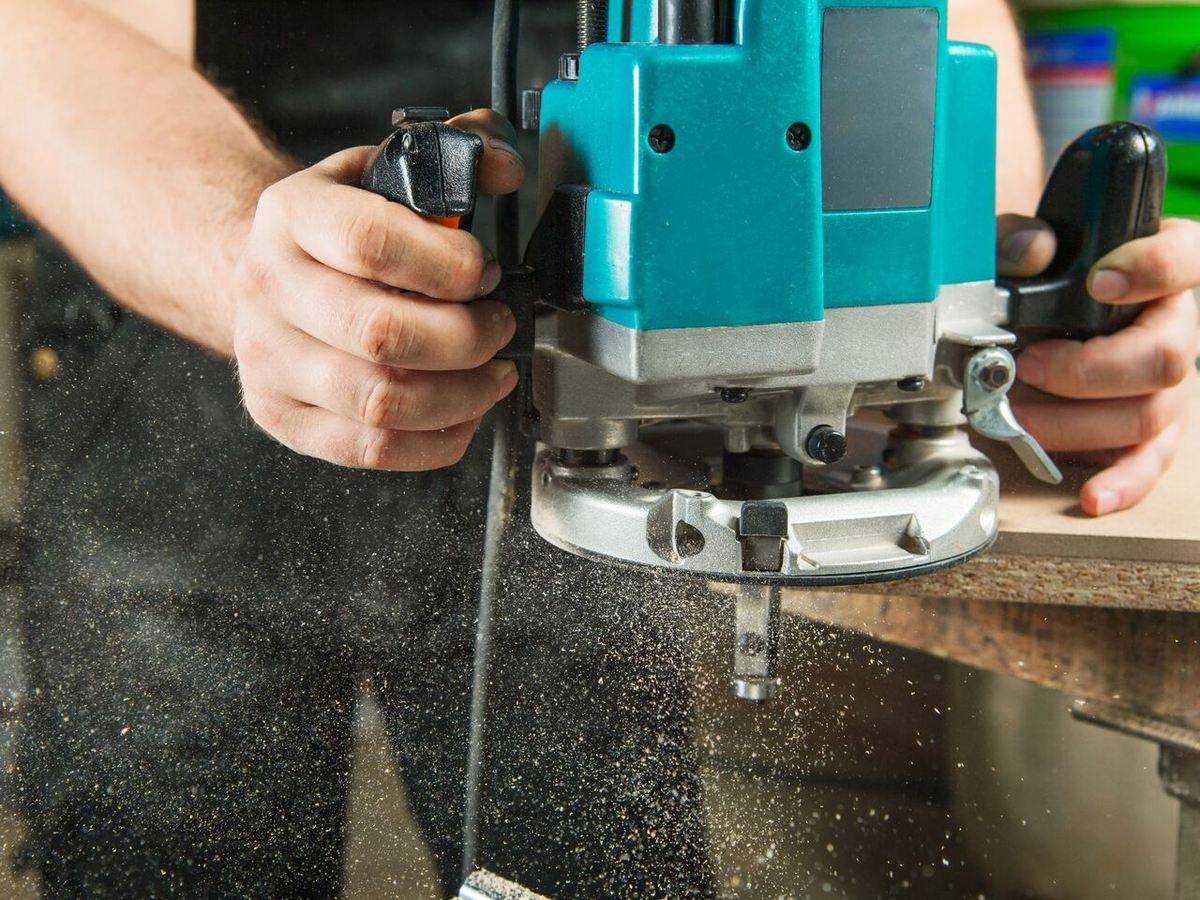
- Stability and safety: Because the cutting action is against the rotation of the tool, a relatively large force is needed to move the cutter during the machining operation. That said, handheld routers provide much more control because the router doesn’t pull material towards the operator. This is why you’ll always want to use conventional milling with handheld routers.
Tips & Tricks
- Always use conventional milling when using a handheld router.
- Try to use conventional milling mostly for rough material removal. Do not use conventional milling to take the final cut.
- Try to find a balance between cut depth and tool life because, with conventional milling, increasing the first will decrease the second.
Climb Milling
In climb milling, the tool rotates in the direction of the motion of the workpiece. When observing how the chip is formed from the cut, it starts at full thickness, and the chip thickness decreases along with the cut. This results in a few key effects:
- Less heat on the tool: Because the cut is gradually decreasing, heat is generated in the chip rather than the tool.
- Better surface finish: Because the chip thickness is at full thickness at the start and gradually decreases, the force on the tool decreases during the cut. This causes fewer deflections and generally results in a better surface finish than conventional milling.
- More secureness required: The direction of the cut moves toward the tool, pulling the workpiece in (opposite to what conventional milling does).
- Generated vibrations: Because the tool hits the workpiece at full thickness, greater vibrations are generated from the impacts. The vibrations may shorten tool life. Furthermore, if the workpiece is oxidized or covered in mill scale, heavy impacts can even more rapidly deteriorate the tool.
Tips & Tricks
- Never use climb milling with handheld routers. The tool might catch on the material and pull out of your control. This is also true for milling machines that are not rigid enough. This may damage the tool and the drive mechanism.
- Never use climb milling on an oxidized workpiece. After the mill scale is removed (by conventional milling), you can go ahead and use climb milling.
- Use climb milling for finishing passes, where a nice surface finish and high accuracy are required.
Summary & Conclusion
With CNC operation, where a lot of the machining strategy is implemented in CAM software, it may not be critical to decide whether a specific feature operation should be done using conventional or climb milling. However, with manual milling, where every single tool pass is up to the machinist, it’s very important to know the differences between each method and select accordingly.
Here are a few practical examples:
- When facing a workpiece, it’s wise to use climb milling in order to avoid burrs at the edges of the workpiece. This is because, when climb milling along the perimeter of a face, the direction of rotation is always towards the middle of the face, and that’s where the chips are forced. With conventional milling, the chips would be forced towards the perimeter of the face, causing burrs.
- When dealing with oxidized material, always use conventional milling with the first cuts, until the mill scale layer is removed. As described above, this is because the tool doesn’t actually cut the scaled layer. With climb milling, the tool’s first encounter with the material is at full swing, cleanly slicing the hard scaled layer.
- Use climb milling for finishing passes, to minimize the chance of overcutting and to improve the surface finish of the workpiece.
License: The text of "Climb vs Conventional Milling: The Differences" by All3DP is licensed under a Creative Commons Attribution 4.0 International License.