MDF CNC Cutting: The 3 Most Helpful Tips

MDF is a widely-used material in many building projects and household products. Here's our starter guide to cutting MDF with a CNC machine.
What Is MDF?

Medium-density fiberboard (MDF) is a synthetic product that comes in flat boards. It’s used in various industries, especially carpentry and cabinet making, as it’s a stable and uniform material.
MDF is usually made from “waste” like ground wood chips and sawdust, mixed with glue and then subjected to intense pressure and high temperature. This creates the familiar board that can you see in cabinets, beds, speakers, and so on. Since MDF is generally cheaper than plywood, it’s said to bring down costs of “‘wooden” products. (Ahem, Ikea!)
Unlike wood, which is highly un-isotropic (meaning it has different strength properties in different directions), MDF is much more uniform and can be regarded as isotropic. This property makes it easier to process than true wood products, as there’s no need to account for the board’s orientation. In addition, although MDF on its own is much more sensitive to moisture than most woods, it can be primed and painted to be made more weather resistant.
Enter CNC
CNC (computer numerical control) milling is the process of milling raw material into a product using computer-controlled machines. This makes for a more productive, easier, and accurate cut when compared to the “conventional”, non-computer-controlled practices. CNC milling is very common in the carpentry and wood product industry as it allows for high output, great repeatability, and lower costs than traditional carpentry.
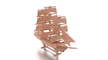
The properties of MDF as described above make it the perfect candidate for a CNC milling material. It can be easily machined and processed, it’s uniform and stable, and can be finished to a high degree. That, coupled with the fact that it’s relatively cheap, is why many hobbyists turn to MDF base material for all sorts of creations: jigs and fixtures, mold making for vacuum forming, letter and sign engraving, and more!
This article is going to cover the basics of MDF CNC milling, including some tips and tricks. At the end, we’ll leave you with some resources for exploring this topic further. Let’s get started!
Machine Settings & Software
Generally, MDF milling is very similar to wood milling. This means that if you’re experienced with the milling of wood, there isn’t a real learning curve to start milling MDF. Similarly, if you’re just starting out CNC milling and you’re getting good results with MDF, you’ll probably get good results with wood as well.
Because there’s a broad spectrum of CNC mills and routers that are capable of milling MDF, the optimal machine parameters should be found and tweaked according to your specific machine. For example, a higher-end machine with a high-power spindle and rigid frame will be able to process MDF at different speeds and feeds than a humble 3020 desktop CNC with a 775 motor spindle.
In terms of software, any CNC controller software for milling should suffice for milling MDF. For recommendations, check out our article on the best CNC router software options.
Safety

We can’t start giving you helpful tricks for cutting before we talk about safety. Because of the method of manufacturing MDF, processing it (machining, sanding, etc.) results in several types of airborne particles.
The first type is particles of the various woods the MDF was made from. Although not particularly healthy to breathe, it’s not as bad as the second type of released particles, which come from the various binders, resins, and adhesives used in the manufacturing process. These chemicals can be very bad to inhale, and therefore it’s highly recommended to use a respiratory mask during the processing of MDF, even if the mill or router is equipped with a shop vacuum.
In addition, this fine dust might creep its way into the mechanics and electronics of the mill or router and cause all types of trouble. As such, it’s advised to use a vacuum or compressed air to make sure no MDF dust is accumulating on the machine and to keep it (and your workspace) clean.
Another important safety reminder is about the heat built up in the endmill (more on these later) during its operation, especially if you’ve used the wrong speeds and feeds. When you want to replace the endmill shortly after a cutting operation, remember it’ll be very hot, so let the spindle spin freely for another couple of seconds to allow the endmill to cool down before handling.
Now, onto the tips!
Tip #1: Speeds & Feeds

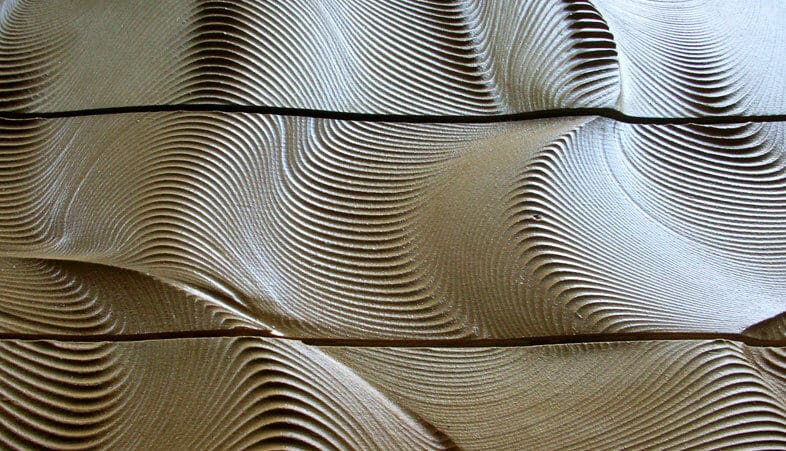
Speeds and feeds are probably the most essential aspects of CNC milling. The speed of the rotation of the spindle and the feed rate of the tool determine the product’s surface quality, the rate of processing, the buildup of heat, the length of tool life, and more.
With regards to MDF, like wood, it’ll produce better results in terms of surface finish at a high rotation speed of the spindle. However, a high revs rate means that a lot of heat is generated at the endmill, so a higher feed rate is also required in order to avoid an accumulation of heat that could burn the MDF and ruin the endmill.
Assuming you’re using a hobbyist CNC mill or router, a good starting point would be a high RPM value (say 75%-100% of the maximum speed of the machine). Then, you’ll be looking for a feed rate that isn’t too slow (and leaves burned edges in your MDF and overheats the endmill) or too fast (and breaks your endmill).
Tip #2: Endmills
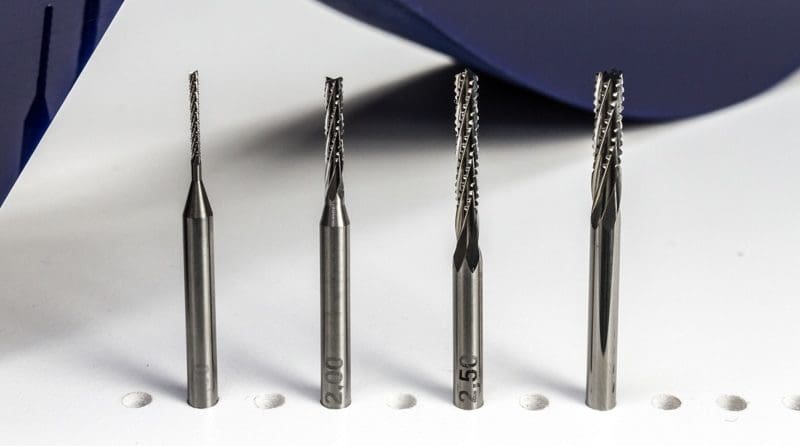
In terms of which endmills to use, two aspects should be considered: material and geometry.
Material
Regarding endmills’ material, the choice is usually between HSS (high-speed steel) and carbide. Although both materials can handle wood easily, some of the binders and chemicals used to bond the wood particles during MDF manufacturing can be quite abrasive. Therefore, HSS endmills might lose their sharpness faster than carbide endmills, which are generally harder and wear less.
Geometry
For endmills’ geometry, the choice is usually between up-cutting, down-cutting, and straight flute. Let’s take a closer look at the differences:
- Up-cutting endmills are very common and, like a traditional drill bit, guide the chips up the endmill and away from the material. In working with wood and MDF, this might result in tear-outs and splintering of the upper surface of the workpiece.
- Down-cutting endmills do exactly the opposite: They push the chips down the endmill towards the material. This usually leaves a better surface finish on the workpiece but might result in a buildup of dust and chips around the endmill, creating more heat. Higher travel moves will be required to avoid localized heat buildup.
- Straight flute endmills don’t have any twist in them. They’re usually cheaper and don’t create as much splintering as up-cutting endmills. They’re also equally as efficient as the other options in terms of possible feeds and speeds.
Tip #3: Cooling & Lubrication

As mentioned above, milling MDF creates heat that may damage the material or the endmill. In addition, the accumulation of sawdust on the end mill and the material increases friction and limits heat convection, which further adds to the heat buildup.
Since MDF is quite sensitive to moisture, it’s advised not to use any type of liquid coolant during milling. Doing so might cause the MDF to swell and crumble, in addition to making a mess and leaving MDF sawdust mud everywhere.
If available, compressed air can be used to clean and cool the endmill’s travel path. A shop vacuum or even a modified household vacuum is also a good idea to remove unwanted debris, leaving the material and endmill clean and cool. It also saves some cleanup time after operation.
Further Resources
Now that you’re all ready, or at least better equipped, to start milling MDF, check out these sources for further reading:
- As with anything related to hobby CNC machining, the CNC CookBook website is an incredible resource and knowledge center. In the context of this article, there’s a great piece regarding feeds and speeds for wood which is also applicable to MDF.
- G-Wizard is software by CNC CookBook folks that recommend speeds and feeds for operations under various conditions submitted by the user. It can handle MDF as well as other materials.
- For the more academically inclined, here’s a paper by researchers from Sao Paulo state university about the effects of different machining parameters on the surface finish of MDF milling.
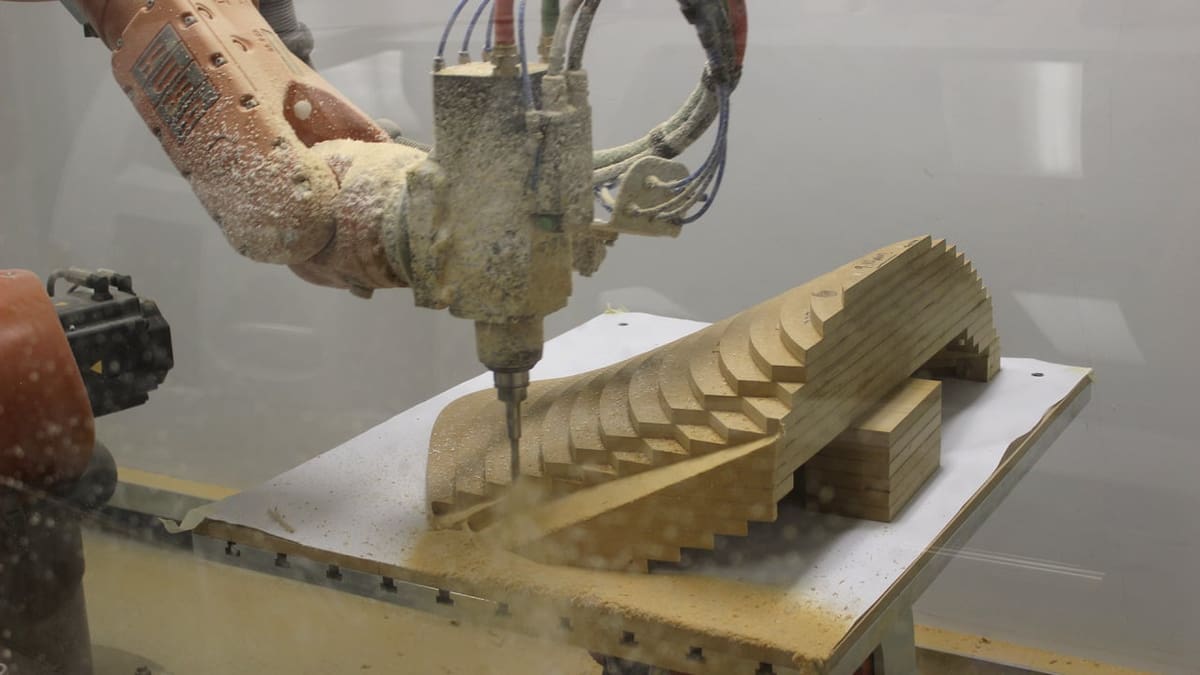
Lead image source: RMIT Architectural Robotics Lab
License: The text of "MDF CNC Cutting: The 3 Most Helpful Tips" by All3DP is licensed under a Creative Commons Attribution 4.0 International License.